When I began planning my master bathroom renovation four years ago, I was determined to create a spa-like retreat that felt both luxurious and timeless. After months of browsing design magazines and Pinterest boards, I kept coming back to limestone floors. The soft, neutral tones and natural texture seemed perfect for the calming atmosphere I wanted to achieve.
However, choosing limestone for a bathroom floor turned out to be more complex than I initially realized. Between concerns about water damage, maintenance requirements, and durability, I conducted thorough research before committing. Now, after living with my limestone bathroom floors for three years, I can share the truth about what it’s really like to own this beautiful but demanding natural stone.
Why I Fell in Love with Limestone Despite the Warnings
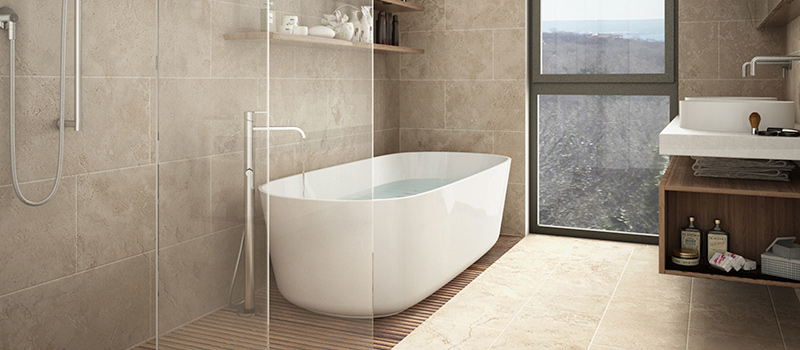
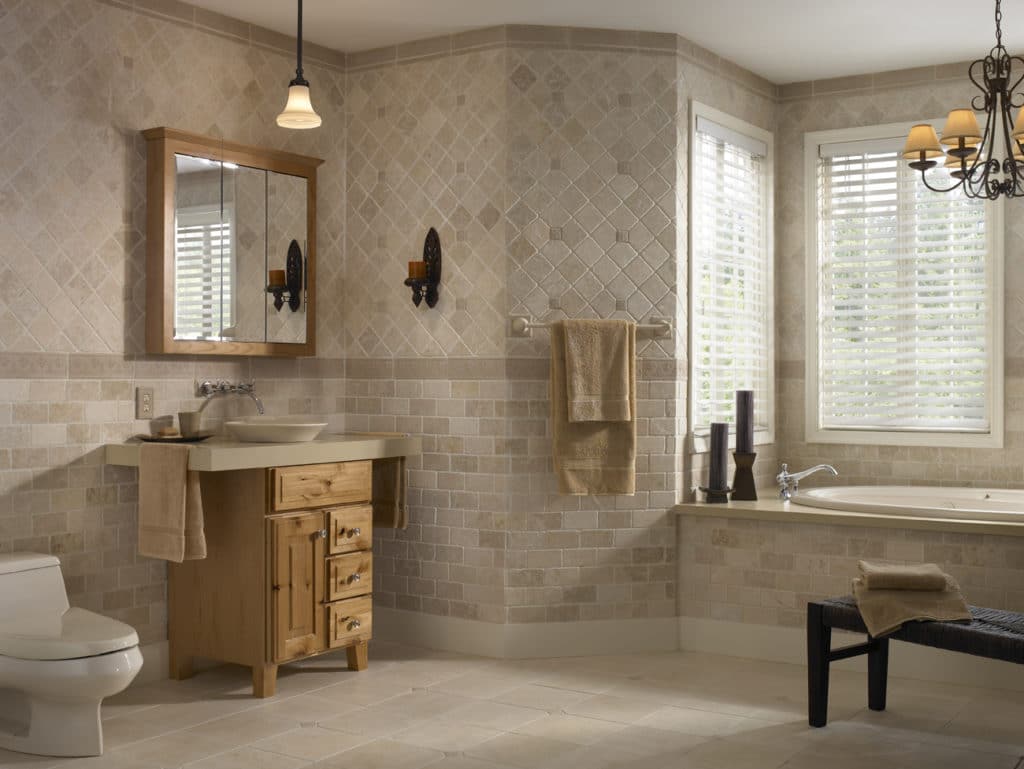
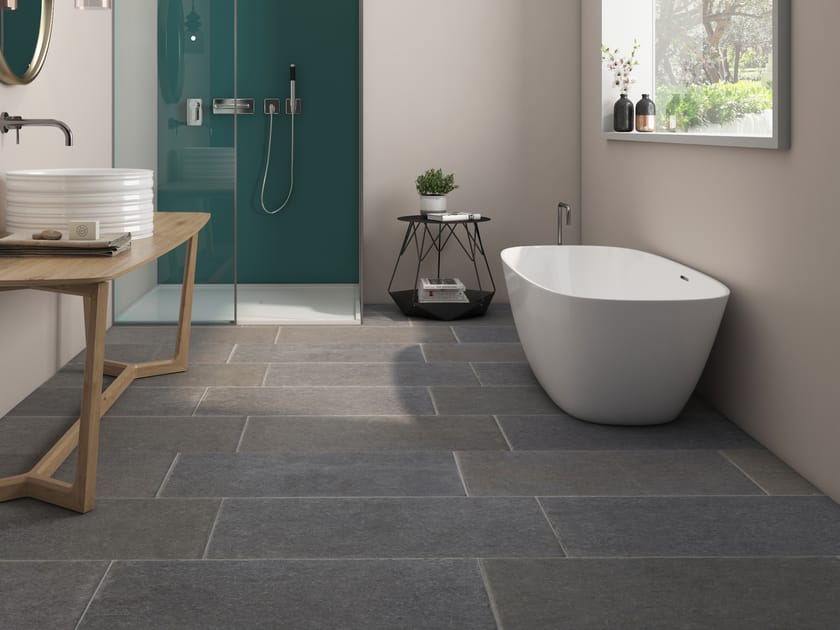
The first time I saw limestone tiles in person, I understood why they’re so popular in high-end bathroom designs. The subtle variations in color and texture create an organic, sophisticated look that feels both elegant and relaxed. I was particularly drawn to the warm, creamy tones that seemed to glow softly under bathroom lighting. Each tile had its personality, with fossils and natural markings that told the story of millions of years of geological formation.
My designer initially tried to steer me toward porcelain or ceramic alternatives, warning about limestone’s reputation for being high-maintenance in wet environments. She showed me beautiful porcelain tiles that mimicked limestone’s appearance without the upkeep concerns. While these looked good, they lacked the authentic texture and depth that made real limestone so appealing. I could feel the difference when I touched the samples; the natural stone had a warmth and character that manufactured tiles couldn’t replicate.
What ultimately convinced me to move forward was seeing a limestone bathroom floor that had been properly installed and maintained for over a decade. The homeowner showed me how the stone had developed a beautiful patina over time, becoming even more gorgeous with age. The key, she explained, was understanding limestone’s needs from the beginning and committing to proper care. This realistic preview of long-term results helped me make an informed decision about whether I was willing to invest the necessary time and effort.

Understanding Limestone’s Unique Characteristics and Challenges
Living with limestone floors taught me that this natural stone has very specific characteristics that affect daily use. Limestone is naturally porous and somewhat soft compared to granite or marble, making it more susceptible to staining and etching from acidic substances. I learned this lesson the hard way when I accidentally spilled lemon juice on my newly installed floor and discovered a permanent etch mark that required professional restoration.
The porosity of limestone means it absorbs liquids quickly, which can lead to staining if spills aren’t cleaned immediately. Hair dye, makeup, nail polish, and even some cleaning products can permanently discolor the stone if left in contact too long. I’ve had to completely change my bathroom habits, keeping towels handy for immediate cleanup and switching to pH-neutral cleaning products specifically designed for natural stone.
Temperature variations also affect limestone differently than ceramic or porcelain tiles. The stone feels noticeably cool underfoot, which can be refreshing in summer but quite chilly during the winter months. I solved this by installing radiant floor heating, which not only makes the floors comfortable year-round but also helps prevent moisture-related issues by keeping the stone dry. The heating system added significantly to my project cost but proved essential for both comfort and stone preservation.

Installation Challenges and Professional Requirements
I initially considered installing limestone tiles myself to save money, but quickly realized this wasn’t a DIY-friendly project. The tiles arrived with significant thickness variations, some natural edge irregularities, and different absorption rates that required professional expertise to handle properly. My contractor explained that limestone installation requires specialized techniques and materials not needed for ceramic or porcelain tiles.
The substrate preparation was more extensive than I expected. My contractor installed a waterproof membrane over the subfloor, followed by cement backer board to create a completely stable, moisture-resistant foundation. He explained that any movement in the substrate could crack the limestone, and moisture infiltration could cause staining or structural damage. This additional preparation added two days to the installation timeline and several hundred dollars to the cost.
Cutting limestone required diamond-tipped wet saws and considerable skill to avoid chipping or cracking the stone. My installer pre-sealed each cut edge to prevent moisture absorption, a step that’s unnecessary with manufactured tiles. The grouting process also demanded special attention, using epoxy grout that wouldn’t stain the porous limestone or allow moisture penetration. Every aspect of the installation was more complex and time-consuming than standard tile work.
Daily Maintenance Reality After Three Years
My daily limestone floor maintenance routine is more involved than it would be with ceramic tiles. I squeegee the shower area after each use and immediately wipe up any spills or water drops. I keep microfiber cloths specifically for the limestone floors, as paper towels can be too abrasive. Weekly cleaning involves vacuuming with a soft brush attachment followed by mopping with a pH-neutral stone cleaner.
The learning curve was steep initially. I made several mistakes in the first few months, using the wrong cleaning products and allowing water to sit too long on the surface. Some of these errors resulted in minor staining that required professional attention to correct. I now understand that limestone demands respect and consistent care, but the routine has become second nature after three years of practice.
Sealing the limestone every 12-18 months is the most important maintenance task. I hire professionals for this because proper sealing requires complete drying time and specific environmental conditions. The sealer enhances the stone’s natural beauty while providing crucial protection against stains and moisture. Between professional sealings, I test the surface annually by dropping water droplets to check if they bead up or absorb into the stone.

Long-Term Durability and Aging Process
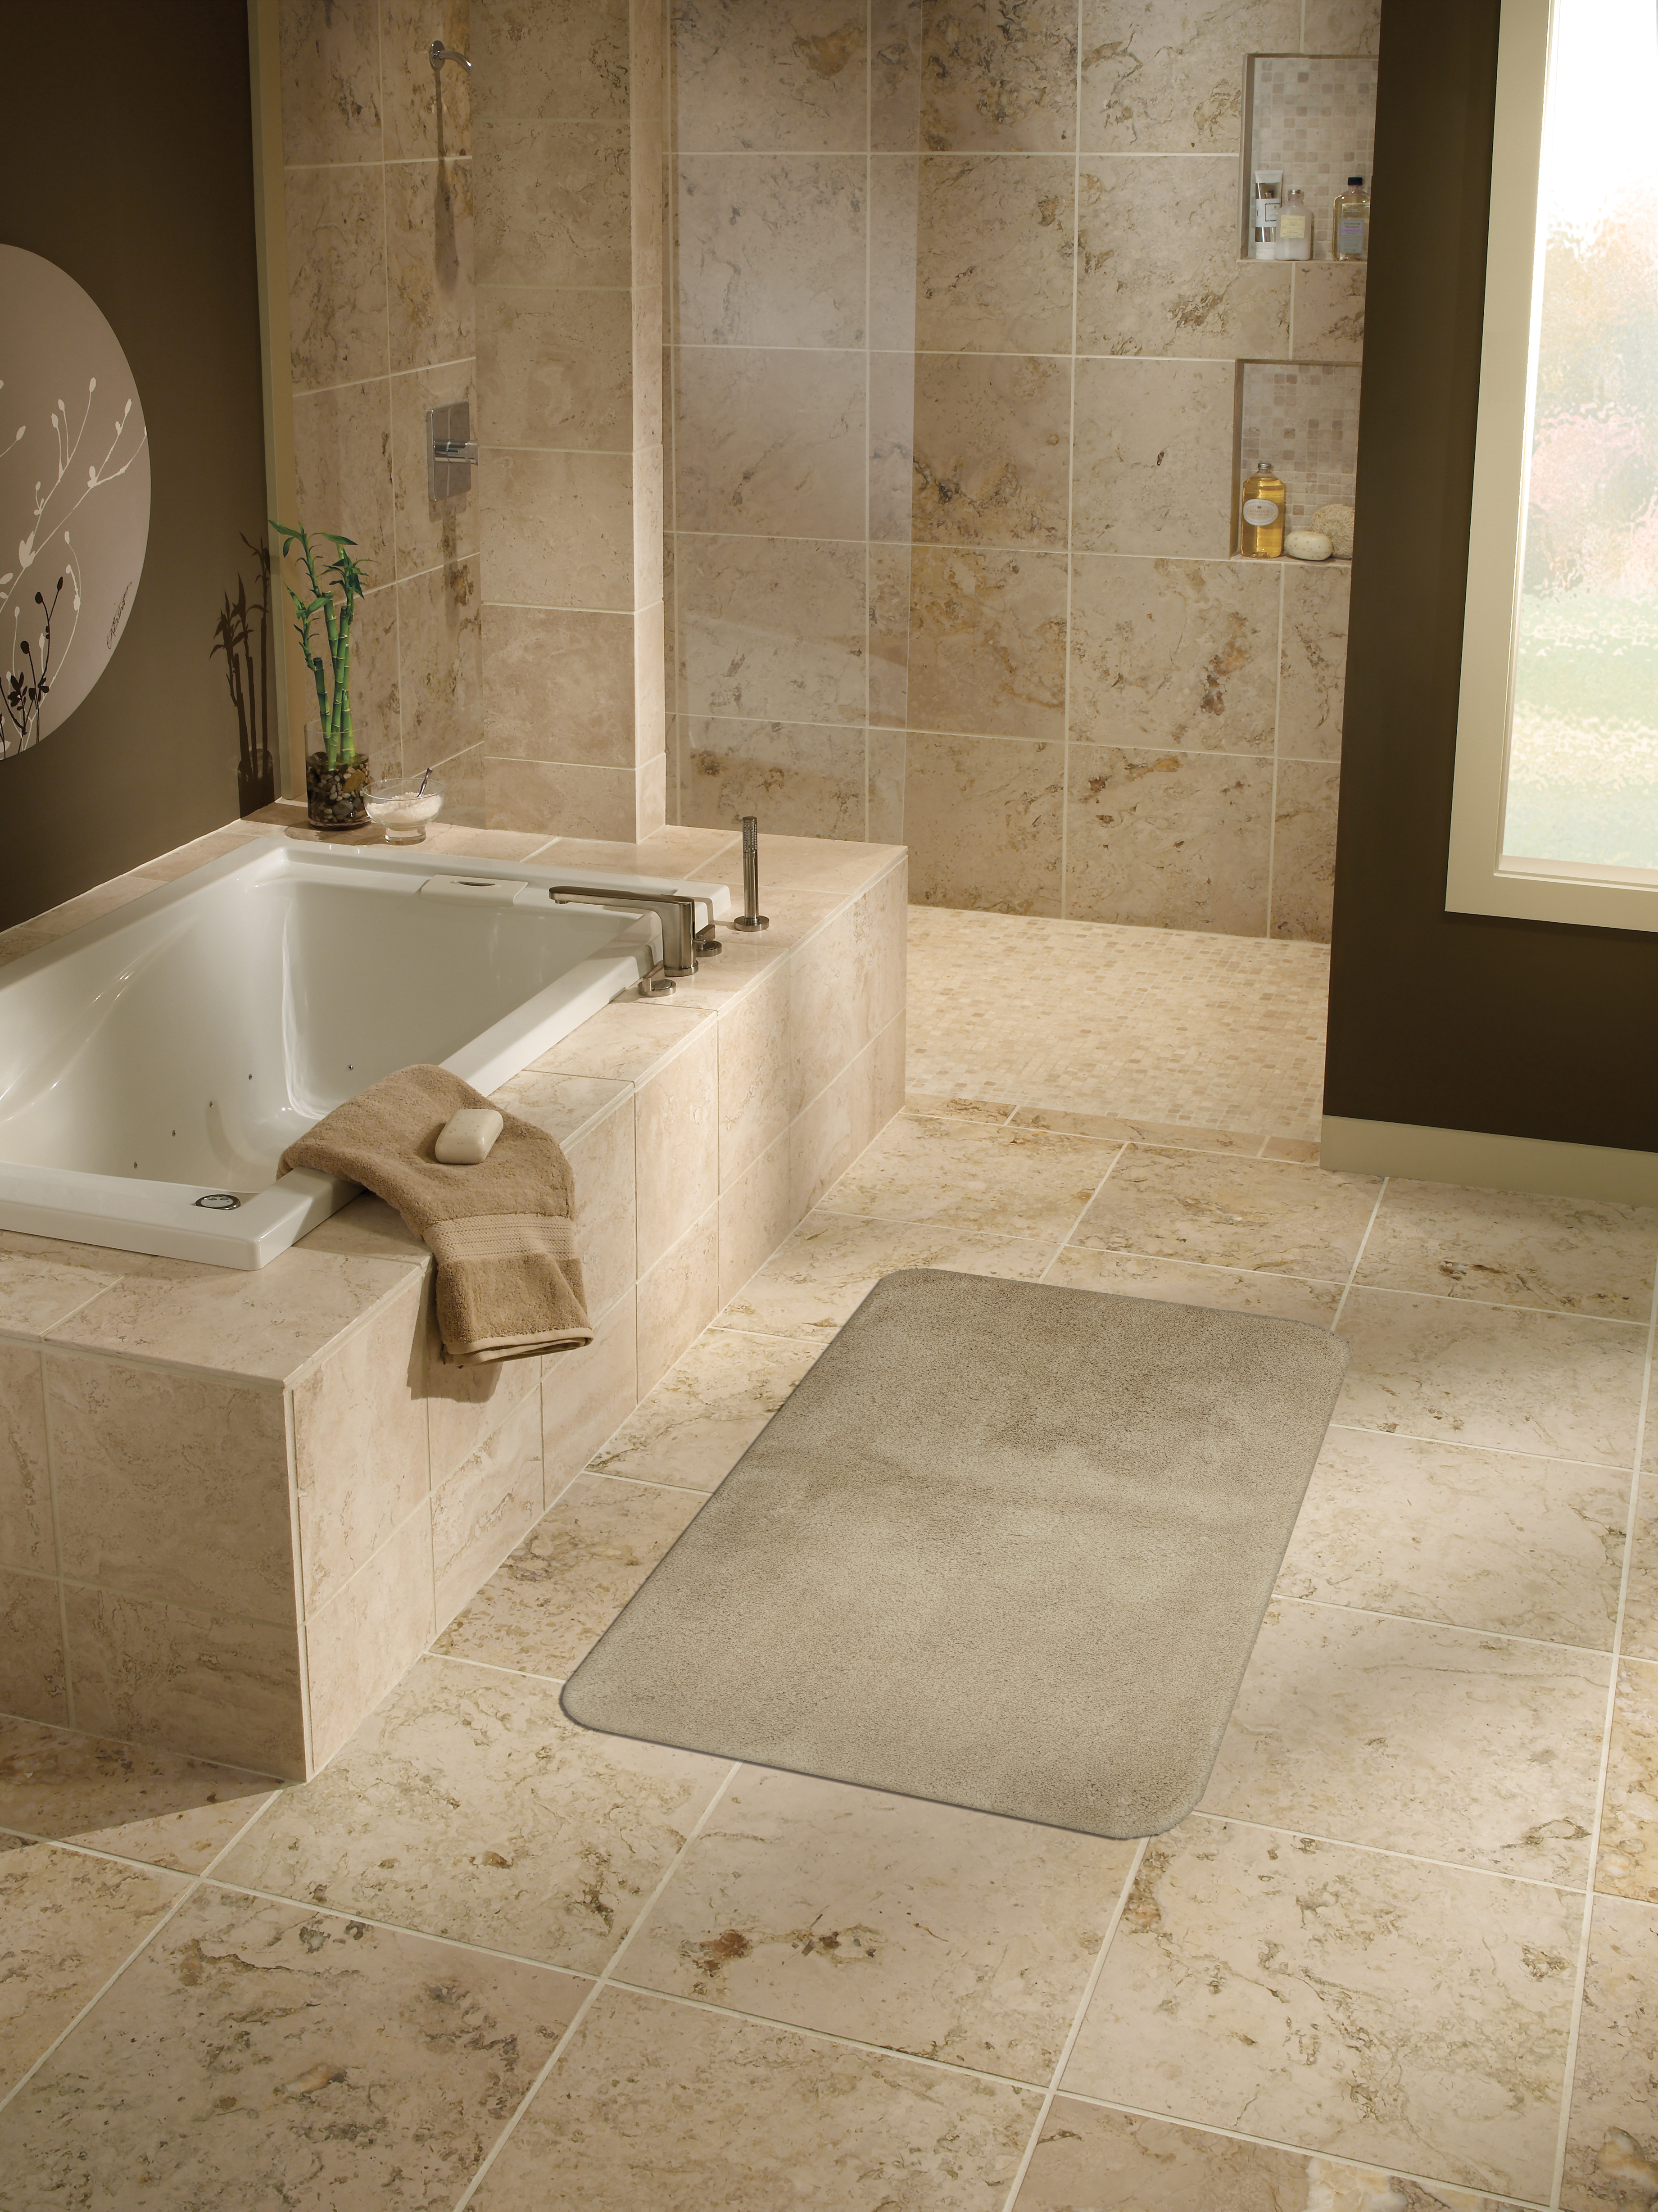
After three years, my limestone floors have developed a subtle patina that makes them even more beautiful than when they were first installed. High-traffic areas show gentle wear patterns that add character rather than looking damaged. The natural aging process gives the stone a lived-in elegance that I find much more appealing than the pristine perfection of a new installation.
However, I’ve also learned that limestone shows wear differently from harder stones. Small scratches and minor etch marks are part of the natural aging process, something I had to accept as part of owning this material. Most of these marks blend into the stone’s natural variations and aren’t noticeable unless you’re looking closely. The key is understanding that limestone floors will never look the same as when they were new, and that’s part of their charm.
Professional restoration every 5-7 years helps maintain the limestone’s appearance and structural integrity. My stone care specialist recommended this timeline based on the bathroom’s usage patterns and my maintenance routine. The restoration process involves deep cleaning, minor repairs, and resealing, which refreshes the stone’s appearance and extends its lifespan. While this adds to the long-term cost, it ensures my investment remains beautiful and functional for decades.
Cost Analysis: Initial Investment and Ongoing Expenses
My limestone bathroom floor project cost significantly more than ceramic or porcelain alternatives. The limestone tiles themselves cost $8-12 per square foot, compared to $3-6 for quality ceramic options. However, the specialized installation requirements pushed the total installed cost to $18-25 per square foot, including the waterproof membrane, radiant heating system, and professional installation.
Ongoing maintenance costs add up over time but remain manageable with proper planning. Professional sealing every 18 months costs about $300-400 for my 80-square-foot bathroom. Annual stone care products cost roughly $50-75, and I budget $200-300 every few years for minor professional cleaning or restoration services. These expenses are higher than maintenance for manufactured tiles, but reasonable considering the stone’s beauty and longevity.
The long-term value perspective helps justify the additional costs. Well-maintained limestone floors can last for decades and often increase home value significantly. My recent appraisal specifically mentioned the limestone floors as a premium feature. When I consider the cost per year over the stone’s expected lifespan, the economics become more favorable, especially factoring in the daily enjoyment and satisfaction these beautiful floors provide.
Making the Decision That’s Right for Your Lifestyle
Choosing limestone bathroom floors ultimately comes down to an honest assessment of your lifestyle and priorities. If you’re someone who appreciates natural beauty and doesn’t mind investing time in proper care, limestone can be incredibly rewarding. However, if you prefer low-maintenance surfaces or have a busy household where spills are common, manufactured alternatives might be more practical.
I’m genuinely happy with my decision three years later, but I went into it with realistic expectations about the maintenance requirements. The floors have exceeded my hopes in terms of beauty and character development, while the care routine has become an accepted part of my household maintenance. The key was understanding exactly what I was committing to before installation began.
For potential limestone owners, I recommend visiting homes with existing limestone floors in various stages of aging. See how they look after 5, 10, or 15 years of real-world use. Talk honestly with owners about their maintenance routines and any regrets. This research will help you determine whether limestone’s undeniable beauty is worth the additional care and cost for your specific situation and lifestyle.

How slippery are limestone floors when wet, and is this a safety concern?
Limestone can become slippery when wet, especially with honed finishes. I chose a tumbled finish that provides better traction, and I use quality bath mats in key areas. The stone’s natural texture helps with grip compared to polished surfaces. I’ve never had safety issues, but anyone with mobility concerns should consider textured finishes and strategically placed non-slip mats for added security.
Can limestone bathroom floors handle daily shower and bath use without damage?
Yes, with proper sealing and maintenance. My floors handle daily showers perfectly after three years. The key is immediate cleanup of standing water and regular resealing. I installed a good ventilation system and use radiant floor heating to help the stone dry quickly. Proper installation with waterproof barriers is crucial for preventing moisture damage to the substrate underneath.
How much does professional maintenance cost compared to DIY care?
Professional sealing costs $300-400 every 18 months for my 80-square-foot bathroom, while daily DIY maintenance costs about $50-75 annually for specialized cleaning products. I could seal myself and save money, but a professional application ensures warranty coverage and optimal results. The peace of mind is worth the cost for me, though DIY sealing is possible with proper products and technique.
Will limestone floors show every water spot and require constant cleaning?
A: Initially, yes, limestone shows water spots more than ceramic tiles. However, once you develop cleaning habits, it becomes manageable. I squeegee after showers and keep microfiber cloths handy for quick touch-ups. The stone’s natural variations help hide minor watermarks. After proper sealing, water spots wipe away easily, though immediate attention prevents any potential staining or etching issues.
How does limestone compare to marble for bathroom flooring applications?
Limestone is generally softer and more porous than marble, making it slightly more challenging for bathroom use. However, it’s also less expensive and offers a more casual, relaxed appearance. Marble handles moisture better but shows scratches more easily. Both require similar maintenance routines. I chose limestone for its warmer, more organic look and lower cost, accepting the trade-offs in durability.
Can existing tile floors be covered with limestone, or is removal necessary?
Removal is typically necessary for proper limestone installation. The stone needs a completely stable, level substrate, and the additional thickness would affect door clearances and transitions. My contractor removed existing ceramic tiles and prepared the subfloor properly. While more expensive initially, this approach ensures proper installation and prevents future problems that could arise from inadequate preparation or movement in the substrate.

Types of Bathroom Tiles – Designing Idea
ABBEY HISTORICAL LIMESTONE Wall/floor tiles By Stone Age

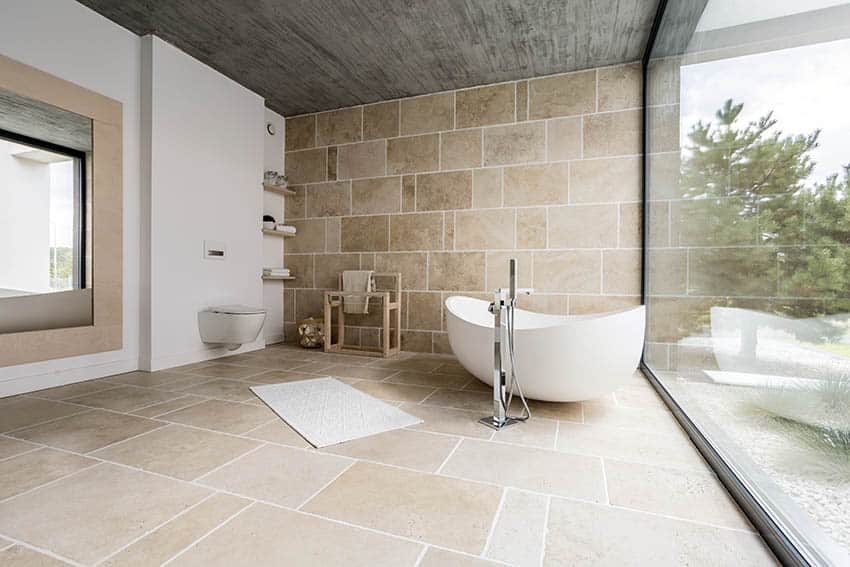
Limestone Tiles u0026 Flooring Mandarin Stone Bathroom design

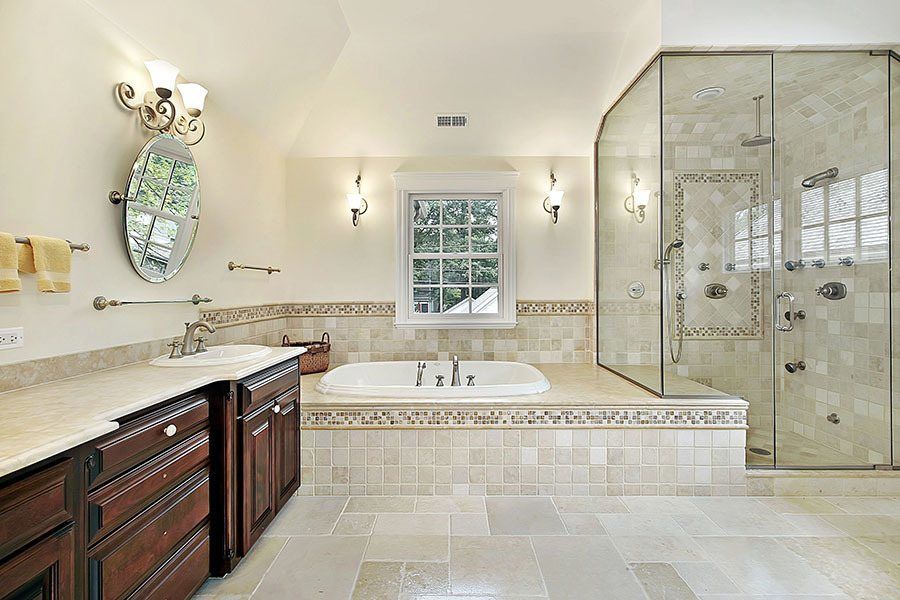
Travertine Vs. Limestone Tile: The Pros u0026 Cons of Each with
Related articles: