When I pulled up the worn linoleum in my 1920s bungalow bathroom, I discovered the most stunning hexagon tile floor hidden underneath, and I knew immediately that I wanted to restore it rather than cover it with something modern. That discovery sparked my obsession with vintage bathroom floor patterns, leading me down a path of research, restoration mistakes, and eventually a complete bathroom renovation using authentic period tile designs.
I’ve since helped three friends choose vintage patterns for their own bathrooms, and I’ve learned that these timeless designs work beautifully in both historic homes and new construction. Let me share what I’ve discovered about selecting, installing, and living with vintage tile patterns.
Classic Hexagon Tiles and Their Timeless Appeal
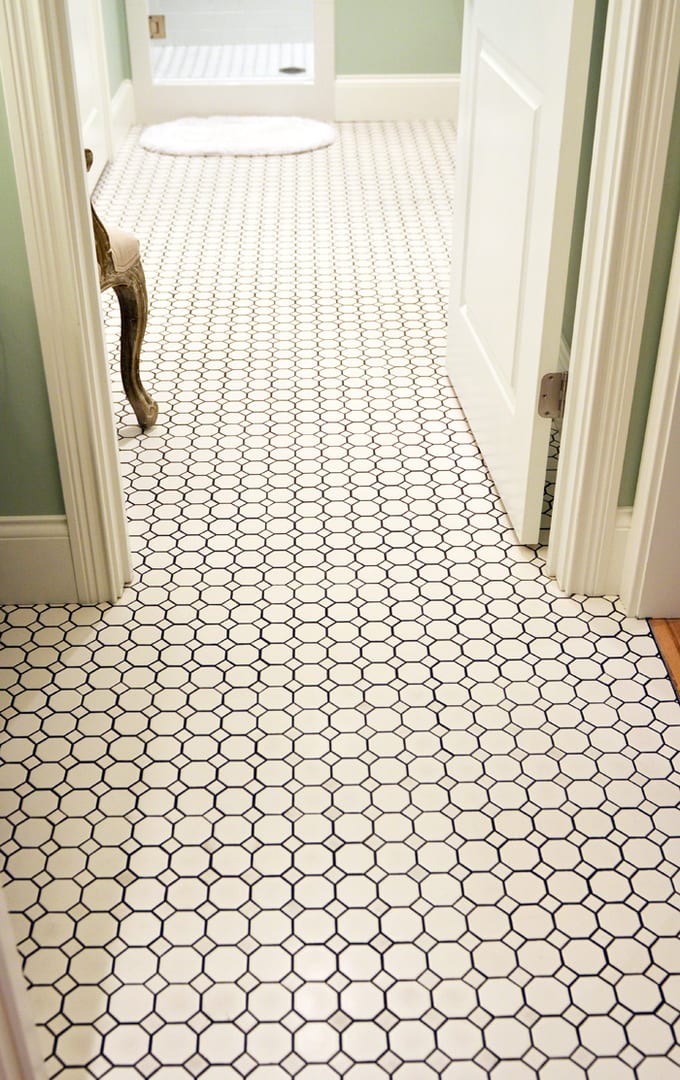
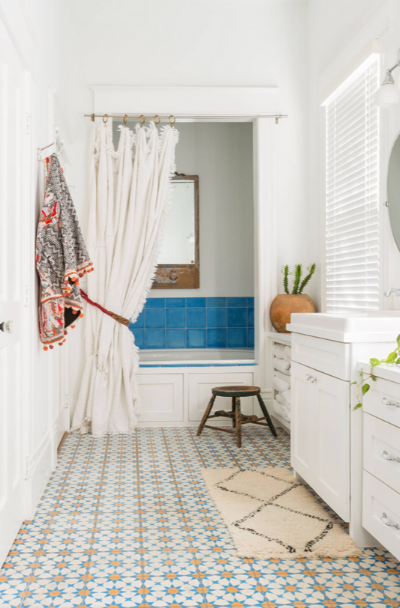
Hexagon tiles became my gateway into vintage bathroom flooring, and I quickly understood why they’ve remained popular for over a century. The six-sided shape creates a honeycomb pattern that feels both geometric and organic, working equally well in small powder rooms and spacious master bathrooms. I chose one-inch hexagons in white with black accent tiles for my main bathroom, creating the iconic early twentieth-century look that originally drew me to vintage design.
What surprised me most about hexagon tiles was their incredible versatility in layout options. I experimented with different arrangements before installation, trying all-white fields with black borders, random black tile placement for a terrazzo effect, and planned geometric patterns using the hexagons as building blocks. I ultimately created a black hex border around the room perimeter with scattered black accent tiles throughout the white field, a design I’d seen in a 1915 Sears catalog that felt authentically period.
The practical benefits of hexagon tiles won me over as much as their aesthetics. The small tile size means lots of grout lines, which actually improves traction on wet bathroom floors, a safety feature I appreciate daily. The pattern also disguises slight floor imperfections better than large-format tiles, which was crucial in my old house with its settling foundation. Installation does take longer due to the numerous small pieces, but I found the labor worthwhile for the gorgeous finished result that literally stops visitors in their tracks.

Checkerboard Patterns for Bold Statement Floors
After completing my hexagon floor, I tackled my powder room with a classic black and white checkerboard pattern. This bold design choice intimidated me initially, but I’d fallen in love with checkerboard floors in vintage photos and decided to take the plunge. I used four-inch square tiles, which felt appropriately scaled for the small space and created a strong visual impact without overwhelming the tiny room.
The checkerboard installation taught me important lessons about visual perception and space. I worried the pattern might make my small powder room feel even smaller, but the opposite proved true. The graphic pattern created movement and energy that drew the eye across the floor, actually making the space feel more dynamic and interesting than a solid color tile would have. I oriented the squares on a diagonal, which added another layer of visual interest and made the narrow room appear slightly wider.
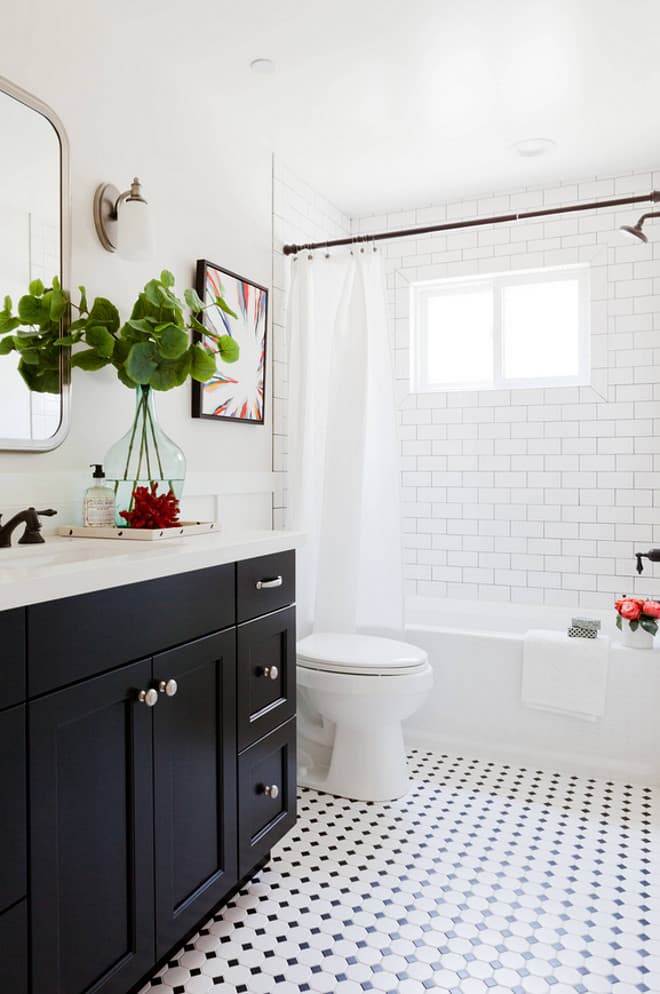
Living with a checkerboard floor revealed unexpected benefits. The high contrast pattern is incredibly forgiving of dirt and dust, as debris doesn’t show dramatically against either the black or white tiles. I also discovered that the strong floor pattern let me keep walls and fixtures simple, as the floor provided all the visual interest the room needed. My powder room now features plain white walls, a simple pedestal sink, and minimal accessories, yet the space feels complete and stylish thanks entirely to that striking vintage floor pattern.
Basket Weave and Herringbone Layouts
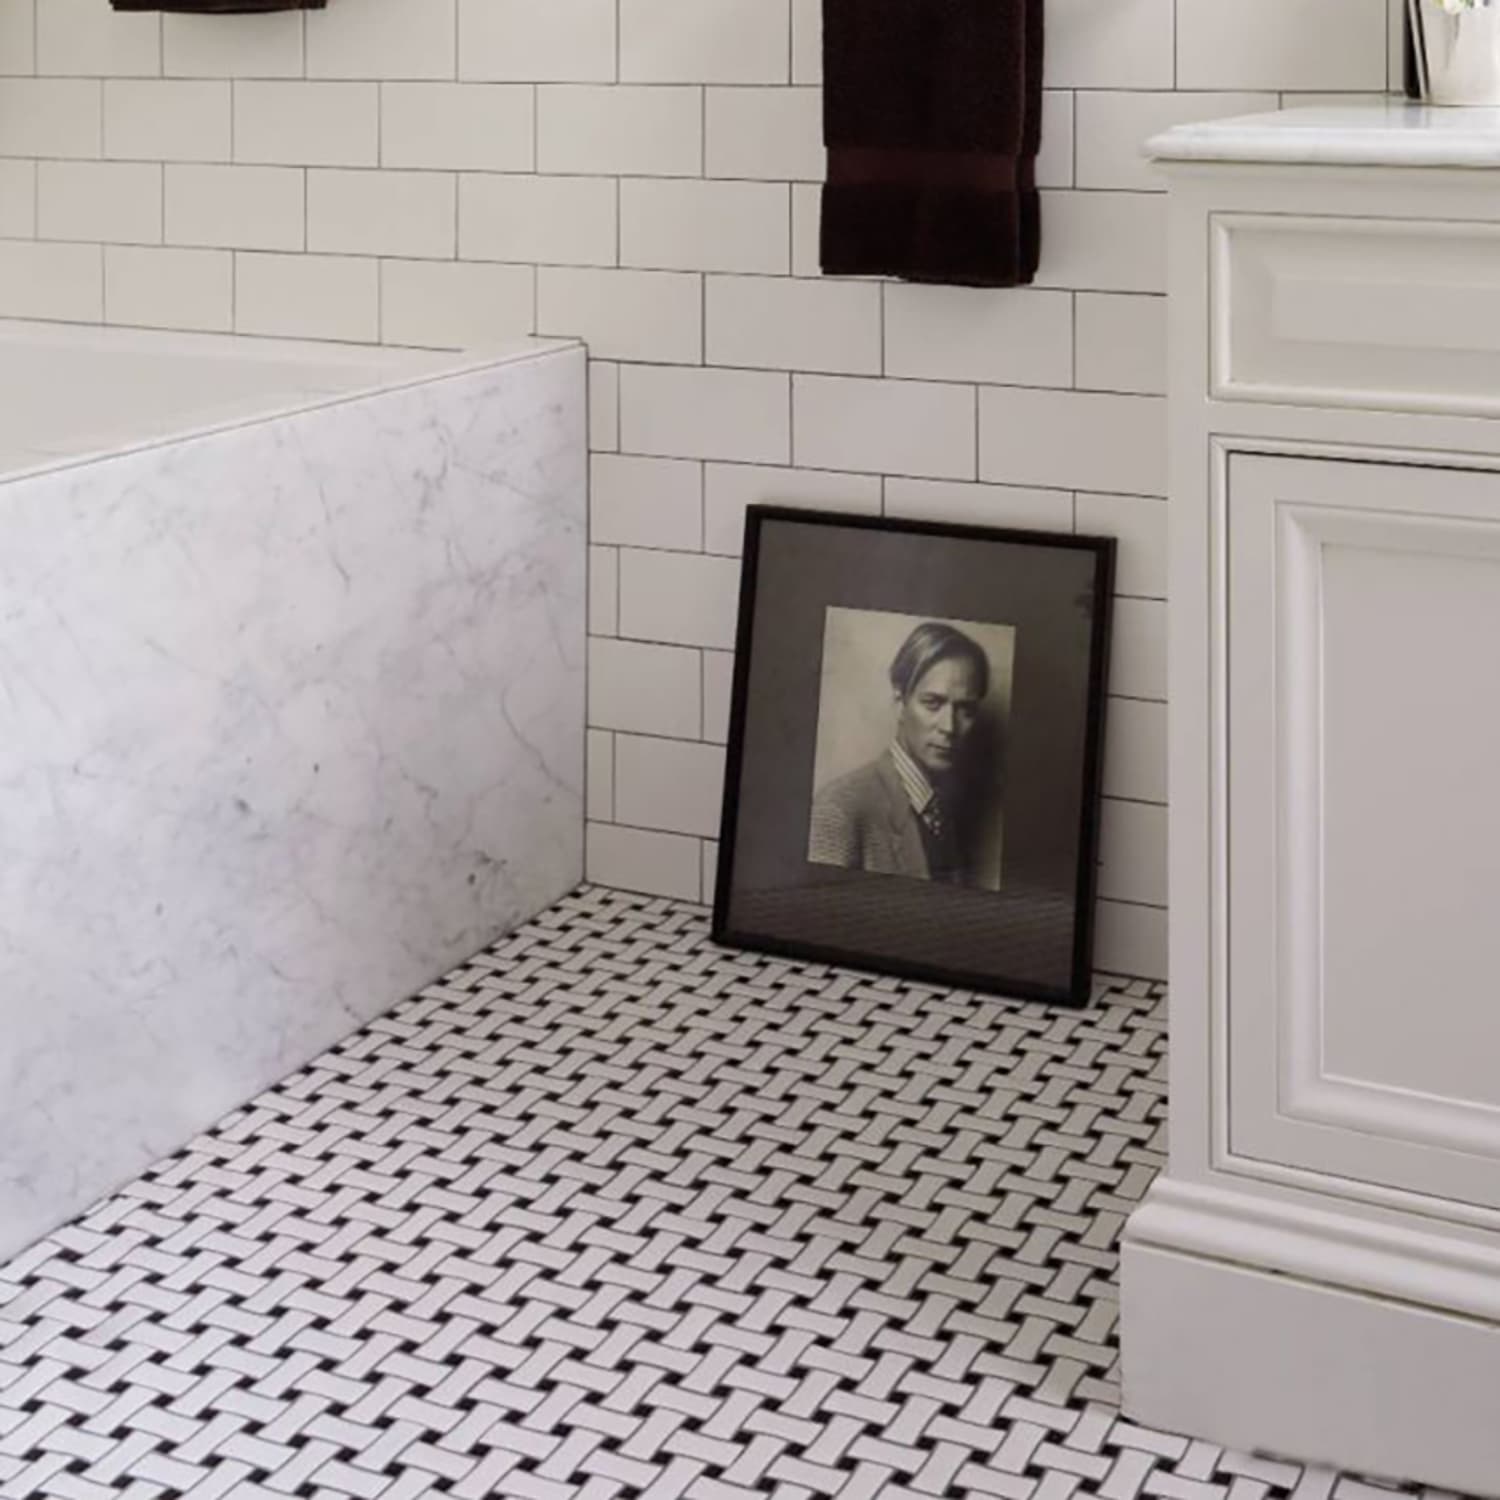
For my guest bathroom renovation, I explored beyond basic grid patterns and discovered the sophisticated beauty of basket weave and herringbone layouts. Basket weave, where rectangular tiles are arranged to mimic woven fabric, immediately appealed to my love of textile-inspired design. I chose a variation using white rectangular tiles with small black square accents at each intersection, creating subtle texture and pattern without the boldness of my checkerboard floor.
The basket weave installation process was more complex than I anticipated. My tile setter had to carefully maintain consistent spacing to preserve the woven illusion, and we spent considerable time planning the layout to ensure the pattern looked balanced as it met walls and fixtures. I learned that basket weave works best with quality rectangular tiles that are precisely manufactured, as even slight size variations become obvious in this geometric arrangement. The extra attention to detail during installation paid off with a floor that looks intricate and handcrafted.
I seriously considered herringbone for my master bathroom before ultimately choosing hexagons. Herringbone creates dynamic diagonal lines by arranging rectangular tiles in a zigzag pattern, and I found it particularly effective for visually lengthening narrow bathroom spaces. While I didn’t use it in my home, I helped my sister install a herringbone floor in her vintage-inspired bathroom using subway tiles, and the result was absolutely stunning. The pattern added movement and sophistication while maintaining the clean, classic feeling appropriate to her 1930s colonial revival home.

Penny Rounds and Mosaic Patterns
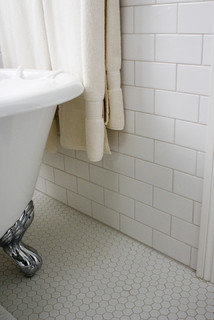
Penny round tiles, those tiny circular tiles typically one inch in diameter, represented my most adventurous vintage tile choice. I used them in my shower floor, where their small size and numerous grout lines provide excellent slip resistance. The installation came on mesh-backed sheets, which made the process more manageable than I’d feared, though achieving consistent grout lines still required patience and precision from my tile installer.
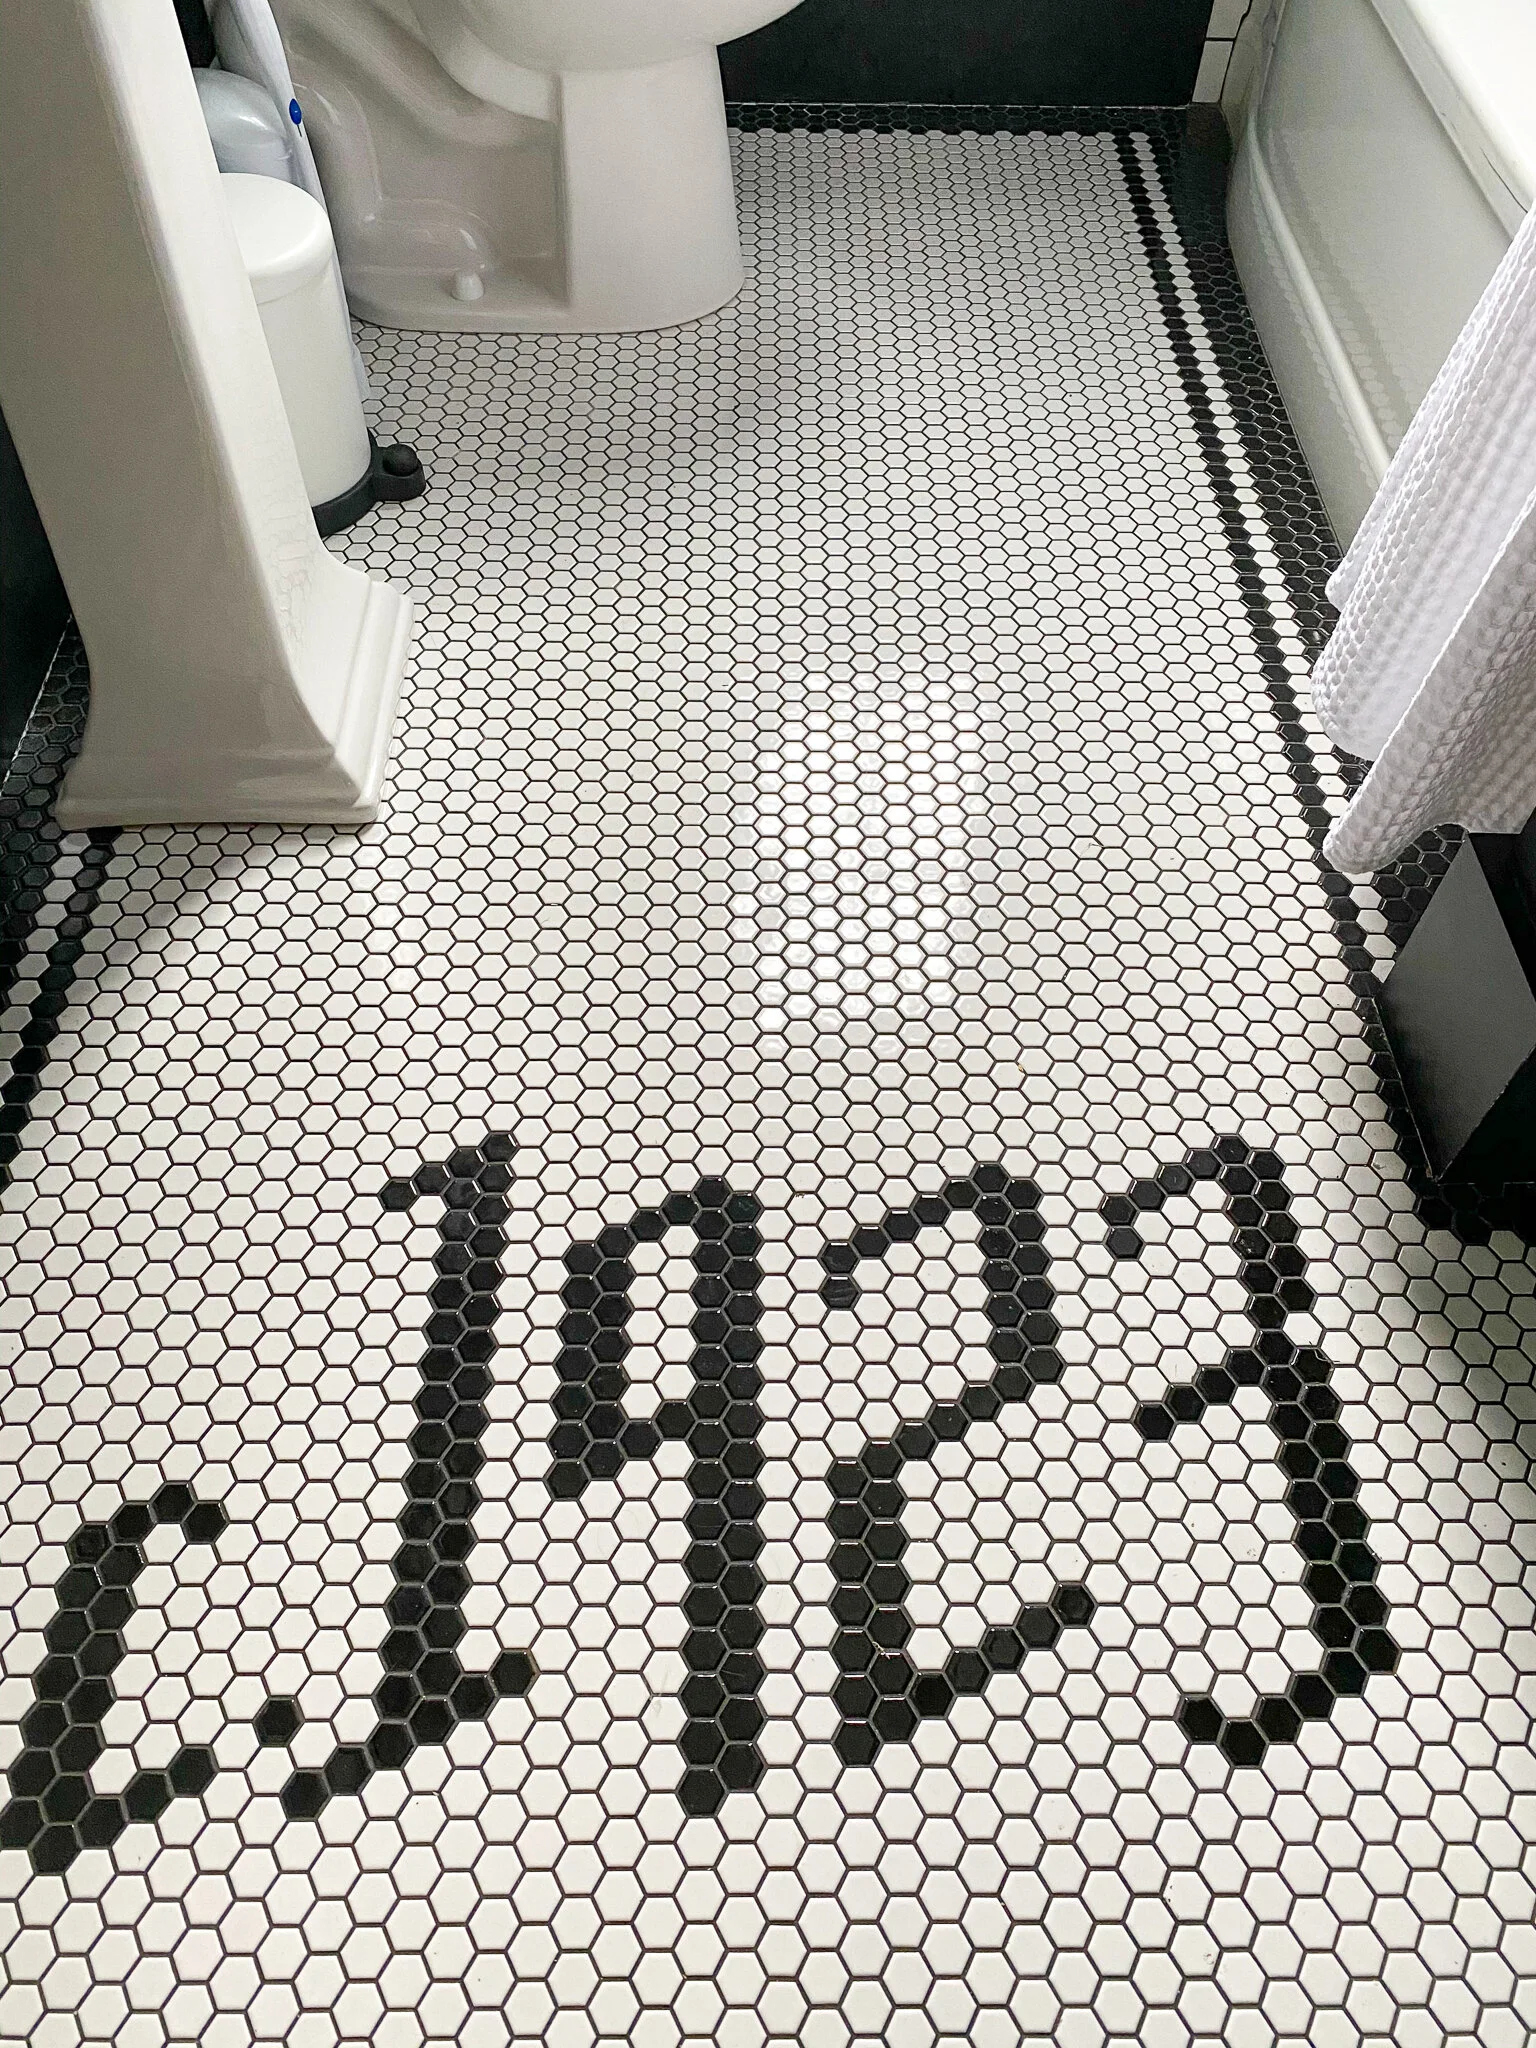
I initially planned an all-white penny round floor, but I got creative with the sheets and created a custom border pattern using black penny tiles around the shower perimeter. I carefully cut apart some of the mesh backing and rearranged tiles to spell out a simple geometric border design. This customization elevated the floor from nice to truly special, and it demonstrated how penny rounds offer creative flexibility despite their tiny size and traditional appearance.
The texture of penny round floors became one of my favorite unexpected features. Walking barefoot on the rounded tiles feels pleasant and almost massage-like, and the dimensional surface adds tactile interest to the bathroom experience. I also appreciate how the circular shape contrasts beautifully with the straight lines of shower walls and fixtures, creating subtle visual variety. Cleaning requires more effort due to all those grout lines, but I use a handheld steam cleaner monthly which makes quick work of keeping everything fresh and prevents grout discoloration.
Incorporating Border Designs and Accent Tiles
Learning to use borders and accent tiles transformed my approach to vintage floor design. My first bathroom floor was solid white hexagons, and while pretty, it felt somewhat plain. For subsequent projects, I studied historic bathrooms and noticed how borders and strategic accent placement added visual weight and framing to floors. I retrofitted my original hexagon floor by removing perimeter tiles and installing a black hex border, and the difference was remarkable.
Border options for vintage bathrooms range from simple single-color bands to elaborate multi-tile designs. I used a three-tile-wide border in my main bathroom: two rows of black hexagons flanking one row of white, creating a defined frame that grounds the room. For my basket weave guest bath, I designed a border using small square tiles in a Greek key pattern, which added classical elegance without feeling fussy. The key is choosing borders that complement rather than compete with your field tile pattern.
Accent tiles scattered throughout the main floor field create visual interest without formal borders. In one bathroom, I randomly placed black hexagon tiles among white ones at roughly ten percent frequency, creating a speckled effect reminiscent of terrazzo. My friend used decorative encaustic tiles as occasional accents within her white subway tile floor, and the pops of pattern looked intentional and charming. I learned that accent placement works best when following some loose organizing principle, whether random distribution, geometric arrangement, or concentration near focal points like the vanity or tub.

Choosing Colors Beyond Black and White
While I adore classic black and white vintage floors, I’ve also explored colorful options that feel equally authentic to period design. My powder room renovation after the initial checkerboard featured soft green and cream tiles in a checkerboard pattern, inspired by 1930s bathrooms I’d seen in design books. The gentler color palette created a completely different mood, feeling fresh and cheerful rather than dramatic and bold.
Researching historic tile colors opened my eyes to options I’d never considered. Pale pink, mint green, powder blue, butter yellow, and peach were enormously popular in mid-century bathrooms, often combined with white or used in monochromatic schemes with varying shades of the same color. I helped my mother choose pale blue hexagon tiles with navy accents for her vintage-inspired bathroom, creating a serene, spa-like space that still felt appropriately retro. The colored tiles added personality while maintaining the timeless quality of the hexagon pattern.
I learned that colored grout can dramatically impact vintage tile appearance. Initially, I always specified white grout, but experimenting with tinted grout revealed new possibilities. Gray grout with white tiles creates a softer, aged look that feels authentically vintage. Matching grout to tile color makes the grout lines visually recede, emphasizing tile shape over grid structure. Contrasting grout, like dark gray with light tiles, emphasizes the geometric pattern and adds graphic punch. These grout choices let me fine-tune the final appearance and mood of each bathroom floor I’ve designed.

Are vintage tile patterns more expensive than modern options?
Not necessarily. I found that basic vintage patterns like hexagons and checkerboards cost comparably to mid-range modern tiles, typically $8 to $15 per square foot for quality ceramic or porcelain versions. True vintage salvaged tiles run $15 to $40 per square foot when you can find them. Installation costs are often higher due to pattern complexity and smaller tile sizes requiring more labor. My hexagon floor cost about $12 per square foot for materials and $18 per square foot for professional installation.
How difficult is it to maintain vintage tile patterns with lots of grout lines?
I worried about this initially, but maintenance has been easier than expected. I seal my grout annually with quality penetrating sealer, which prevents staining and makes cleaning simple. Weekly mopping with pH-neutral cleaner keeps everything fresh. For deep cleaning, I use a steam cleaner quarterly on my penny round shower floor. The numerous grout lines actually hide minor discoloration better than large-format tile. My vintage floors still look great after five years with this basic maintenance routine.

Can I install vintage patterns over existing tile or do I need to remove everything?
You typically need to remove existing tile for the best results. I tried installing new hexagons over old tiles in one bathroom, and the added height created awkward transitions at doorways and made the toilet flange too low. The extra layers also risked cracking if the original tiles weren’t perfectly bonded. I’ve learned to factor removal costs into budgets from the start. Removing tile is messy and time-consuming, but it ensures proper installation and avoids future problems.
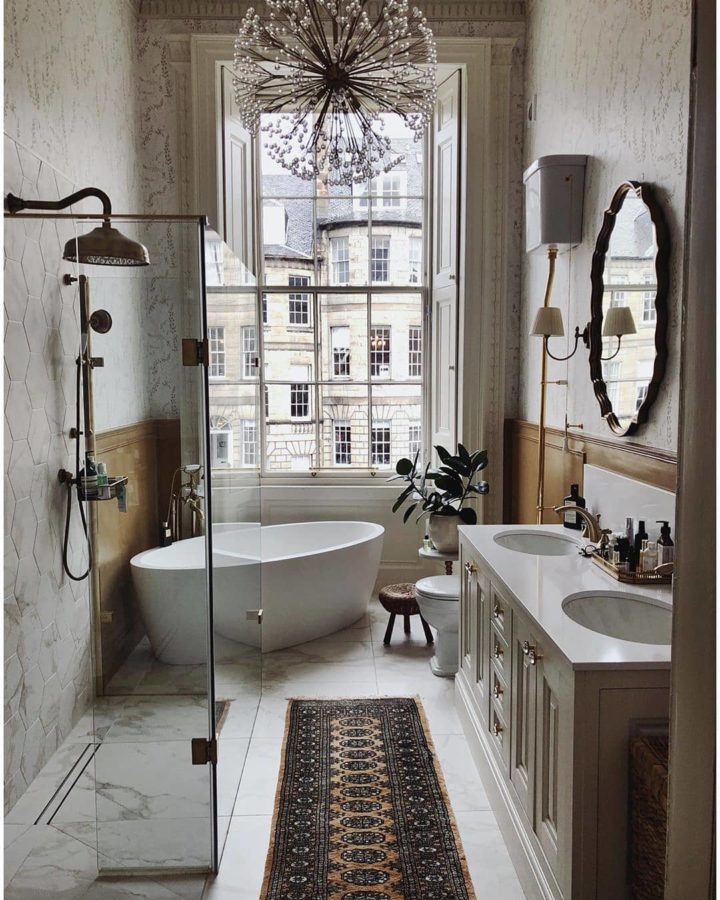
Do vintage patterns work in modern new-construction bathrooms?
Absolutely. I’ve designed vintage tile floors for three new construction homes, and they look fantastic. The key is balancing vintage floors with appropriate fixtures and finishes. I pair historic tile patterns with reproduction or transitional-style fixtures rather than ultra-modern pieces. The vintage floor adds character and warmth that new construction often lacks. These timeless patterns actually help new bathrooms feel more established and thoughtfully designed rather than generic builder-grade spaces.
What tile size works best for small bathrooms?
Smaller tiles generally work better in compact bathrooms. I used one-inch hexagons in my small main bath, and the scale feels perfect. The small tiles and busy pattern create visual interest without overwhelming the space. Larger tiles can make small rooms feel even smaller by emphasizing the limited square footage. That said, I’ve seen four-inch checkerboards work beautifully in powder rooms. My advice is to request sample sheets and lay them out in your actual space before committing.
Should I use the same vintage pattern on floors and shower walls?
I don’t recommend it, as too many patterns can feel overwhelming. In my bathrooms, I use vintage patterns on floors but keep shower walls simpler with subway tiles or large-format tiles. This creates visual hierarchy and lets the floor pattern shine. If you love a pattern like penny rounds, use them on the shower floor for safety, but choose complementary, larger tiles for walls. The contrast between detailed floors and simpler walls creates a sophisticated, balanced design.
Vintage Tile Design Ideas – Sebring Design Build
Historic Bathroom Tile Designs: ORC Week Two u2014 T. Moore Home
Awesome Historic Floor Tile Patterns – The Craftsman Blog
Mosaic Tile Floor Ideas for Vintage Style Bathrooms Apartment
Related articles: