When I renovated my bathroom last year, porcelain tile emerged as the clear winner for flooring after weeks of research and showroom visits. This versatile material offers the perfect balance of water resistance, durability, and design flexibility that bathrooms demand. After living with my porcelain tile floor through all seasons, I’ve discovered both its remarkable advantages and a few considerations worth noting. Porcelain’s density and low porosity make it ideal for wet environments, while modern manufacturing techniques create stunning wood, stone, and geometric looks. Here’s my comprehensive look at bathroom floor porcelain tile based on hands-on experience.
Why Porcelain Tile Works for Bathrooms
Porcelain’s water resistance is what first caught my attention for bathroom use. Unlike natural stone or some ceramic tiles, high-quality porcelain absorbs less than 0.5% water, making it virtually impervious to moisture damage. My floor has withstood daily showers, splashes, and occasional overflows without any warping or staining. The non-porous surface also resists mold and mildew growth that can occur with more absorbent materials. This makes porcelain ideal for bathrooms where water exposure is constant and cleaning needs to be thorough.
Durability is another standout feature. After a year of heavy use, my porcelain tiles still look brand new despite dropped toiletries, pet claws, and constant foot traffic. The hardness rating (PEI 4 or 5 for floors) means it resists scratches, dents, and wear that would damage softer materials. Unlike natural stone that can be etched by acidic cleaners, porcelain maintains its appearance with minimal maintenance. I’ve seen porcelain floors in commercial bathrooms that have lasted decades with proper care, which speaks volumes about their longevity.
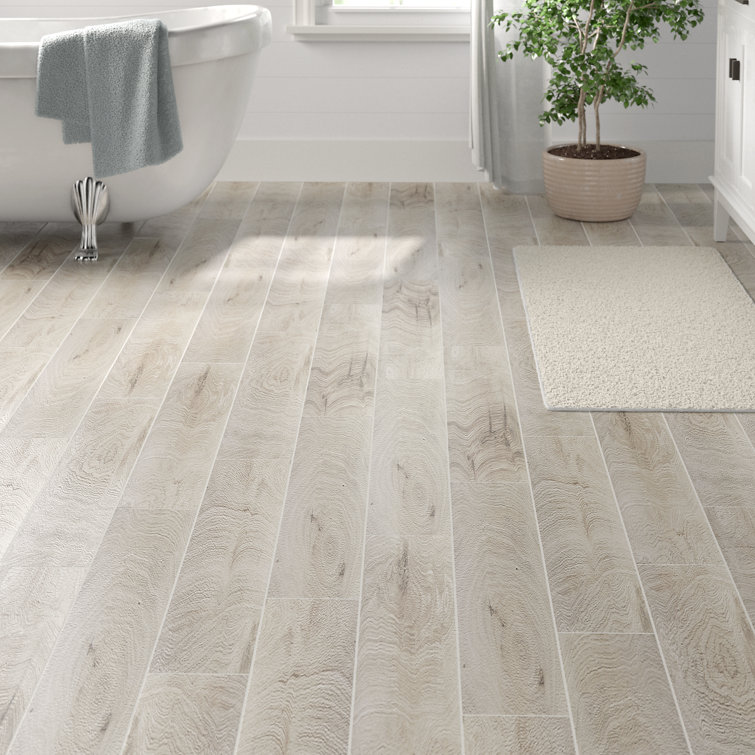
Design flexibility sealed the deal for me. Modern digital printing creates incredibly realistic wood, stone, and concrete looks that fool the eye. My “wood-look” porcelain planks have authentic grain textures and color variations that guests often mistake for real hardwood. Large-format tiles (some up to 24×48 inches) can create nearly seamless surfaces that make small bathrooms appear larger. The through-body color of porcelain means chips and scratches are less noticeable than with surface-printed alternatives.
Choosing the Right Porcelain Tile
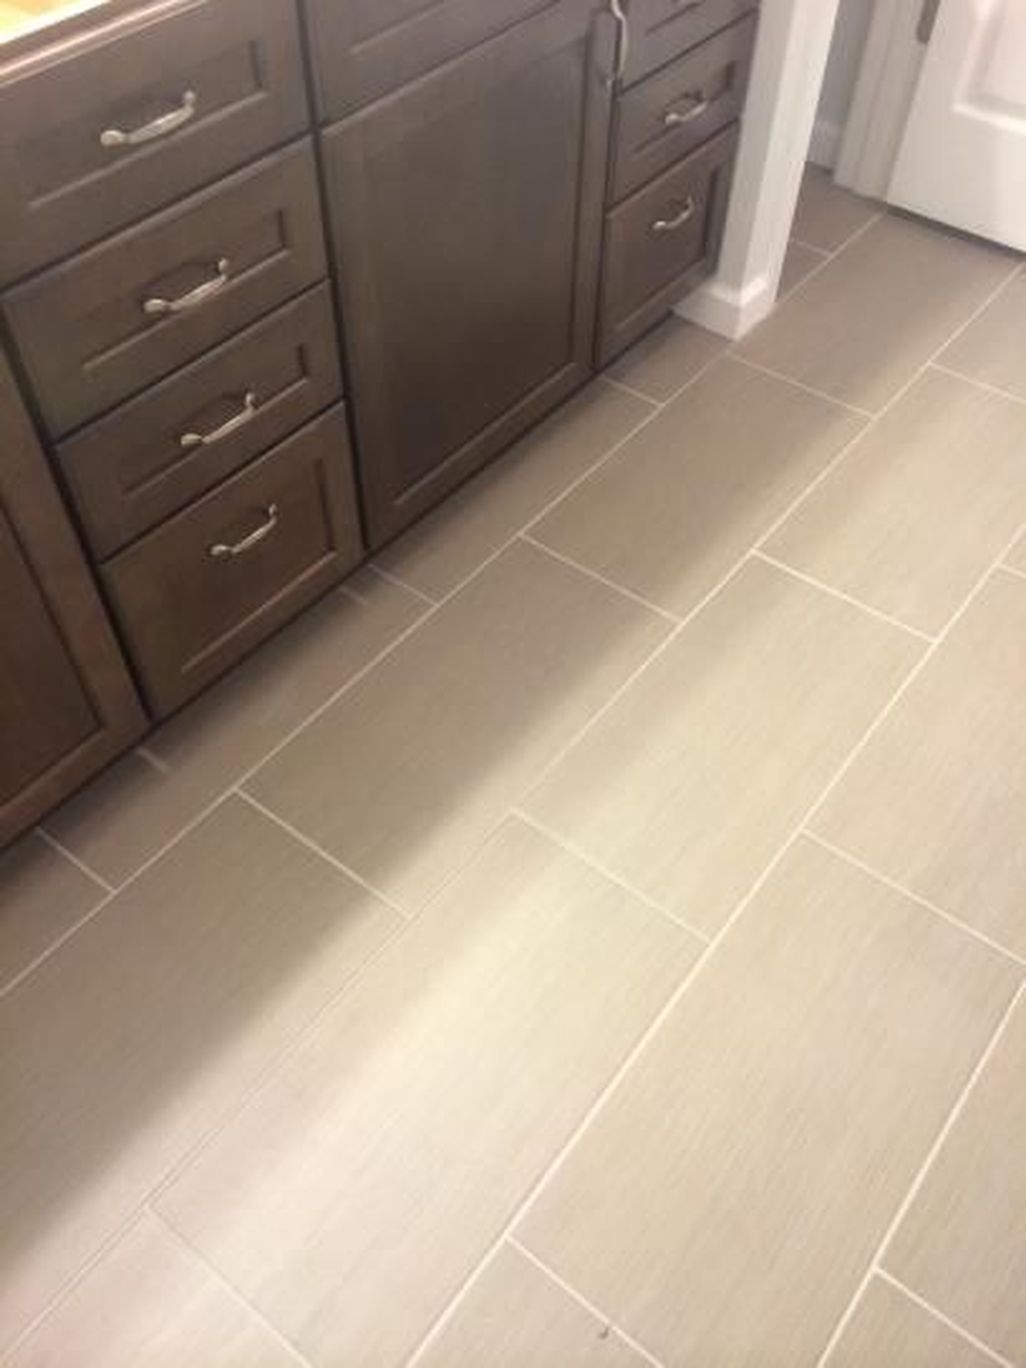
Tile size significantly impacts a bathroom’s perceived proportions. I used large 12×24 inch tiles in my main bathroom to create a spacious feel with fewer grout lines. For my small powder room, smaller mosaic tiles added visual interest without overwhelming the space. Rectified tiles (precisely cut for uniform sizing) allowed for thin, consistent grout lines that enhance the seamless look. The key is selecting proportions that complement your bathroom’s dimensions rather than fighting against them.
Surface texture affects both safety and aesthetics. I chose a lightly textured matte finish for my bathroom floor to prevent slips when wet, while still being smooth enough for comfortable barefoot walking. Honed finishes offer subtle sheen without the slickness of polished tiles. For a more rustic look, some porcelain mimics the natural pitting of tumbled stone. Always test samples with water to assess slip resistance before committing to a full installation. The right texture balances safety with your desired style.
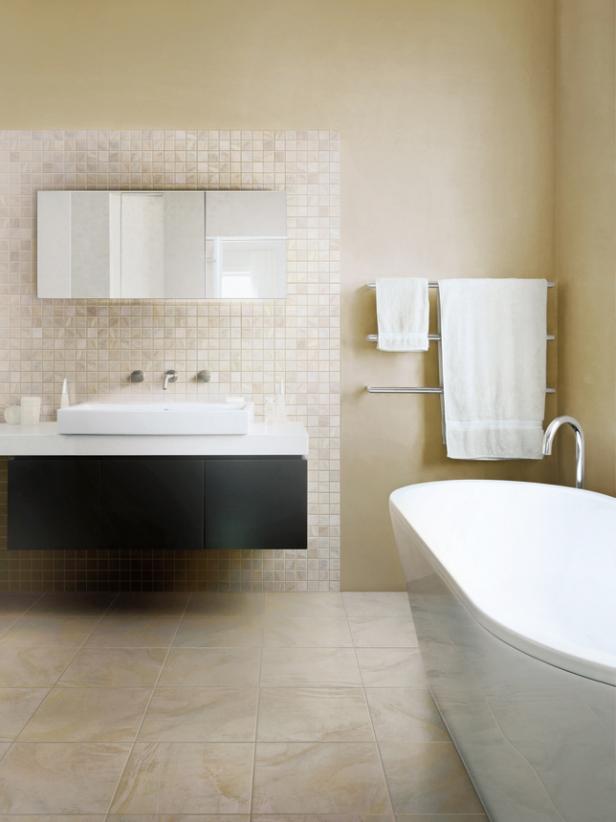
Color selection requires careful consideration of lighting conditions. My north-facing bathroom benefits from warm beige tiles that counteract the cool natural light. Dark tiles can make small bathrooms feel cave-like unless balanced with ample lighting and reflective surfaces. I brought home several large samples to view at different times of day before finalizing my choice. The tile’s color should coordinate with your vanity, walls, and fixtures to create a cohesive look rather than competing for attention.
Installation Considerations
Proper subfloor preparation is crucial for long-lasting results. My installer added a cement backer board over the plywood subfloor to prevent flexing that could crack tiles. For bathrooms above grade, an uncoupling membrane helps prevent cracks from structural movement. The floor must be perfectly level before tiling begins – we used self-leveling compound to correct minor unevenness. These preparatory steps add time and cost but prevent expensive problems later.
Layout planning makes or breaks the final appearance. I opted for a brick pattern with my rectangular tiles to add visual interest while minimizing waste. The installer centered the layout on the bathroom entrance rather than the walls, since crooked walls would have made edge cuts noticeably uneven. For mosaic sheets, we dry-laid several sections to check for pattern repeats before committing to adhesive. Taking time with these decisions ensures a professional-looking result rather than an afterthought appearance.
Grout selection impacts both aesthetics and maintenance. I used epoxy grout for its stain resistance and durability, despite the more challenging installation. Sanded grout works well for wider joints (1/8 inch or more), while unsanded grout suits narrower gaps. Matching the grout color closely to the tile creates a seamless look, while contrasting colors highlight the tile pattern. Whatever you choose, proper sealing (for cementitious grout) and regular cleaning preserve the appearance long-term.
Maintenance and Long-Term Care
Daily upkeep is surprisingly simple with porcelain tile. A quick sweep with a soft broom removes loose debris, followed by occasional damp mopping with pH-neutral cleaner. I avoid harsh chemicals or abrasive tools that could dull the finish over time. The non-porous surface resists stains that would penetrate natural stone, making spills easy to wipe up without special treatments. This low-maintenance routine keeps my floor looking new with minimal effort.
Grout requires more attention than the tiles themselves. Even with quality epoxy grout, I clean the lines monthly with a soft brush to prevent discoloration. In high-moisture areas, I reapply penetrating sealer annually to maintain water resistance. For cement-based grouts, sealing every 6-12 months is essential to prevent staining and water damage. Keeping grout in good condition preserves both the floor’s appearance and its protective barrier against moisture.
Preventative measures extend the floor’s lifespan. Felt pads under furniture legs prevent scratches, while bath mats in wet areas reduce wear patterns. I wipe up standing water promptly to minimize mineral deposits, though porcelain itself is unaffected by moisture. The tiles can feel cold underfoot in winter, but radiant floor heating systems work beautifully beneath porcelain if desired. With reasonable care, my porcelain floor should maintain its beauty for decades without needing replacement.
Cost Comparison With Other Materials
Porcelain tile sits in the mid-to-high range of bathroom flooring costs. My quality tiles cost $3-$5 per square foot, with installation adding $5-$8 per square foot for proper preparation and labor. While more expensive upfront than vinyl or laminate, porcelain’s durability makes it more economical long-term. Unlike materials that need periodic replacement, properly installed porcelain should last the life of the home with only grout maintenance required.
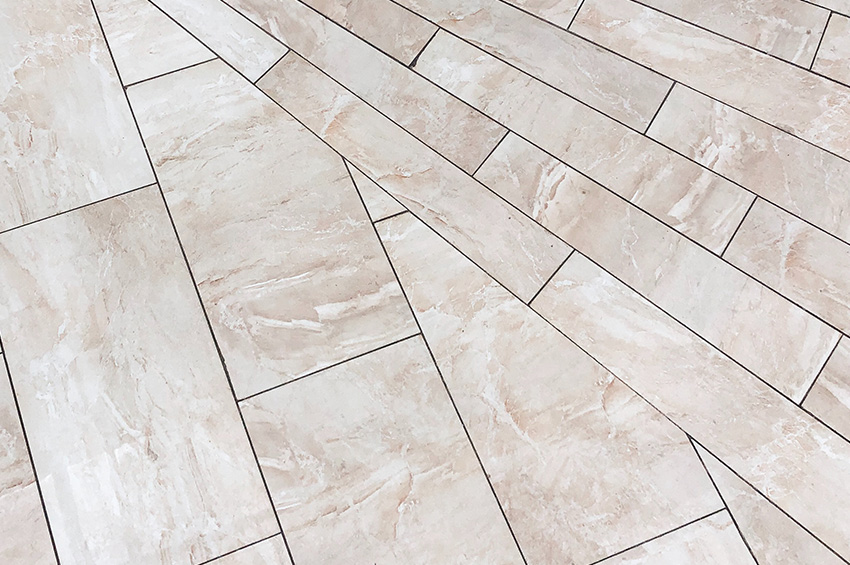
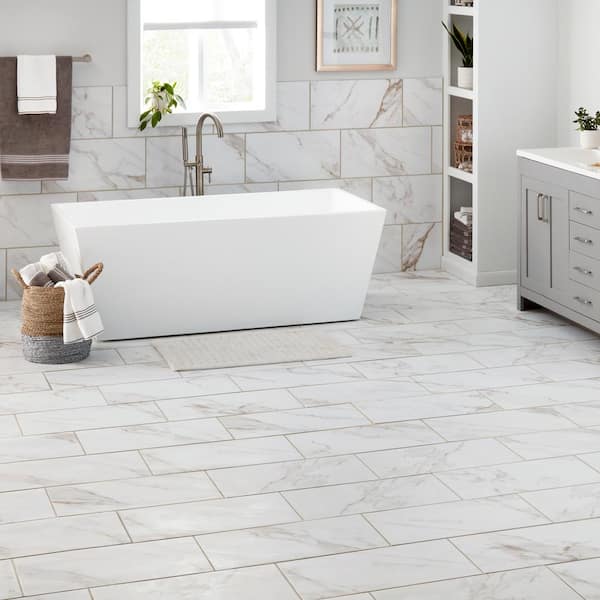
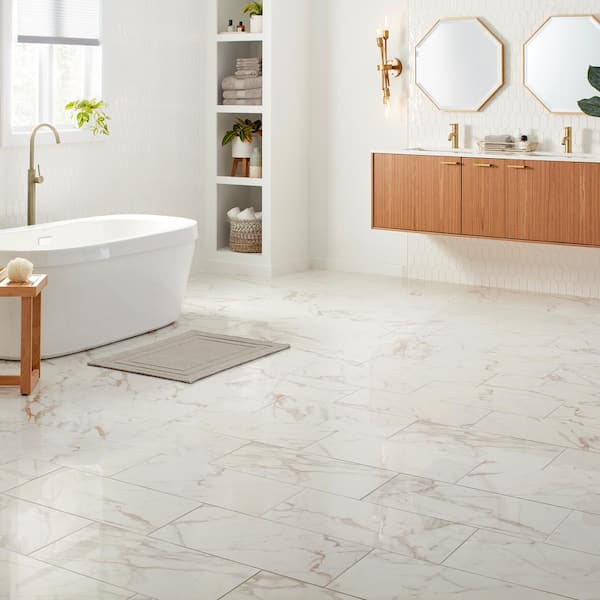
Compared to natural stone, porcelain offers significant savings both initially and over time. My porcelain marble-look tiles cost about half what real marble would have, without the sealing and special cleaning requirements. The similar appearance and better performance make porcelain a smart alternative for budget-conscious homeowners who want high-end looks. Even compared to ceramic tile, porcelain’s density and water resistance justify the slightly higher price for bathroom applications.
Resale value is another consideration. Quality porcelain tile floors appeal to homebuyers looking for low-maintenance, waterproof surfaces. My realtor noted that my bathroom’s timeless porcelain floor adds perceived value without dating the space. While not as warm underfoot as some alternatives, porcelain’s practical benefits make it a selling point rather than a drawback in most markets. The investment pays off in both daily enjoyment and potential future returns.
Design Ideas and Styling Tips
Wood-look porcelain creates bathroom warmth without moisture concerns. My planks have realistic grain patterns and subtle color variations that mimic reclaimed oak. The matte finish provides traction while maintaining the wood aesthetic. I extended the same tiles into an adjacent laundry area for seamless flow, something impossible with real hardwood in wet spaces. These planks work especially well in bathrooms where you want continuity with wood floors elsewhere in the home.
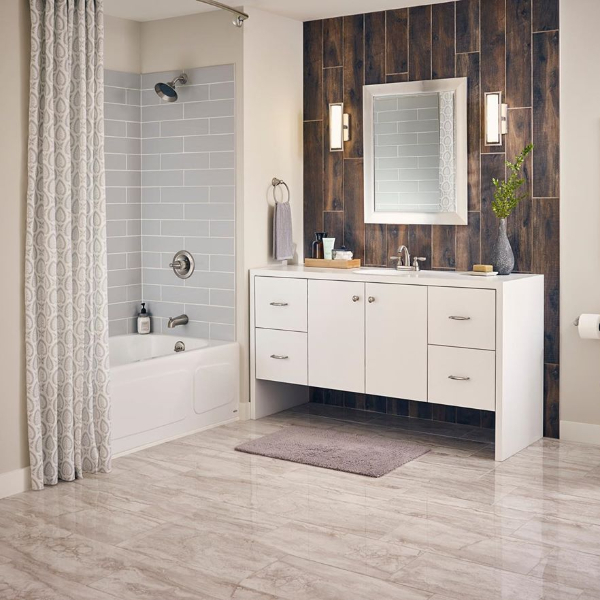
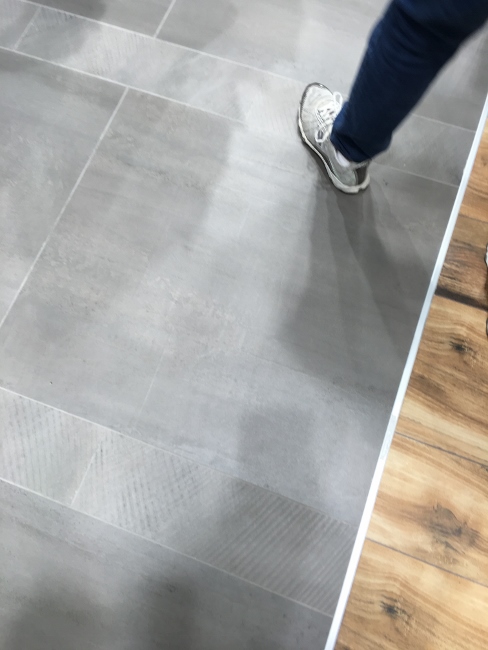
Large-format tiles minimize grout lines for a sleek, modern look. The 24×48 inch porcelain slabs in my contemporary bathroom create the illusion of a poured concrete floor without the cost or maintenance. Lighter colors keep the space feeling open and airy, while the rectified edges allow for nearly invisible grout lines. This approach works well in small bathrooms where fewer visual breaks make the space appear larger. The clean lines complement floating vanities and wall-mounted fixtures beautifully.
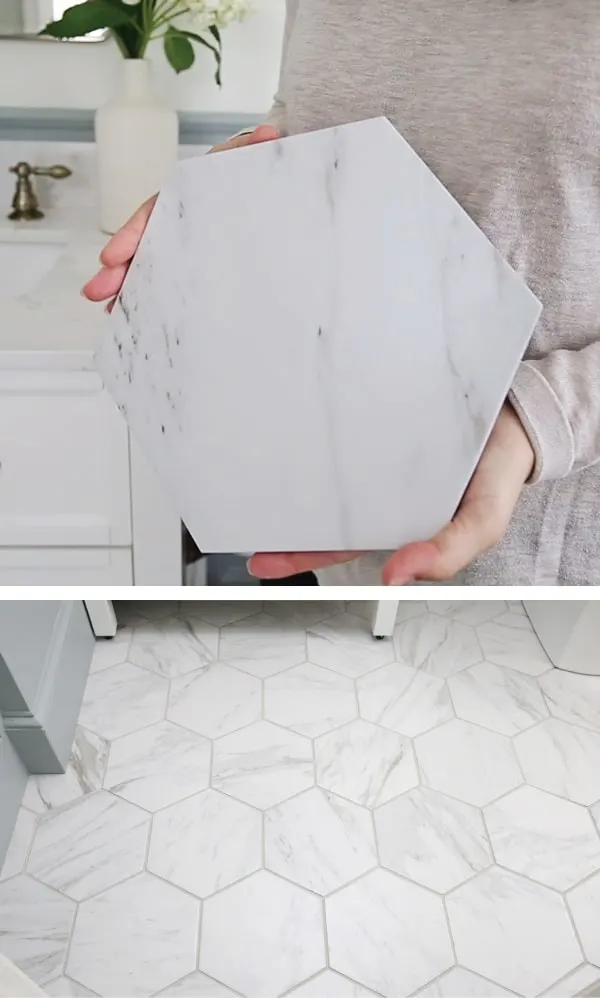
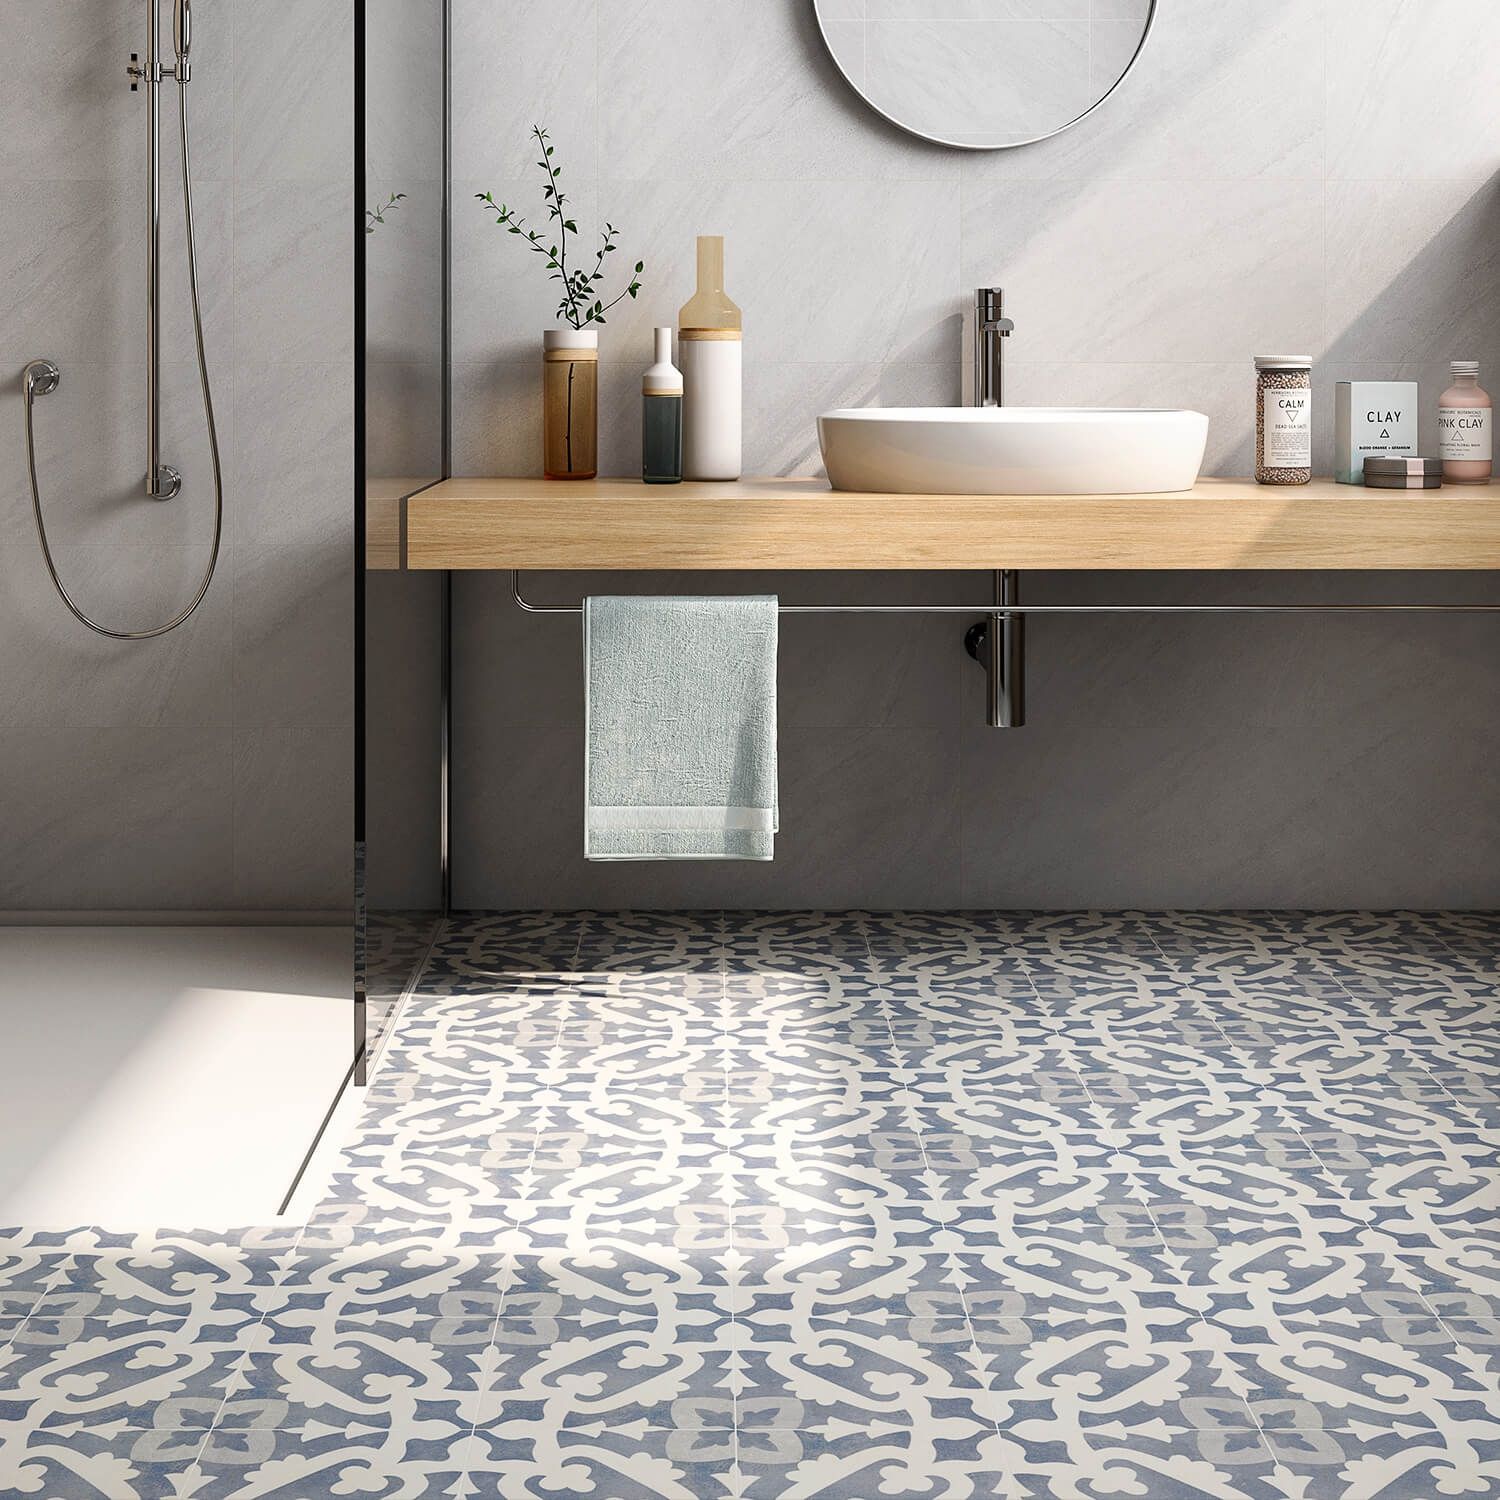
Patterned porcelain adds personality without overwhelming. I used geometric cement-look tiles in my powder room to create a focal point in the compact space. The high-contrast pattern hides footprints and water spots between cleanings better than solid colors. For traditional bathrooms, classic hexagon or basketweave mosaics offer timeless appeal. The key is balancing bold patterns with simpler elements elsewhere to avoid visual chaos. Porcelain’s design versatility supports everything from minimalist to ornate styles.
Is porcelain tile too slippery for bathroom floors?
Porcelain tile’s slipperiness depends largely on the surface finish you choose. I selected a matte, lightly textured porcelain for my bathroom that provides excellent traction even when wet. Honed finishes offer more grip than polished ones, while some tiles have added texture that mimics natural stone. Always check the coefficient of friction rating (0.6 or higher is recommended for bathrooms) and test samples with water before purchasing. Area rugs near showers and tubs provide extra safety if needed. With proper selection, porcelain can be both beautiful and slip-resistant.
Can you install porcelain tile over existing bathroom flooring?
Porcelain can sometimes be installed over existing floors if conditions are right. My installer laid porcelain over a properly prepared vinyl floor in good condition, first ensuring the surface was clean, stable, and free of wax or polish. However, most professionals recommend removing old flooring to address any underlying issues and prevent height transition problems. The existing floor must be perfectly flat and structurally sound to support the tile’s weight. A professional assessment determines whether your specific situation allows for overlay installation or requires complete removal.

How does porcelain compare to ceramic tile for bathrooms?
Porcelain is generally superior to ceramic tile for bathroom floors due to its lower water absorption and greater durability. While both are clay-based, porcelain is fired at higher temperatures with finer particles, creating a denser, less porous material. My porcelain floor withstands heavy use without chipping or staining, whereas ceramic might show wear sooner. Porcelain also handles freeze-thaw cycles better, making it ideal for unheated bathrooms. The cost difference is modest when considering porcelain’s longer lifespan and better performance in wet areas.
What’s the best grout for bathroom porcelain tile?
Epoxy grout is my top choice for bathroom porcelain tile because it resists stains, mold, and water penetration better than cement-based grouts. Though more challenging to install, its durability justifies the effort in high-moisture areas. For traditional grout, I recommend polymer-modified sanded grout for joints wider than 1/8 inch, sealed annually. Matching grout color to the tile creates a seamless look, while contrasting colors highlight the tile pattern. Properly maintained grout keeps porcelain tile floors looking fresh and prevents moisture issues at the seams.
How do you repair cracked porcelain tile in a bathroom?
Small cracks in porcelain tile can sometimes be repaired with color-matched epoxy filler, though the fix may remain visible. For larger cracks, replacement is usually better. I keep extra tiles from the original installation for this purpose. A professional can carefully remove the damaged tile without disturbing the surrounding ones, then install a replacement with matching grout. Prevention is best – proper subfloor preparation and quality installation minimize cracking risks. Most quality porcelain tiles won’t crack under normal use if installed correctly on a stable base.
Can you use radiant floor heating with porcelain tile?
Porcelain tile works exceptionally well with radiant floor heating systems. The tile’s thermal conductivity efficiently transfers heat from the warming cables or water tubes beneath. Unlike some materials that insulate against heat transfer, porcelain allows warmth to radiate through effectively. My neighbor installed electric radiant mats beneath her bathroom porcelain tiles, creating luxurious warmth on cold mornings. The system should be properly insulated underneath to direct heat upward. Porcelain’s durability ensures it won’t crack from thermal expansion when the heating system is used as directed.
Hereford 6″ x 36″ Porcelain Wood Look Wall u0026 Floor Tile
Reasons to Choose Porcelain Tile
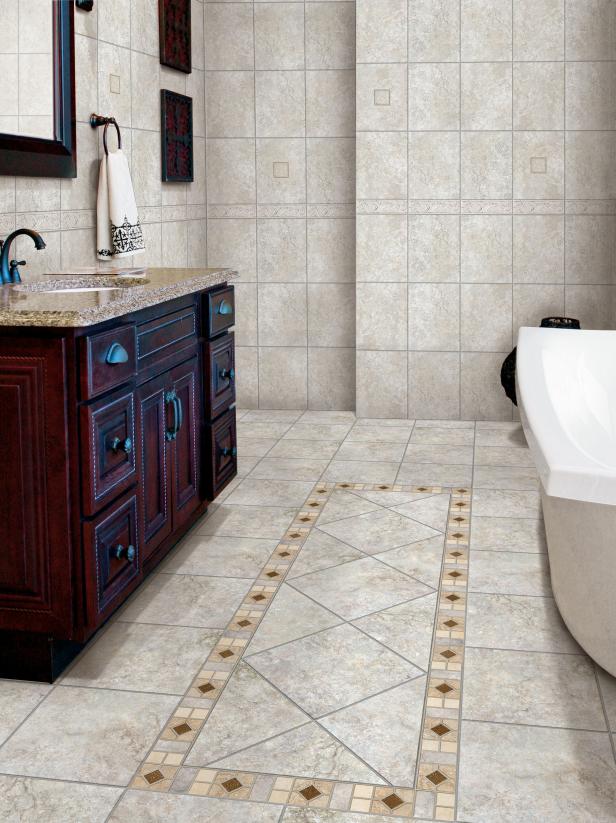
Porcelain Floor Tile – The Tile Shop

Daltile QuicTile 12 in. x 24 in. Calacatta Marble Polished
Related articles: