When I finally decided to renovate my kitchen last year, I knew the floor would set the tone for everything else. I’d been dreaming of a cozy country kitchen for years, the kind of space where family and friends naturally gather, where the smell of fresh bread fills the air, and where every surface tells a story.
After researching countless options and visiting what felt like every tile showroom within fifty miles, I chose country-style floor tiles that transformed my kitchen into exactly the warm, inviting space I’d imagined. The process taught me so much about what works and what doesn’t, and I’m excited to share everything I learned along the way.
Choosing Between Ceramic and Porcelain Tiles
This was my first major decision, and I spent weeks trying to understand the difference. Both looked beautiful in the showroom, but I needed to know which would actually hold up to my lifestyle. I have two dogs who race through the kitchen multiple times a day, plus I’m constantly dropping things while cooking. My tile specialist explained that porcelain is denser and more durable than ceramic, which made it the winner for my high-traffic kitchen.
I ended up choosing porcelain tiles that look like aged terracotta, and they’ve been absolutely perfect. They’re tough enough to handle everything I throw at them, literally. I’ve dropped wine bottles, cast iron pans, and countless other things, and the tiles don’t show a single chip. The finish has a slightly textured surface that hides dirt and wear beautifully, which is essential when you’re going for that lived-in country look.
The color consistency in porcelain also matters more than I initially realized. Country kitchens benefit from that slightly irregular, handcrafted appearance, and the porcelain tiles I chose have natural variation built into the design. Each tile is subtly different, creating visual interest without looking too perfect or sterile. It’s that balance between durability and authentic character that makes porcelain ideal for country kitchen floors.
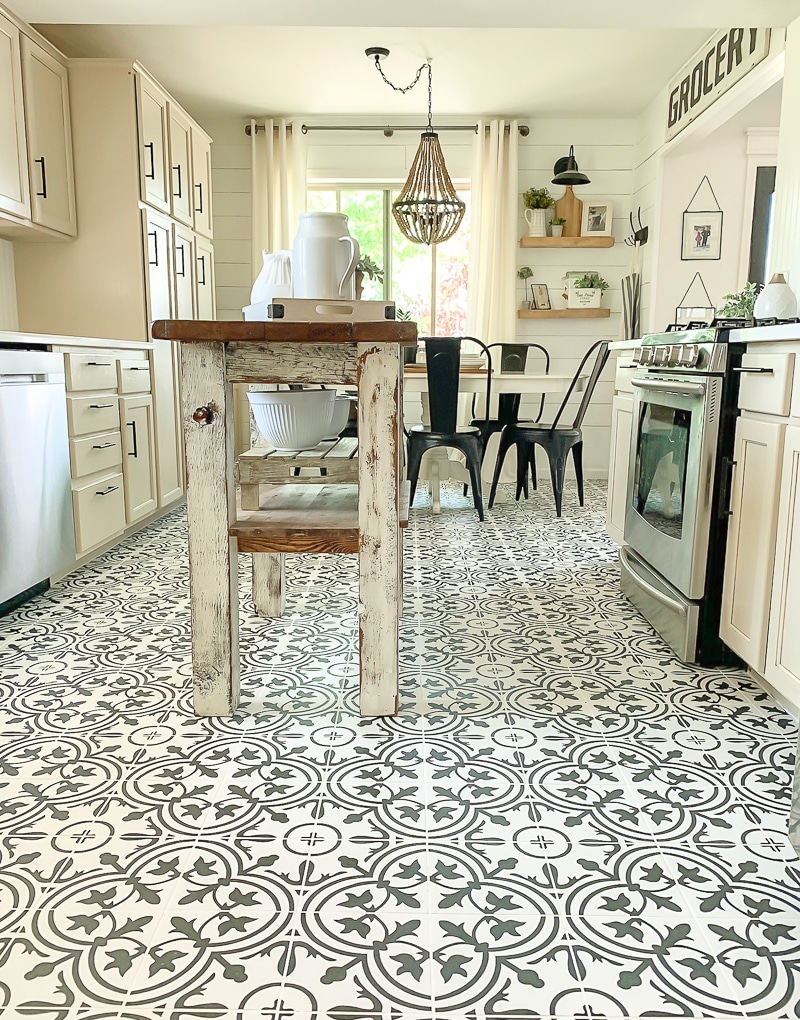
Finding the Right Size and Pattern
I originally thought I wanted large-format tiles because they seemed more modern and easier to clean with fewer grout lines. But after seeing samples in my actual kitchen space, I realized smaller tiles felt much more appropriate for the country aesthetic I was after. I settled on 12×12 inch tiles, which feel substantial without overwhelming the room’s cozy proportions.
The pattern you choose makes such a huge difference in the final look. I considered several layouts, including straight set, diagonal, and herringbone. The straight set pattern, where tiles are laid in simple rows, felt too basic for what I wanted. I ended up going with a brick pattern, also called running bond, where each tile is offset by half. It adds movement and interest while still feeling traditional and timeless, exactly what a country kitchen needs.
My installer also suggested adding a border around the perimeter using smaller accent tiles, and I’m so glad I listened. I chose a complementary stone-look tile that’s slightly darker, and it frames the entire floor beautifully. It creates definition and makes the space feel intentional and finished. That border detail is something guests always notice and compliment, and it really does tie the whole room together in a way I hadn’t anticipated.

Selecting Colors That Create Warmth
Color was probably the most emotional part of this decision for me. I knew I wanted warm, earthy tones that would make my kitchen feel welcoming and grounded. I looked at everything from cream and beige to russet and brown, taking home at least a dozen samples. I lived with those samples for two weeks, moving them around the kitchen at different times of day to see how the light affected them.
I ultimately chose a warm terracotta color with subtle variations throughout. Some tiles have peachy undertones while others lean slightly more brown, and that natural variation is what makes the floor feel authentic. In morning sunlight, they glow with warmth, and in evening lamplight, they create this cozy, intimate atmosphere. The color works beautifully with my cream cabinets and wooden countertops, pulling everything together.
One mistake I almost made was choosing tiles that were too dark. I loved some deep chocolate brown tiles in the showroom, but when I brought samples home, they made my kitchen feel smaller and closed in. Country kitchens should feel open and airy, even while being cozy. The medium-toned terracotta strikes that perfect balance, adding warmth without making the space feel heavy or dark. Trust your instincts and test samples in your actual space before committing.
Dealing with Grout Selection and Maintenance
I never realized how much grout would matter until my installer started asking detailed questions about color and width. Grout lines can either enhance your tile choice or detract from it, and getting this right was crucial. I chose a grout color that’s slightly darker than my tiles, which provides subtle definition without creating harsh contrast. It highlights the individual tiles while maintaining that cohesive, warm look.
The grout width was another consideration. My installer recommended 3/16 inch joints, which are narrow enough to look clean and modern but wide enough to accommodate the slight size variations in my handmade-look tiles. Wider grout lines would have felt too rustic and busy, while narrower ones might have looked too contemporary for a country kitchen. It’s all about finding that sweet spot that matches your overall vision.
Maintenance was a big concern for me because I’d heard horror stories about grout staining and requiring constant upkeep. I invested in a good quality, stain-resistant grout and had it professionally sealed after installation. A year later, my grout still looks nearly perfect despite daily cooking messes and dog traffic. I clean it with a steam mop weekly and occasionally scrub with a gentle brush, but it’s been far easier to maintain than I feared.

The Installation Process and What to Expect
Installation day was intense, and I wish I’d been better prepared for the disruption. My kitchen was completely unusable for four days, which meant a lot of takeout and creative meal planning. The installers removed my old vinyl flooring, checked the subfloor for level and damage, and then laid cement board as a base. Watching them work was fascinating. The precision required to keep everything straight and properly spaced is impressive.
I learned that proper preparation is everything with tile installation. My installer spent almost an entire day just prepping the subfloor, making sure it was perfectly level and stable. He explained that any movement or unevenness would eventually cause tiles to crack or grout to fail. It seemed like a long time to spend on something I’d never see, but now I understand why that foundation work was so important for long-term durability.
The actual tile laying took two days, followed by another day for grouting and sealing. I stayed out of the kitchen during this time, which was hard but necessary. The fumes from adhesives and sealers were strong, and having people constantly walking through would have disrupted their work. Once it was done and I could finally walk on my new floor, the wait felt completely worth it. Seeing the transformation was honestly emotional after anticipating it for so long.

Living with Country Kitchen Floor Tiles
Three months in, and I’m completely in love with my tile floors. They’ve exceeded my expectations in every way. The warmth they bring to my kitchen is exactly what I hoped for, and functionally, they’ve been perfect. Spills wipe up easily, the dogs’ nails don’t scratch them, and they stay cool in summer, which is wonderful when I’m spending hours cooking and baking in a hot kitchen.
One surprise benefit has been how much easier these tiles are to keep clean compared to my old vinyl. Crumbs and dirt are more visible, which initially worried me, but I’ve found that a quick daily sweep keeps everything looking great. The textured surface hides minor dirt and wear, so the floor doesn’t look dirty between cleanings. I mop once a week with warm water and a pH-neutral cleaner, and that’s honestly all the maintenance required.
The aesthetic impact on my kitchen has been transformative. The tiles ground the space and make everything feel more intentional and cohesive. Friends who visit always comment on the floors first, noting how they perfectly capture that country kitchen vibe. The investment was significant, but these tiles will last for decades with proper care. They’ve turned my kitchen into the heart of my home, exactly the gathering space I dreamed of creating.

How much did your country kitchen floor tiles cost?
My porcelain tile floor cost about $12 per square foot for the tiles themselves, plus another $8 per square foot for professional installation, including subfloor prep and materials. For my 150 square foot kitchen, the total came to around $3,000. Prices vary widely based on tile quality and your location, but budget between $15-25 per square foot installed for a good quality country-style tile floor.
Are tile floors hard on your feet and back when standing for long periods?
Honestly, yes, tile is harder than vinyl or wood. I added a cushioned kitchen mat in front of my sink and stove where I stand most often, and that’s made a huge difference. The mats blend with my country aesthetic. I chose ones with vintage-inspired patterns, and they provide just enough cushioning for comfort. It’s a simple solution that lets me enjoy my beautiful tiles without the fatigue.

How do you prevent tiles from getting cold in winter?
I installed radiant floor heating under my tiles, and it’s been absolutely worth the extra investment. My floors stay comfortably warm all winter, which makes such a difference when I’m padding around the kitchen in bare feet early in the morning. If radiant heating isn’t in your budget, area rugs work well, too. Many people use runners in front of cabinets to add warmth and comfort during colder months.
Can tile floors crack if something heavy is dropped on them?
Quality porcelain tiles are incredibly durable, and I haven’t had any cracking despite dropping heavy items. The key is proper installation over a solid, level subfloor. Ceramic tiles are more prone to cracking than porcelain, which is why I chose porcelain for my busy kitchen. If a tile does crack, individual tiles can be replaced, though matching the color perfectly might be challengin,g depending on how much the originals have aged.

How do I keep grout lines looking clean?
I have my grout professionally sealed, which creates a protective barrier against stains. For daily maintenance, I sweep regularly and mop weekly with warm water and a gentle cleaner. For deeper cleaning, I use a grout brush and a paste of baking soda and water every few months. The key is sealing the grout properly from the start and staying on top of regular cleaning before stains have a chance to set in.
Do country kitchen tiles work with modern appliances?
Absolutely! My kitchen mixes country tile floors with stainless steel appliances, and the combination works beautifully. The warm, rustic tiles actually balance the cool modern appliances perfectly, creating an updated country look rather than something too traditional or dated. It’s all about balance; mixing old and new elements creates a kitchen that feels both timeless and functional for contemporary life.
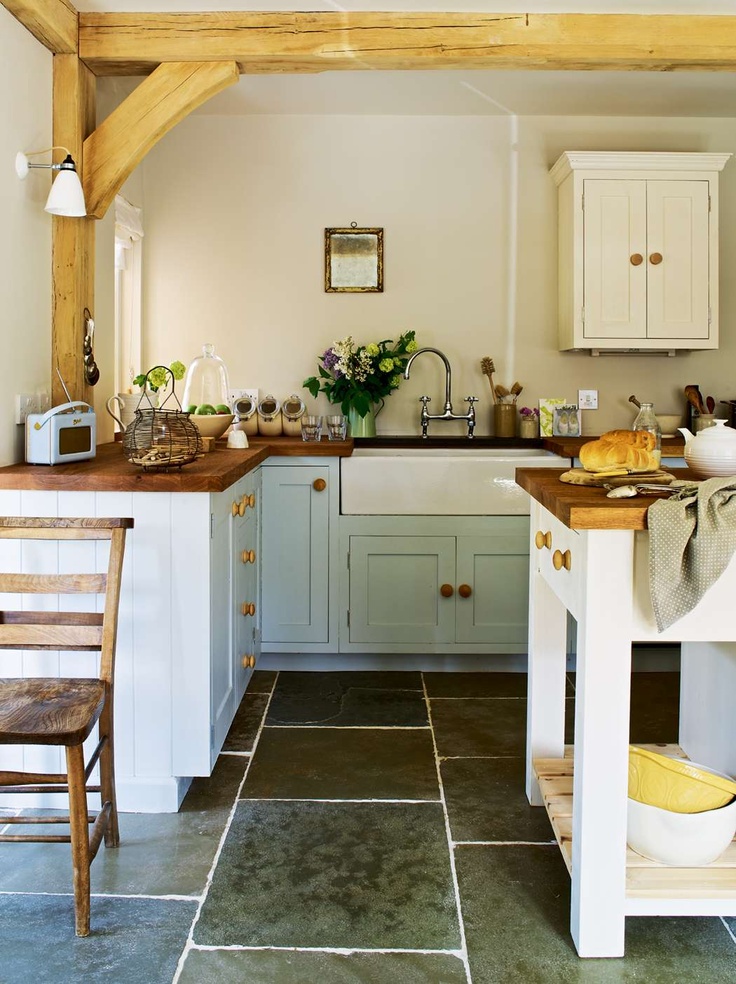
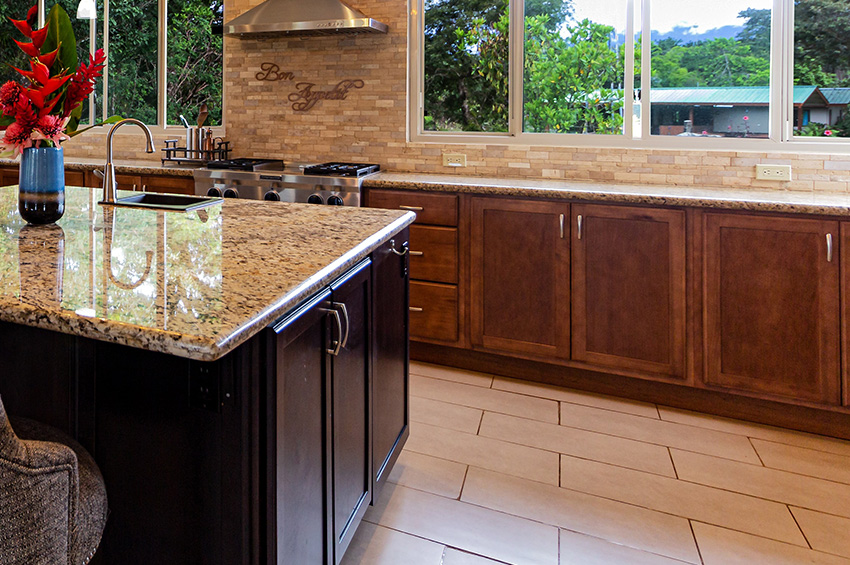
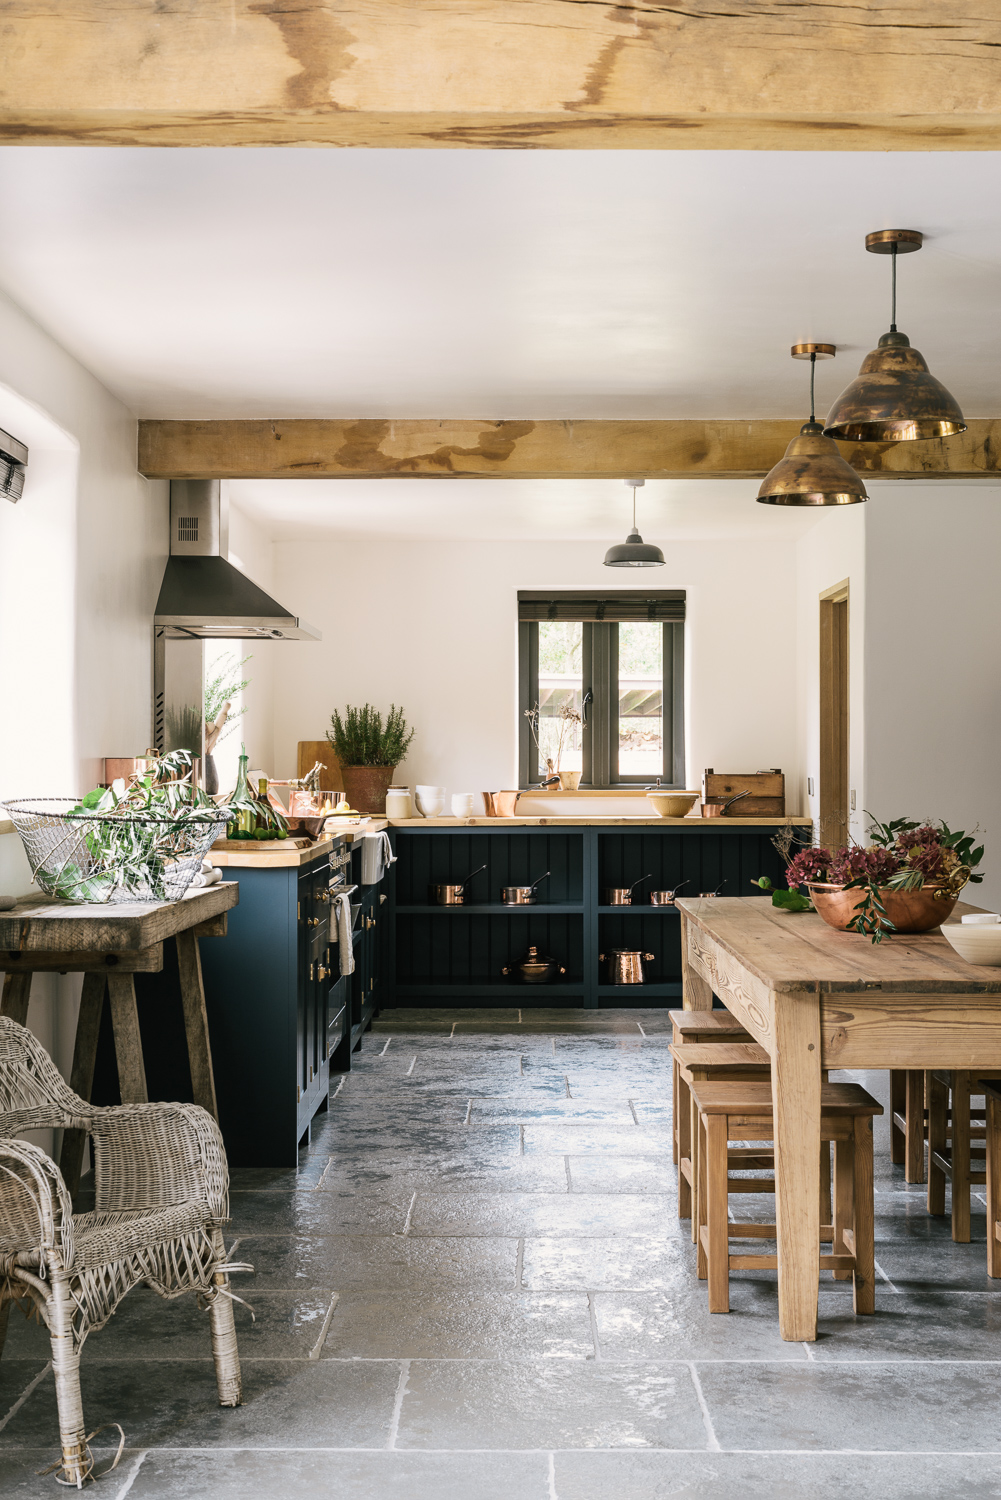
Kitchen flooring ideas for wall to wall hardwearing style

Gorgeous Modern Farmhouse and Cottage Kitchen Tile Ideas
Best Floorings For Your Rustic Kitchen

Best Kitchen Floor Tile Ideas

Kitchen Dressers – Our Pick of the Best Ideal Home Kitchen

Related articles: