When I bought my house four years ago, the basement was nothing more than a cold, damp storage area with a bare concrete floor that felt like an icebox under my feet. I knew this space had incredible potential as a family room, home office, or guest suite, but that concrete floor was the biggest obstacle to making it livable.
After months of research, several false starts, and learning from my mistakes, I transformed that unwelcoming basement into one of our family’s favorite spaces. The key was understanding moisture management, choosing the right materials, and taking a methodical approach to subflooring and finish installation.
Understanding Moisture Issues: My Costly Learning Experience
Before I touched a single tool, I thought I understood basement moisture, but I quickly learned how wrong I was. My first attempt at finishing the floor involved laying laminate directly over the concrete with basic foam padding. Within six months, I had warping, mold growth, and a musty smell that forced me to rip everything out. That expensive mistake taught me that basement floors require completely different approaches than upper-level installations.
I invested in a moisture meter and spent weeks testing different areas of my concrete floor. The readings varied dramatically, from acceptable levels near the walls to concerning moisture content in the center of the room. I also performed the plastic sheet test, taping plastic squares to various spots and checking for condensation after 72 hours. This simple test revealed moisture migration that my meter hadn’t detected, particularly in areas where the concrete was in direct contact with soil.
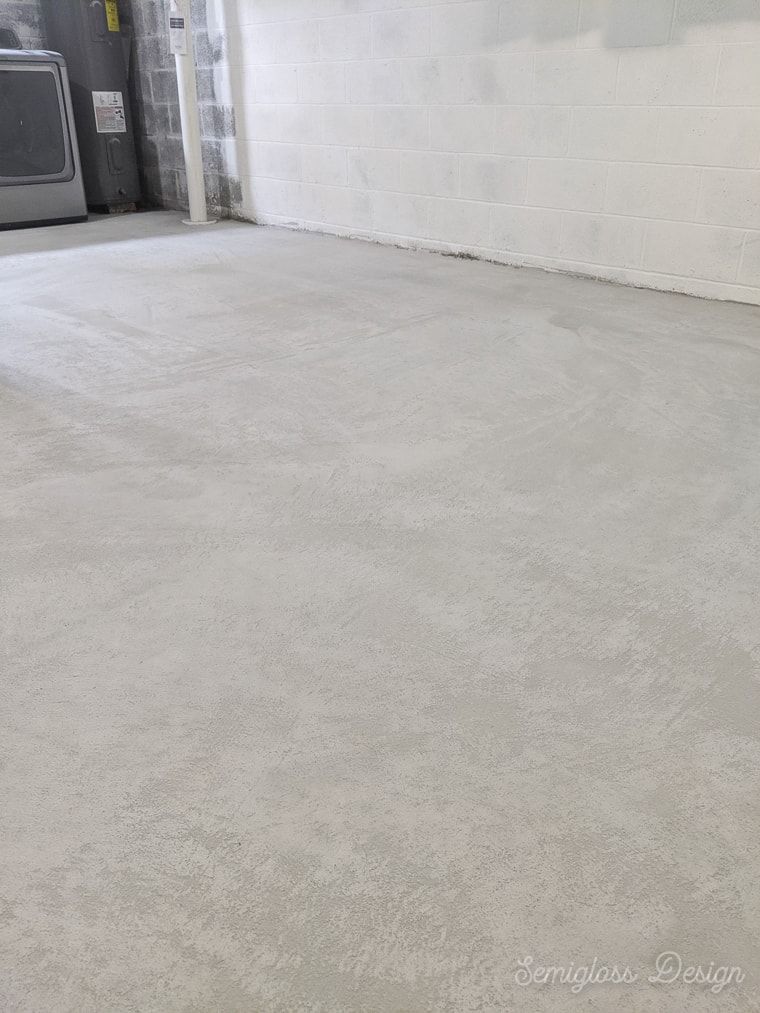
The solution required addressing both surface moisture and vapor transmission from below. I applied a concrete sealer specifically designed for basement applications, then installed a vapor barrier system before any subflooring. I also improved basement ventilation with a dehumidifier that runs continuously during humid months. These steps added time and cost to my project, but they prevented the catastrophic failure I experienced with my first attempt.
Subfloor Systems: Creating a Warm Foundation
After my moisture disaster, I researched subfloor systems extensively and chose a plastic tile system designed specifically for basement applications. These interlocking tiles create an air gap between the concrete and finished flooring while providing excellent moisture protection. The installation was surprisingly straightforward, like assembling a large puzzle, and I completed my 800-square-foot basement in one weekend with help from my brother.
The transformation was immediate and dramatic. Walking barefoot on the subfloor felt completely different from the cold concrete, warm and comfortable even in winter. The slight cushioning also made standing for long periods much more pleasant, which mattered since I planned to use part of the space as a workshop. The built-in air circulation prevented moisture accumulation while providing some insulation value that reduced heating costs.
I chose a system with built-in electrical channels, allowing me to run wiring for outlets and lighting without cutting into the concrete. This feature saved thousands in electrical work while giving me the flexibility to reconfigure the space later. The channels also accommodate network cables and speaker wires, making the basement much more functional for modern living. The investment in a quality subfloor system paid dividends in comfort, flexibility, and long-term performance.
Luxury Vinyl Plank: My Perfect Basement Solution
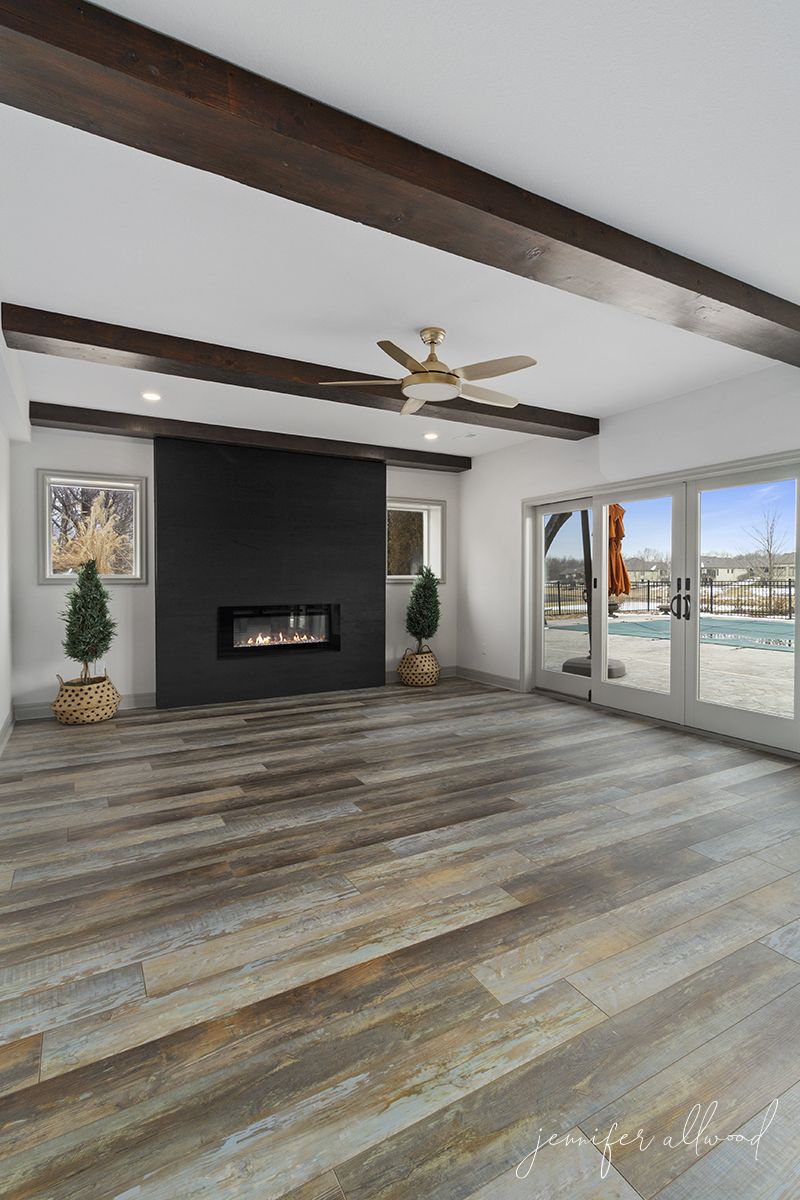
For the finish floor, I selected luxury vinyl plank after considering carpet, tile, and engineered hardwood. Vinyl offered the best combination of moisture resistance, comfort, and realistic wood appearance for my basement environment. I chose a 7-inch wide plank with deep embossing that perfectly mimics reclaimed barnwood, creating a warm, rustic atmosphere that makes the basement feel like a cozy cabin retreat.
The installation process was more forgiving than I expected. The click-lock system went together easily, and the vinyl was flexible enough to accommodate the slight irregularities in my subfloor. I did invest in a quality underlayment designed for basement applications, which added cushioning and sound absorption. The combination of subfloor system, underlayment, and vinyl plank created a floor that’s actually more comfortable than the hardwood on my main level.
Living with vinyl plank in the basement has been fantastic. Spills wipe up instantly, pet accidents don’t penetrate or stain, and the surface stays comfortable year-round. My kids love playing down there because the floor is warm and cushioned, perfect for building forts or watching movies. The realistic wood appearance gets compliments from every visitor, and many people are surprised to learn it’s vinyl. After three years of heavy family use, it still looks brand new.

Carpet Tiles: Flexible and Practical Alternative
Before settling on vinyl plank, I experimented with carpet tiles in my basement workshop area. These proved to be an excellent solution for spaces that need extra comfort and sound absorption while maintaining flexibility for future changes. I chose commercial-grade carpet tiles designed for below-grade installations, with moisture-resistant backing and antimicrobial treatments to prevent mold and odors.
The installation was incredibly simple; no adhesive was required for most applications. The tiles lie flat and stay in place through friction and their own weight. When my son spilled paint in his craft area, I simply removed the affected tiles, cleaned them in the utility sink, and reinstalled them once dry. This removability is perfect for basement spaces where access to utilities or repairs might be needed later.
The comfort factor of carpet tiles is unmatched for areas where people spend time sitting or lying on the floor. My home theater area uses plush carpet tiles that make movie nights incredibly comfortable. I chose different pile heights and colors to define separate zones within the basement, creating visual interest while maintaining the practical benefits. The sound absorption also makes the space much quieter, important since bedrooms are directly above.
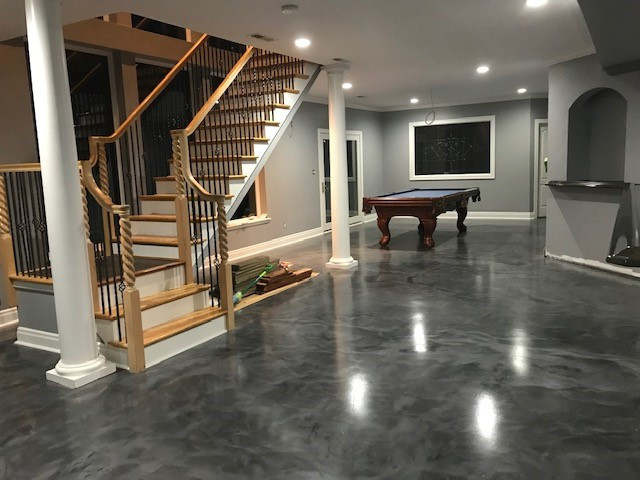
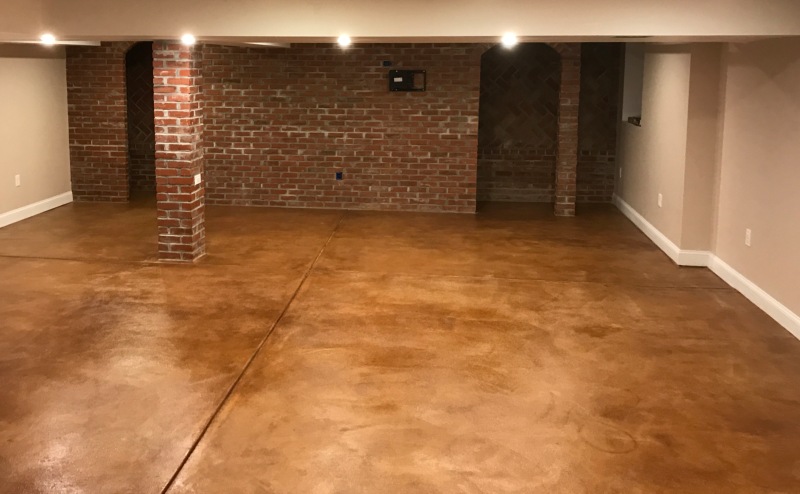
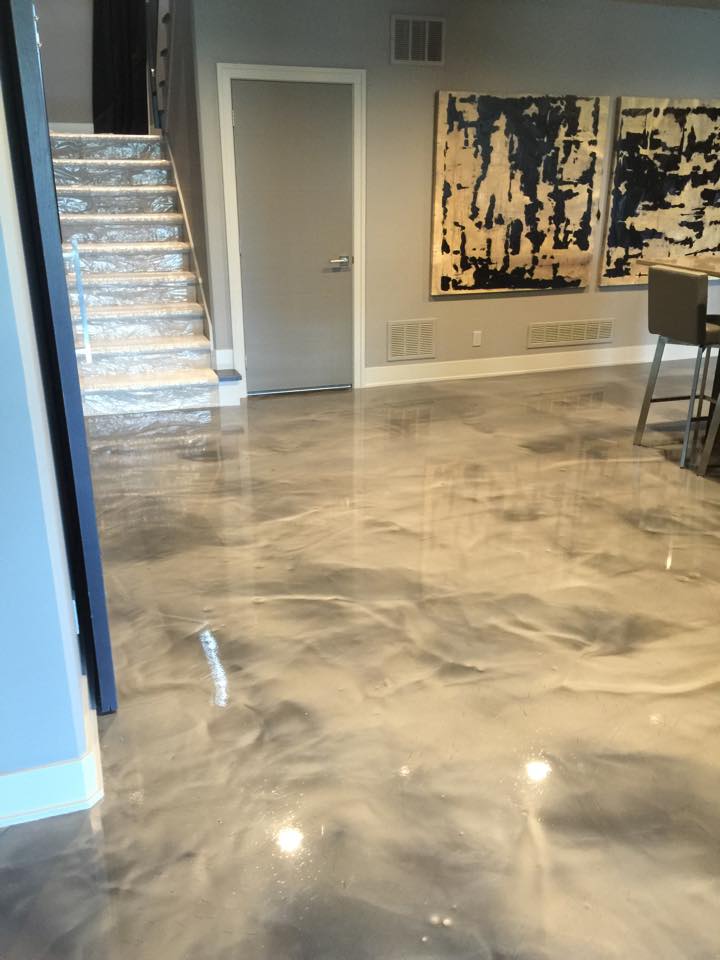
Polished Concrete: Industrial Chic That Works
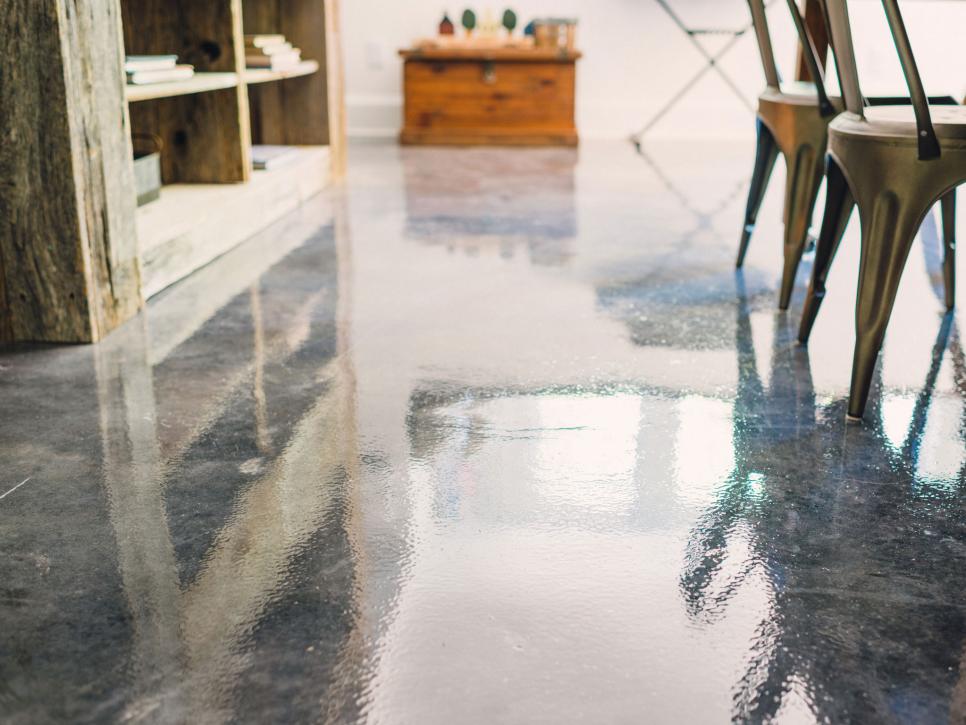
For my utility and workshop areas, I chose to polish and seal the existing concrete rather than cover it. This approach created an attractive, durable surface that’s perfect for messy activities while maintaining the industrial aesthetic I wanted. The process involved grinding the concrete smooth, filling small cracks and imperfections, then applying multiple coats of a high-performance concrete sealer with slip-resistant additives.
The polished concrete exceeded my expectations in both appearance and performance. The surface has a subtle sheen that reflects light beautifully, making the basement feel brighter and more spacious. Oil stains, paint spills, and other workshop mishaps clean up easily without penetrating the sealed surface. The durability is incredible; heavy tools and equipment don’t damage or mark the floor.
The cost was significantly lower than other flooring options, requiring only materials and rental equipment for the grinding process. I completed the entire workshop area over one weekend, though the multiple sealer coats required several days of drying time. The biggest benefit is knowing this floor will last decades without replacement or major maintenance, just occasional resealing to maintain water resistance and appearance.
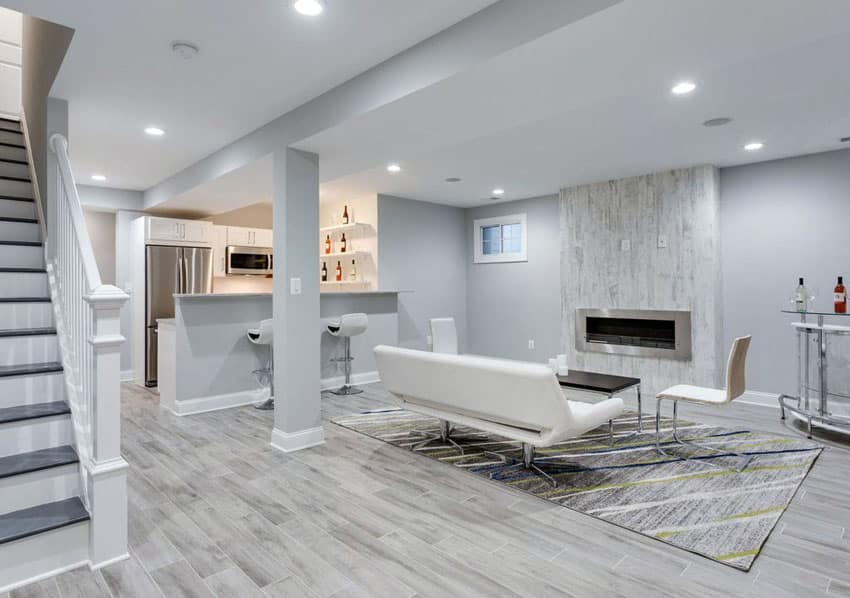
Combination Approach: Zoning for Different Functions
My basement serves multiple purposes, so I used different flooring solutions in different zones to optimize each area’s function and comfort. The main family room has luxury vinyl plank for warmth and comfort, the workshop area features polished concrete for durability, and the kids’ play area uses carpet tiles for safety and sound absorption. This combination approach maximized both function and budget efficiency.
The key to making multiple flooring types work together was planning clear transitions and maintaining visual harmony. I used matching trim and transition strips to create clean lines between different flooring areas. The color palette stayed consistent across all zones, with warm browns and grays that complement each other while serving their specific functional needs.
This zoned approach also allowed me to phase the project over several months, spreading costs and completing sections as time and budget allowed. I started with the essential moisture protection and subfloor systems throughout, then finished different zones as priorities and resources permitted. The flexibility to adapt the space over time has proven invaluable as our family’s needs have evolved.

Finishing Touches: Making It Feel Like Home
The flooring transformation was dramatic, but the finishing touches made the basement truly feel like part of our living space rather than a utilitarian basement. I installed baseboards and quarter-round molding in matching wood tones to create seamless transitions and hide any gaps or imperfections. LED strip lighting under the baseboards added subtle ambient lighting that makes the space feel warm and welcoming.
Area rugs became crucial for defining spaces and adding color and texture. I chose washable rugs that can handle basement humidity and occasional spills while providing additional comfort and style. The rugs also help with sound absorption, making conversations and television watching more pleasant. Strategic placement creates conversation areas and helps the large space feel more intimate.
Climate control finishing touches included ceiling fans for air circulation and a smart thermostat zone for the basement heating system. These additions ensure the space stays comfortable year-round while managing humidity and air quality. Proper ventilation and temperature control protect both the flooring investment and create a space the family actually wants to spend time in, rather than just tolerate.
How long should I wait before installing flooring after sealing the basement concrete?
I waited two full weeks after sealing my concrete, though the sealer manufacturer recommended 7-10 days minimum. Humidity and temperature affect curing time. I tested with a moisture meter to confirm the sealer had fully cured. Rushing this step can cause adhesive failure and flooring problems later, so patience is crucial.
What’s the most cost-effective basement flooring solution that still looks good?
Polished concrete was my cheapest option at about $3/sq ft, including sealer and equipment rental. Luxury vinyl plank over basic subfloor runs $5-7/sq ft but provides much more comfort. Carpet tiles offer middle-ground comfort and cost around $4/sq ft. All require proper moisture prep for success.

Can I install heated floors in a basement over concrete?
Yes, but with proper planning. Electric radiant heating works well under luxury vinyl or tile with appropriate subfloor systems. I considered it, but found that good subfloor and underlayment provided enough warmth. Installation adds $8-12/sq ft to project costs but creates an incredibly comfortable basement living space.
How do I handle basement floor transitions to stairs and utilities?
Plan transitions carefully during the layout phase. I used adjustable transition strips for height differences between flooring types. Around utilities, leave expansion gaps covered with removable trim for future access. Custom-cut transition pieces work better than standard strips in many basement applications.

What basement flooring works best for high humidity areas?
Polished concrete, luxury vinyl, and ceramic tile handle humidity best in my experience. Avoid laminate and hardwood, even with moisture barriers. Proper dehumidification matters more than flooring choice; I maintain 40-50% humidity year-round. Good ventilation and vapor barriers are essential regardless of flooring selection.
Should I hire professionals or can I DIY basement floor finishing?
I DIY’d most of it successfully, but hired pros for concrete grinding and electrical work. Subfloor systems and vinyl installation are very DIY-friendly with basic tools. Moisture assessment and sealing are crucial to get right. Consider professional consultation if unsure. Start with simple areas to build confidence before tackling complex spaces.

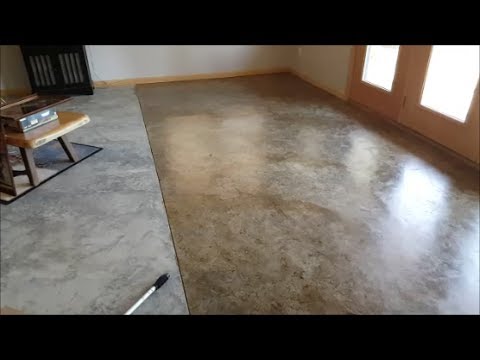
DIY Basement Floor Stain and finish, 2 colors, Without Etching!
New Concrete Finished Basement
DIY Basement Flooring Ideas – Affordable DIY Flooring Options
Related articles: