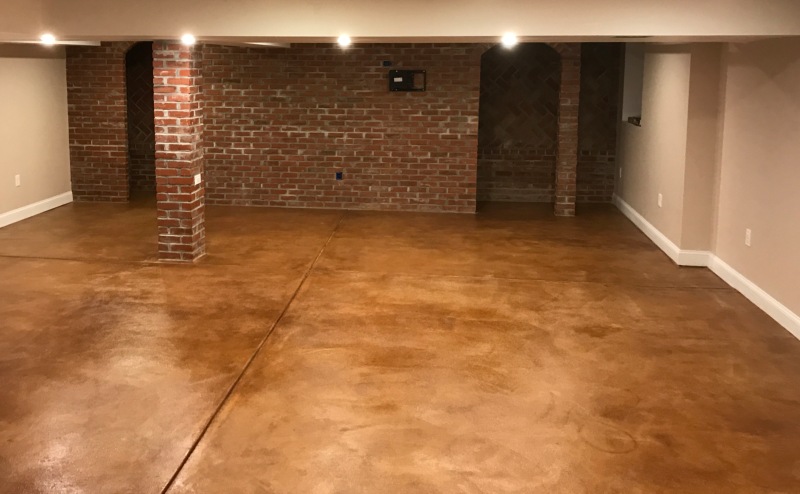
When I first looked at my unfinished basement three years ago, the bare concrete floor seemed like an insurmountable obstacle to creating usable living space. The grey, dusty surface was stained with oil spots, paint splatters, and years of neglect that made the entire area feel cold and uninviting. After researching options and watching countless YouTube tutorials, I decided to tackle refinishing the concrete floor myself. The transformation exceeded my expectations, turning my basement into a comfortable family room and home office that we now use daily. The process wasn’t without challenges, but the results proved that with proper preparation and patience, anyone can achieve professional-looking results.
Assessing Your Concrete Floor’s Condition
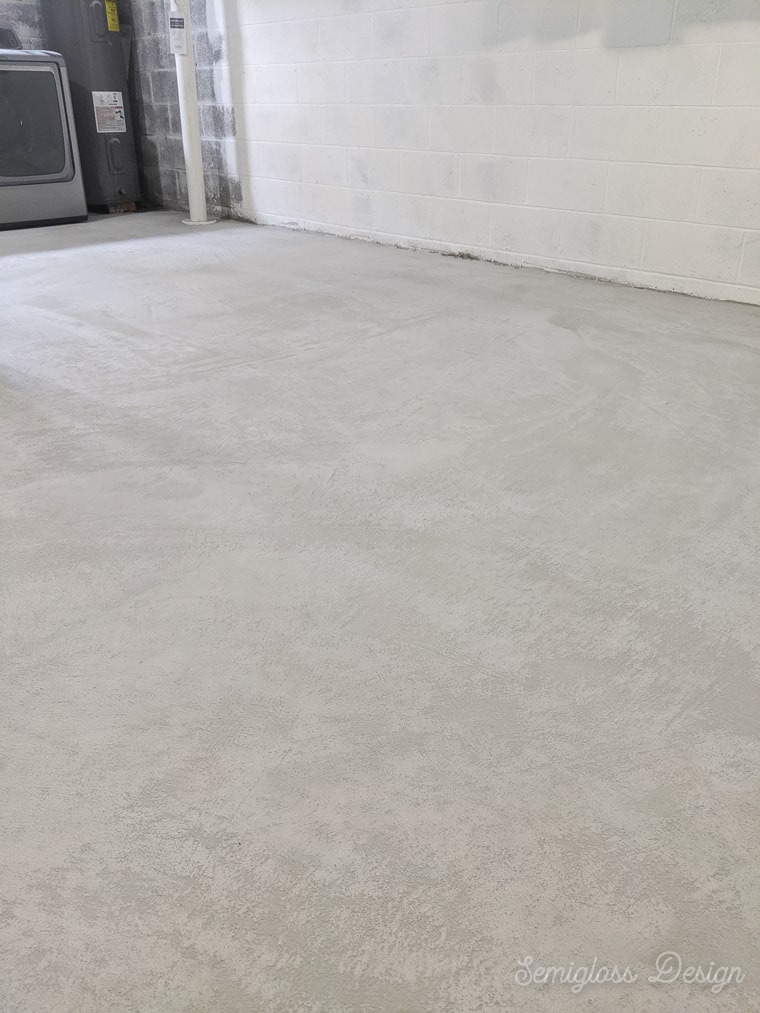
Evaluating the existing concrete became my first crucial step in planning the refinishing project. I discovered that my 40-year-old basement floor had several issues that needed addressing before any coating could be applied. Oil stains from an old furnace, efflorescence deposits from moisture issues, and multiple layers of paint created a complex surface that required specific treatment approaches for each problem area.
Testing for moisture problems proved essential after I learned that trapped moisture could cause any applied coating to fail within months. I performed the plastic sheet test, taping plastic squares to various areas and checking for condensation after 24 hours. Several areas showed moisture issues that required addressing with a concrete sealer before proceeding with decorative coatings. This preliminary testing saved me from costly failures later.
Surface hardness and integrity testing revealed areas where the concrete had deteriorated or become powdery over time. I used a simple scratch test with a coin to identify soft spots that would need repair or stabilization before refinishing. Some areas near the foundation walls showed minor scaling that required patching compound and additional preparation time. Understanding these conditions upfront helped me plan the proper sequence of repairs and treatments.
Preparation Work That Makes or Breaks Success
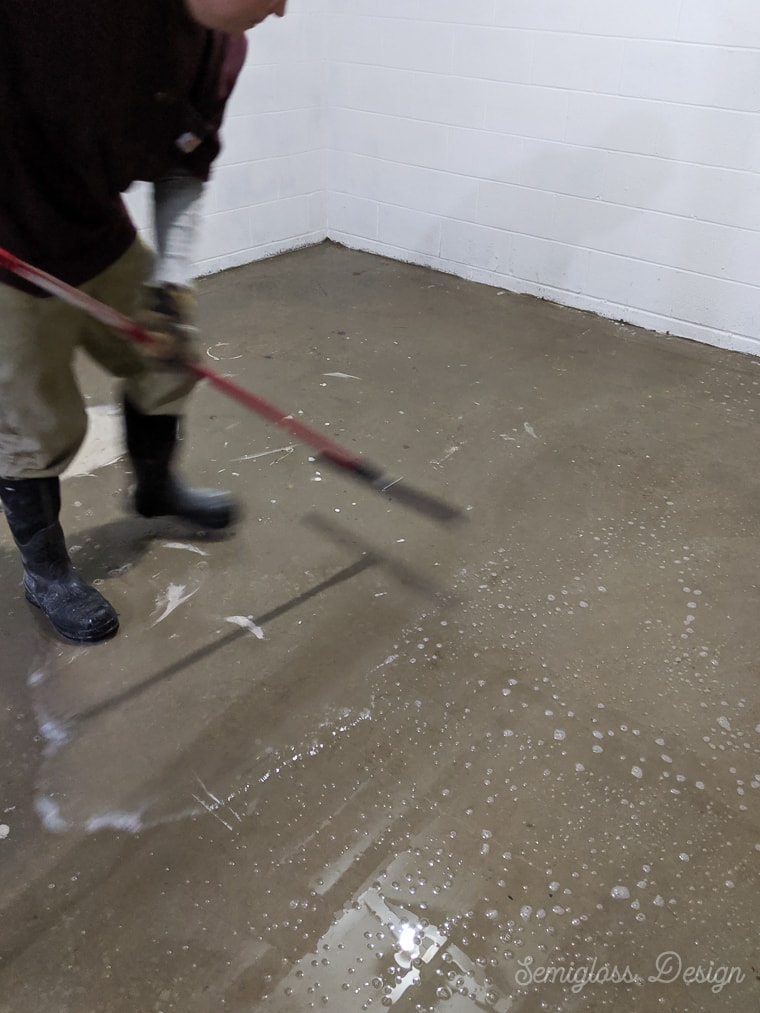
Cleaning the concrete thoroughly became a multi-day process that I initially underestimated in terms of time and effort required. I started with a thorough sweeping and vacuuming to remove loose debris, then moved to degreasing solutions for oil stains. TSP (trisodium phosphate) proved effective for general cleaning, while specialized concrete degreasers handled stubborn petroleum stains that had penetrated deep into the porous surface.
Mechanical preparation through grinding or etching created the surface profile necessary for proper coating adhesion. I rented a concrete grinder for the heavily stained areas and used muriatic acid etching solution for the rest of the floor. The acid etching process required careful attention to ventilation and safety protocols, but it effectively opened the concrete pores to accept primer and coating materials properly.
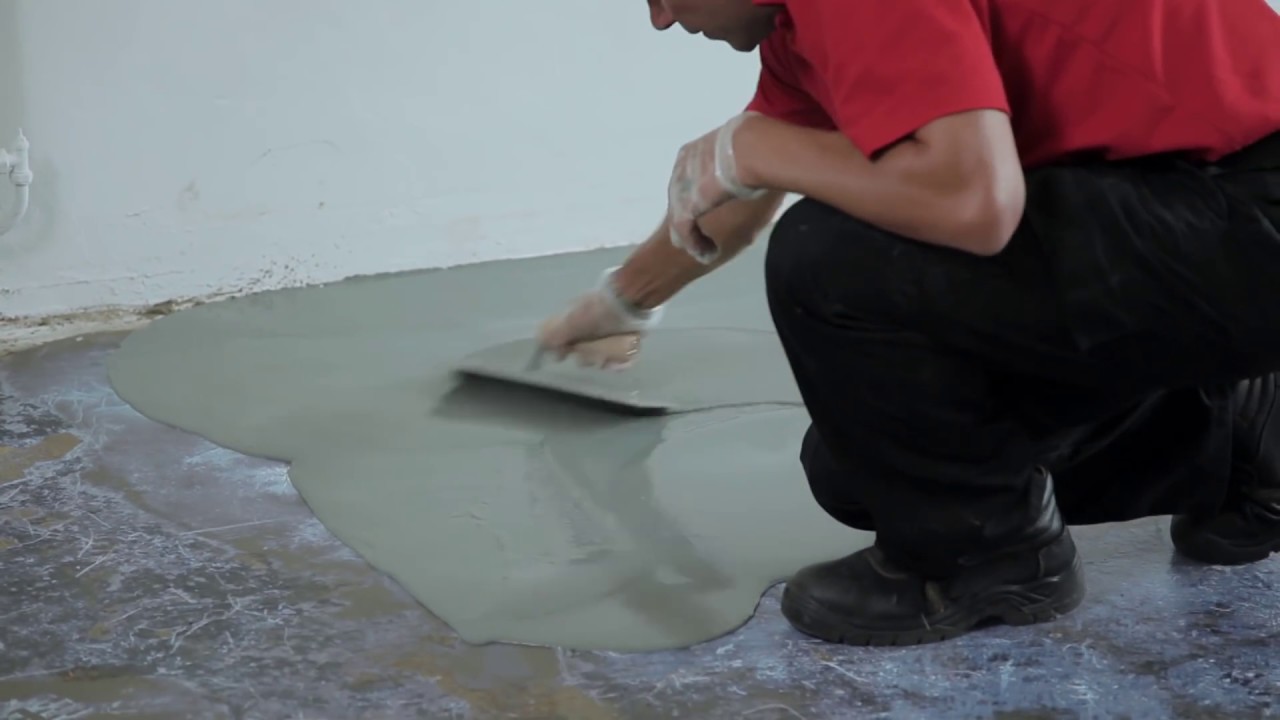
Repairing cracks and holes before coating application prevented future problems and created a smooth, professional-looking surface. I used hydraulic cement for larger cracks and concrete crack filler for hairline fractures. Each repair needed to cure completely before sanding smooth and blending with the surrounding surface. This attention to detail in preparation made the difference between a professional appearance and an obviously DIY result.
Choosing the Right Coating System
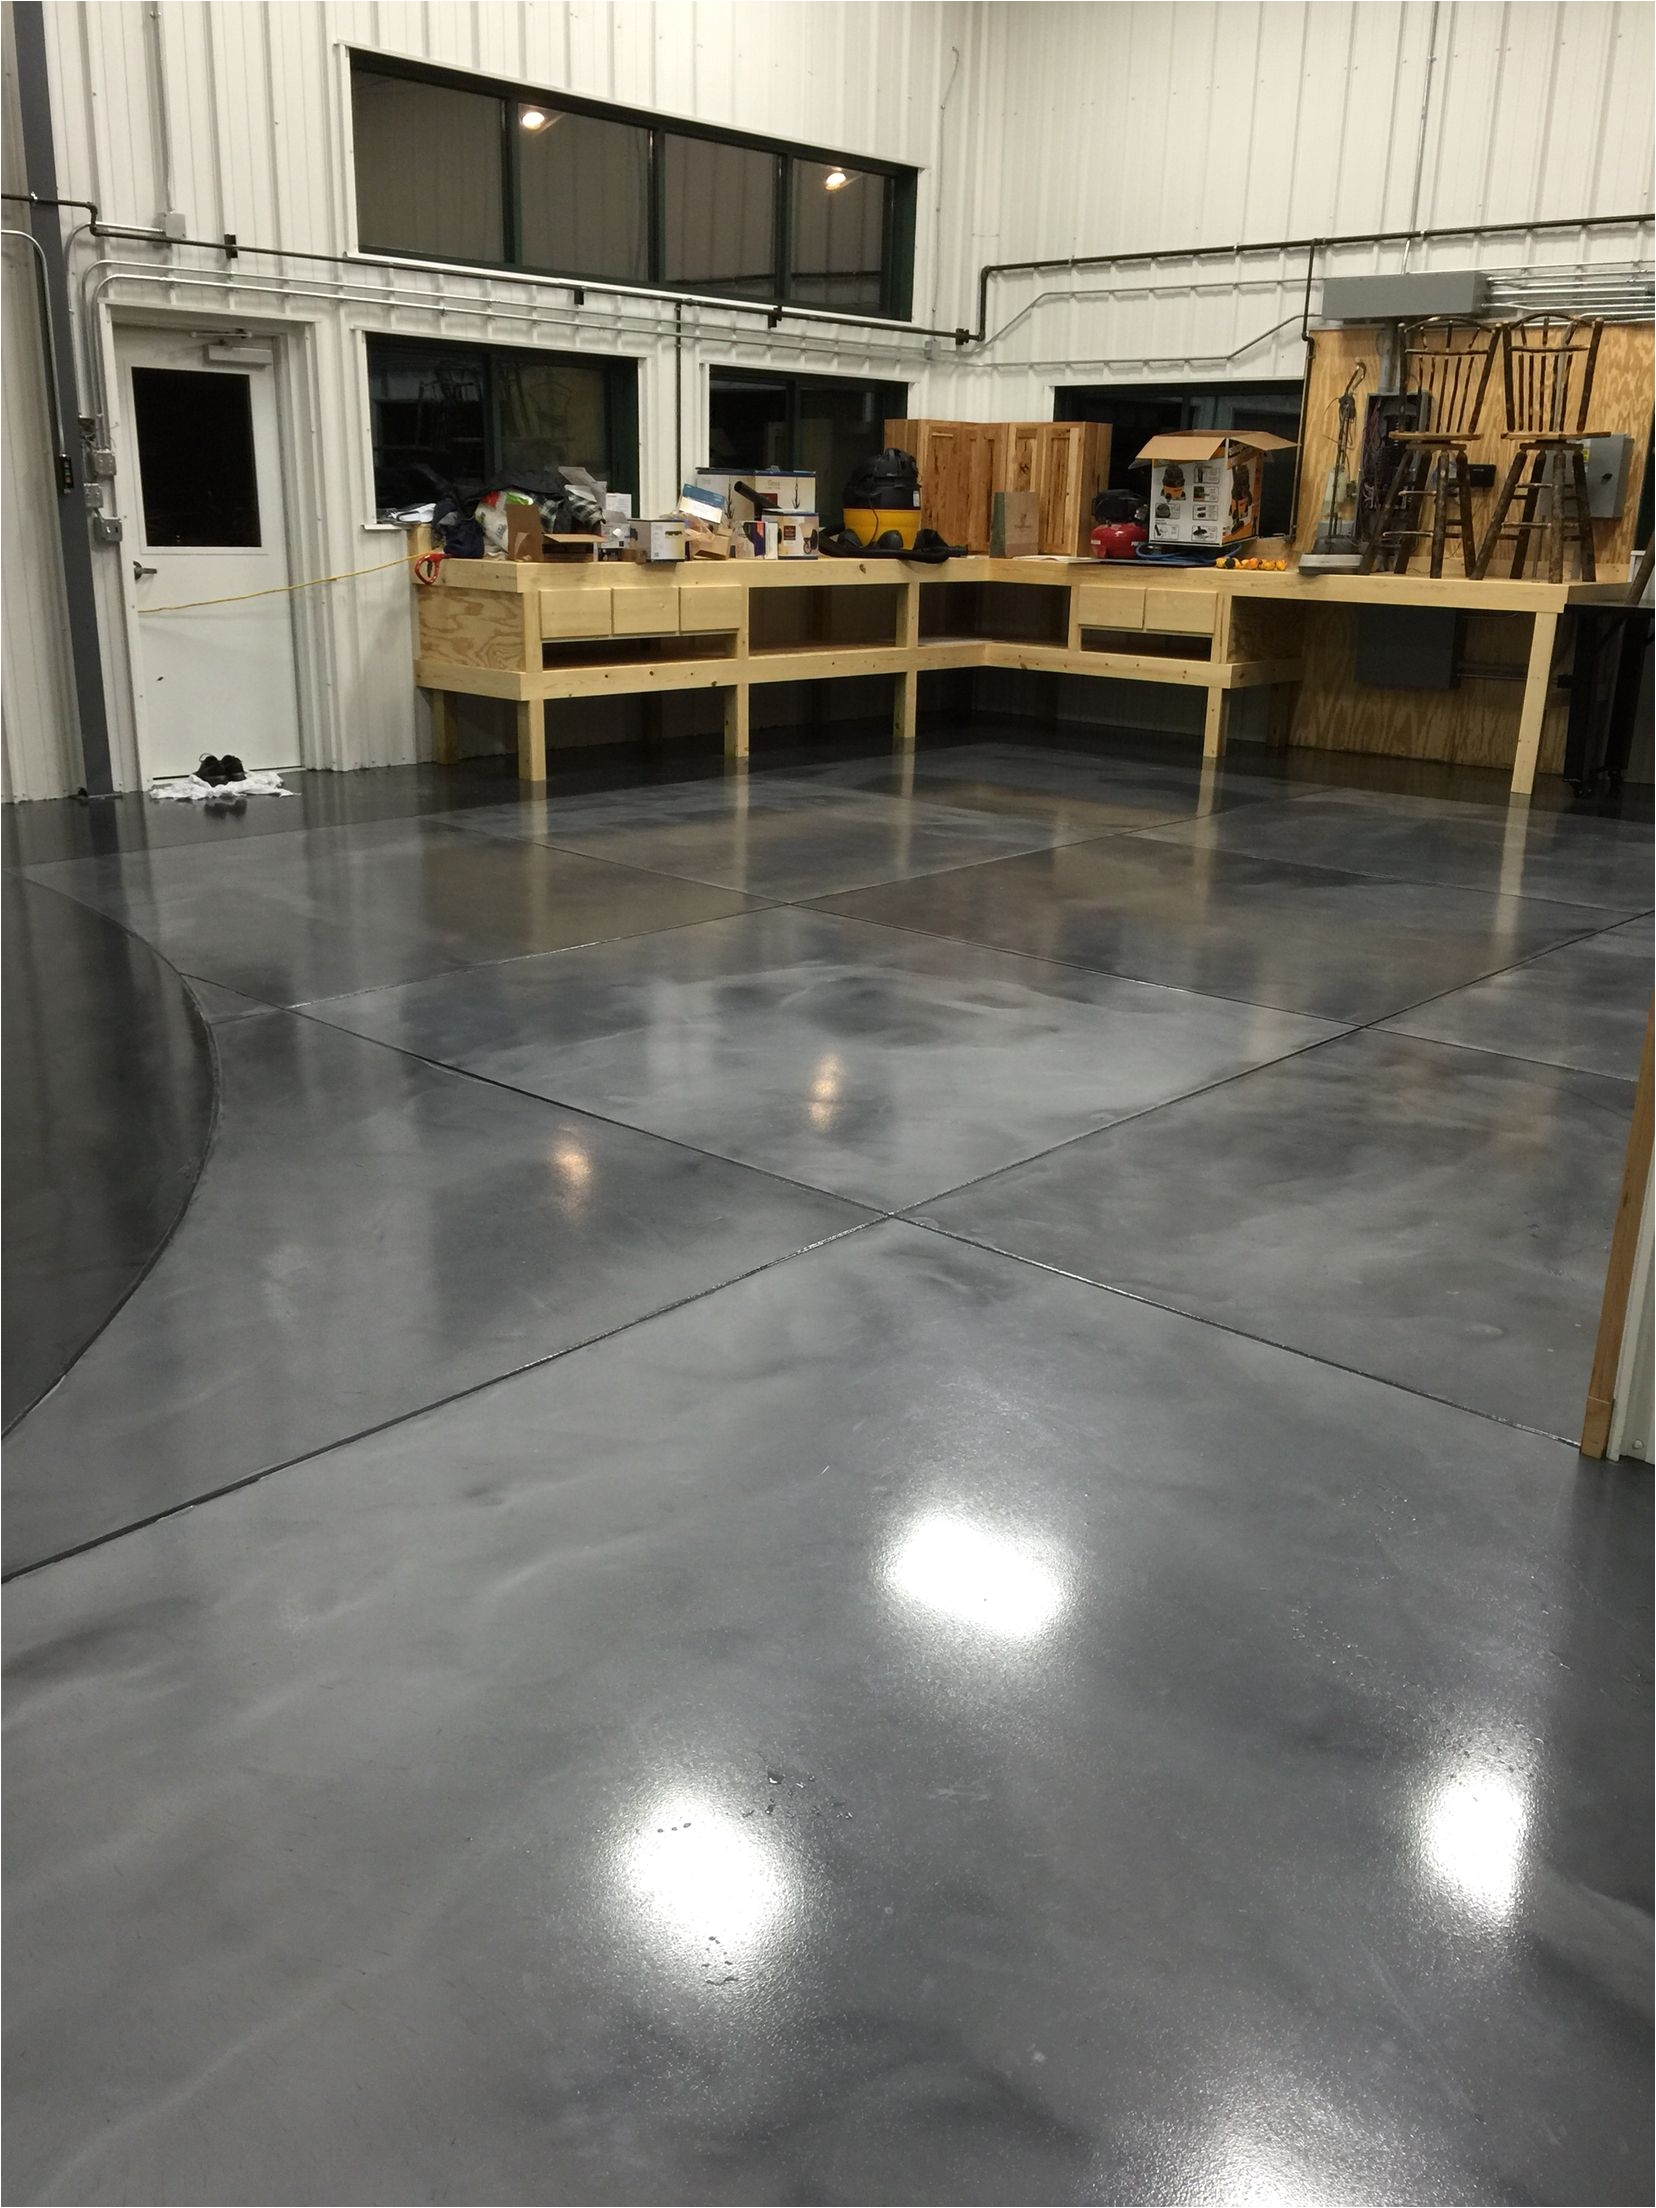
Researching different coating options overwhelmed me initially until I learned to match product characteristics with my specific needs and expectations. Epoxy coatings offered the most durability and chemical resistance, making them ideal for my basement workshop area, where tools and occasional spills were likely. However, epoxy’s tendency to yellow under UV light made it less suitable for areas near basement windows.
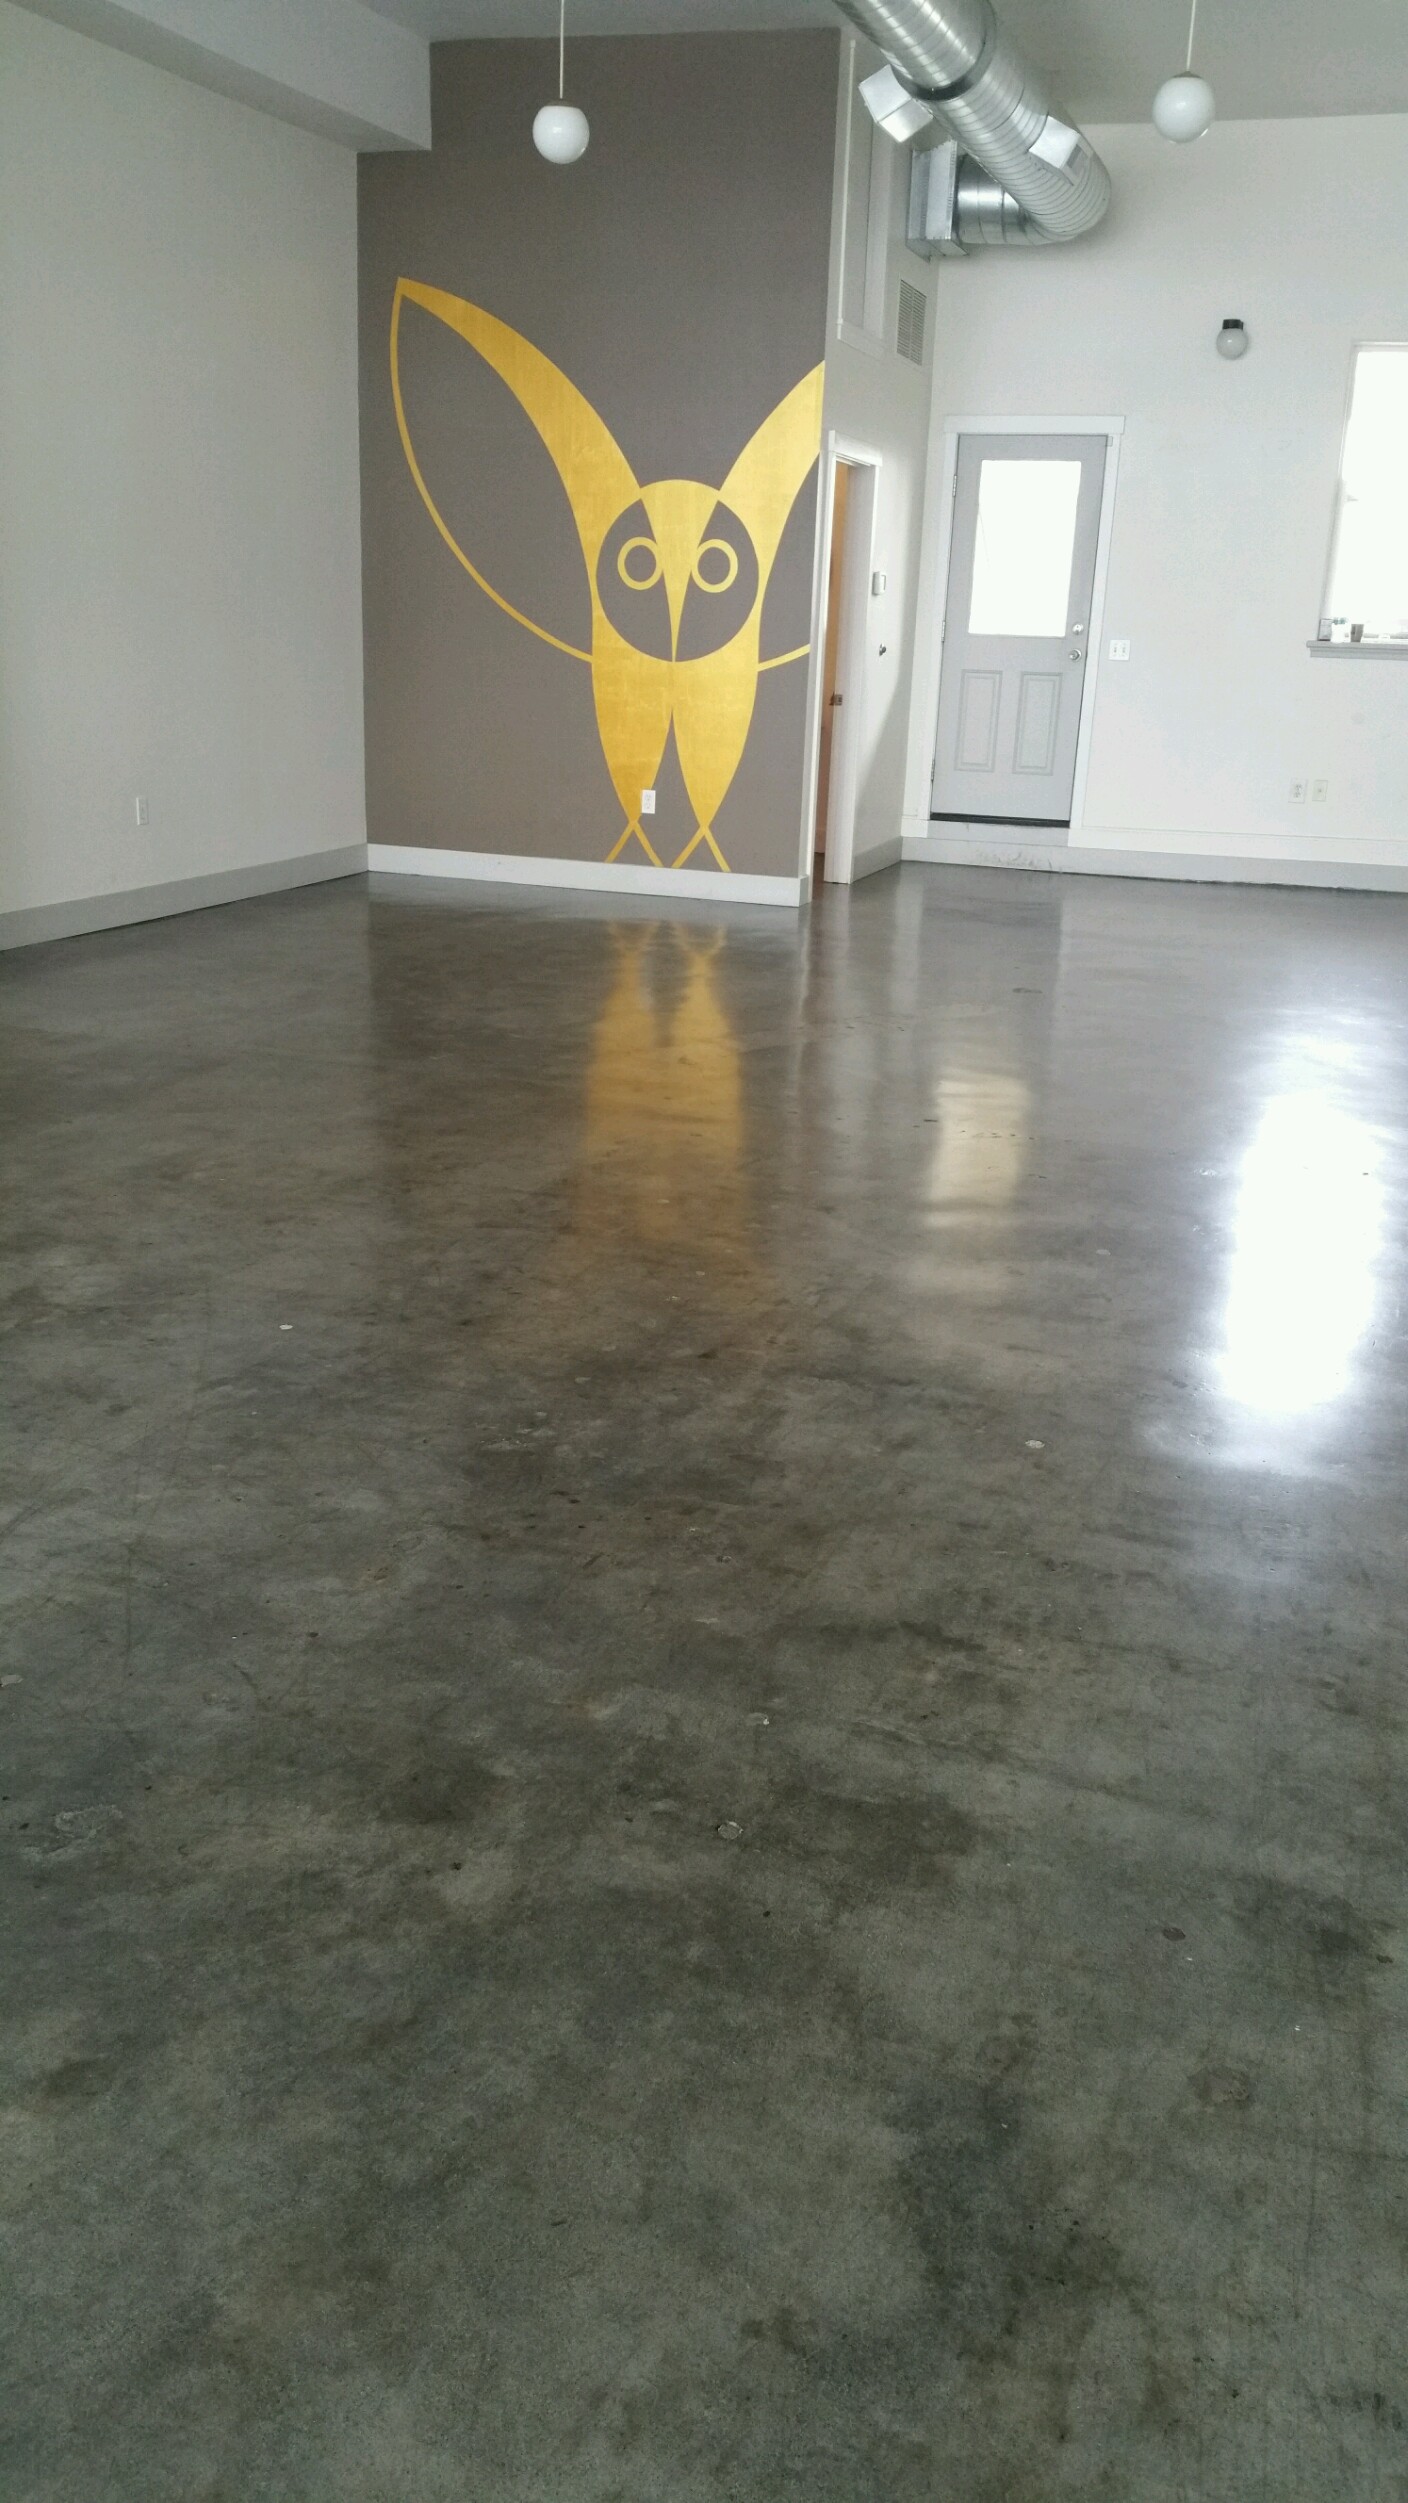
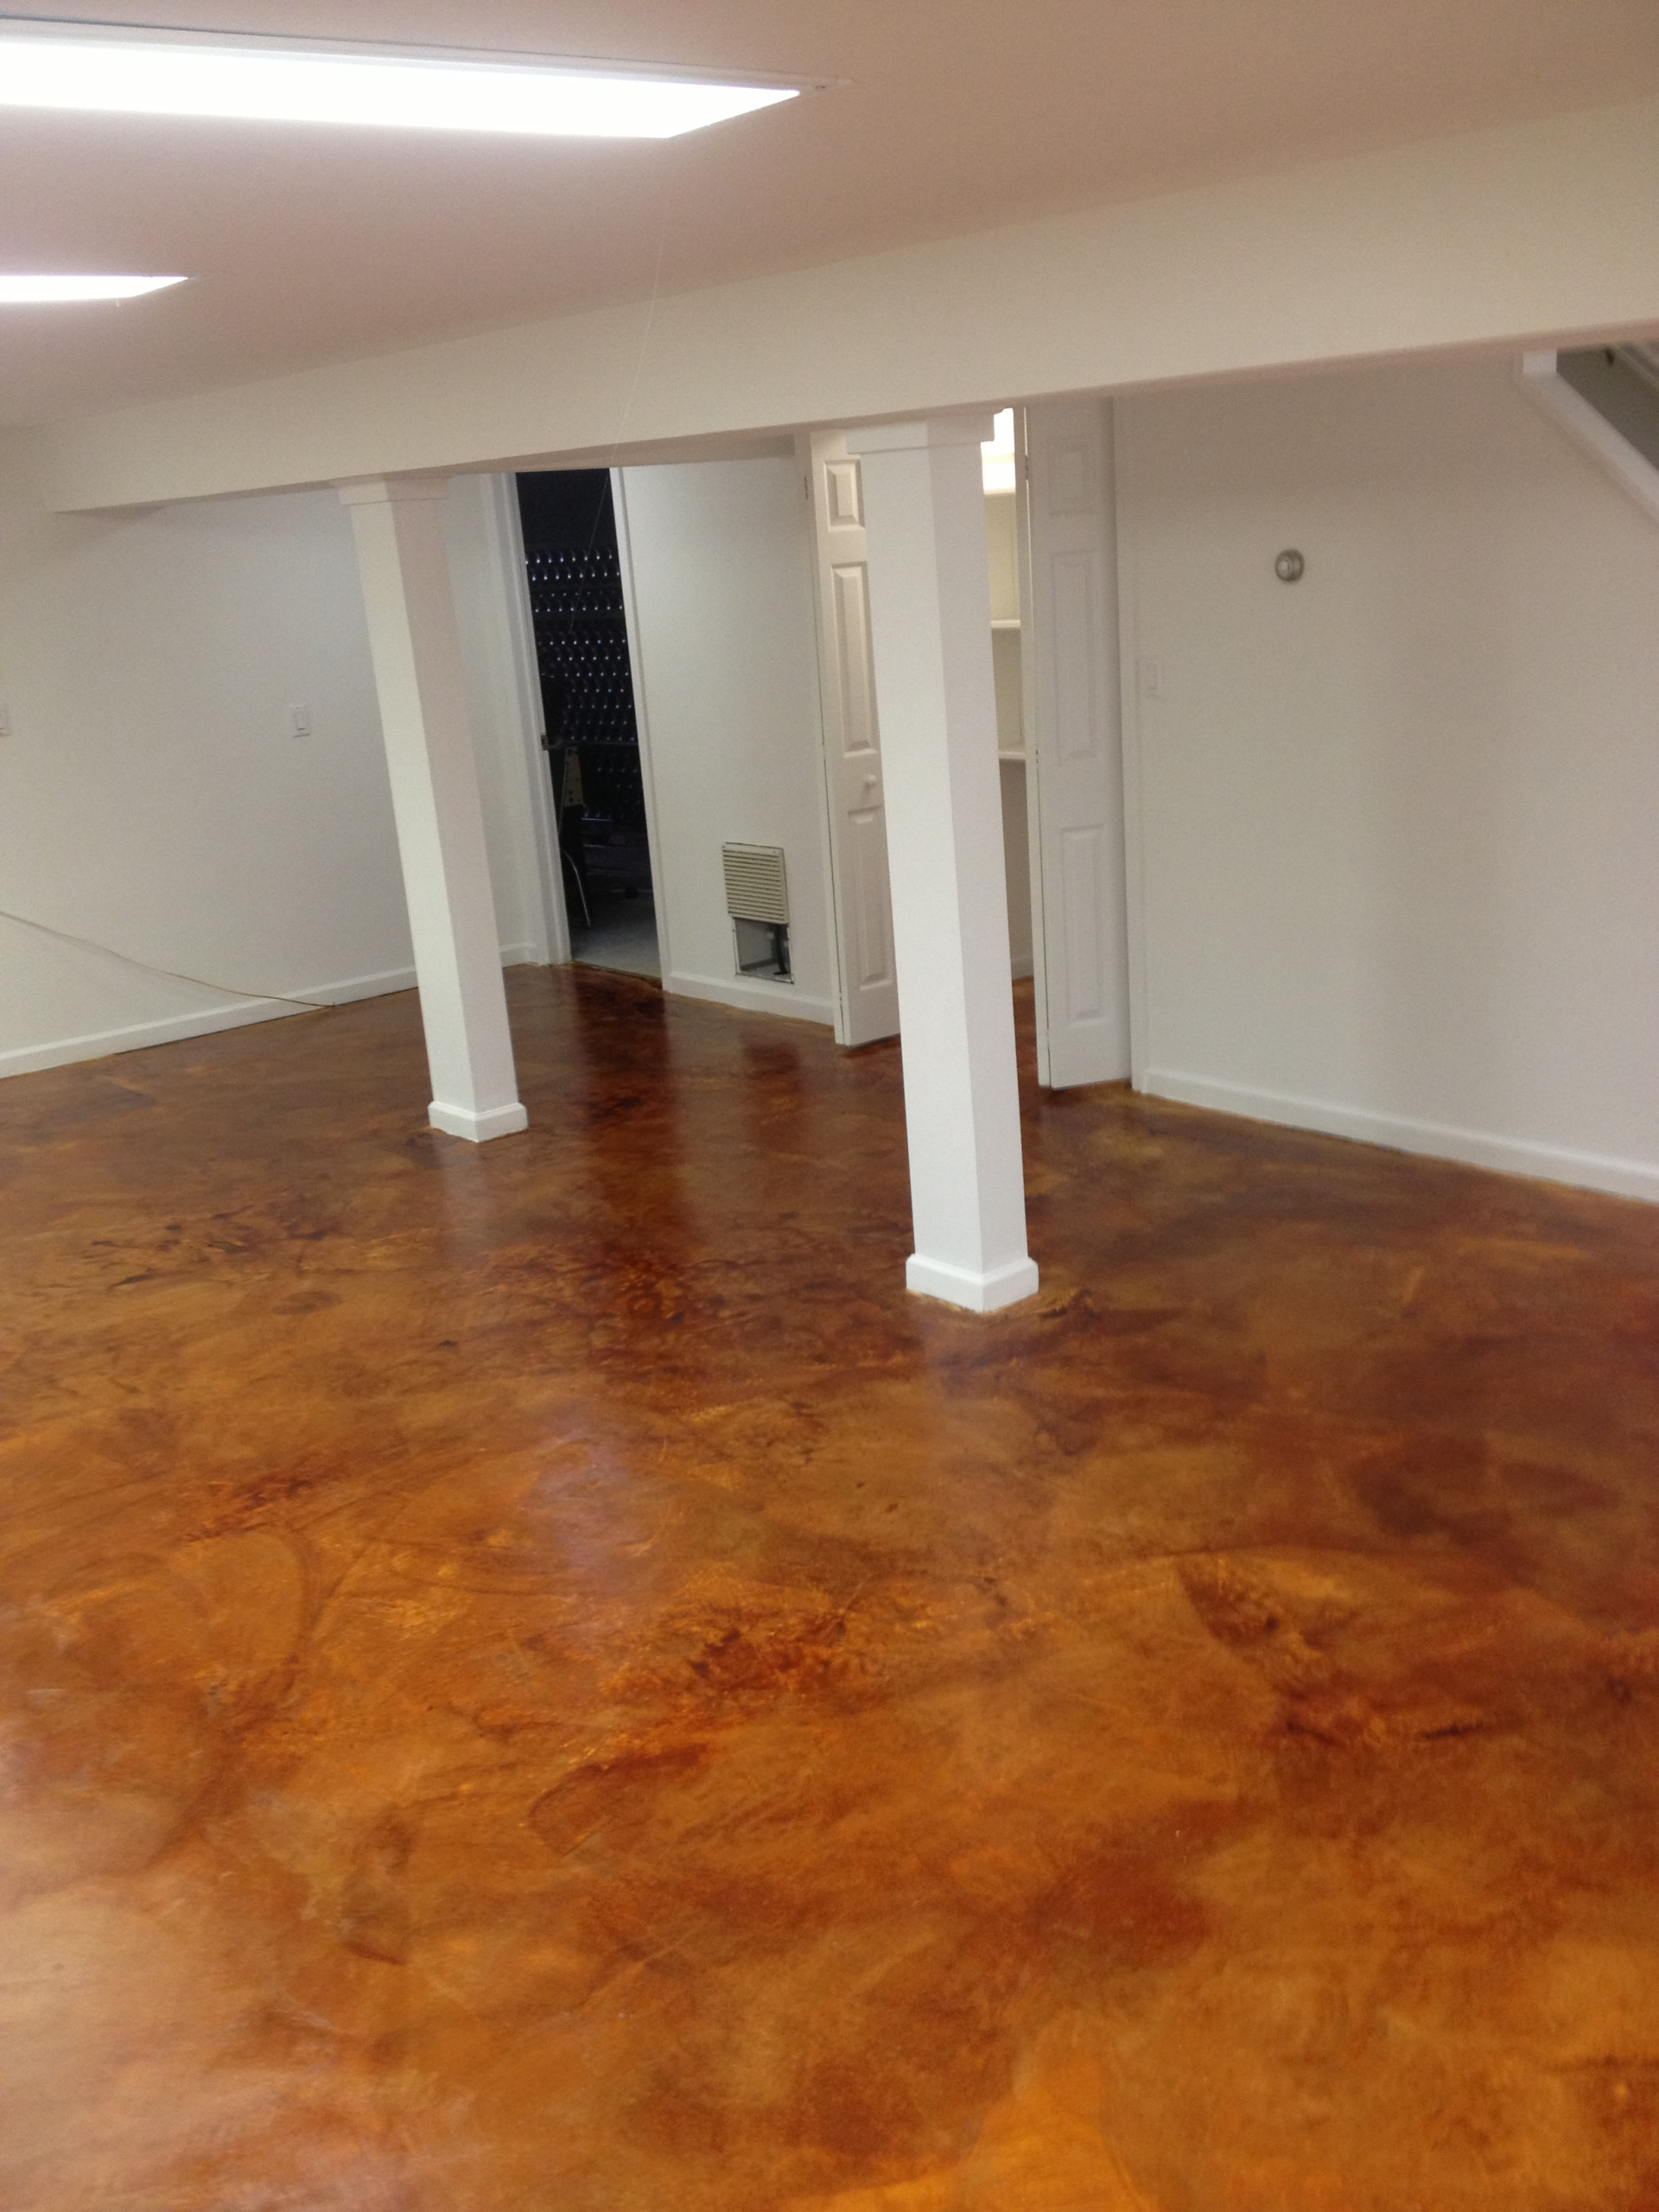
Polyurethane coatings provided better UV resistance and a more natural appearance that worked well in my planned family room area. These coatings offered good durability while maintaining clarity over time, though they cost more than epoxy options. I ultimately chose a hybrid system, using epoxy primer throughout for maximum adhesion, then topcoating with polyurethane in high-visibility areas and epoxy in utility zones.
Decorative additives allowed me to customize the appearance beyond plain grey concrete. I experimented with color flakes, metallic pigments, and decorative quartz aggregates on sample areas before committing to the full floor. The color flake system I chose provided slip resistance, hid minor imperfections, and created visual interest that transformed the industrial concrete into an attractive finished surface.
Application Techniques and Timeline Management
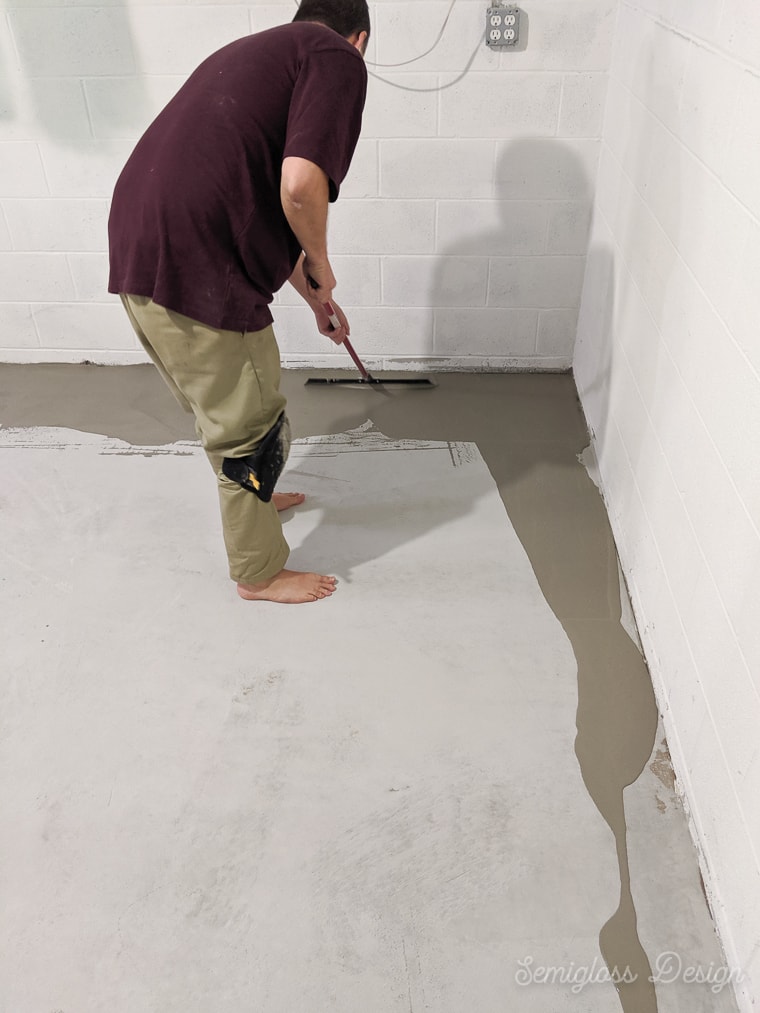
Planning the application sequence required careful consideration of room access, ventilation, and curing times between coats. I started in the furthest corner from the stairs, working toward the exit to avoid trapping myself in wet coating. Each coat needed specific temperature and humidity conditions for proper curing, so I monitored weather conditions and used dehumidifiers when necessary to maintain ideal application environments.
Primer application taught me the importance of maintaining consistent coverage and working quickly before the material began to set up. I used a combination of rollers and brushes, cutting in edges and corners with brushes while covering large areas with short-nap rollers. The key was maintaining a wet edge to prevent overlap marks and ensuring complete coverage without leaving thin spots that could cause premature failure.
Topcoat application required even more attention to technique since any imperfections would be visible in the final surface. I learned to work in manageable sections, maintaining consistent pressure and speed with the roller to achieve uniform texture. Adding decorative flakes while the coating was still wet required timing and coverage judgment that improved with practice across the 800-square-foot basement floor.
Common Mistakes and How I Avoided Them
Temperature and humidity control became critical factors that I initially underestimated in their importance to coating success. My first attempt at primer application during a humid summer week resulted in poor adhesion and a cloudy appearance in several areas. I learned to use fans, dehumidifiers, and timing to maintain ideal conditions, even if it meant extending the project timeline by several days for proper environmental control.
Inadequate surface preparation caused my biggest setback when one section of topcoat began peeling within weeks of application. I had rushed the cleaning process in that area and failed to properly degrease an old oil stain. Removing the failed coating, properly preparing the surface, and recoating that section taught me that thorough preparation cannot be shortcut without consequences.
Mixing ratios and pot life management required strict attention to manufacturer specifications after I learned that improper mixing could cause coating failure months later. I invested in a digital scale for accurate measurements and worked with smaller batches to avoid waste from exceeded pot life. This methodical approach prevented the coating defects I’d seen in other DIY projects where shortcuts were taken.
Long-Term Maintenance and Performance
Daily maintenance of my refinished concrete floor proved much simpler than I anticipated after living with it for three years. Regular sweeping and occasional damp mopping with pH-neutral cleaners keep the surface looking fresh and new. The sealed surface resists stains and spills that would have permanently marked the original concrete, making cleanup of workshop spills and family room accidents quick and easy.
Periodic deep cleaning and inspection help maintain the coating’s appearance and identify any areas needing attention before problems develop. I perform thorough cleaning every few months using degreasing agents if needed, followed by application of floor wax designed for sealed concrete surfaces. This routine maintenance has preserved the original appearance and prevented the dulling I’ve seen in neglected coated floors.
Long-term performance monitoring helps me understand how different areas of the floor respond to various uses and traffic patterns. The workshop area shows more wear but still performs excellently after three years of tool use and occasional chemical spills. The family room area looks nearly new despite daily foot traffic and furniture placement. This real-world testing confirms that proper application and maintenance deliver lasting results.

How long does the entire concrete floor refinishing process take from start to finish?
My 800-square-foot basement took about two weeks from initial cleaning to final cure, working evenings and weekends. Surface preparation consumed the most time, requiring 4-5 days for cleaning, repairs, and etching. The application took 3 days with proper cure time between coats. Weather and humidity extended my timeline, but rushing would have compromised results.
What’s the realistic cost for DIY concrete floor refinishing compared to professional installation?
I spent approximately $3-4 per square foot on materials for my DIY refinishing project, compared to $8-12 per square foot for professional installation. My 800-square-foot basement cost about $2,500 in materials, tools, and supplies. Professional quotes ranged from $6,500-9,500 for a similar scope and quality levels.
How durable is a refinished concrete floor in high-traffic areas?
After three years, my refinished floor shows minimal wear despite daily family use and workshop activities. High-quality coatings properly applied can last 10-15 years in residential settings. The key is thorough surface preparation and using appropriate coating systems for the intended use. Areas with heavy equipment or chemical exposure may need more frequent touch-ups.
Can you refinish concrete floors that already have existing coatings or paint?
Yes, but existing coatings must be completely removed for proper adhesion of new materials. I used chemical strippers and mechanical grinding to remove old paint layers. Attempting to coat over existing materials without proper removal almost always leads to premature failure. The extra prep work is essential for long-term success.

What are the biggest challenges for DIY concrete floor refinishing?
Surface preparation requires the most time and effort, often taking longer than expected. Environmental control of temperature and humidity during application can be challenging in basements. Working with chemical products requires careful safety precautions and ventilation. Having the right tools, especially for surface prep, makes a significant difference in results and efficiency.
How do you handle moisture issues before refinishing a basement concrete floor?
I tested for moisture using plastic sheet tests and addressed any issues with concrete sealers before coating. Proper basement ventilation and dehumidification help control ongoing moisture levels. Some moisture problems require more extensive solutions, like exterior waterproofing, before refinishing can be successful. Ignoring moisture issues leads to coating failure within months.
How to easily resurface a concrete floor
The Best Concrete Stain Designs for Your Basement

Resurfaced Concrete Basements Concrete Craft

Basement floor refinished

Related articles: