When I inherited my grandmother’s 1950s ranch house two years ago, I was faced with ugly carpeting throughout and a tight renovation budget. After pulling up the carpet in the living room, I discovered concrete slab floors that were in surprisingly good condition. A contractor friend suggested acid staining, and I’ll admit I was skeptical at first.
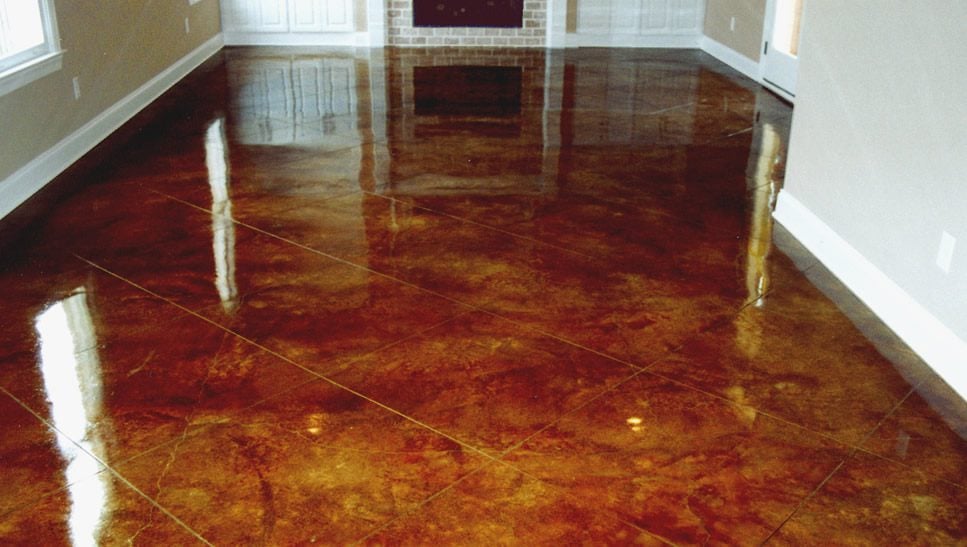
The idea of using actual acid on my floors seemed intimidating and potentially dangerous. But after seeing some stunning examples and learning about the process, I decided to take the plunge. Now, as I look across my beautiful variegated floors with rich earth tones that seem to shift in different lighting, I can honestly say it was one of the best decisions I made during my home renovation.
Understanding the Acid Staining Process and Chemistry
The science behind acid staining fascinated me once I started researching the process. Unlike paint or typical stains that sit on top of the surface, acid stain creates a chemical reaction with the lime content in concrete. The hydrochloric acid in the stain solution reacts with calcium hydroxide in the concrete to produce unique, permanent color variations that penetrate deep into the surface. This means the color won’t chip, peel, or wear away like surface treatments.
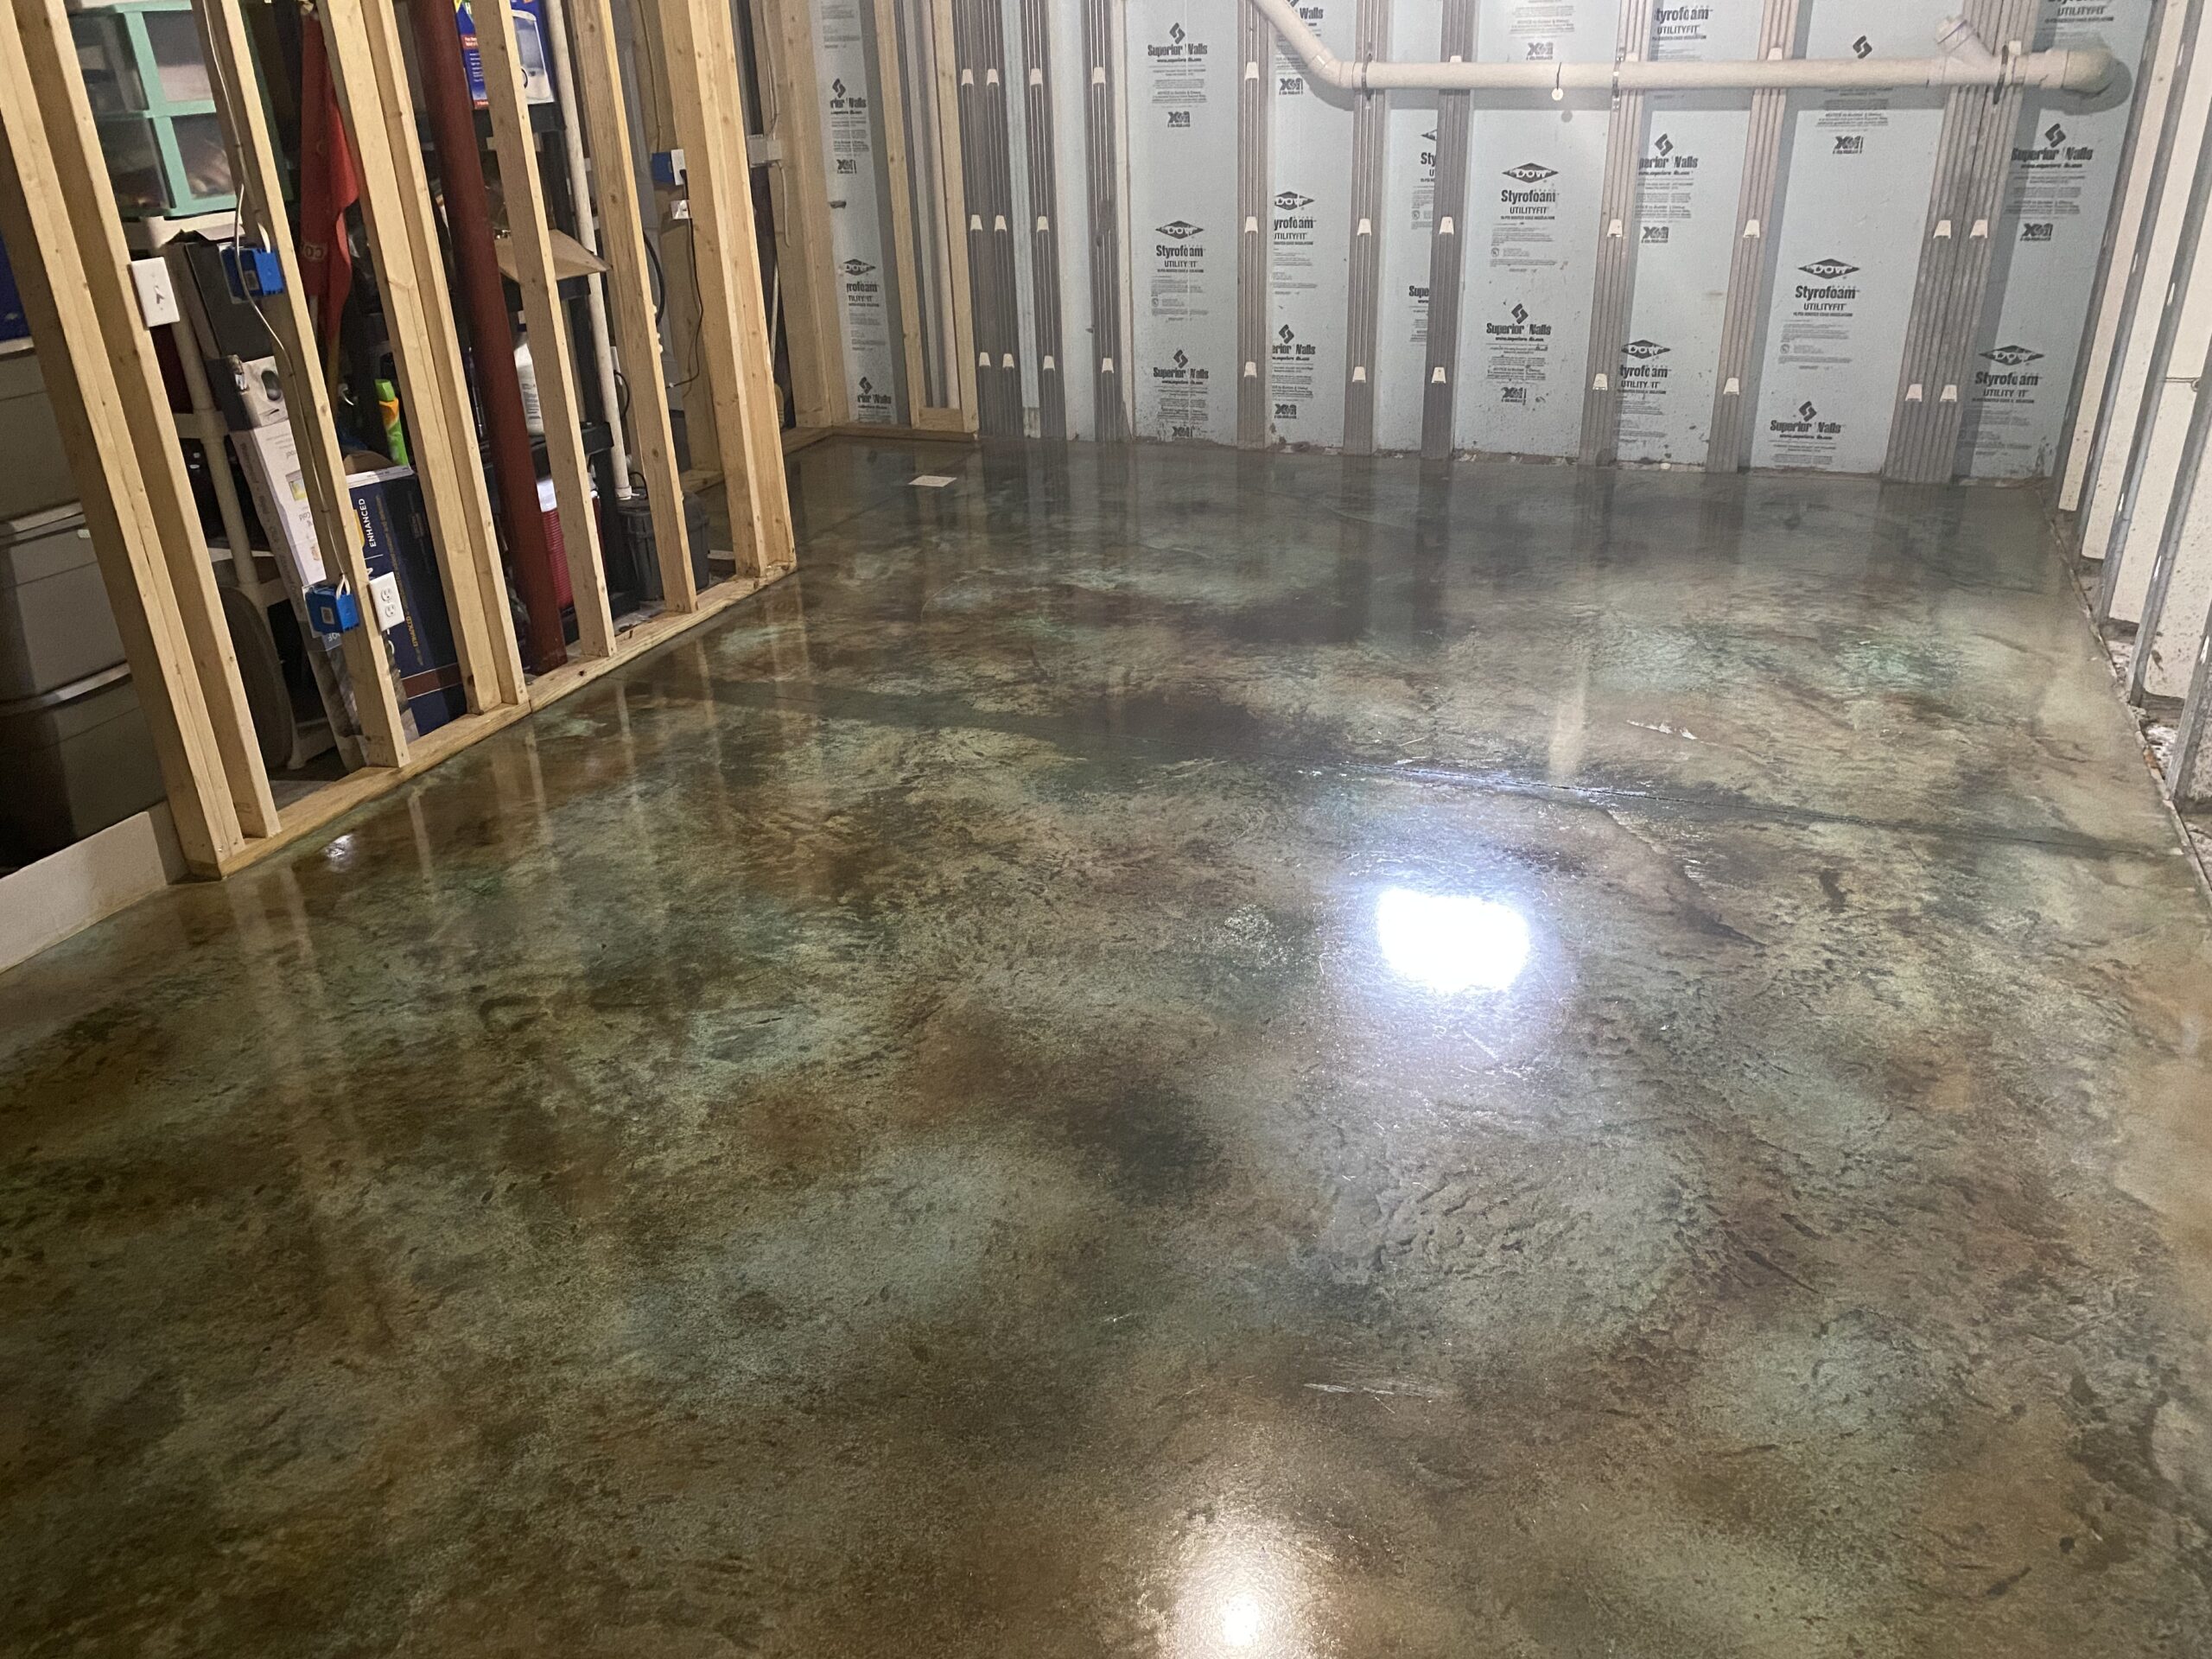
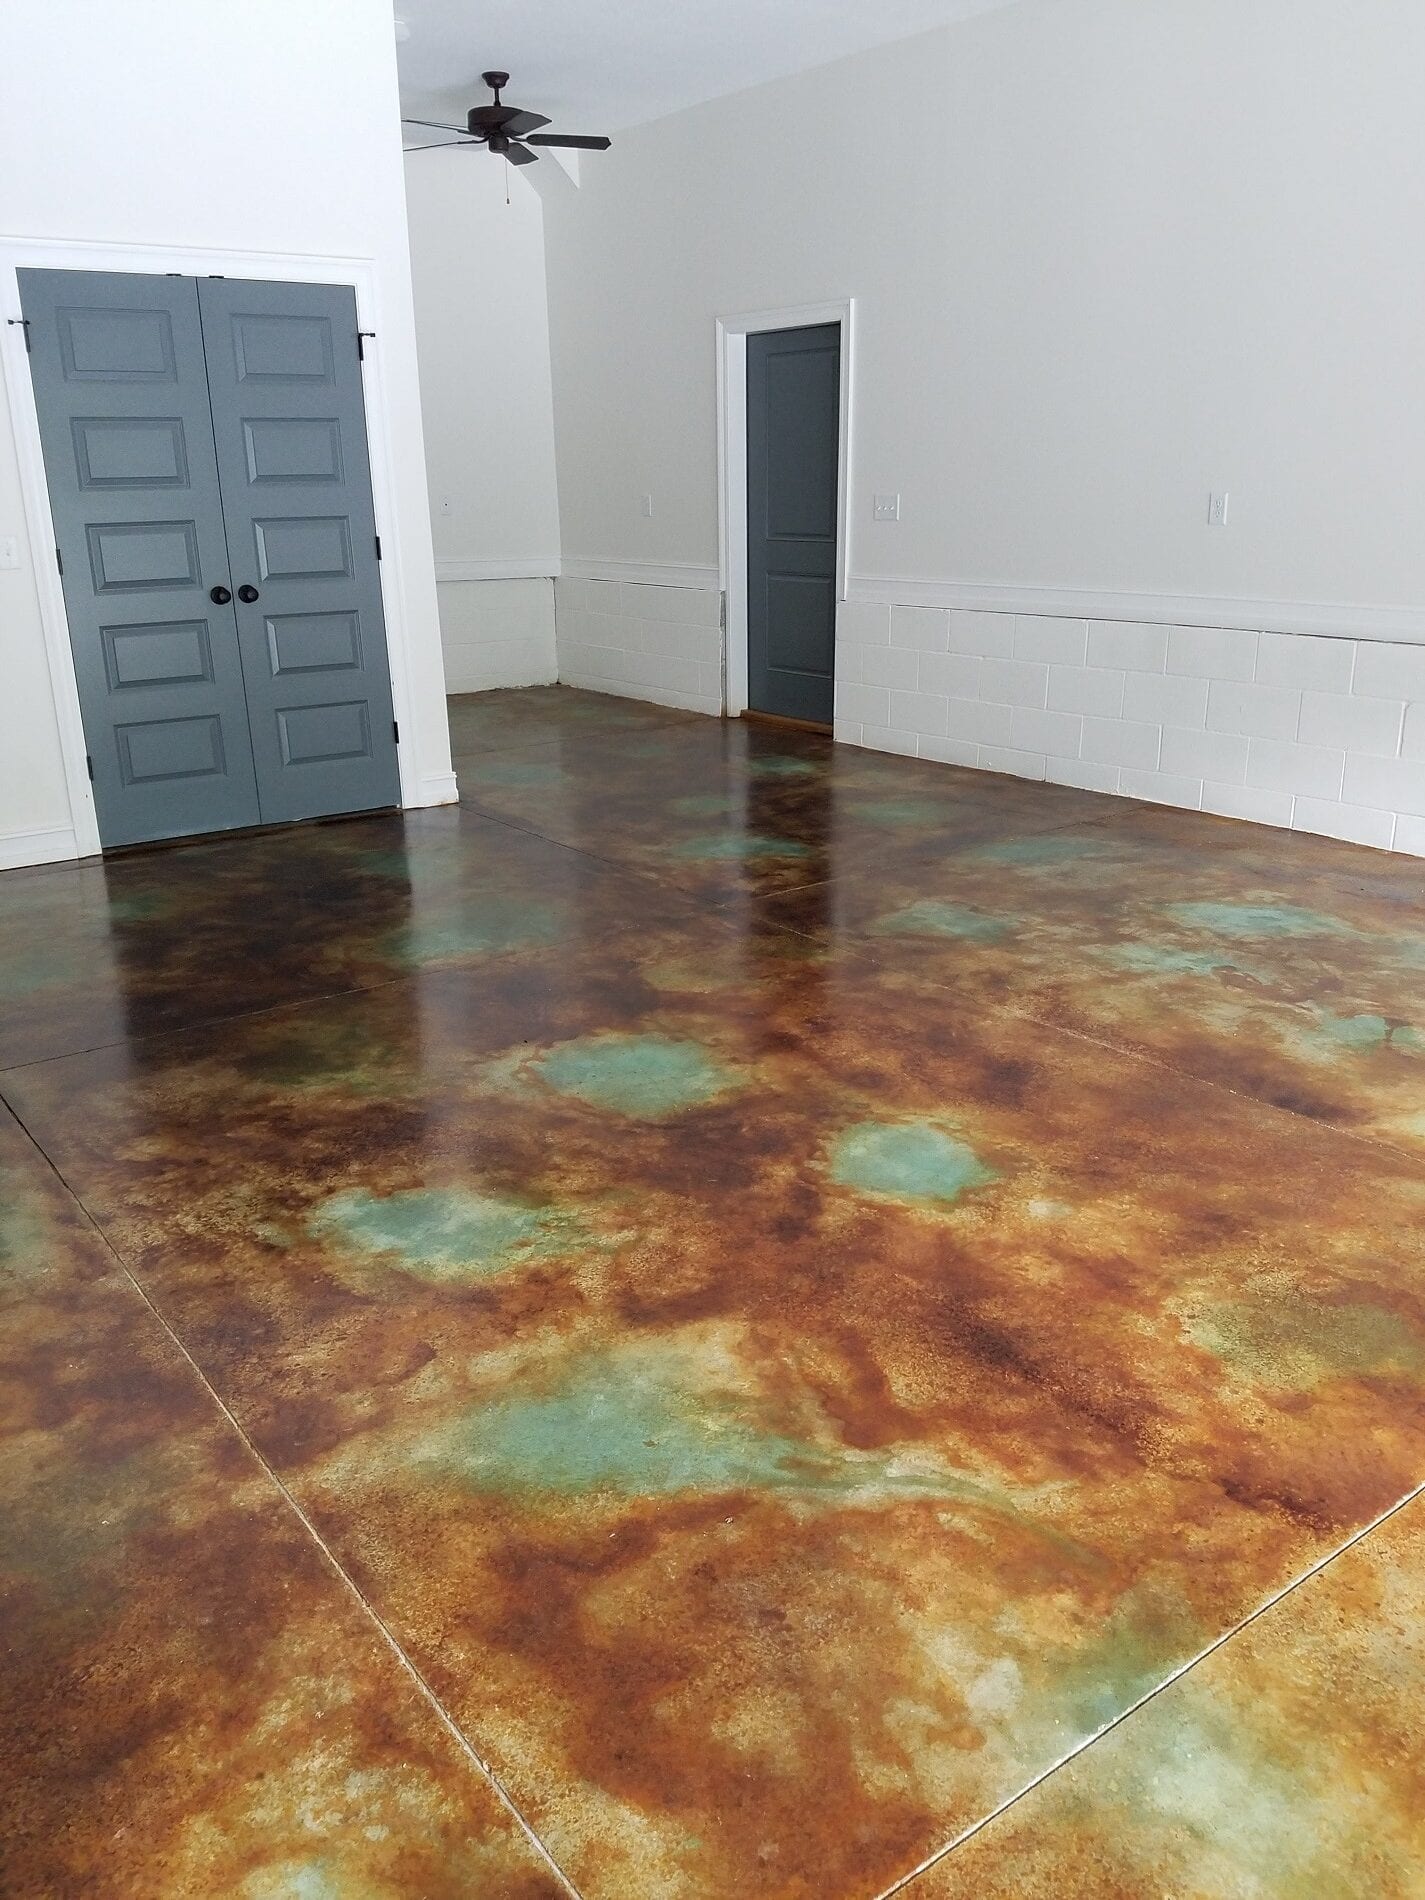
I learned that the unpredictability of acid staining is part of its charm. No two floors turn out the same because the lime content varies throughout the concrete, creating natural variations in color intensity and pattern. My contractor explained that this is why acid-stained floors have such organic, marbled appearances that can’t be replicated with other coloring methods. The process requires patience because you never know exactly what you’ll get until the final result is revealed.
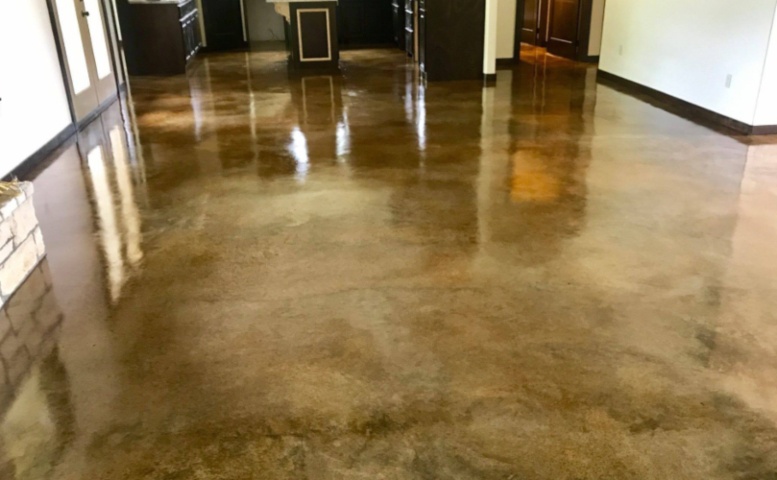
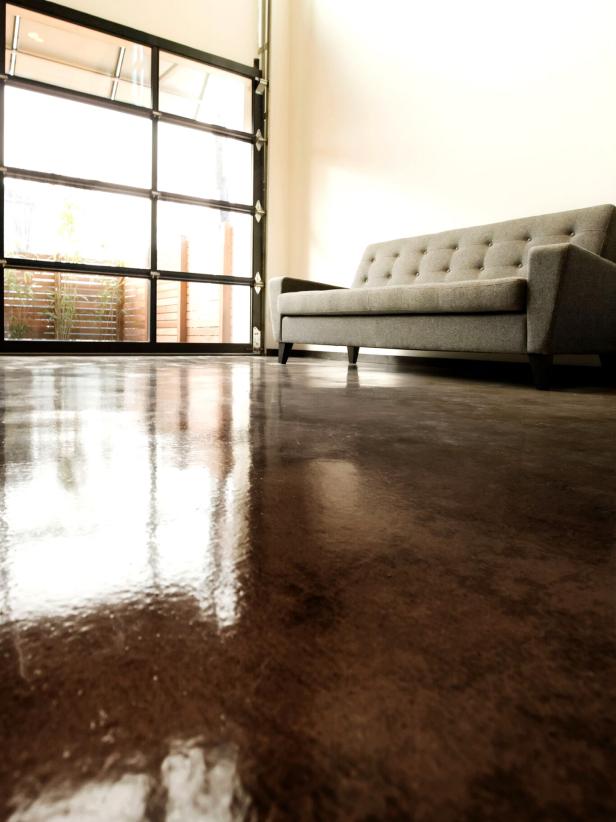
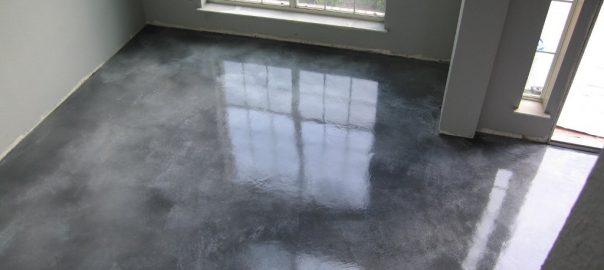
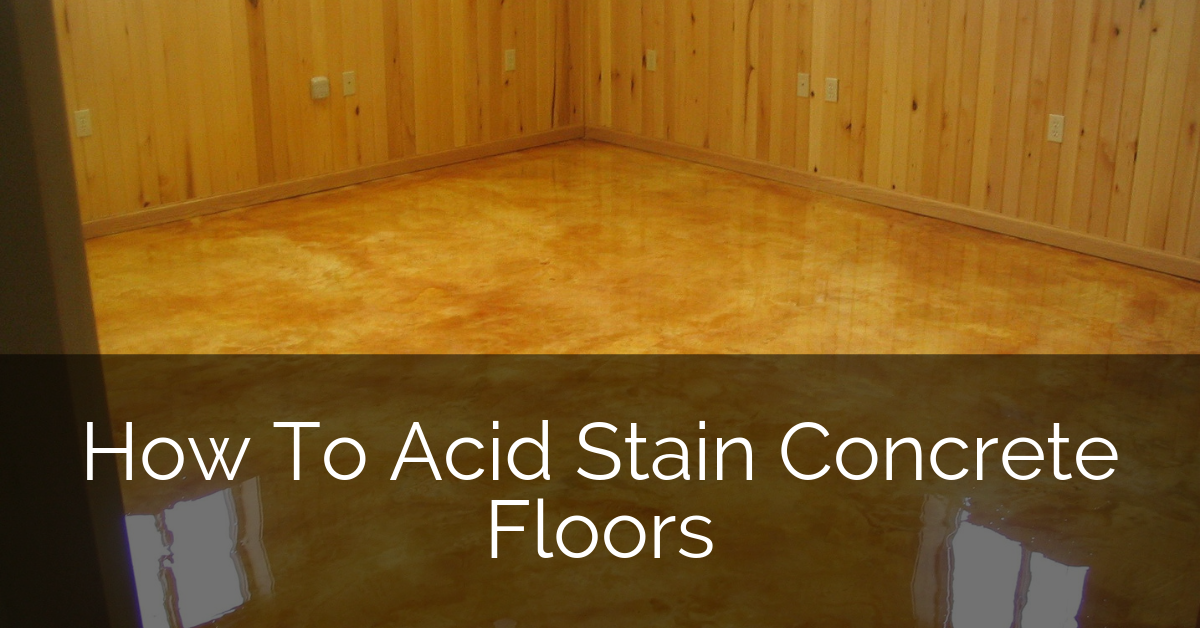
The available color palette is more limited than I initially expected, but the earth tones are vibrant and sophisticated. Most acid stains produce variations of brown, amber, terra cotta, and green tones. I chose a brown-based stain that created beautiful variations from light tan to deep coffee brown throughout my living areas. The natural mottling and color variations make the floors look like expensive natural stone rather than plain concrete.
Preparation and Surface Requirements
Preparing my concrete for acid staining turned out to be the most critical and time-consuming part of the entire project. Any existing coatings, paint, or adhesive residue had to be completely removed because acid stain can’t penetrate through barriers. I spent two full days with a rented concrete grinder removing carpet adhesive and paint splatters that previous owners had left behind. The dust was incredible, even with proper ventilation and protective equipment.
The concrete surface needed to be perfectly clean and slightly porous for the acid to react properly. I used a degreasing solution followed by muriatic acid washing to remove any oils, dirt, or efflorescence that might interfere with the staining process. My contractor emphasized that shortcuts in preparation always show up in the final result, so I took my time and made sure every square inch was pristine before proceeding.
Testing the stain on small, inconspicuous areas was essential for understanding how my particular concrete would react. I applied test patches in three different areas because concrete composition can vary even within the same slab. The variations in color and intensity from these tests helped me adjust my expectations and plan the application strategy. Some areas reacted more vibrantly than others, which contributed to the natural, organic look I was hoping to achieve.

Application Techniques and Safety Measures
Working with acid stain required serious safety precautions that I didn’t take lightly. I invested in proper protective equipment, including acid-resistant gloves, eye protection, a respirator mask, and clothing that covered all exposed skin. The fumes from the acid can be dangerous in enclosed spaces, so I ensured excellent ventilation and worked in small sections to minimize exposure time. Safety was my top priority throughout the entire process.
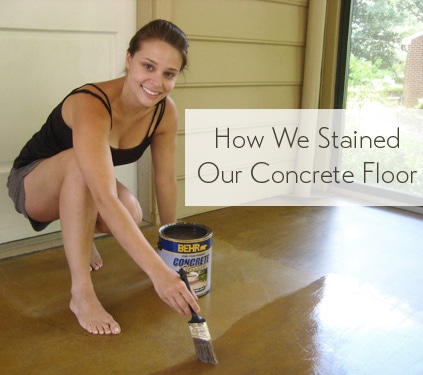
The application technique took practice to master. I used a plastic garden sprayer to apply the stain in overlapping patterns, working quickly to maintain wet edges and avoid streaking. The key was achieving even coverage while still allowing for natural variation. I applied two coats about four hours apart, which intensified the color and helped create more uniform coverage across areas where the concrete was less reactive to the acid.
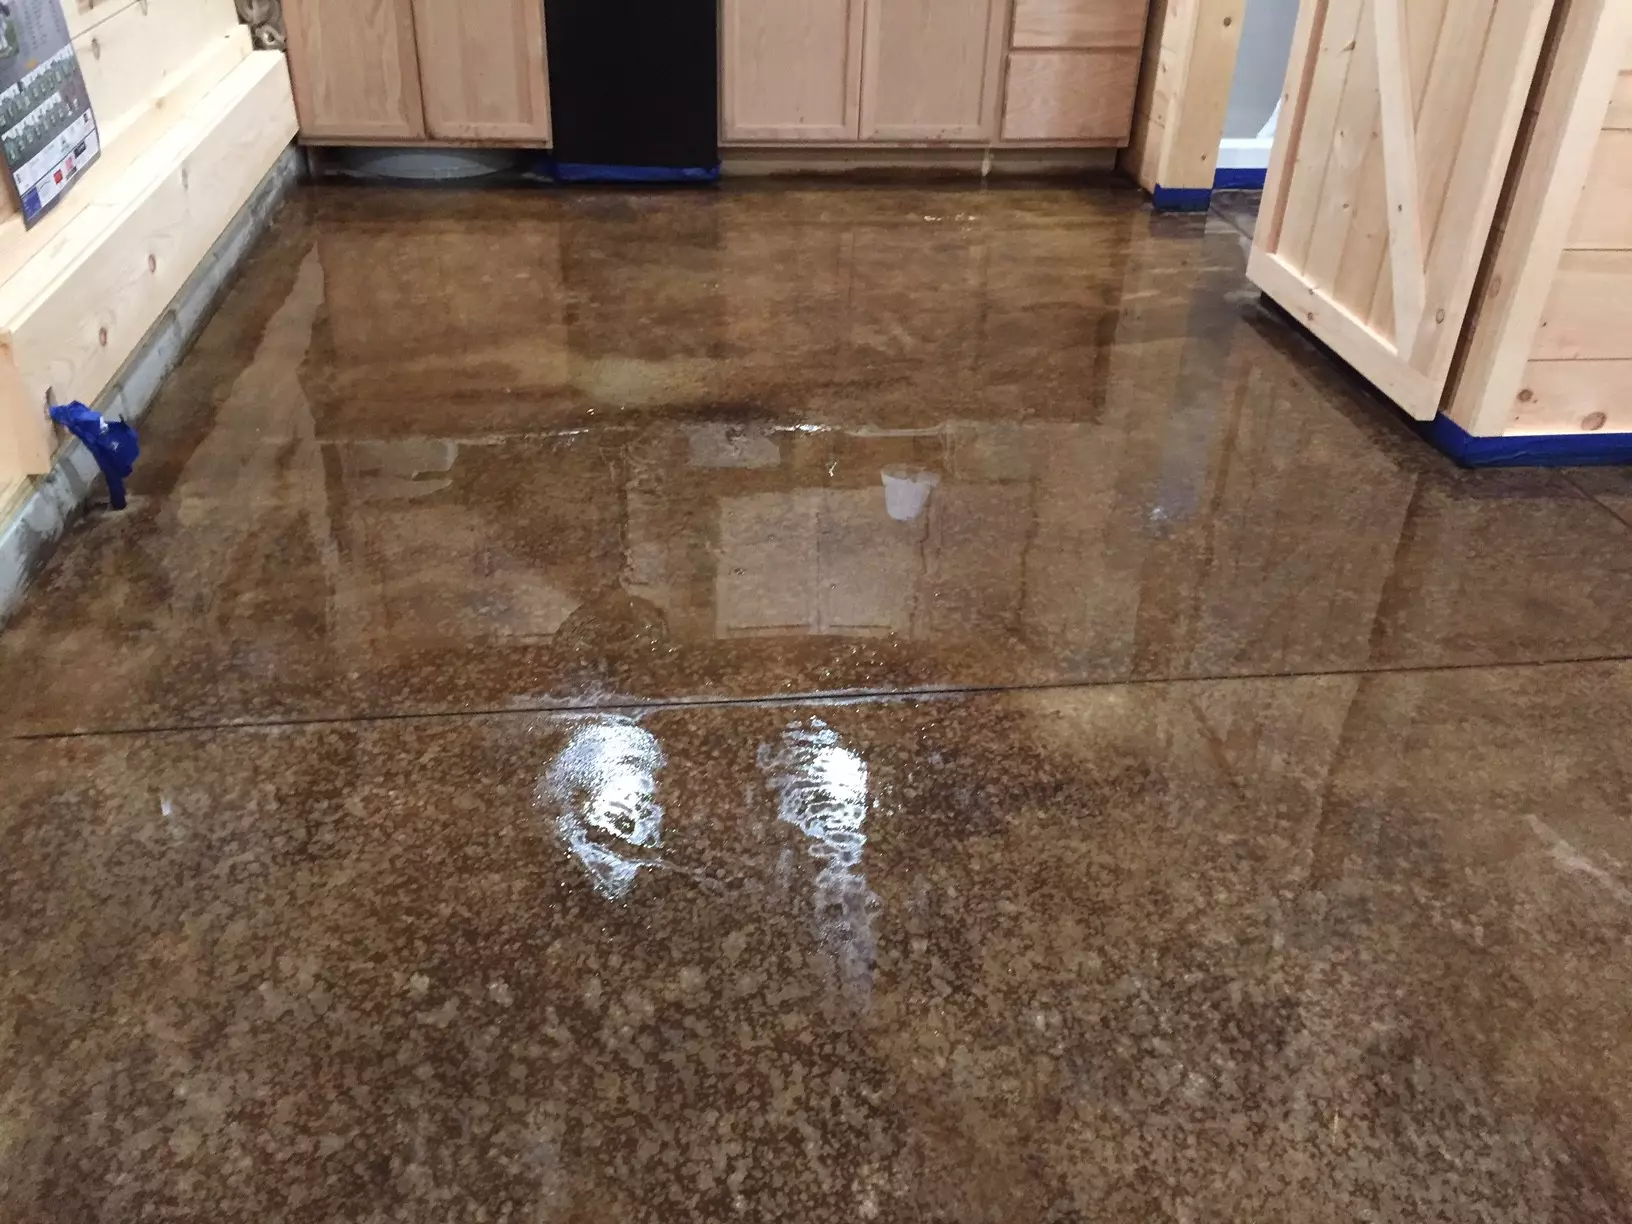
Watching the chemical reaction happen was both exciting and nerve-wracking. The stain bubbled and foamed as it reacted with the concrete, and the color developed gradually over several hours. I had to resist the urge to touch or disturb the surface during this critical reaction time. The full color development took about 8-12 hours, and I was amazed by how much richer and more complex the tones became as the chemical reaction completed.

Neutralizing and Sealing for Longevity
Once the acid staining reaction was complete, neutralizing the surface was crucial to stop the chemical process and prepare for sealing. I used a baking soda and water solution to neutralize any remaining acid, followed by thorough rinsing with clean water. This step was important because any residual acid would interfere with the sealer adhesion and could continue etching the concrete over time.
The drying process required patience, as the concrete needed to be completely dry before sealing. I waited 24 hours after the final rinse, using fans to speed the drying process. Moisture trapped under the sealer would create cloudy areas and adhesion problems, so I tested for complete dryness using a plastic sheet taped to the surface overnight. Any condensation under the plastic indicated the need for more drying time.
Choosing the right sealer was important for both protection and appearance. I selected a penetrating sealer that soaked into the concrete rather than forming a surface film. This type of sealer protects against stains and moisture while maintaining the natural, matte appearance of the acid-stained surface. The sealer application required careful attention to avoid puddles or streaks that would create uneven sheen levels across the floor.

Maintenance and Long-Term Performance
Living with acid-stained concrete floors has been much easier than I anticipated. The sealed surface resists most stains and cleans easily with a damp mop and neutral pH cleaner. I avoid harsh chemicals or acidic cleaners that could damage the sealer or react with the stained surface. Regular dust mopping and occasional damp mopping keep the floors looking beautiful with minimal effort.
The durability has exceeded my expectations after two years of daily use. High-traffic areas show virtually no wear, and the color remains as vibrant as the day I completed the project. Unlike surface treatments that can wear through, the acid stain color is integral to the concrete itself, so normal foot traffic doesn’t affect the appearance. The only maintenance required is periodic resealing every 2-3 years to maintain stain resistance.
I’ve been impressed by how well the floors handle temperature changes and humidity fluctuations. The concrete thermal mass helps moderate indoor temperatures, making my home more comfortable year-round. During hot summers, the floors stay cool underfoot, and in winter, they warm up nicely when the heating system runs. The stability and comfort of the acid-stained concrete floors have been an unexpected bonus beyond their beautiful appearance.
Cost Analysis and Value Considerations
The total cost of my acid staining project was remarkably affordable compared to other flooring options I had considered. Materials, including stain, neutralizer, sealer, and safety equipmen,t cost approximately $2.50 per square foot. Adding in tool rental and my time investment, the total project cost came to about $4 per square foot for professional-quality results. This was significantly less than hardwood, natural stone, or high-end tile installations.
The labor savings of doing the work myself made acid staining especially cost-effective for my situation. Professional installation would have roughly doubled the cost, but the process is manageable for motivated homeowners willing to follow safety protocols and take their time. The learning curve wasn’t too steep, and online resources provided excellent guidance for each step of the process.
From a value standpoint, the acid stained floors have been an excellent investment. The unique, custom appearance rivals much more expensive flooring materials, and the durability means I won’t need replacement for decades. Friends and visitors consistently compliment the floors, often asking about the “stone” flooring and expressing surprise when I tell them it’s stained concrete. The added home value easily exceeds the modest installation cost.

Is acid staining concrete a safe DIY project for homeowners?
With proper safety equipment and precautions, yes. I wore protective gear and ensured good ventilation throughout the process. The key is following safety protocols exactly and never rushing. Work in small sections, keep neutralizing solution nearby, and have a helper for safety. If you’re uncomfortable with chemicals, hire professionals.
How long does the acid staining process take from start to finish?
My 800-square-foot project took about a week. Preparation was 2-3 days, stain application and reaction took 1 day, neutralizing and cleaning took 1 day, then 2-3 days for complete drying before sealing. Weather and humidity affect drying times significantly, so plan for flexibility in your timeline.
Will acid stained concrete work on any concrete surface?
Not all concrete is suitable for acid staining. The surface needs adequate lime content to react properly, and heavily sealed or painted concrete won’t work. I tested small areas first to check reactivity. New concrete needs to cure for at least 28 days, and any existing coatings must be completely removed.
How does acid stained concrete hold up to pets and children?
Very well once properly sealed. My sealed floors resist pet accidents, muddy paws, and spilled drinks easily. The smooth surface is easy to clean and doesn’t harbor allergens like carpet. However, the surface can be slippery when wet, so I use area rugs in high-traffic zones and teach kids about wet surface safety.
Can I change the color if I don’t like the acid staining results?
Acid stain colors are permanent because they’re chemically bonded to the concrete. You can apply darker stains over lighter ones, but you can’t go lighter. This is why testing is crucial before the full application. If you’re unhappy, options include grinding and resealing or applying decorative overlays.
What’s the biggest mistake to avoid when acid staining concrete?
Inadequate surface preparation ruins more projects than anything else. I learned this from online forums before starting. Any contaminants, existing sealers, or moisture will prevent proper stain penetration. Don’t rush the prep work, test everything first, and ensure complete neutralization before sealing for lasting results.
Staining A Concrete Floor Is Easy, Just Follow Our Step By Step
Stained Concrete Floors: Cost, How to Stain DIY, Maintenance Tips
Acid Staining Our Concrete Floors – An Expensive Look At Little Cost!
The Beginner’s Guide to DIY Stained Concrete, A Step by Step Tutorial

How To: Acid Stained Concrete Floors – Sebring Design Build
Related articles:
- Stained Concrete Floors Design
- Decorative Concrete Floors
- Acid Stained Concrete Floors
- Polished Concrete Floor In Bathroom
- Concrete Floor Stain And Polish
- White Mold On Concrete Floor
- Polished Concrete Floor
- Polished Concrete Floor Cleaning
- Staining Concrete Floors Indoors Yourself
- Flooring Options For Concrete Floors