When I first considered staining and polishing my concrete floors, I’ll admit I was nervous. The existing gray slab in my home felt cold and industrial, nothing like the warm, inviting spaces I admired in design magazines. But after months of research and working with a skilled contractor, I transformed my dull concrete into one of my home’s most striking features. The staining process revealed beautiful variations in the concrete I never knew existed, while the polishing brought out an incredible depth that rivals natural stone. Now I walk barefoot across what feels like a giant piece of art every day, and I’m constantly amazed at how this practical surface became so luxurious.
Why I Chose Stained and Polished Concrete
Durability topped my list of reasons for choosing this finish. With two large dogs and an active household, I needed floors that could withstand heavy traffic without showing wear. The stained and polished concrete has proven tougher than my previous hardwood floors, resisting scratches from pet nails and dropped kitchenware. Even after three years, the surface looks as good as the day it was finished, with no need for refinishing like wood requires.
Cost-effectiveness surprised me during my remodeling project. Comparing quotes, staining and polishing my existing concrete slab cost about half what new hardwood or quality tile would have run. I saved even more by not needing to replace my subfloor or install underlayment. The process took less time than traditional flooring installations too – my main floor was completed in about a week from grinding to final polish.
Aesthetic versatility sealed the deal for me. The acid stains created organic, marble-like patterns I couldn’t have achieved with any other material. Unlike paint or coatings that sit on top, the stain penetrates the concrete for permanent color that won’t peel or chip. The polishing process then enhanced these natural variations, giving me a truly one-of-a-kind floor no one else can replicate.

The Staining Process: What Actually Happens
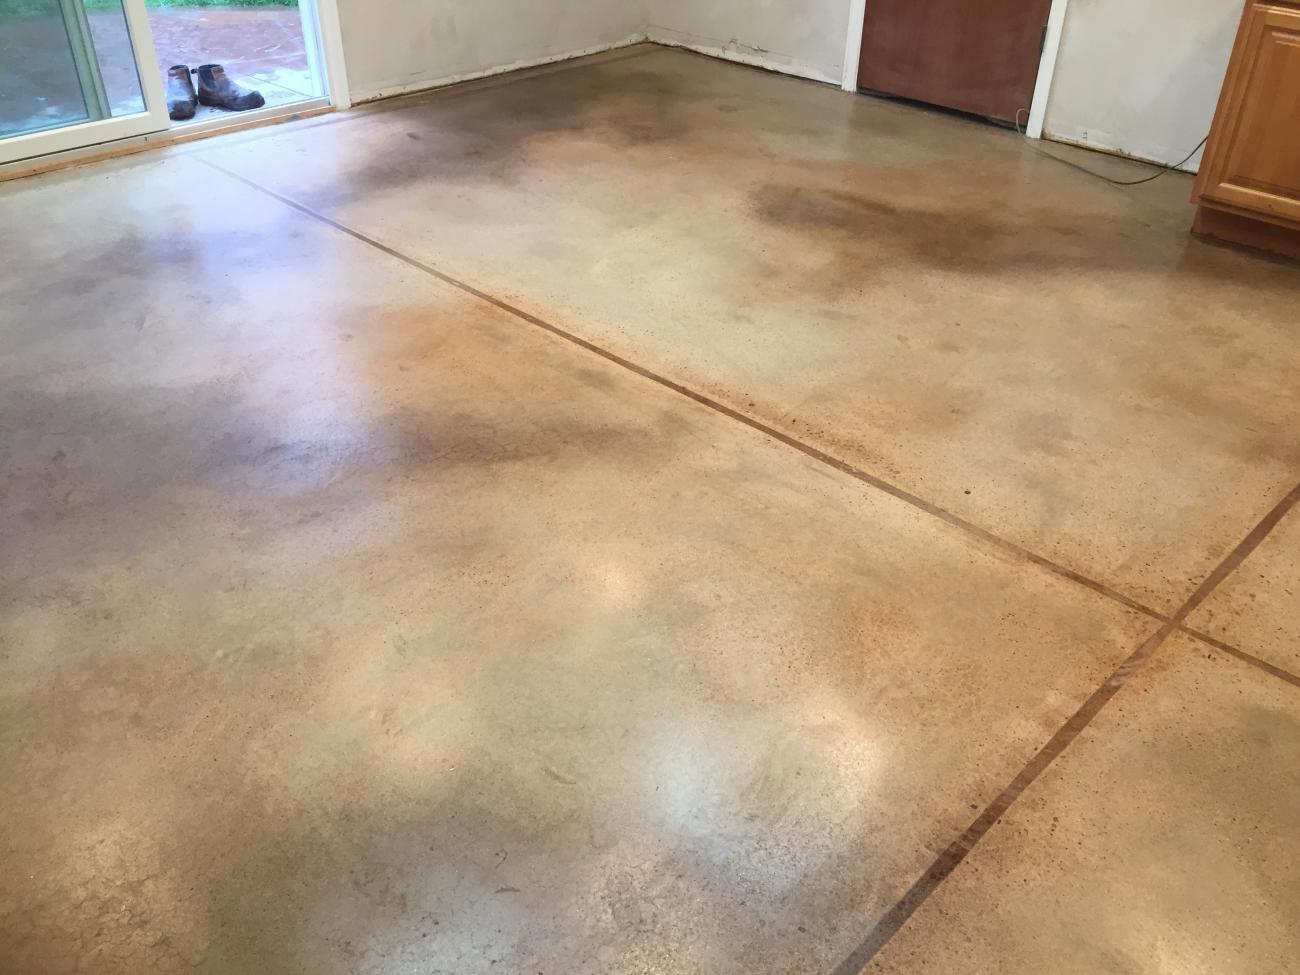
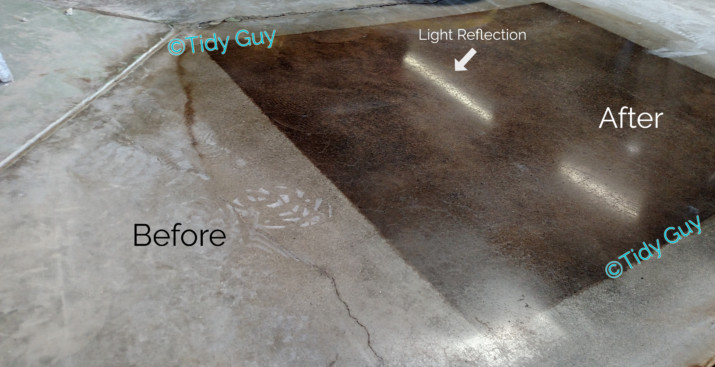
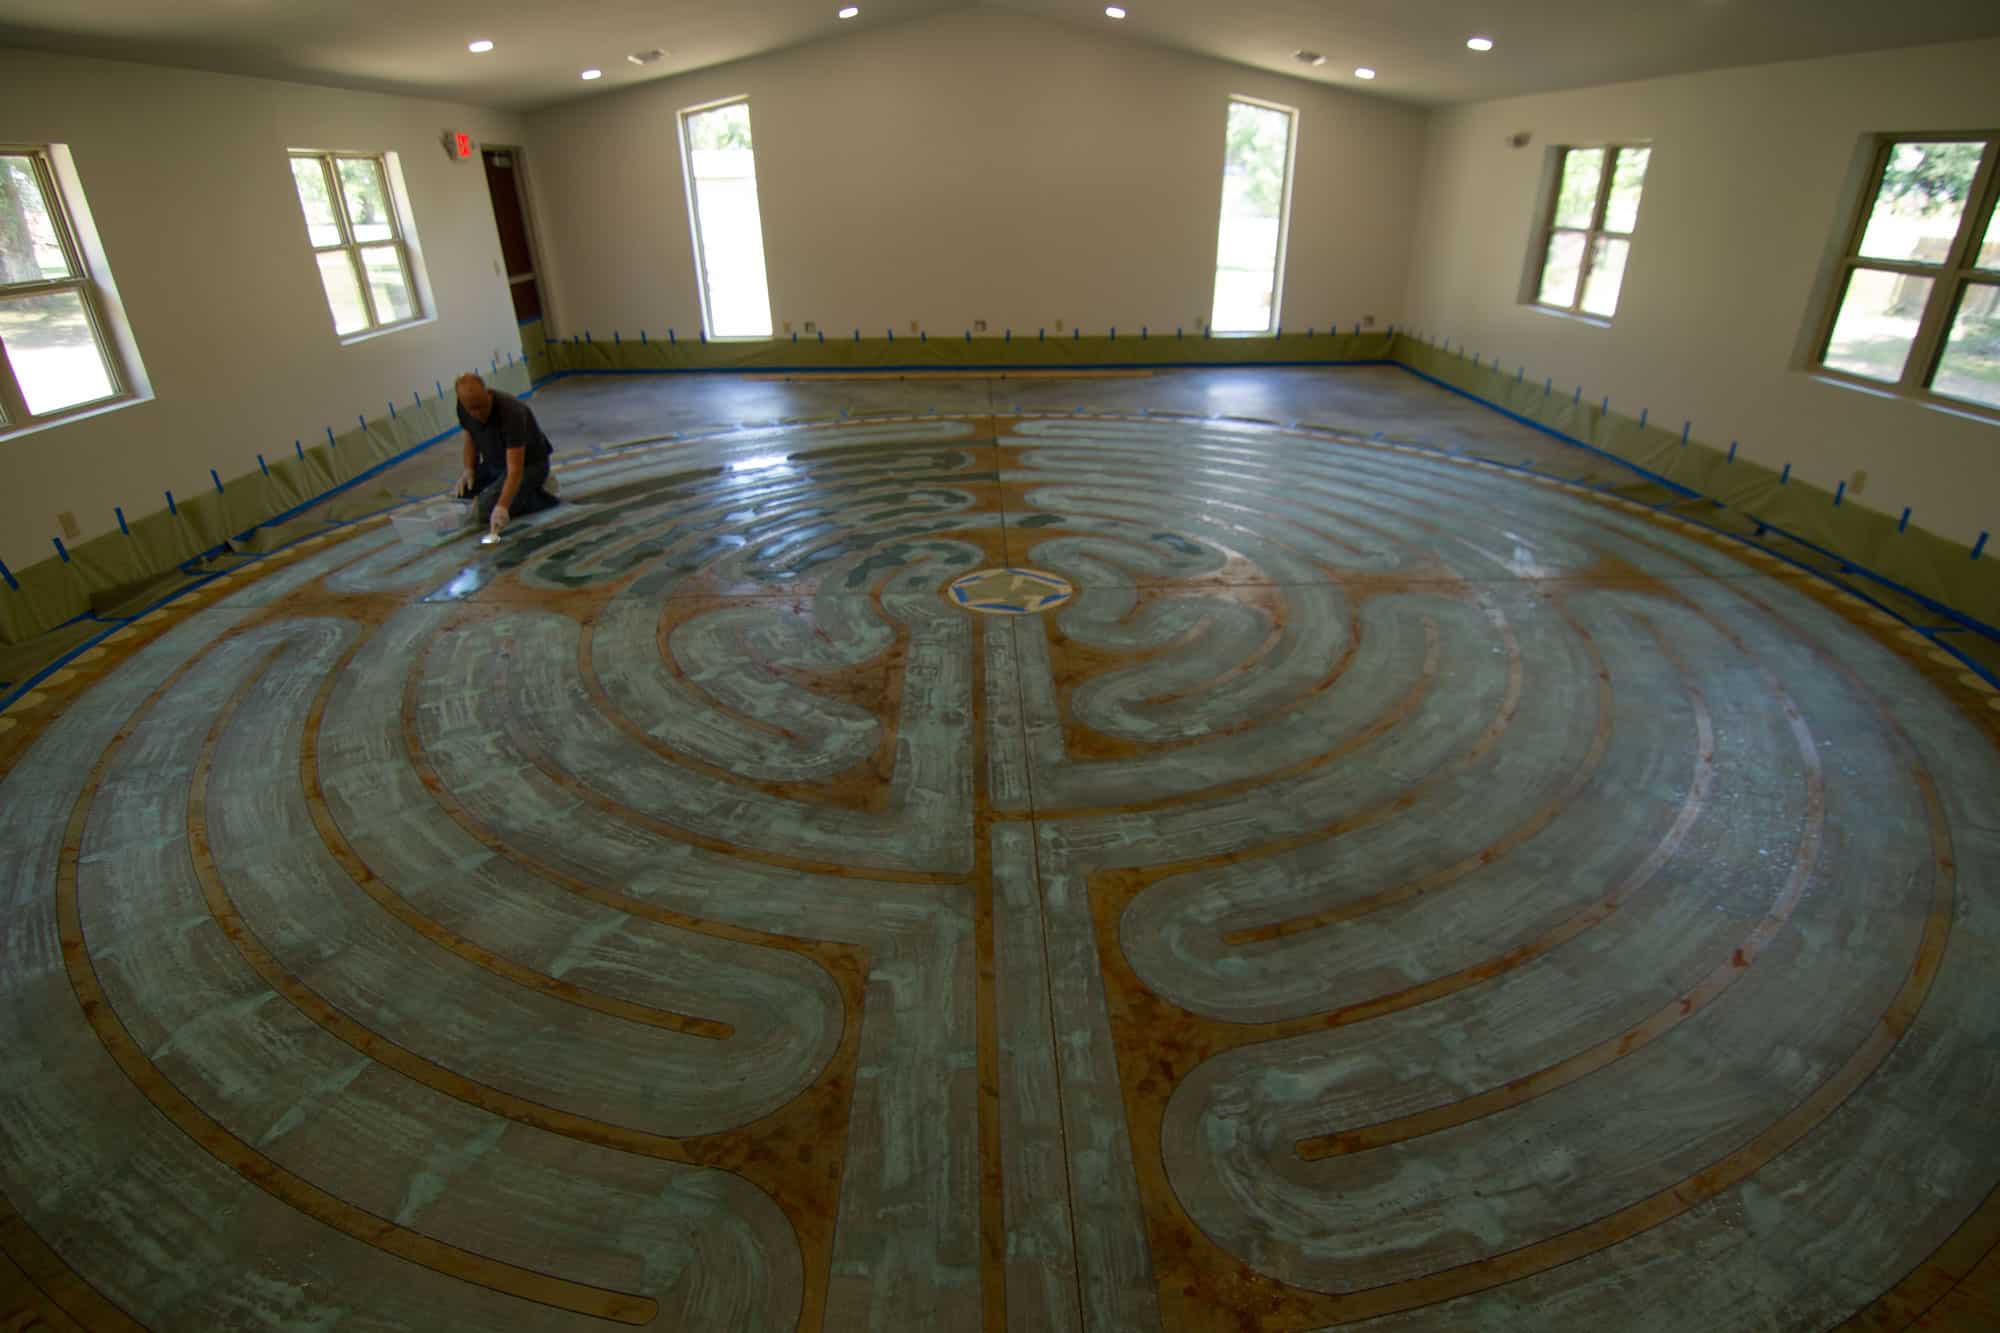
Surface preparation proved more intensive than I expected. The contractor used industrial grinders to remove old sealers and open the concrete’s pores. This dusty but crucial step ensures proper stain absorption. Watching my dull slab transform into a clean canvas made me appreciate why this preparation matters so much. They repaired cracks and imperfections too, though some hairline cracks remained to add character.
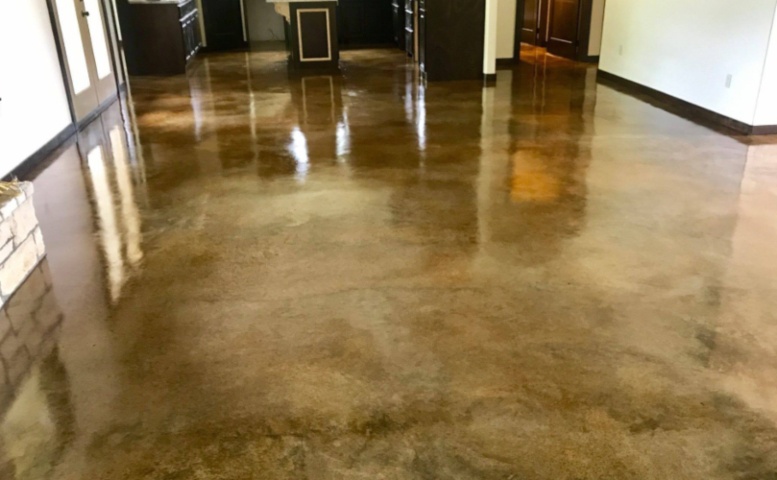
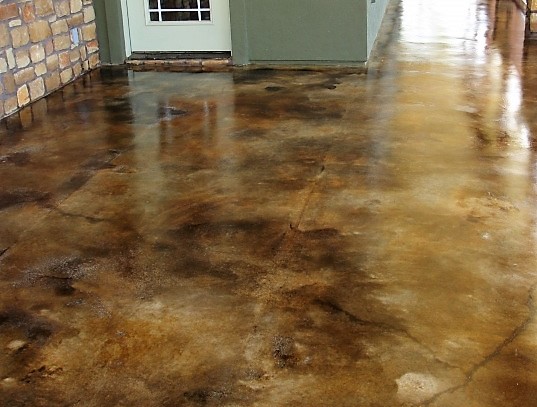
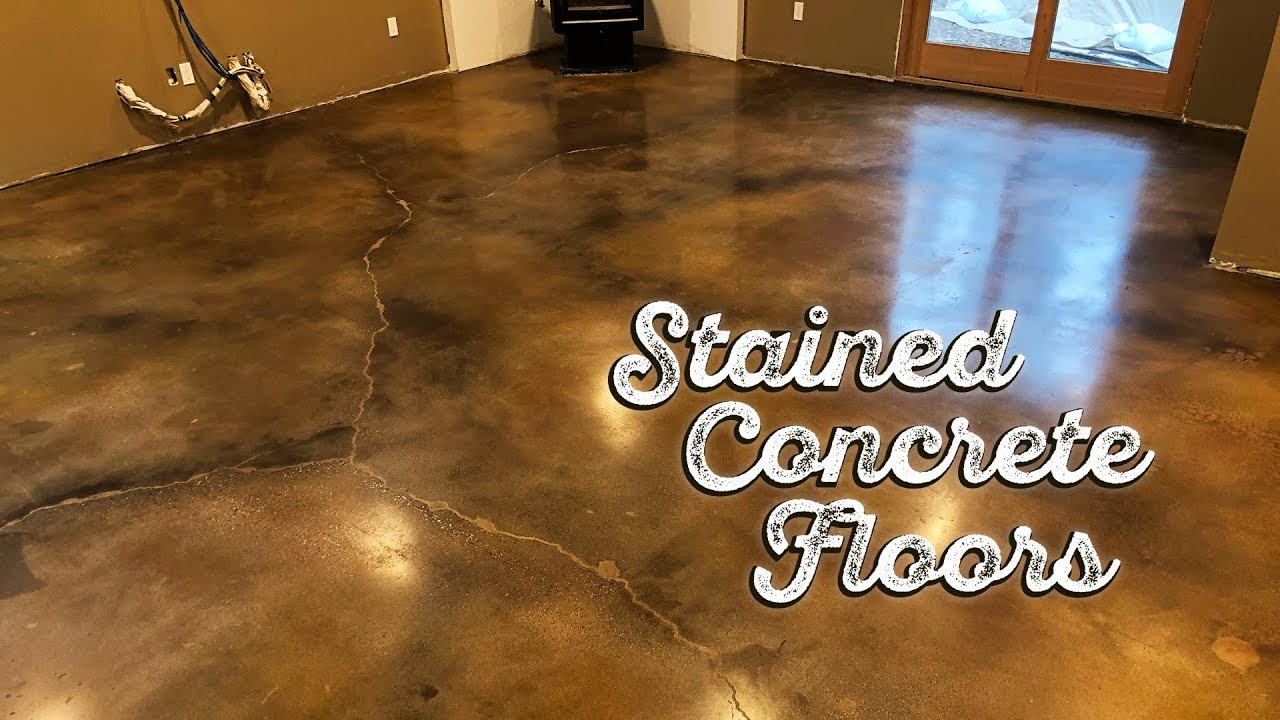
Applying the acid stain felt like watching magic unfold. The technician sprayed on the solution that initially looked unimpressive – just a wet darker patch. But as the chemical reaction progressed over hours, beautiful earth tones emerged with subtle variations. The stain interacted differently with various parts of my slab, creating natural-looking patterns rather than a flat, uniform color. I chose a blend of walnut and amber tones that gave warmth to what was once a cold gray surface.
Neutralizing and cleaning came next, stopping the chemical reaction. This involved thorough rinsing and pH balancing – a step I later learned is crucial for proper sealer adhesion. The clean floor then needed 24 hours to dry completely before polishing could begin. Seeing the stained but unpolished surface, I could already envision the potential, though it still looked somewhat flat and matte at this stage.
The Polishing Process That Brought It to Life
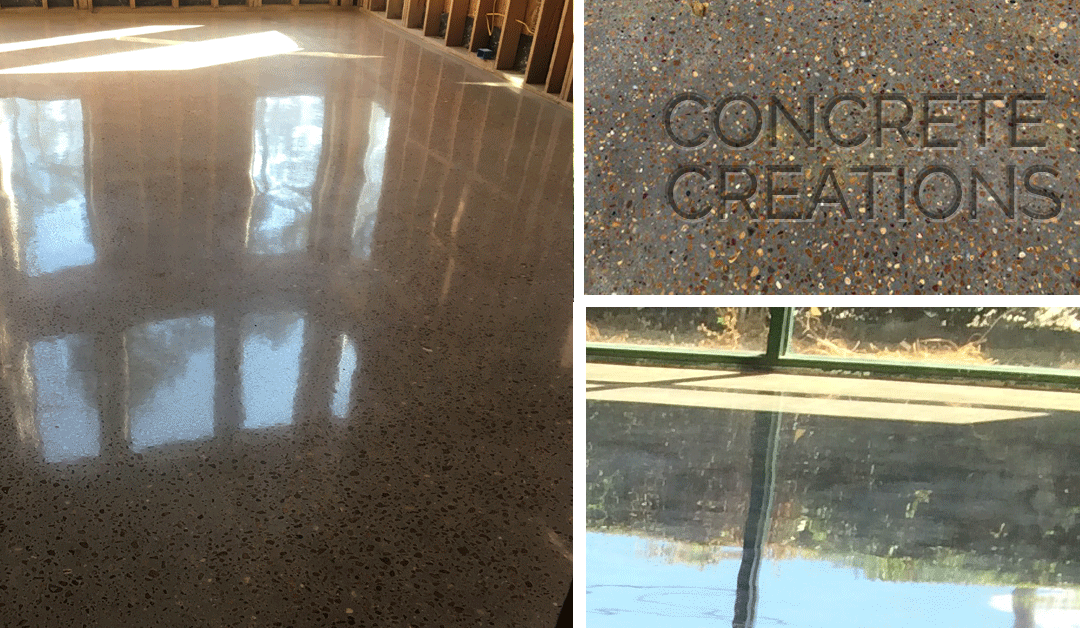
Grinding with progressively finer diamonds created the polished finish. Starting with coarse 50-grit metal-bonded diamonds, the contractor worked up to 3000-grit resin pads. Each pass made the surface smoother and more reflective. I was amazed how the same equipment used for rough grinding could create such a fine finish just by changing the abrasives. The process generated considerable dust despite water suppression, but the results justified the temporary mess.
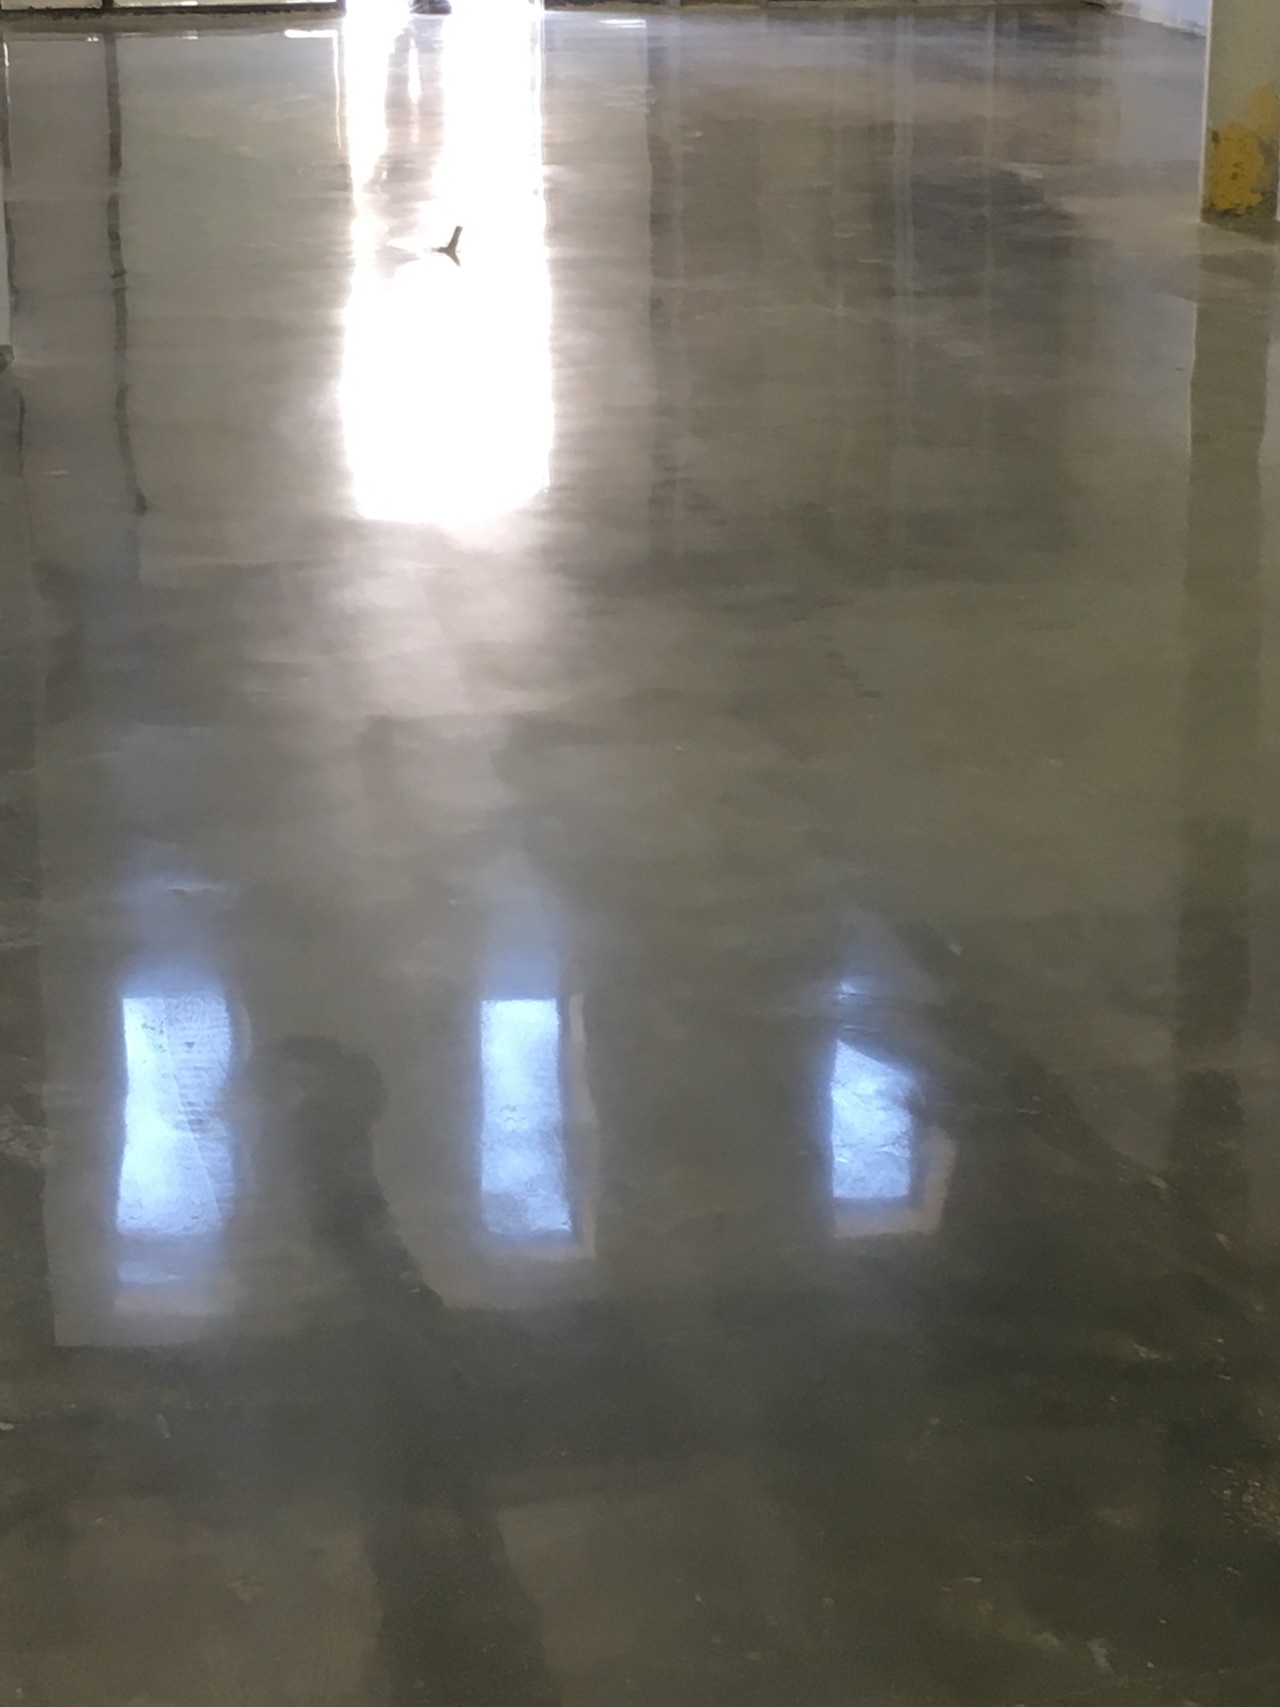
Watching the shine develop was fascinating. Around the 400-grit stage, the floor started developing a satin luster. By 800-grit, the reflection became noticeably clearer. At the highest grit levels, the concrete took on an almost glass-like appearance that highlighted the stain’s depth. My contractor explained that the polishing doesn’t just smooth the surface – it actually densifies the concrete, making it more durable and stain-resistant.
The final step involved applying a penetrating sealer. This protective layer enhanced the color while providing stain resistance. I opted for a matte sealer that maintained the concrete’s natural appearance rather than creating a plastic-like gloss. The sealer also made future maintenance easier by preventing oil and liquid absorption. Walking on the finished surface for the first time, I couldn’t believe this was the same drab slab from just days before.
Maintenance: Easier Than I Imagined
Daily cleaning couldn’t be simpler. I use a microfiber mop with plain water for routine cleaning, which keeps the surface looking pristine. For deeper cleaning, a pH-neutral cleaner removes any buildup without damaging the sealer. I was pleasantly surprised to find I don’t need special concrete cleaners – basic household products work perfectly.
Periodic resealing maintains protection. About every two years, I apply a fresh coat of penetrating sealer, a process that takes me an afternoon. The sealer refreshes the color and restores stain resistance. I’ve found it easiest to do this in sections, moving furniture as I go. The sealer dries clear without changing the floor’s appearance, just renewing its protective qualities.
Preventative measures save long-term hassle. I place felt pads under furniture legs and use area rugs in high-traffic zones. While the floor is durable, preventing scratches means less need for touch-up polishing. At entryways, walk-off mats capture abrasive dirt before it reaches the polished surface. These simple habits have kept my floors looking new with minimal effort.
Design Possibilities I Discovered
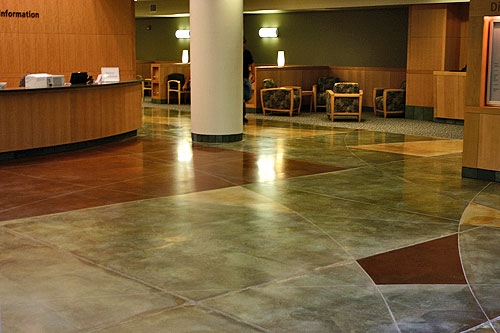
Combining stain colors created custom effects. In my living area, I used a single stain color, but in the dining room, I experimented with layering two tones. The technician applied a base coat of lighter stain, then accented with darker stain in certain areas. This created dimension that makes the floor look like natural stone. The subtle variation between rooms adds interest while maintaining flow.
Playing with polish levels affects ambiance. My kitchen has a high-gloss finish that reflects light beautifully, while the bedroom received a satin polish for softer reflection. The differing sheens help define spaces without needing transitions or changes in flooring material. I love how the light plays differently in each area while maintaining a cohesive look throughout.
Incorporating decorative scoring added personality. Before staining, the contractor cut shallow decorative lines in my entryway floor. These scored lines created a custom border design that filled with darker stain, becoming a subtle but elegant detail. This technique let me personalize the floor without compromising its seamless appearance. The scoring is shallow enough not to collect dirt but visible enough to make an impact.

Lessons Learned From My Experience
Testing stains on inconspicuous areas proved invaluable. The stain reacted differently to various parts of my concrete slab. By testing in a closet first, we adjusted our color choices to account for my slab’s unique composition. This prevented surprises when staining the main areas. I recommend anyone considering this process insist on multiple test areas.
Patience during curing matters more than I realized. After polishing, the floor needed a full week to fully harden before moving furniture back. Rushing this could have caused premature wear or scratches. I temporarily used felt sliders under all furniture legs during the initial move-in, then removed them after the cure period ended.
Understanding light reflection changed my polish choice. Samples looked different at various times of day as sunlight moved through my home. I’m glad we viewed polish samples under both natural and artificial light before deciding. The high-gloss areas I initially wanted would have been too glaring in my south-facing rooms at certain times.
How long do stained and polished concrete floors last?
With proper maintenance, stained and polished concrete floors can last decades – essentially the life of the concrete slab itself. The stain penetrates the concrete rather than sitting on top, so it won’t wear off like paint or coatings might. Periodic repolishing (every 5-10 years depending on traffic) can refresh the shine, but the basic finish remains intact. My contractor has examples of floors still looking great after 20+ years with basic care.
Can you stain and polish old concrete?
Absolutely – my floor was nearly 20 years old when we transformed it. The key is proper surface preparation to ensure good stain penetration. Older concrete may need more grinding to remove existing sealers or coatings. Some discoloration or unevenness in older slabs actually adds character to the final product. My contractor assessed my slab’s condition first to determine any necessary repairs before starting the staining process.
Are polished concrete floors slippery?
The slip resistance depends on the polish level. My satin-finished areas provide good traction even when wet, while the high-gloss kitchen can get slippery if water pools. We added anti-slip additives to the sealer in potentially wet areas. For homes with children or elderly residents, I’d recommend sticking to lower-gloss finishes in bathrooms and entryways. Properly finished concrete can actually be safer than many tile or stone options.
How does the cost compare to other flooring options?
In my case, staining and polishing cost about 30-50% less than installing quality hardwood or natural stone flooring. I saved significantly by not needing to remove my existing slab or install underlayment. While the upfront cost might compare to mid-range tile, the long lifespan and minimal maintenance make it more cost-effective over time. The exact price depends on your slab’s condition and the complexity of the design.
Can you change the color later if you don’t like it?
Unlike surface coatings, acid stains chemically alter the concrete, making the color permanent. That’s why testing in inconspicuous areas is so important. If you truly dislike the color, options are limited to covering with another flooring material or using opaque concrete dyes (which sit on top rather than penetrating). I spent considerable time reviewing samples and test areas to ensure I’d love my color choice long-term.
Do stained concrete floors work with radiant heating?
Yes – in fact, concrete’s thermal mass makes it ideal for radiant systems. The stain and polish don’t affect heat transfer, and the even surface distributes warmth beautifully. My neighbor installed radiant heating before staining and polishing her slab, and she reports the floors feel wonderfully warm underfoot while showing no issues from the heat. Just be sure any cracks are properly addressed before installation to prevent heat loss.
Concrete Staining & Polishing – Charlottesville Carpet
How to stain interior concrete floors in 5 steps – Prosoco
Styles of Stained Concrete Floors u2014 Craftsman Concrete Floors

Acid Stain Concrete American Concrete Polishing u0026 Coating

Polished Concrete Flooring u2014 Central Illinois Epoxy

Related articles:
- Stained Concrete Floors Design
- Decorative Concrete Floors
- Acid Stained Concrete Floors
- Polished Concrete Floor In Bathroom
- Concrete Floor Stain And Polish
- White Mold On Concrete Floor
- Polished Concrete Floor
- Polished Concrete Floor Cleaning
- Staining Concrete Floors Indoors Yourself
- Flooring Options For Concrete Floors