When I started planning my kitchen renovation three years ago, everyone warned me against installing wood floors in the kitchen. Friends shared horror stories about water damage, staining, and maintenance nightmares that made me second-guess my dream of warm, natural wood underfoot while cooking.
After extensive research and living with my oak floors through countless spills, dinner parties, and daily cooking adventures, I can confidently say it was one of my best renovation decisions. Let me share everything I learned about choosing, installing, and maintaining wood kitchen floors that bring beauty and warmth to the heart of the home.
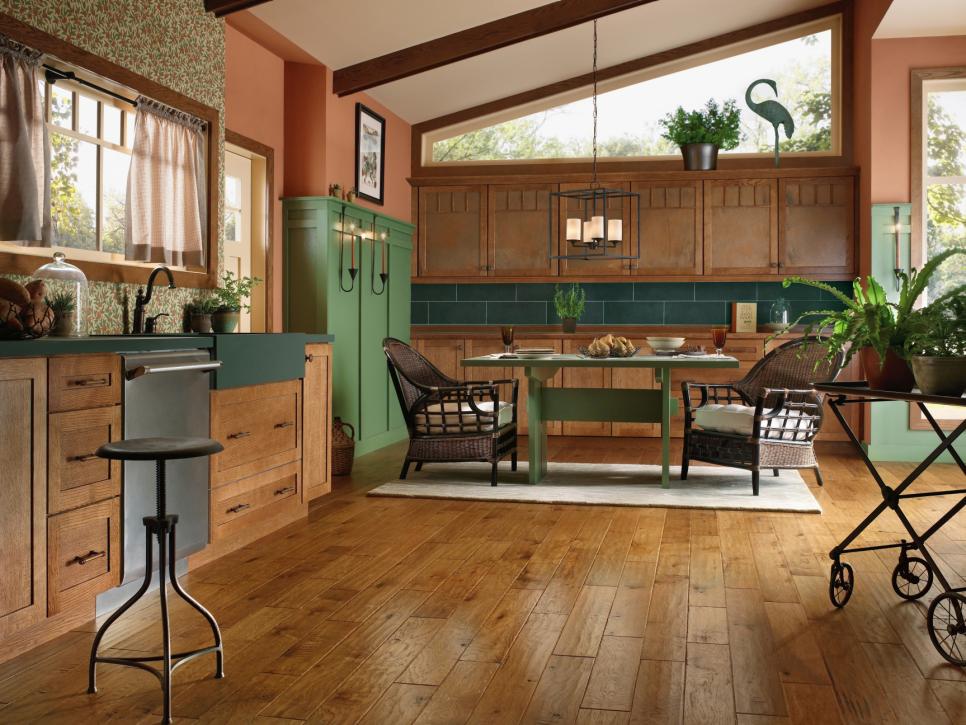
Choosing the Right Wood Species for Kitchen Durability
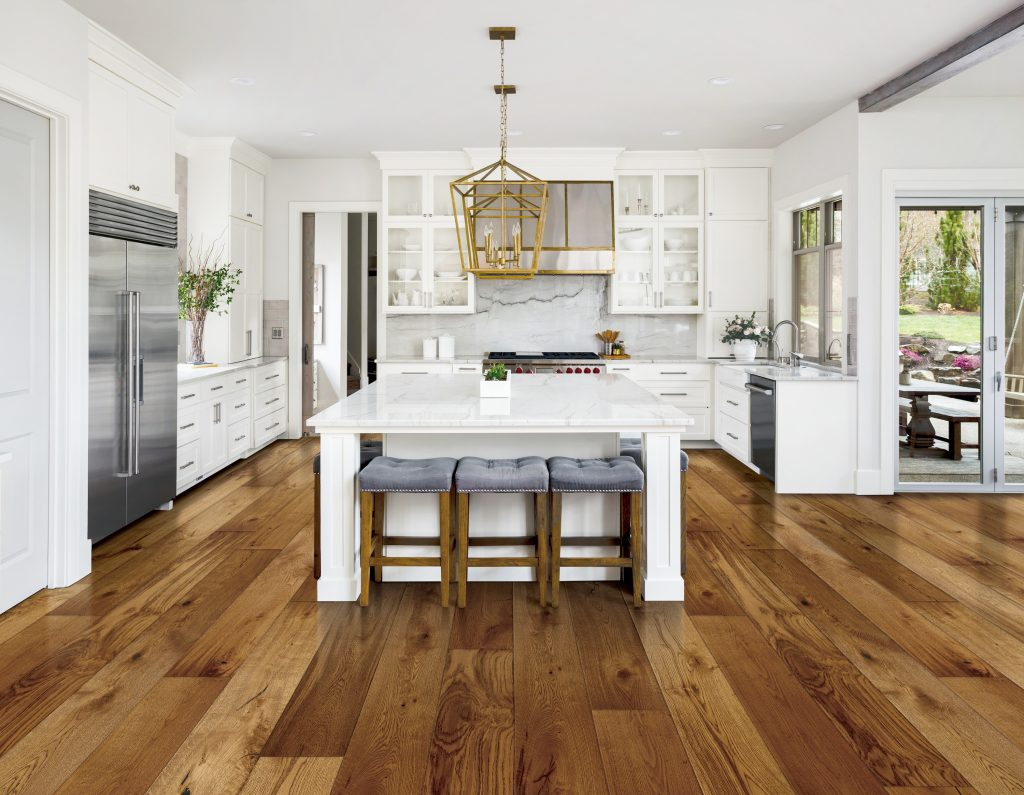
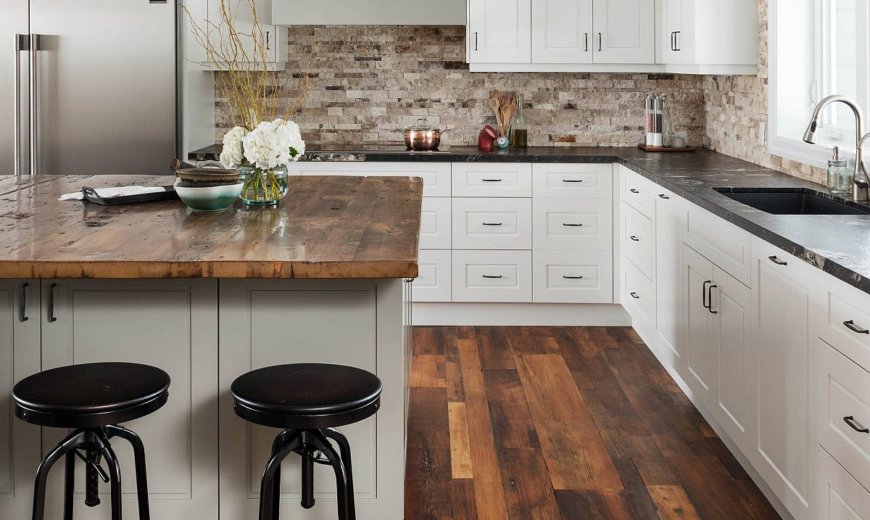
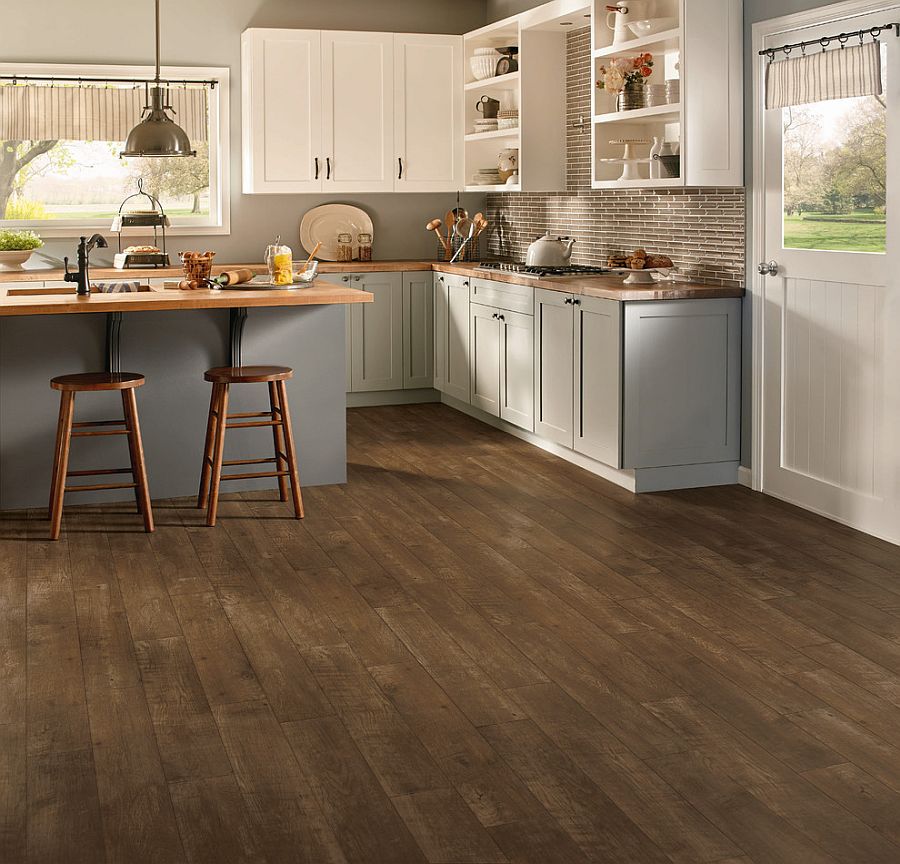
My search for the perfect kitchen wood flooring began with understanding which species could handle the unique challenges of cooking environments. Oak became my top choice after learning about its exceptional durability and closed-grain structure that resists moisture penetration better than softer woods. The natural tannins in oak also provide inherent antimicrobial properties, making it ideal for food preparation areas where cleanliness is paramount.
Hickory and maple offered even greater hardness ratings, but I found their grain patterns too busy for my kitchen’s clean aesthetic. After comparing samples in different lighting conditions throughout the day, I realized oak’s subtle grain provided character without overwhelming the space. The Janka hardness rating of 1,290 for red oak gave me confidence it would withstand decades of foot traffic, dropped utensils, and chair movements.
The species selection also influenced my finishing options significantly. Oak accepts stains beautifully, allowing me to achieve the perfect honey tone that complements my white cabinets and warm brass hardware. I tested several stain combinations on sample boards, learning that oak’s open grain creates depth and richness that is enhanced with proper finishing techniques. This versatility made oak the clear winner for both performance and aesthetics.
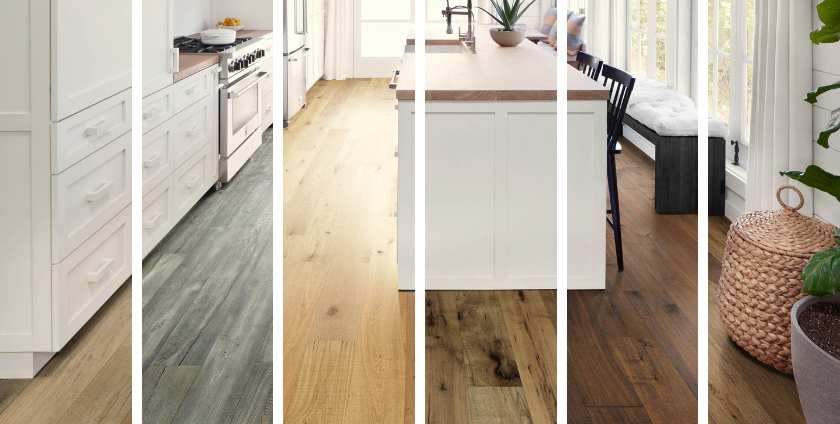
Engineered vs Solid Wood: Making the Right Choice
Deciding between engineered and solid wood flooring for my kitchen required weighing stability against authenticity and long-term value. Engineered flooring offered superior dimensional stability in the kitchen’s fluctuating humidity conditions, with its cross-grain construction preventing the seasonal expansion and contraction that can cause gaps in solid wood installations. This stability was particularly important around my dishwasher and sink areas.
Solid wood flooring appealed to my desire for authenticity and maximum refinishing potential over the floor’s lifetime. I could sand and refinish solid oak floors multiple times, essentially creating a new surface whenever wear or damage accumulated. However, the 3/4-inch thickness required careful subfloor preparation and professional installation to prevent moisture issues that could cause cupping or crowning problems.
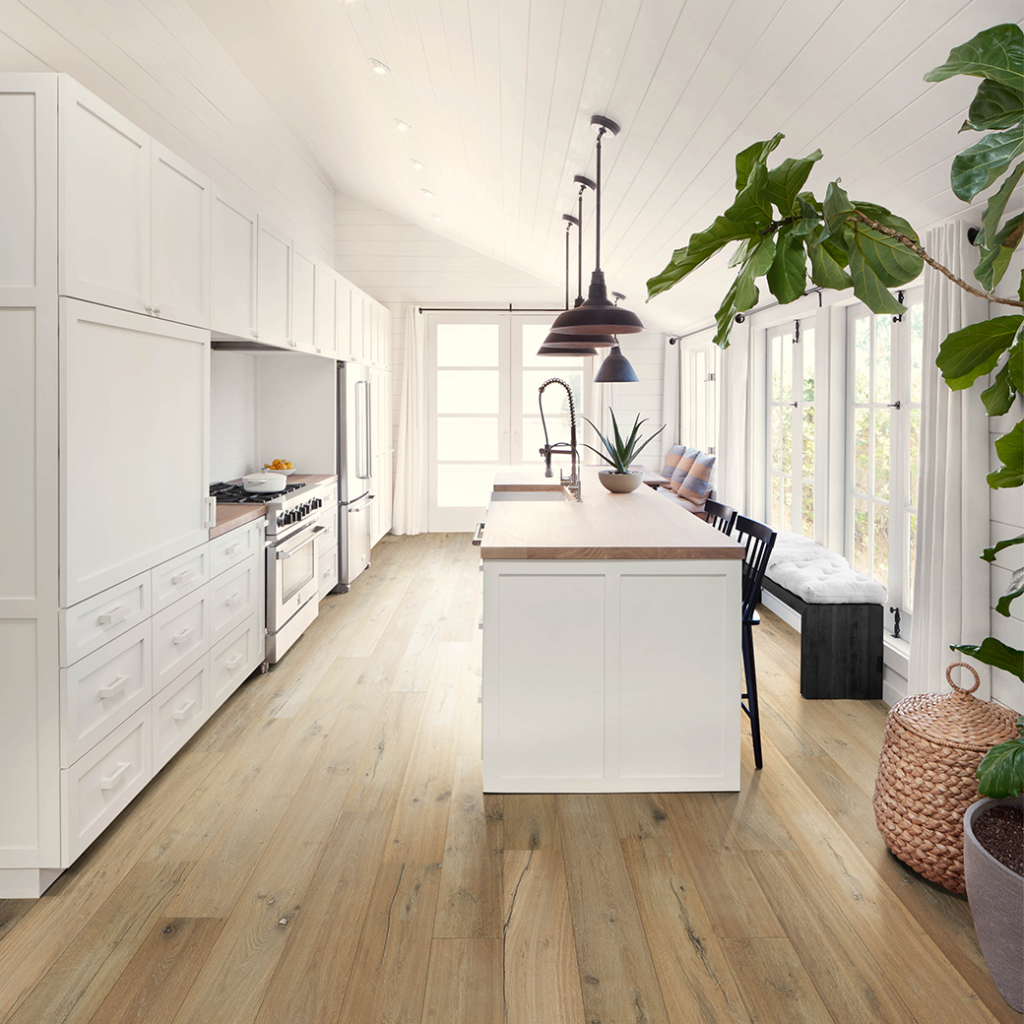
My final decision favored engineered flooring after consulting with my installer about my kitchen’s specific conditions. The 5-inch wide planks I chose had thick enough wear layers for multiple refinishing while providing the stability needed around appliances. The pre-finished factory coating also offered superior durability compared to site-finished options, saving time and ensuring consistent results throughout the installation.

Moisture Protection and Sealing Strategies
Protecting my wood kitchen floor from moisture became my primary concern during planning and continues to influence my daily maintenance routine. I insisted on a moisture barrier beneath the flooring, even though my kitchen sits over a basement rather than a crawl space. This extra protection prevents moisture migration from below that could cause adhesive failure or wood movement over time.
The finish selection proved crucial for daily moisture resistance and stain protection. I chose a commercial-grade polyurethane finish with aluminum oxide particles that create an incredibly durable surface. This finish has withstood three years of cooking spills, pet accidents, and aggressive cleaning without showing wear or penetration. The slight texture also provides better slip resistance when wet compared to glossy finishes.
Sealing around appliances and transitions required meticulous attention to prevent water infiltration at vulnerable joints. I used color-matched caulk around the dishwasher, refrigerator, and sink base to create waterproof seals that remain flexible with seasonal movement. These details aren’t glamorous but have prevented the moisture problems that destroy wood floors in kitchens with inadequate protection.
Installation Challenges and Professional vs DIY
Installing wood flooring in my kitchen presented unique challenges that convinced me professional installation was worth the investment. The multiple appliances, odd angles, and precise cuts around cabinetry required skills and tools beyond my DIY capabilities. My installer’s experience with kitchen-specific techniques prevented costly mistakes and ensured proper expansion gaps around fixed elements like islands and peninsula bases.
The subfloor preparation became more critical in the kitchen than other rooms due to potential moisture exposure and heavy appliance loads. My installer discovered and corrected several low spots that could have caused squeaking or premature wear. The extra time spent on proper subfloor prep paid dividends in the final installation quality and long-term performance of my floors.
Timing the installation around other kitchen trades required careful coordination that professionals handle better than DIY enthusiasts. My floors went in after cabinets but before appliances, requiring precise measurements and temporary protection during final construction phases. The installer’s experience with this sequencing prevented damage and delays that could have complicated my entire kitchen renovation timeline.
Daily Maintenance and Long-Term Care
Living with wood floors in my kitchen has taught me that daily maintenance makes the difference between floors that age gracefully and those that show every sign of wear. I sweep or vacuum daily to remove grit and debris that can scratch the finish, paying special attention to high-traffic areas around the sink, stove, and refrigerator where dirt accumulates most quickly.
Spill cleanup became second nature, with immediate attention preventing stains and water damage that could penetrate the finish. I keep microfiber cloths handy for quick cleanups and have learned which spills require immediate action versus those that can wait a few minutes. Red wine, coffee, and acidic substances get cleaned up instantly, while water and most food spills are less urgent but still addressed promptly.
My weekly cleaning routine involves damp mopping with pH-neutral wood floor cleaner, avoiding the harsh chemicals and excessive water that can damage wood finishes. I learned early that less is more with wood floor cleaning; wet mops leave too much water, while spray-and-wipe techniques provide thorough cleaning without oversaturation. This gentle approach has kept my floors looking like new after three years of heavy use.
Addressing Common Kitchen Floor Concerns
The concern about water damage in kitchen wood floors proved largely unfounded with proper installation and reasonable care. My floors have handled numerous spills, including a dishwasher leak that went unnoticed overnight, without permanent damage. The key was addressing moisture quickly and maintaining good ventilation to prevent humidity buildup that causes more problems than occasional spills.
Scratches and dents from dropped utensils and cookware have been minimal thanks to the durable finish and hardwood species I selected. The few minor scratches that have appeared actually add character rather than detracting from the floor’s appearance. Touch-up markers designed for wood floors make invisible repairs when needed, maintaining the floors’ pristine appearance.
Staining concerns also proved manageable with prompt attention and proper cleaning techniques. The polyurethane finish prevents most stains from penetrating the wood, while regular cleaning prevents buildup that could cause discoloration. Even stubborn stains from spices and cooking oils have come out with appropriate cleaners and gentle persistence, never requiring professional refinishing or board replacement.
How much did your wood kitchen floors cost compared to other flooring options?
My engineered oak floors cost $8 per square foot installed, about double ceramic tile but less than natural stone. The 300-square-foot kitchen totaled $2,400, including materials and professional installation. While pricier upfront than laminate or vinyl, the longevity and refinishing potential make wood an excellent long-term value.
Do you regret choosing wood floors in your kitchen after three years?
Absolutely not! They’ve exceeded my expectations for durability and beauty. Daily maintenance is simple, and they’ve handled everything my busy kitchen can dish out. The warmth and natural beauty bring joy every time I cook, making them worth every penny and ounce of extra care required.

How do wood floors perform around appliances and high-moisture areas?
Excellent with proper installation and sealing. My floors around the dishwasher and sink show no moisture damage after three years. The key is professional installation with moisture barriers and immediate attention to any leaks. Modern finishes provide much better protection than older installations.
Are wood kitchen floors safe and comfortable for extended cooking sessions?
They’re much more comfortable than tile or stone for long cooking sessions, reducing leg and back fatigue. The natural grain of wood is easier on joints. For safety, I use rugs in key areas for extra cushioning and slip resistance when needed, though the textured finish provides good traction.

How often do wood kitchen floors need refinishing compared to other rooms?
My installer estimates 7-10 years before needing refinishing in the kitchen versus 10-15 years in living areas. The commercial-grade finish I chose is holding up beautifully so far. Even when refinishing is needed, the cost is much less than replacement, making maintenance economical over the floor’s lifetime.
Can families with kids and pets successfully have wood floors in kitchens?
Yes! My floors handle my two dogs and frequent entertaining beautifully. Kids’ spills clean up easily, and the natural antimicrobial properties of oak are actually beneficial for food areas. Pet nails haven’t caused damage, though keeping them trimmed helps. The floors are much more hygienic than carpet and easier to clean than textured tiles.

THE BEST KITCHEN FLOOR: TILE VS HARDWOOD

How Hard Can It Be to Choose a Hardwood Floor?

Hardwood Kitchen Floor Ideas
Hardwood Floors in the Kitchen? Yes! – 1 Kitchen, 6 Wood Floors
Related articles: