They've a nice glossy shimmer and texture which is sleek. A lot of individuals go for vinyl because vinyl is simple to install and may be carried out on ones own. Lastly, you may find that you love your bathroom flooring a great deal you do not wish to recoup it up – even with your wonderful brand new bathroom furniture.
Here are Images about Replacing Chipboard Flooring Bathroom
Replacing Chipboard Flooring Bathroom

The idea of a magnificent wood floor in the bathroom may seem good, though it's fraught with all sorts of problems. This is understandable because it just has your feet to attend to, as opposed to sinks, toilets as well as bath enclosures that have essential specs impacting their use and performance. You can find tiles with patterns developed specially to create good borders.
DIY: How To Remove Chipboard Flooring

Nonetheless, it's not advisable for households with kids, for even high-grade carpet is going to be not able to withstand frequent soakings as well as spillage. In choosing your bathroom flooring, you need to give some thought to affordability, quality and practicality. They're durable, low maintenance and are available in colors that are different & textures.
Images Related to Replacing Chipboard Flooring Bathroom
Chipboard floor repair DIYnot Forums
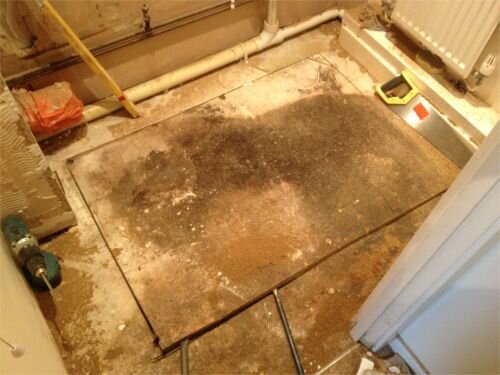
Removing old chipboard floor in bathroom and replacing it with 25mm ply

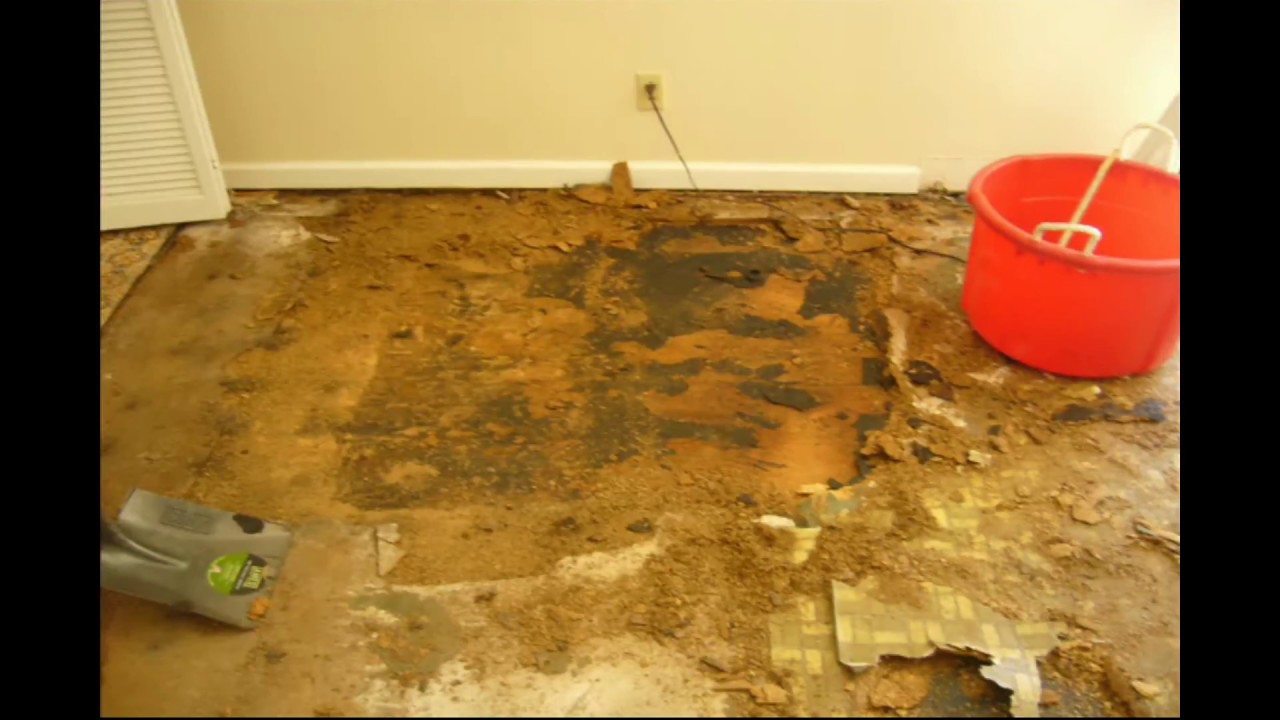
Replacing Water Damaged Particle Board Floors With Laminate Flooring
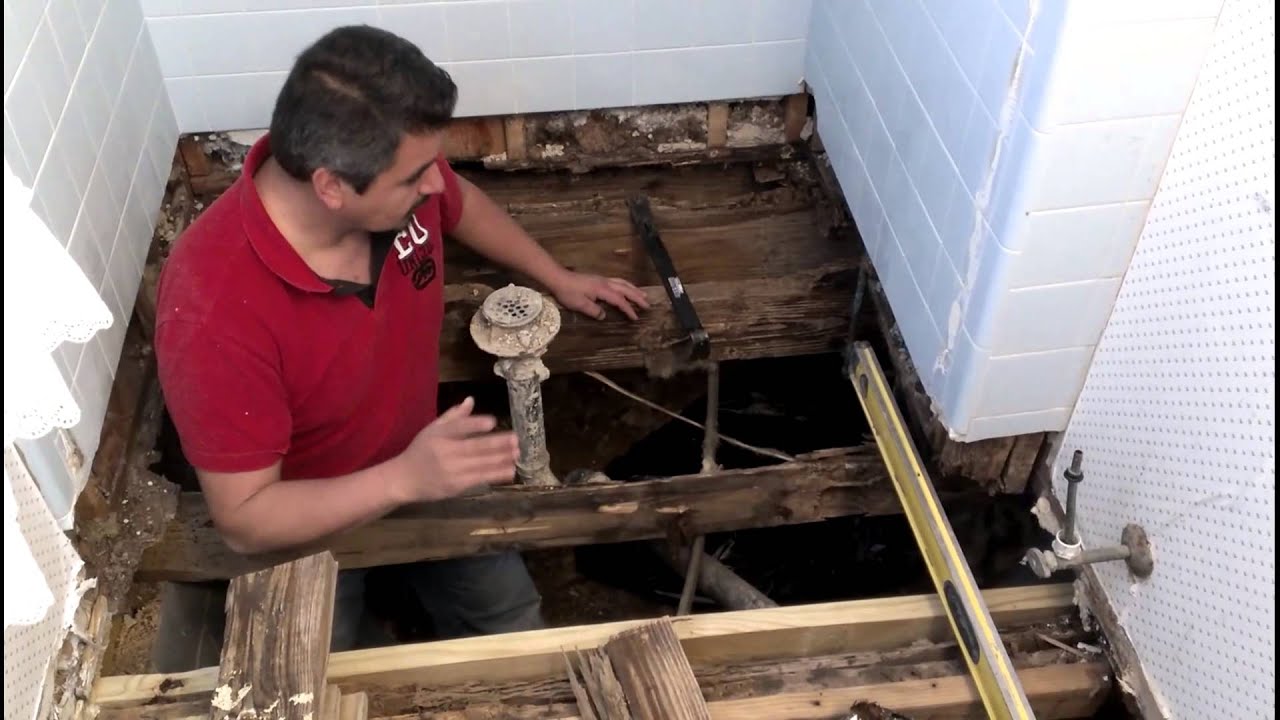
How to repair a BATHROOM FLOOR STRUCTURE!🔨🚿
How to Lift a Chipboard Floor, Batten Joists and Re-Fit the Chipboard – Remove Chipboard Floorboards

Replacing chipboard flooring and insulating Victorian property

Plasterboard under chipboard flooring DIYnot Forums
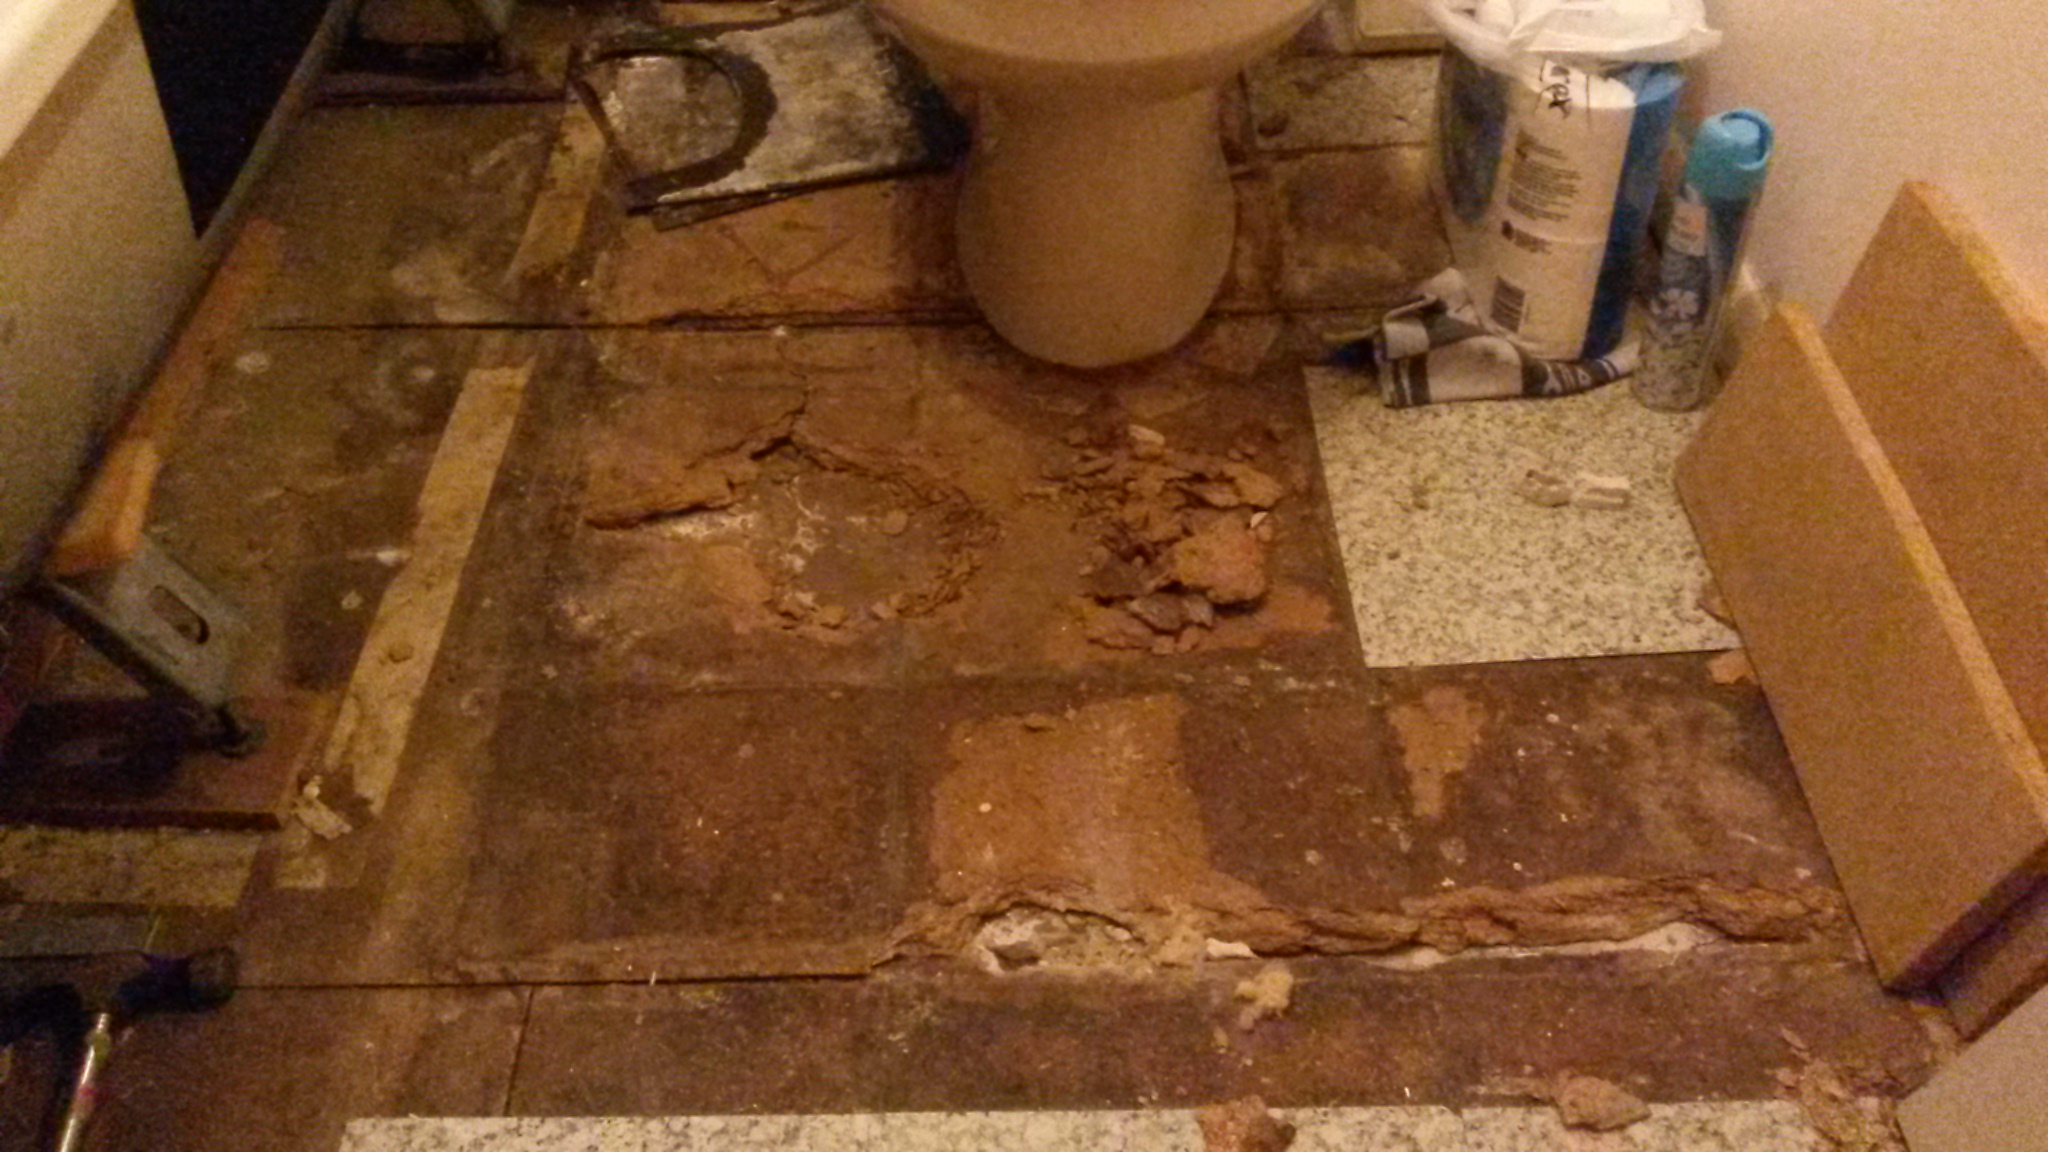
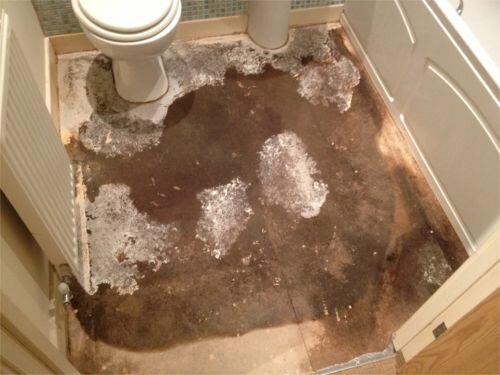
Advice on bathroom floor damaged by leak – replace
Chipboard Floorboards

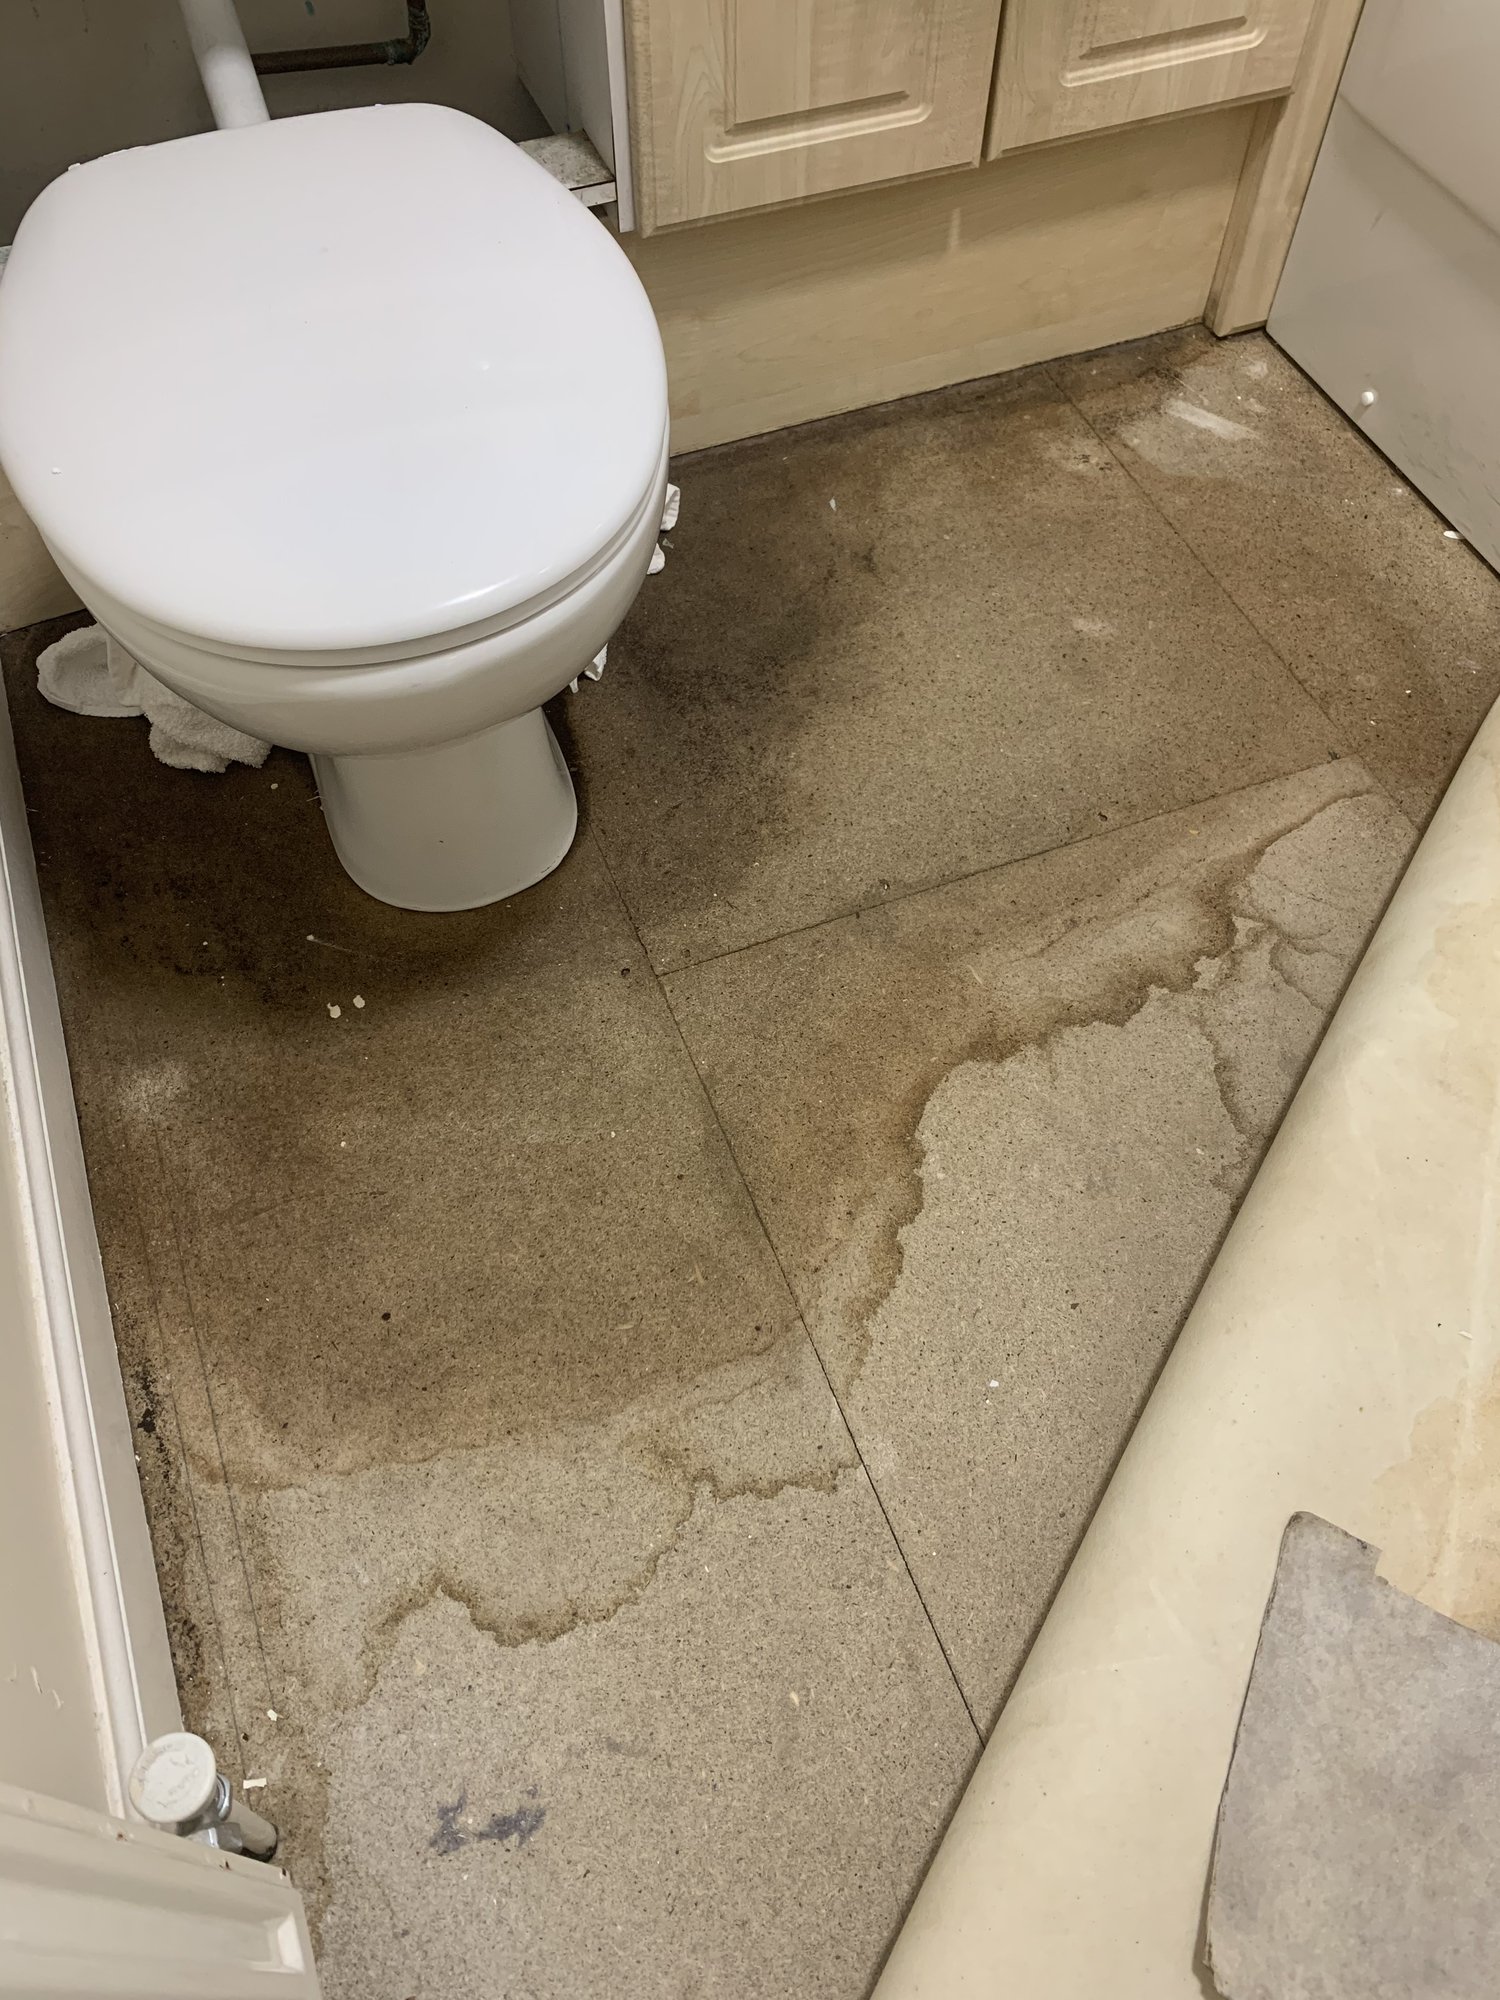
Water damage – Floating chipboard flooring. UK Tiling Forum
Chipboard Floorboards

Water damage – Floating chipboard flooring. UK Tiling Forum
Related articles:
- Vintage Bathroom Floor Tile Patterns
- Bathroom Floor Tile DIY
- Limestone Bathroom Floor Tiles
- Bathroom Floor Porcelain Tile
- Concrete Bathroom Floor Ideas
- White Bathroom Ceramic Tiles
- Bathroom Floor Baseboard
- Rustic Bathroom Flooring Ideas
- Bathroom Flooring Options
- Bamboo Bathroom Flooring Ideas
Chipboard flooring is a popular choice for bathroom floors due to its durability and affordability. However, over time, chipboard can become warped or cracked due to water damage or other wear and tear. If your chipboard flooring is looking worse for wear, then it’s time to consider replacing it. Here’s everything you need to know about replacing chipboard flooring in the bathroom.
What Materials Should I Use?
When replacing chipboard flooring in the bathroom, it’s important to choose materials that are water-resistant and durable enough to handle the demands of a busy bathroom. Vinyl plank flooring is a great option for bathrooms as it’s waterproof, easy to install, and available in a variety of styles. Laminate is also an affordable choice for bathrooms as it mimics the look of hardwood without the maintenance and cost.
How Do I Prepare for Installation?
Before you begin installing your new flooring, you’ll need to take some time to prepare your existing chipboard flooring. Start by removing all furniture and other items from the room. Next, use a crowbar to pry up any loose boards and remove them from the room. Once all of the old boards have been removed, use a putty knife or other tool to scrape away any remaining adhesive. Finally, vacuum up any debris and use a damp cloth to thoroughly clean the subfloor before beginning installation of your new flooring.
What Tools Will I Need?
When installing new flooring in your bathroom, you’ll need a few basic tools including a saw, tape measure, hammer, nails, screws, drill, and utility knife. You may also want to invest in an electric sander if you’re planning on finishing the edges of your new flooring after installation.
What Steps Should I Follow During Installation?
The process of installing new flooring in your bathroom can be broken down into several basic steps:
1. Measure your room and purchase enough planks or tiles to cover its surface area.
2. Begin installing your new flooring from one corner of the room and work your way outwards until you reach the other end.
3. Use a saw and hammer to cut planks or tiles that don’t fit properly in place.
4. Use nails or screws to secure them in place.
5. If you’re using tiles, you may need to use mortar or adhesive to secure them in place as well as grout for finishing touches.
6. Finally, use an electric sander or other tool to finish off the edges of your new flooring for a neat and tidy look.
How Long Will It Take To Install My New Flooring?
The amount of time it takes to install new flooring will vary depending on the size of your bathroom and type of material you’re using. Generally speaking, it should take between one and two days for most bathrooms but could take longer if special tools or techniques are required.
Replacing chipboard flooring in the bathroom can be a daunting task but with proper preparation and knowledge of the necessary steps, it doesn’t have to be intimidating! By following these simple tips and tricks, you can have beautiful new floors in no time at all!