Ceramic bathroom floor tile is regularly utilized due to the resilience of its, resistance to dampness, the safety of its to move on when wet and the ease of its of cleaning. Many people make use of linoleum. In case you'd love to squeeze in a dash of color to your bathroom, pick glass or even ceramic mosaic bathroom floor tiles.
Here are Images about Setting Floor Tile Bathroom
Setting Floor Tile Bathroom

While selecting a suitable pattern you should in addition consider the way of life span of the floor material, its appearance and its potential to match with the design of the home. Bathroom flooring must be different from the flooring used in living rooms, bedrooms as well as that of the kitchen area. You merely need to take out the sticker and place down the tiles on the floor.
How to Install Ceramic Tile Flooring in 9 Steps – This Old House
:no_upscale()/cdn.vox-cdn.com/uploads/chorus_asset/file/19496978/howto_tile_01.jpg)
Laminates can turn slippery when there's water and you require anti-skid flooring for the bathrooms of yours, which is a primary requirement. This gives your bathroom a dash of color. Tiles with glossy finish offer a touch of elegance to the bath room while mosaic with matte finish provides the bathroom a spacious and warm feel. Stone flooring may be a little more costly but they last long.
Images Related to Setting Floor Tile Bathroom
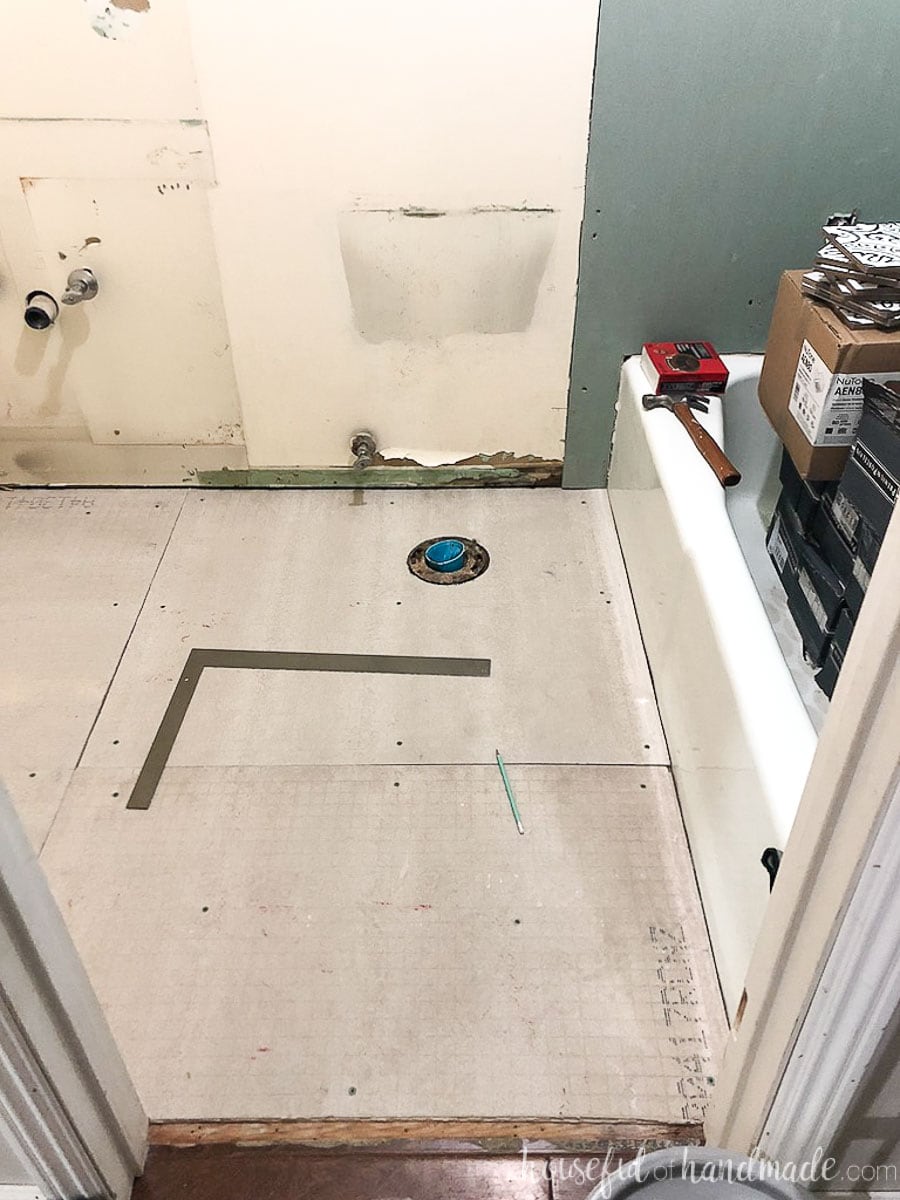
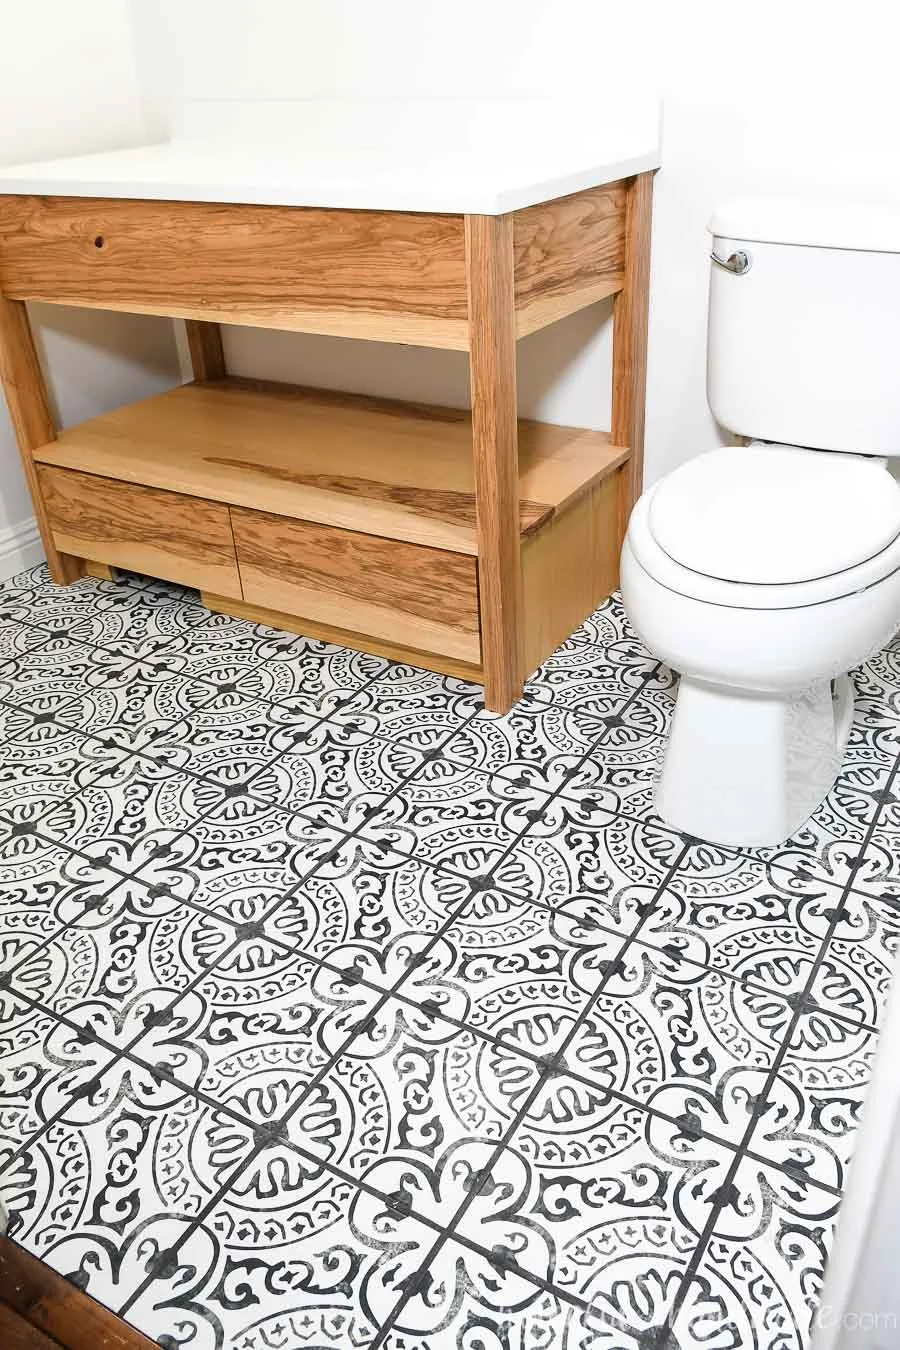
Laying Floor Tiles in a Small Bathroom – Houseful of Handmade
How to Lay a Tile Floor HGTV

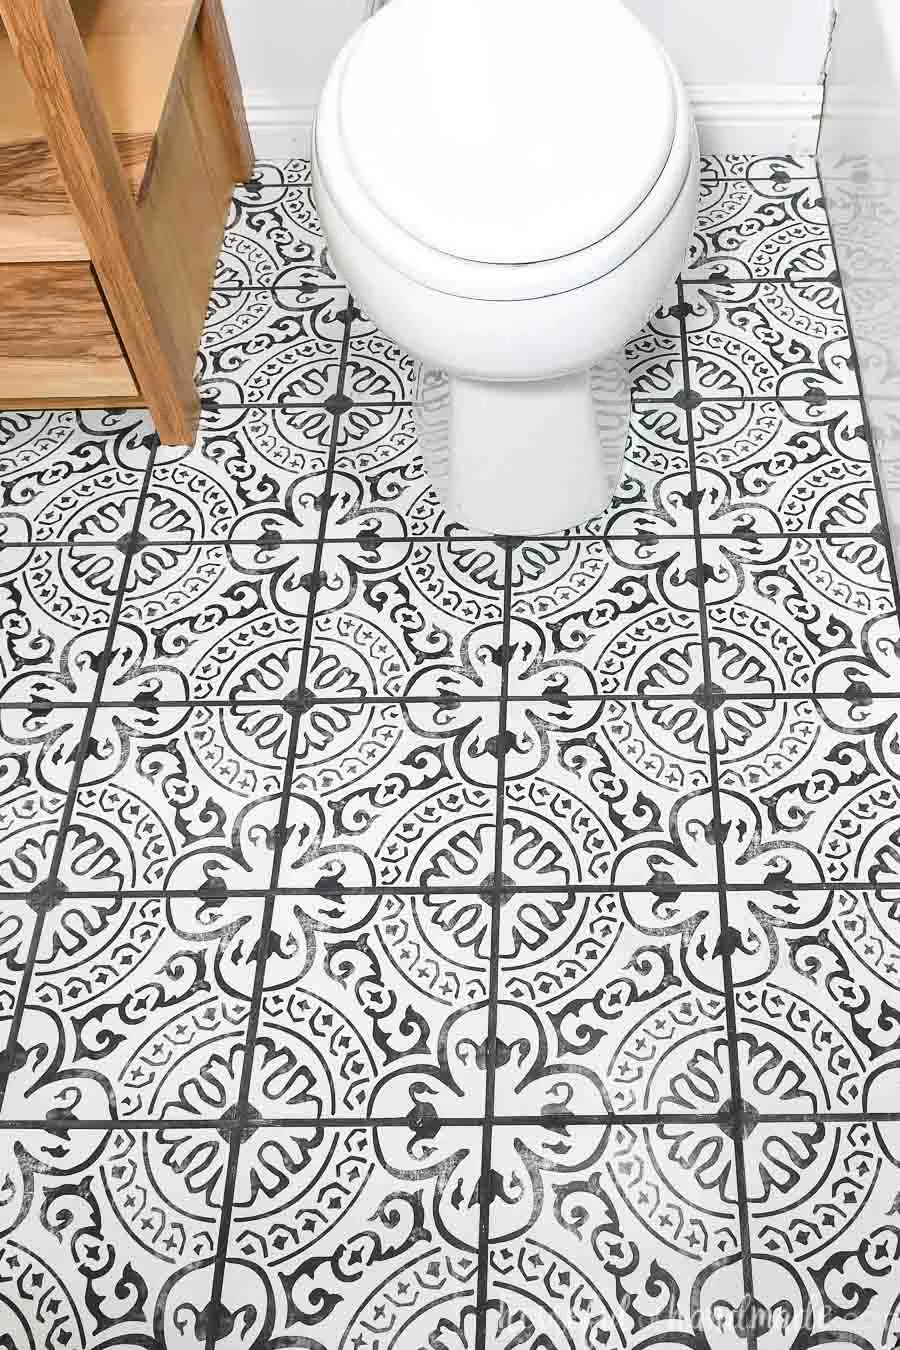
Laying Floor Tiles in a Small Bathroom – Houseful of Handmade
How to Install Ceramic Tile Flooring in 9 Steps – This Old House
:no_upscale()/cdn.vox-cdn.com/uploads/chorus_asset/file/19496947/color_gutters_illo_web_1.jpg)
How to Tile a Bathroom Floor with Wickes

Installing a Tile Floor

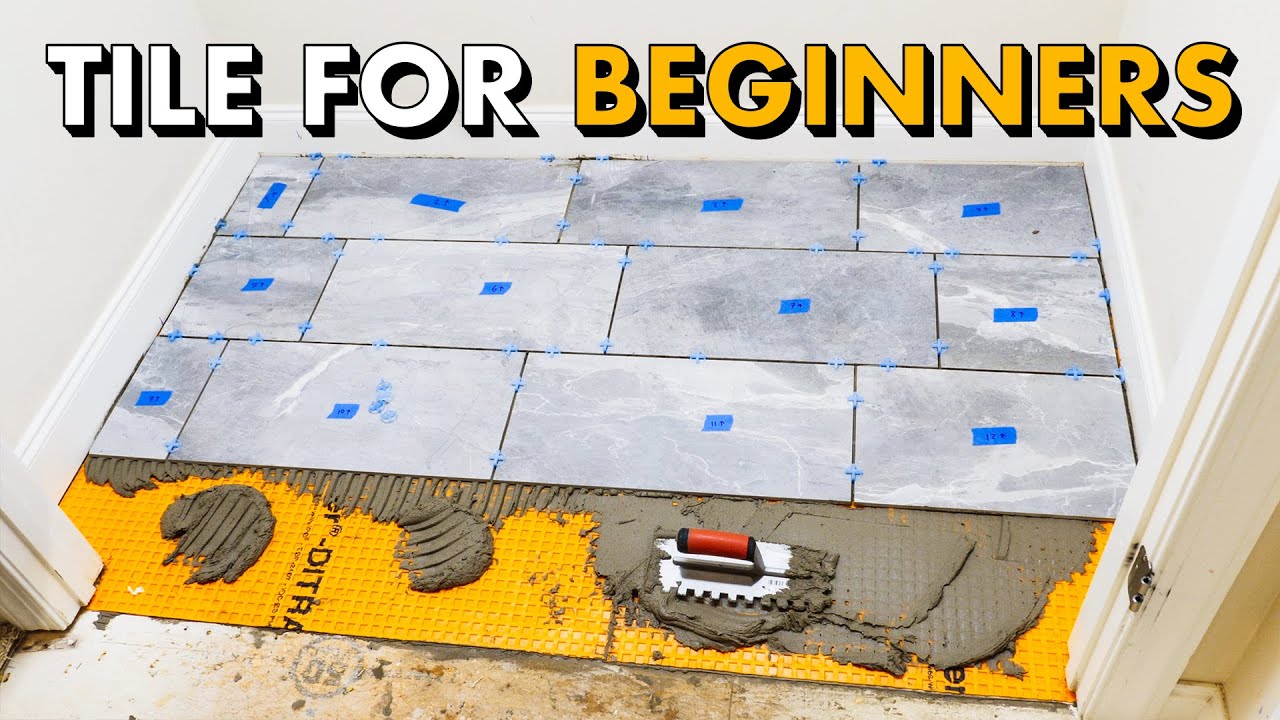
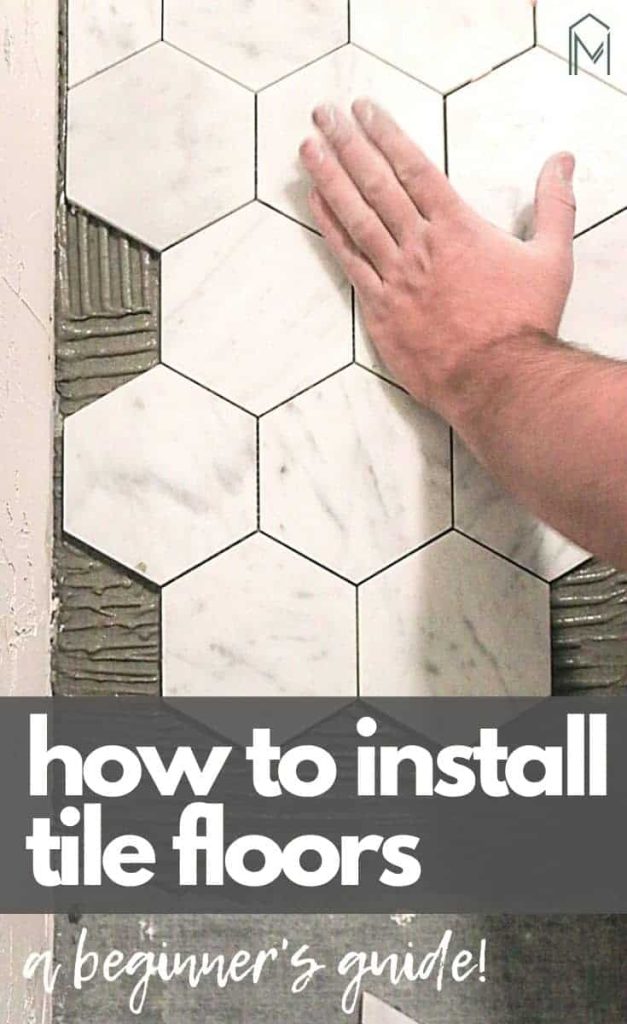
Installing TILE FLOOR for the FIRST TIME 🛠 How To Lay Tile Floor
How To Tile A Bathroom Floor (For Beginners!) – Making Manzanita
How to Lay Tile: DIY Floor Tile Installation Loweu0027s

How To Tile A Bathroom Floor (For Beginners!) – Making Manzanita
Laying Floor Tiles in a Small Bathroom – Houseful of Handmade
Guide on How to Install Floor Tile
/worker-places-new-tile-on-a-bathroom-floor-183066355-37f501b04b5d401cb5ca7edcdd8686b5.jpg)
Related articles:
- Vintage Bathroom Floor Tile Patterns
- Bathroom Floor Tile DIY
- Limestone Bathroom Floor Tiles
- Bathroom Floor Porcelain Tile
- Concrete Bathroom Floor Ideas
- White Bathroom Ceramic Tiles
- Bathroom Floor Baseboard
- Rustic Bathroom Flooring Ideas
- Bathroom Flooring Options
- Bamboo Bathroom Flooring Ideas
Setting floor tile in a bathroom is a great way to add style and durability to the space. Whether you are updating an existing bathroom or starting from scratch, installing floor tiles can completely transform the look and feel of the room. In this article, we will discuss the step-by-step process of setting floor tile in a bathroom, as well as provide answers to some frequently asked questions about this project.
Choosing the Right Tile:
The first step in setting floor tile in a bathroom is choosing the right tile for your space. There are many different types of tiles available, including ceramic, porcelain, marble, and more. Consider factors such as durability, water resistance, maintenance requirements, and style when selecting your tile. It’s also important to choose a tile size that is appropriate for the size of your bathroom – larger tiles can make a small bathroom feel more spacious, while smaller tiles can create a more intricate design.
FAQ: Can I use any type of tile for a bathroom floor?
Answer: While there are many types of tiles available on the market, not all are suitable for use on a bathroom floor. It is important to choose a tile that is durable, water-resistant, and slip-resistant to ensure the longevity and safety of your bathroom floor.
Preparing the Subfloor:
Before you can start setting floor tile in your bathroom, you need to prepare the subfloor. This involves removing any existing flooring material, such as carpet or linoleum, and ensuring that the subfloor is clean, level, and free of any debris. If there are any cracks or uneven areas in the subfloor, these will need to be repaired before you can proceed with tiling.
FAQ: Do I need to install a waterproofing membrane under my bathroom floor tile?
Answer: While it is not always necessary to install a waterproofing membrane under your bathroom floor tile, it can provide an extra layer of protection against water damage. If your bathroom has a history of leaks or moisture issues, it may be worth considering installing a waterproofing membrane.
Laying Out the Tile:
Once the subfloor is prepared, you can begin laying out the tile in your bathroom. Start by finding the center point of the room and marking it with chalk lines. This will help you create a symmetrical layout for your tiles. Dry lay the tiles starting from the center point and working your way outwards towards the walls. Be sure to leave space for grout lines between each tile.
FAQ: How do I determine where to start laying out my bathroom floor tile?
Answer: Starting from the center point of the room and working your way outwards towards the walls is a common method for laying out floor tile in a bathroom. This creates a symmetrical layout that looks aesthetically pleasing.
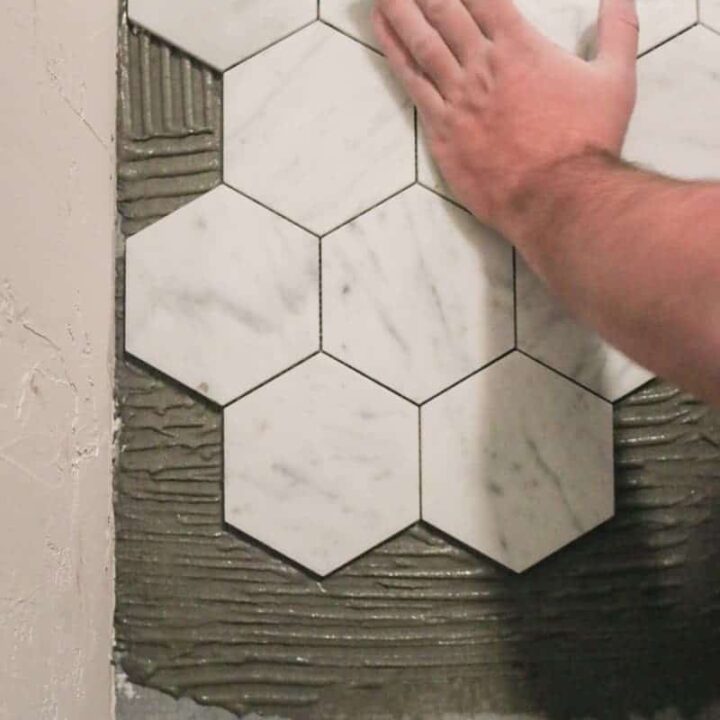
Mixing and Applying Thinset:
After laying out the tiles, it’s time to mix and apply thinset adhesive to secure them in place. Follow the manufacturer’s instructions for mixing the thinset to achieve the proper consistency. Use a notched trowel to spread an even layer of thinset onto the subfloor before placing each tile into position. Press down firmly on each tile to ensure good adhesion.
FAQ: How thick should I spread thinset adhesive when setting my bathroom floor tile?
Answer: The thickness of thinset adhesive applied when setting floor tile in a bathroom should typically be around 1/8 inch thick. Be sure to follow the manufacturer’s instructions for proper application techniques.
Setting and Grouting Tiles:
Once The tiles are set in place with thinset adhesive, allow them to dry and cure according to the manufacturer’s instructions. After the tiles are secure, you can begin grouting the joints between them. Mix the grout according to the manufacturer’s instructions and use a grout float to press it into the joints. Wipe away any excess grout with a damp sponge before it dries completely.
FAQ: How long do I need to wait before grouting my bathroom floor tile after setting it with thinset adhesive?
Answer: It is important to allow the thinset adhesive to dry and cure fully before grouting the tiles. This typically takes around 24-48 hours, but be sure to follow the manufacturer’s instructions for specific drying times.
Sealing Grout:
After the grout has dried and cured, it is recommended to seal it to protect against stains and water damage. Apply a grout sealer according to the manufacturer’s instructions, making sure to cover all of the grout lines thoroughly. Allow the sealer to dry completely before using your newly tiled bathroom floor.
FAQ: How often should I reseal the grout on my bathroom floor tile?
Answer: It is generally recommended to reseal the grout on your bathroom floor tile every 1-2 years, or as needed depending on the level of use and exposure to moisture. Be sure to follow the manufacturer’s recommendations for specific resealing intervals.
By following these steps and tips, you can successfully install tile on your bathroom floor and create a beautiful and functional space that will last for years to come. If you have any specific questions or concerns about tiling your bathroom floor, consult with a professional contractor or tile installer for guidance.