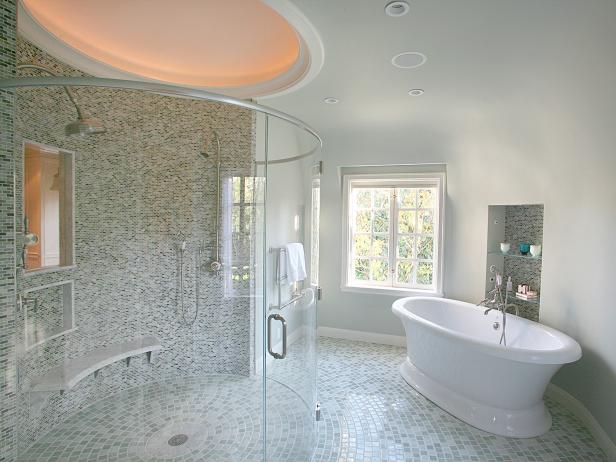
Laminates are able to turn slippery when there is water and also you need anti-skid flooring for your bathrooms, which is a primary requirement. This gives the bathroom of yours a dash of color. Tiles with lustrous finish supply a touch of elegance to the powder room whereas mosaic with matte finish gives the bathroom a warm and spacious feel. Stone flooring might be more expensive but they keep going long.
Here are Images about How To Remodel A Bathroom Floor
How To Remodel A Bathroom Floor
/cdn.vox-cdn.com/uploads/chorus_image/image/66476967/20_master_bath.7.jpg)
Use bath room tile suggestions to help you have that unique bath room that you are able to enjoy each day. These're simply some great bathroom floor tiles suggestions. While laminate has lots of the choices folks are actually looking for, like durability, ease of cost and setting up, it's not immune for clean water damage.
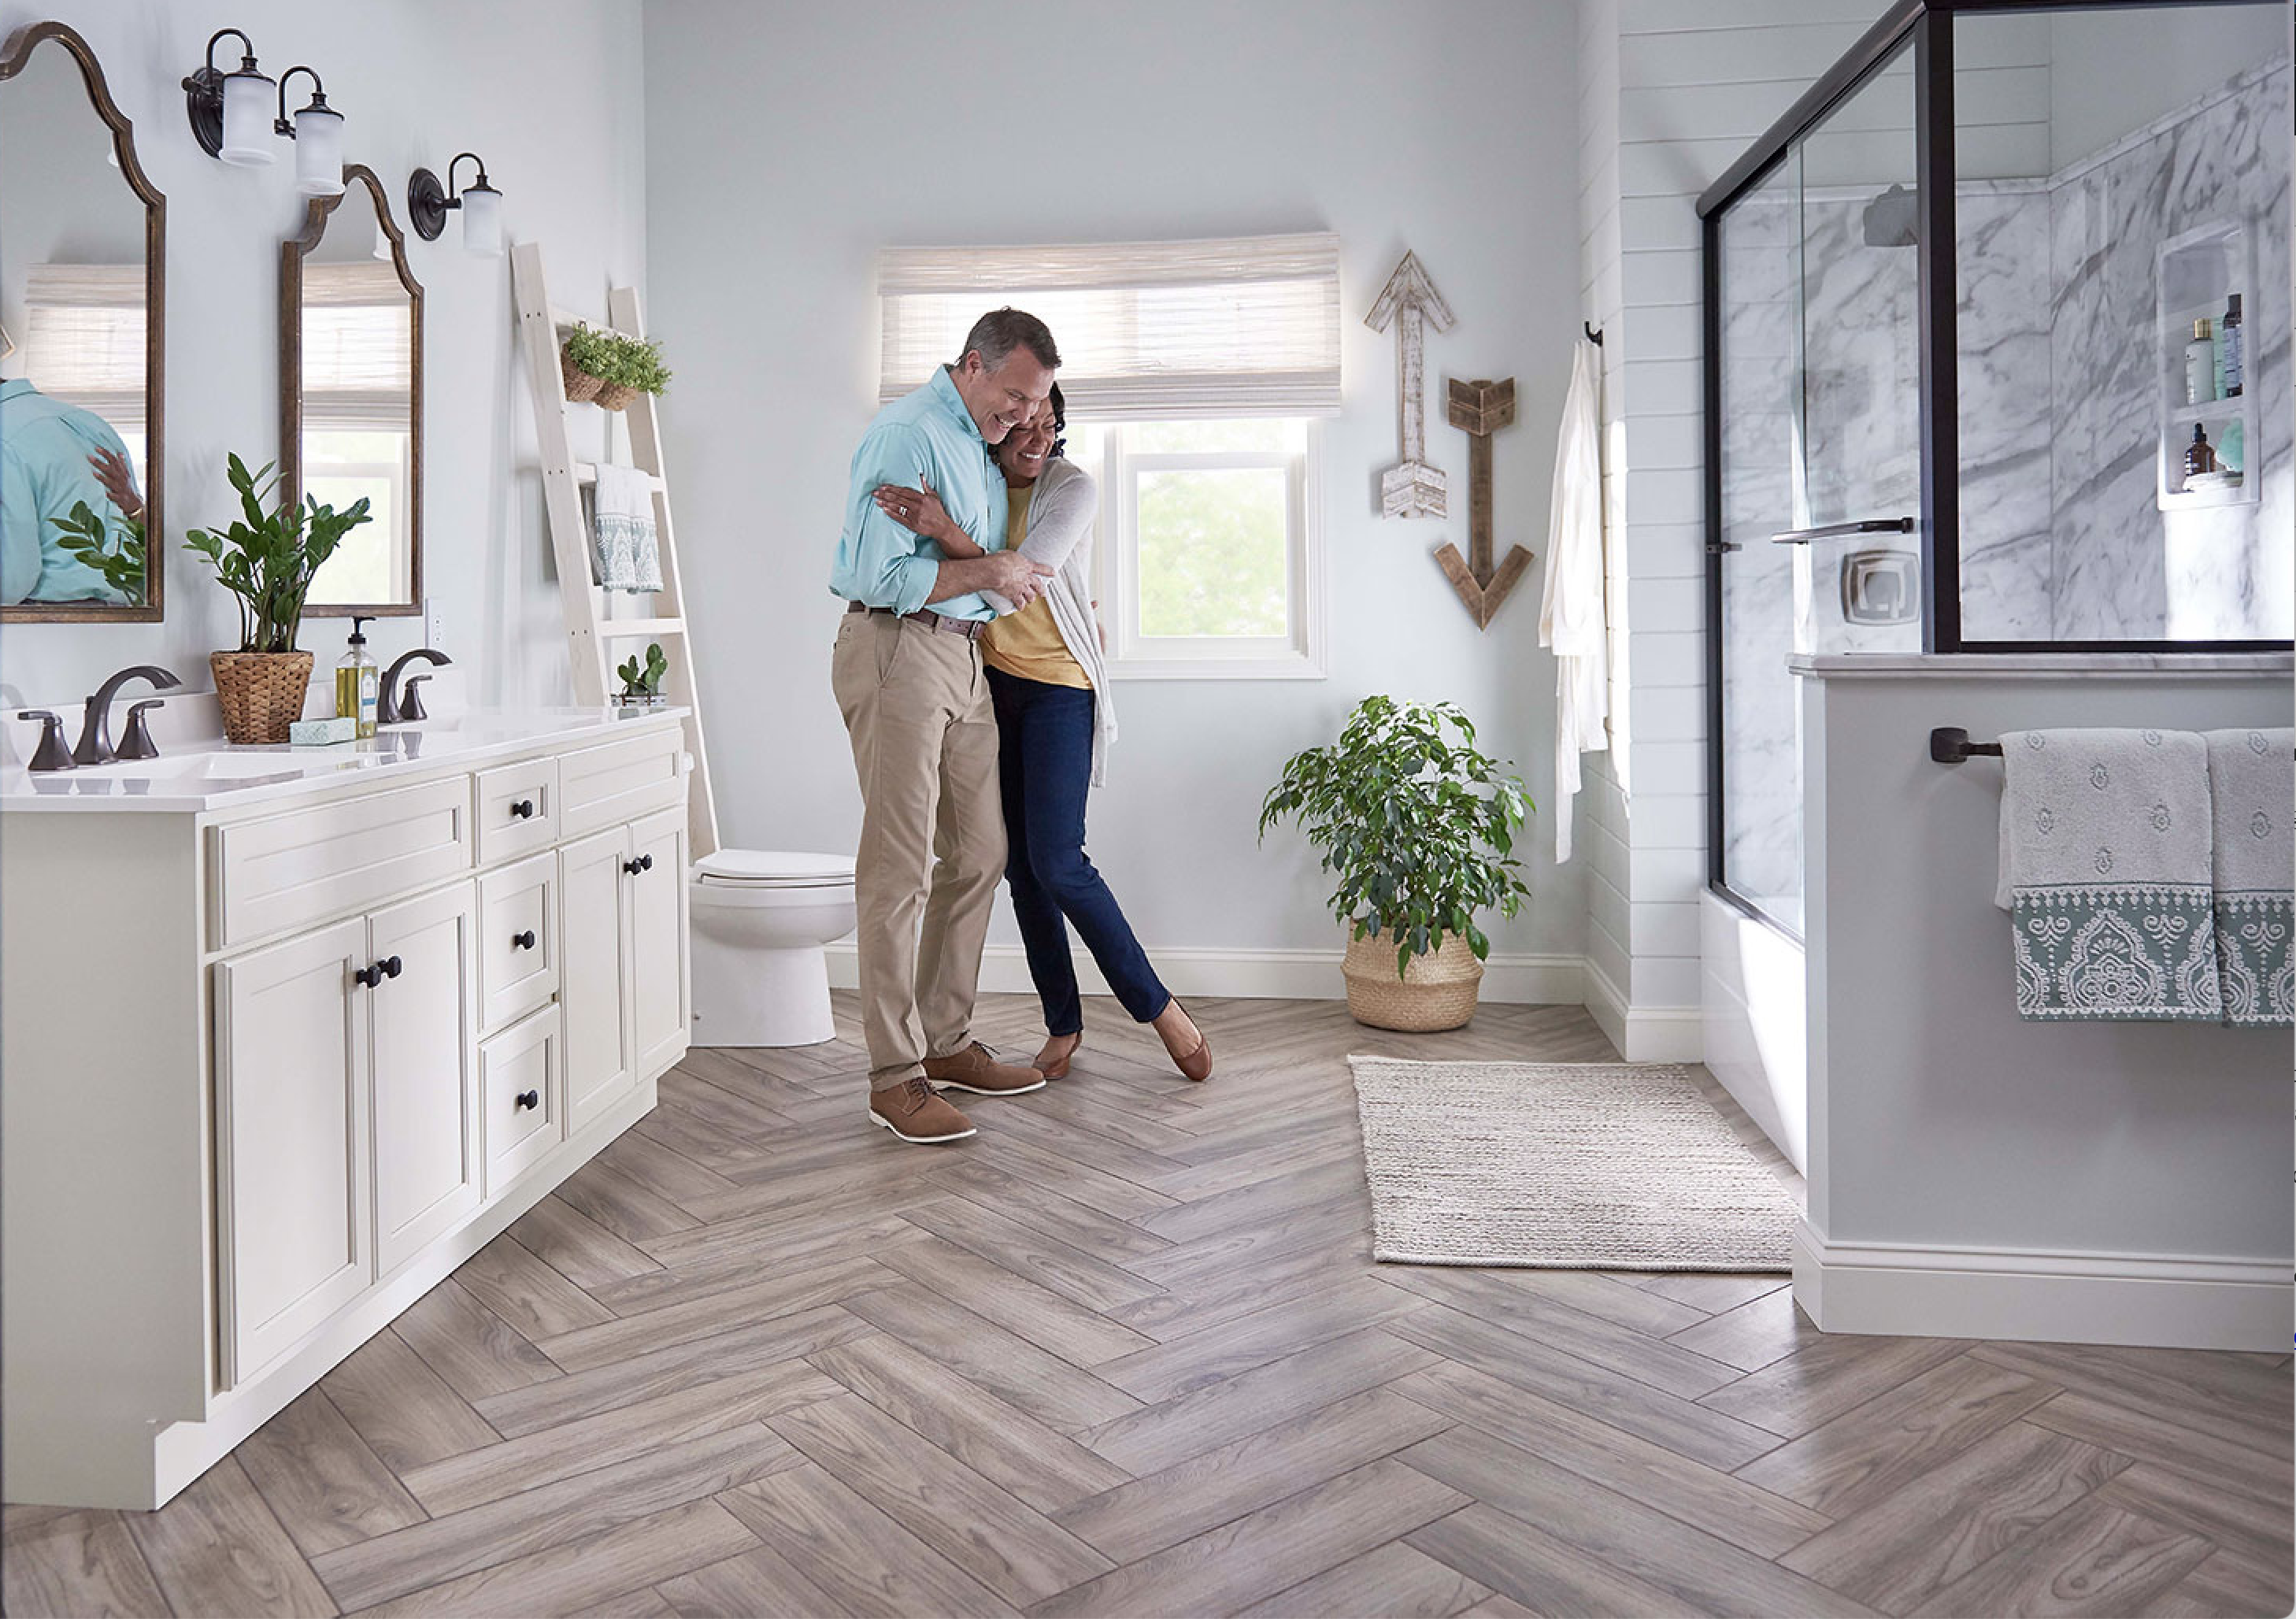
Bathroom Flooring Ideas Carpet One Floor u0026 Home

But, if you're considering a thorough bathroom renovation, it is best to give the flooring a bit of attention, it adds more to the overall design of your bathroom than you realize. Most bathroom layouts are not completely square which can cause problems when trying to install the flooring yourself.
Images Related to How To Remodel A Bathroom Floor
4 Inexpensive Bathroom Flooring Ideas
/budget-bathroom-flooring-refresh-ideas-326828_porcelain_tile-8959414ed56e4ca3a018896d984f52eb.jpg)
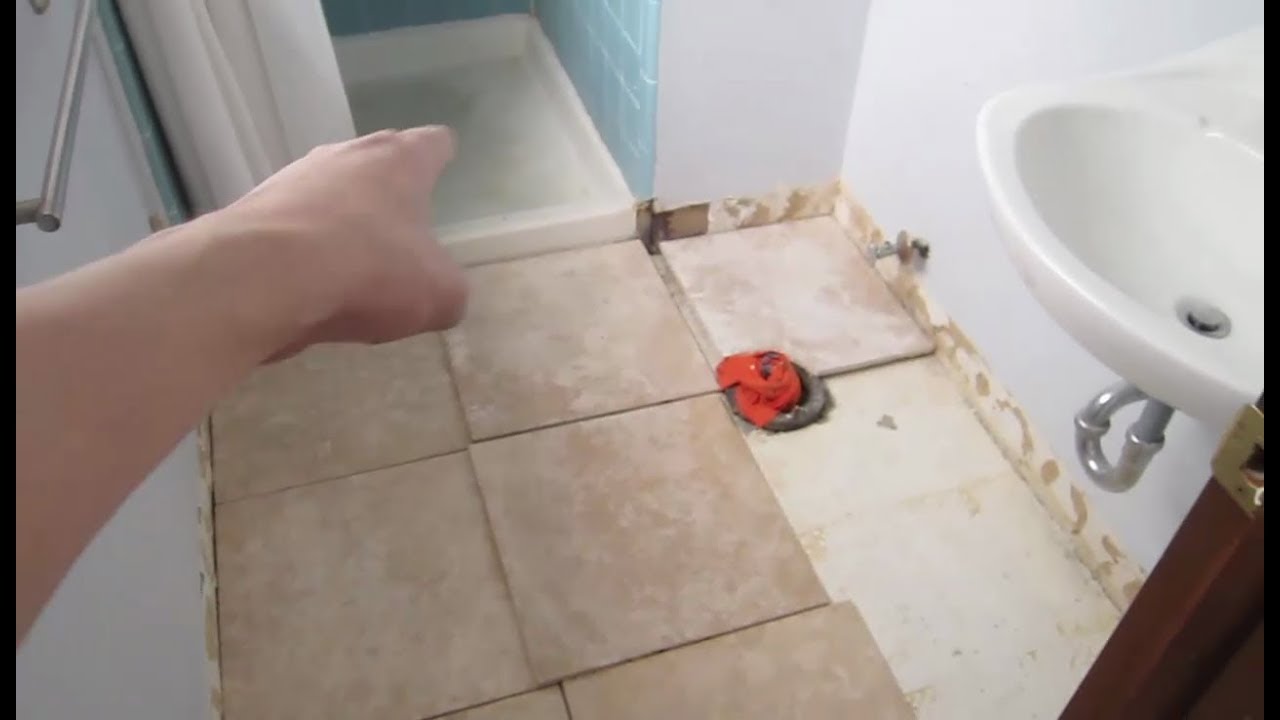
Bathroom Demo u0026 Floor Tile – Small Bathroom Remodel
Bathroom Flooring Ideas Carpet One Floor u0026 Home

18 Bathroom Flooring Ideas to Inspire Your Next Remodel
:max_bytes(150000):strip_icc()/BlakelyOceanMeadowAaronUsher-4c336103d6c84940b25a2582c9dee924.jpg)
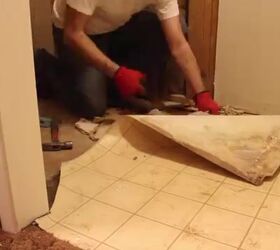
How to Remodel Old Bathroom Floor DIY Hometalk
Bathroom Floor Buying Guide HGTV
Design Style In-Depth: Bathroom Flooring Re-Bath
Bathroom Renovation Guide – How to Remodel Your Bathroom

Choosing Affordable Flooring Tile for our Waco Bathroom Remodel
Small Bathroom Flooring Ideas – Best Options for a Remodel
Maximum Home Value Bathroom Projects: Flooring HGTV
Bathroom Flooring Ideas Carpet One Floor u0026 Home

Related articles:
- Vintage Bathroom Floor Tile Patterns
- Bathroom Floor Tile DIY
- Limestone Bathroom Floor Tiles
- Bathroom Floor Porcelain Tile
- Concrete Bathroom Floor Ideas
- White Bathroom Ceramic Tiles
- Bathroom Floor Baseboard
- Rustic Bathroom Flooring Ideas
- Bathroom Flooring Options
- Bamboo Bathroom Flooring Ideas
How to Remodel a Bathroom Floor: A Comprehensive Guide
Introduction:
Remodeling a bathroom floor can be an exciting yet challenging task. It not only enhances the overall aesthetics of your bathroom but also adds value to your home. However, before diving into this project, it’s crucial to plan meticulously and follow a step-by-step approach. In this article, we will provide you with a detailed guide on how to remodel a bathroom floor, including the materials needed, preparation process, installation techniques, and frequently asked questions.
I. Planning and Preparation:
Before starting any remodeling project, it’s essential to have a clear plan in mind. Here are the key steps for planning and preparing your bathroom floor remodel:
1. Assessing Your Needs:
Begin by assessing your needs and determining what you want to achieve with your bathroom remodel. Consider factors such as functionality, style preferences, and budget constraints.
2. Creating a Budget:
Establish a realistic budget that covers all aspects of the project, including materials, labor costs (if applicable), and any unforeseen expenses that may arise during the process.
3. Choosing Flooring Materials:
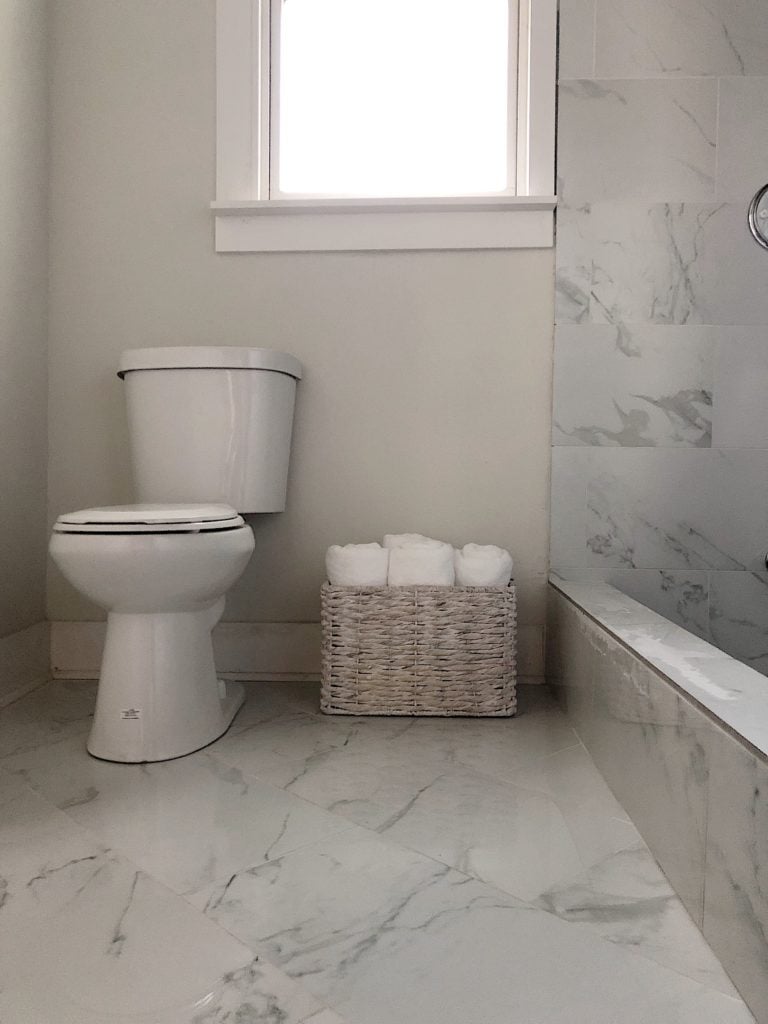
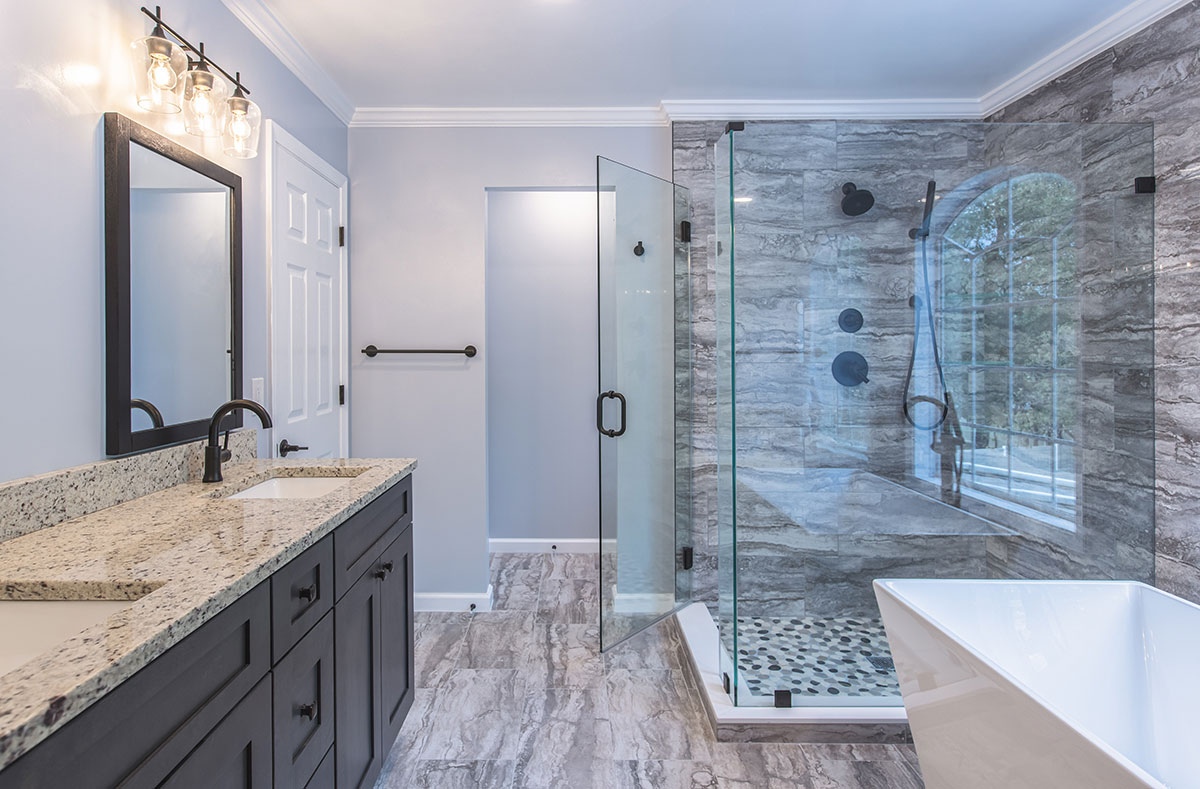
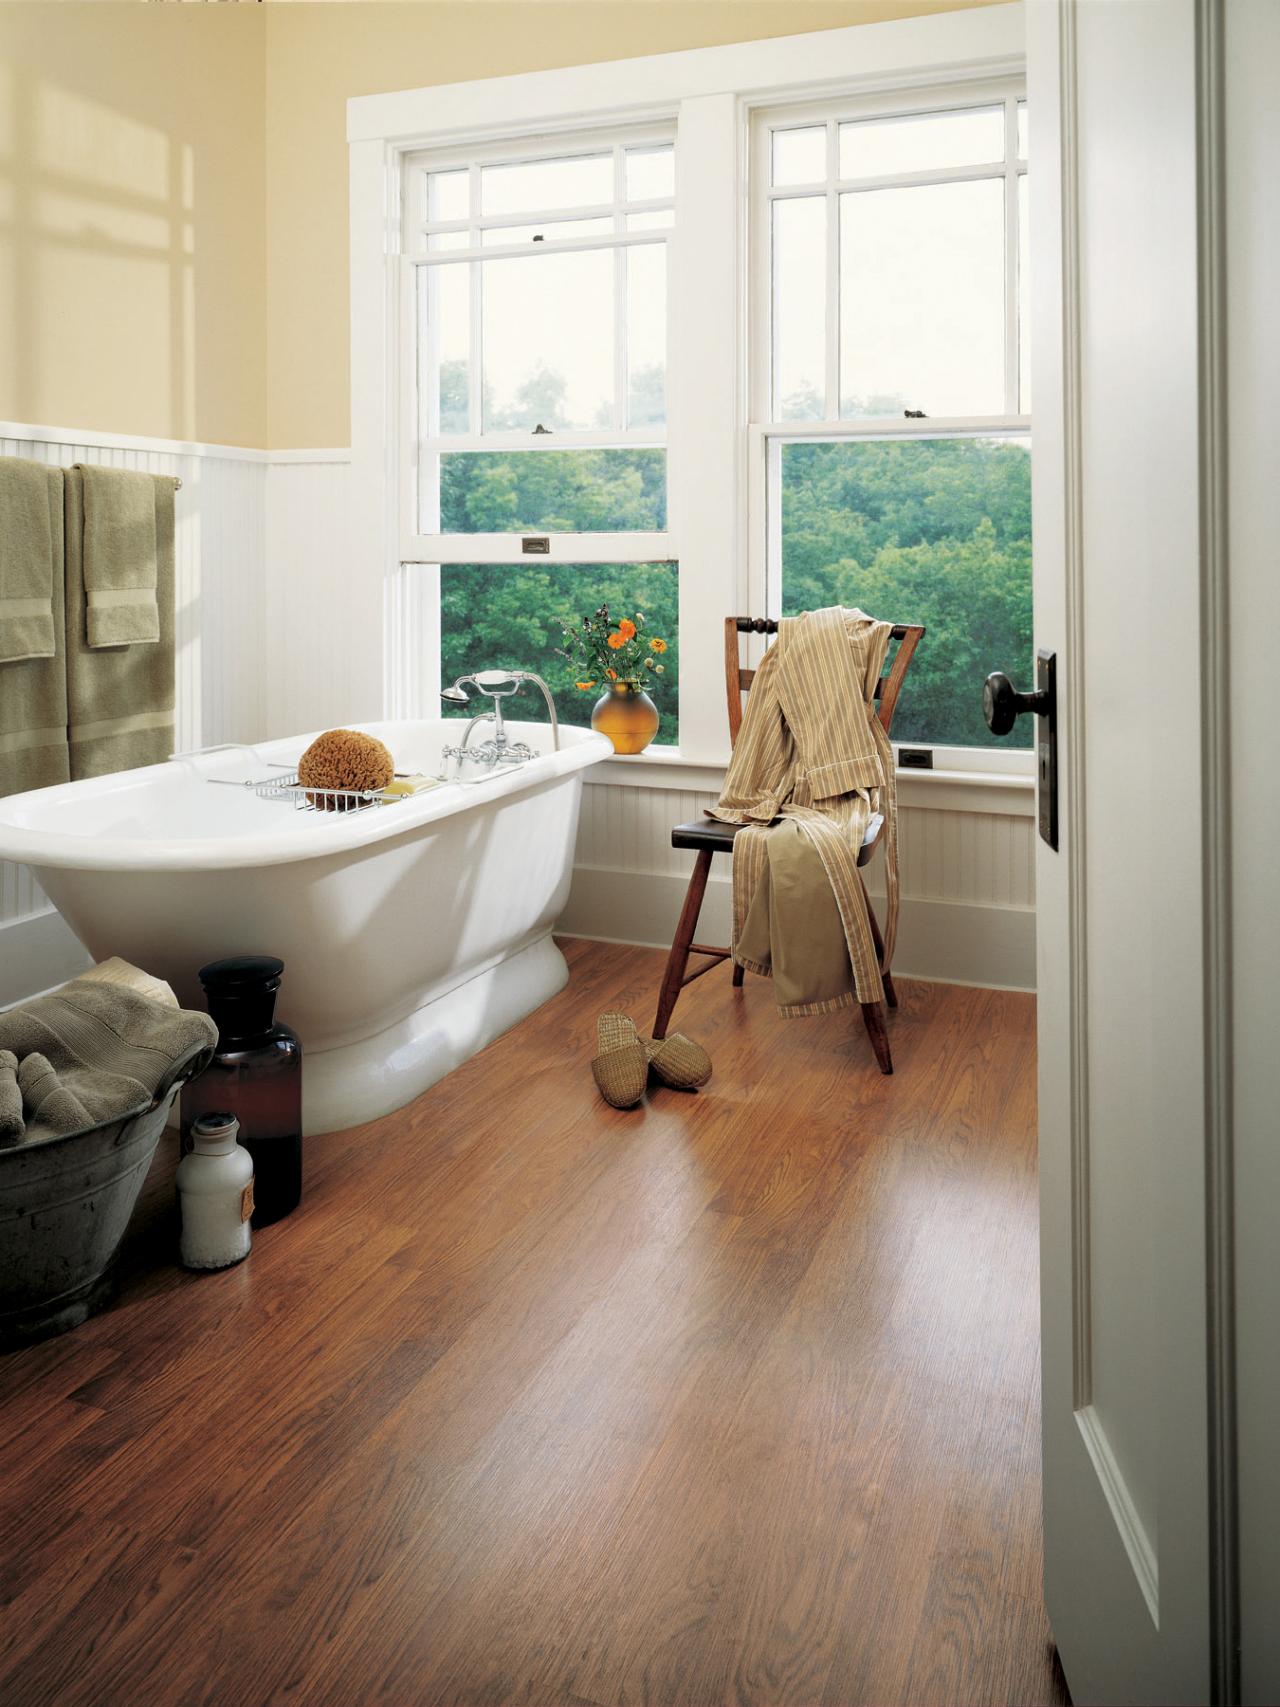
Selecting the right flooring material is crucial for achieving the desired look and durability. Popular options include ceramic tiles, porcelain tiles, vinyl flooring, natural stone (such as marble or granite), or even hardwood for a more luxurious touch.
FAQ: What are the pros and cons of different bathroom flooring materials?
– Ceramic Tiles: Pros – affordable, wide range of colors and designs; Cons – prone to cracking if not installed properly.
– Porcelain Tiles: Pros – durable, water-resistant; Cons – can be more expensive than ceramic tiles.
– Vinyl Flooring: Pros – affordable, easy to install; Cons – may not provide the same level of elegance as other materials.
– Natural Stone: Pros – luxurious appearance; Cons – requires sealing for water resistance.
– Hardwood: Pros – elegant look; Cons – susceptible to moisture damage.
4. Measuring and Calculating Materials:
Accurate measurements are essential to ensure you purchase the right amount of flooring material. Measure the length and width of your bathroom floor, accounting for any irregularities or obstacles, and calculate the square footage needed.
5. Removing Existing Flooring:
Before installing new flooring, remove the existing one carefully. Start by removing baseboards, trim, and any fixtures that might obstruct the process. If you have tile flooring, use a chisel and hammer to break it up and remove the pieces.
FAQ: Can I install new flooring over the existing one?
It’s generally not recommended to install new flooring directly over an existing one. It may lead to height discrepancies, compromised durability, and even mold growth due to trapped moisture. It is best to remove the old flooring before installing new materials.
II. Installation Process:
Once you have completed the planning and preparation stage, it’s time to move on to the installation process. Follow these steps for a successful bathroom floor remodel:
1. Preparing the Subfloor:
The subfloor serves as a foundation for your new flooring and must be in good condition before installation. Inspect for any signs of water damage or rotting wood and repair or replace as necessary.
2. Adding a Moisture Barrier:
To protect your new flooring from moisture damage, it’s crucial to install a moisture barrier over the subfloor. This can be achieved by applying a layer of asphalt felt or using a waterproofing membrane.
3. Installing Underlayment:
Underlayment provides additional stability And cushioning for your new flooring. It is typically made of plywood or fiberboard and should be installed over the moisture barrier. Use screws or nails to secure the underlayment to the subfloor, ensuring it is smooth and level.
4. Laying the Flooring Material:
Follow the manufacturer’s instructions for installing your chosen flooring material. Start from one corner of the room and work your way towards the opposite side, using spacers to maintain consistent gaps between the tiles or planks. Use a trowel or adhesive to secure the flooring in place.
5. Grouting and Finishing:
If you are using ceramic or porcelain tiles, apply grout between them once they are firmly set in place. Use a grout float to spread the grout evenly and remove any excess with a damp sponge. Allow the grout to dry before applying any sealant or finishing touches.
6. Reinstalling Baseboards and Trim:
Once the flooring is fully installed and dry, reinstall baseboards and trim around the edges of the room. Use a nail gun or screws to secure them in place, making sure they are flush against the new flooring.
7. Final Touches:
Clean up any debris or dust from the installation process and give your new bathroom floor a thorough cleaning. Apply any necessary sealants or finishes according to the manufacturer’s instructions to protect and enhance its appearance.
Remember, if you are not confident in your DIY skills or prefer professional assistance, it’s always best to hire a qualified contractor for your bathroom floor remodel. This will ensure that the installation is done correctly and to your satisfaction. The installation process for a bathroom floor remodel includes the following steps:
1. Preparing the Subfloor: Inspect the subfloor for any signs of damage and repair or replace as necessary.
2. Adding a Moisture Barrier: Install a moisture barrier, such as asphalt felt or a waterproofing membrane, over the subfloor to protect the new flooring from moisture damage.
3. Installing Underlayment: Secure plywood or fiberboard underlayment over the moisture barrier to provide stability and cushioning. Ensure it is smooth and level.
4. Laying the Flooring Material: Follow the manufacturer’s instructions to install your chosen flooring material. Start from one corner of the room and work towards the opposite side, using spacers to maintain consistent gaps between tiles or planks. Use adhesive or a trowel to secure the flooring in place.
5. Grouting and Finishing: If using ceramic or porcelain tiles, apply grout between them once they are firmly set. Use a grout float to spread it evenly and remove excess with a damp sponge. Allow the grout to dry before applying sealant or finishing touches.
6. Reinstalling Baseboards and Trim: Once the flooring is fully installed and dry, reinstall baseboards and trim around the edges of the room. Secure them in place using nails or screws, ensuring they are flush against the new flooring.
7. Final Touches: Clean up debris and dust from the installation process and thoroughly clean the new bathroom floor. Apply any necessary sealants or finishes according to the manufacturer’s instructions to protect and enhance its appearance.
If you are unsure about your DIY skills or prefer professional assistance, it is recommended to hire a qualified contractor for your bathroom floor remodel. They will ensure that the installation is done correctly and to your satisfaction.