Basement flooring must match up with whatever theme you're making use of the room for. You'll be satisfied for a long time down the road. Be sure to contact a professional contractor that is going to be in a position to examine the initial flooring and after that give you an estimate. You could have to have the concrete subfloor sealed and also install a moisture barrier.
Here are Images about Easiest Method To Level Basement Floor
Easiest Method To Level Basement Floor
When you have determined if the current concrete flooring of yours is suitably sealed and prepared for a brand new layer, you can move forward. Basement floors waterproofing must not be forgotten. In case you are turning the basement of yours into a family members room, you might want to pick some sort of tile or linoleum that is durable and intended for easy clean up.
Qu0026A of the Week: “Whatu0027s the Best Way to Level An Old, Wonky
For many years, basements had been regarded as to be little more than storage rooms, mainly unfinished concrete floors and walls, places where old clothes, toys, tools, boxes of whatever and stuff else that wasn't immediately wanted may be stored. Look for cracks in your basement before installing floor tile as these will additionally result in cracks in the new floor of yours.
Images Related to Easiest Method To Level Basement Floor
How to Level Basement Floor (with Pictures) – wikiHow

How to Level Basement Floor (with Pictures) – wikiHow

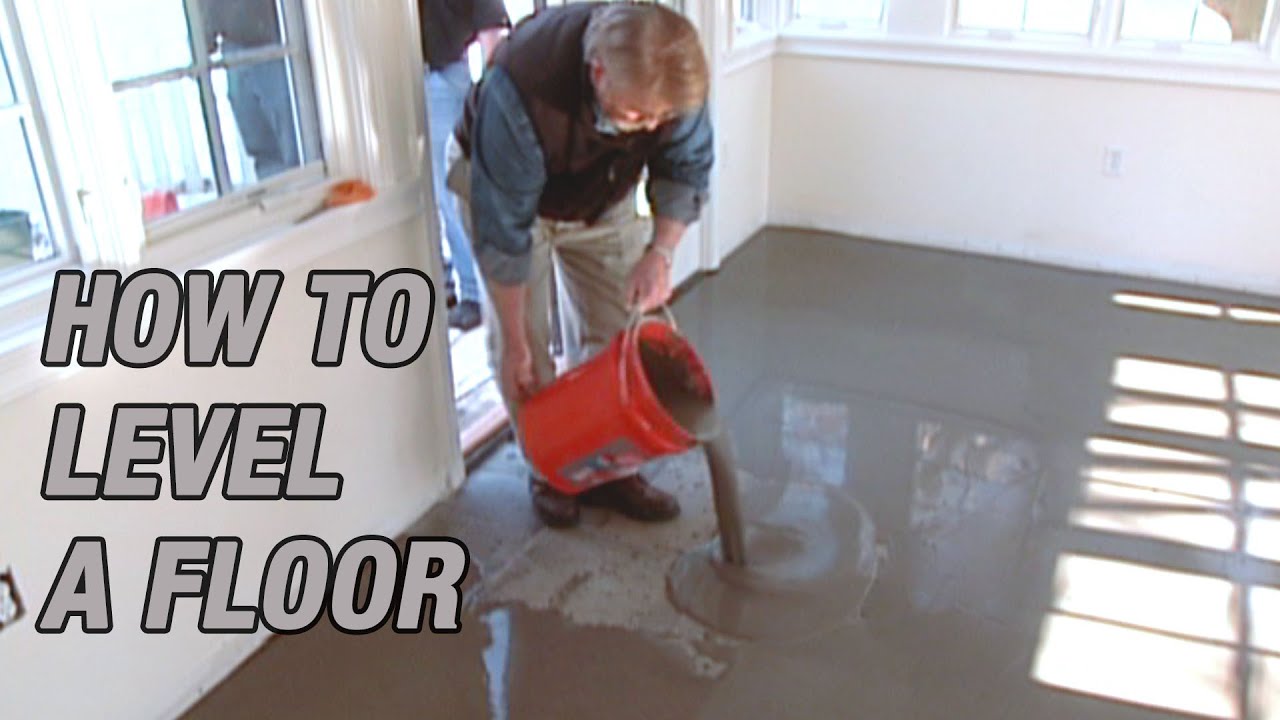
How to Level a Floor – This Old House
/cdn.vox-cdn.com/uploads/chorus_image/image/69419339/iStock_1312655868.0.jpg)
How to level a concrete floor part 1: preparation
How to Self Level Concrete Floors Like Pros – Self Leveler
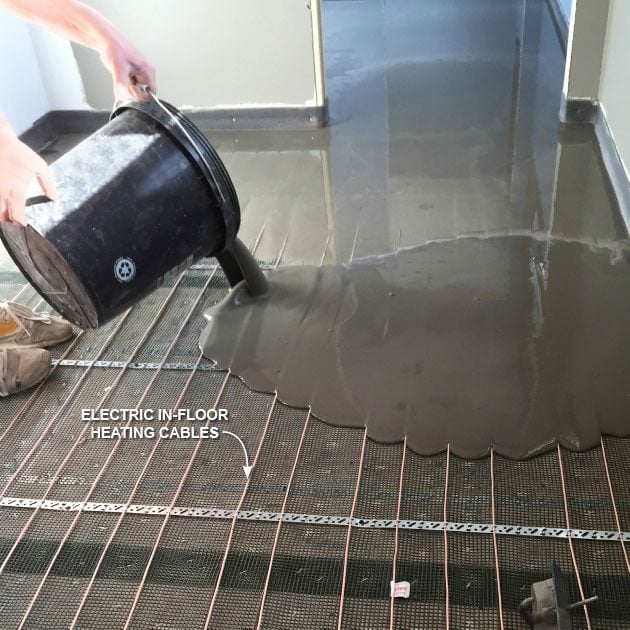
How to Self Level Bathroom Floors Part 2Adding Leveler Over Concrete — by Home Repair Tutor

How to Level Basement Floor (with Pictures) – wikiHow

Learn How to Level a Concrete Floor – This Old House
/cdn.vox-cdn.com/uploads/chorus_asset/file/19637457/patch_04.jpg)
How to level a concrete floor that slopes (Must read)
How to Self Level a Floor
How to Level Basement Floor (with Pictures) – wikiHow

18 Tips for working with Self-Leveling Underlayment
Related articles:
- Stained Concrete Basement Floor
- Finishing Basement Floor
- Refinish Concrete Basement Floor
- Best Flooring For Basement
- Basement Gym Flooring Ideas
- Laminate Flooring In Basement
- Basement Concrete Floor Sweating
- Basement Floor Finishing Ideas
- Painting Unfinished Basement Floor
- Unique Basement Flooring
Easiest Method To Level Basement Floor
Have you ever walked into your basement and noticed that the floor is uneven? Uneven basement floors can be a real nuisance, making it difficult to install flooring or causing furniture to wobble. However, leveling a basement floor doesn’t have to be a daunting task. In this article, we will discuss the easiest method to level a basement floor, step by step, providing you with all the information you need to tackle this project effectively.
1. Identify the Cause of the Unevenness
Before starting any leveling project, it’s important to determine the underlying cause of the unevenness in your basement floor. There are several possible reasons why your basement floor may be uneven, including settling of the foundation, water damage, or poor construction. Identifying the cause will help you choose the appropriate method for leveling.
FAQ: How can I determine the cause of my uneven basement floor?
Answer: You can start by inspecting your foundation for signs of cracks or shifts. If you notice any water damage or moisture issues in your basement, these could also be contributing factors. It’s always advisable to consult with a professional if you’re unsure about the cause or if you suspect structural damage.
2. Prepare the Area
Once you have identified the cause of the unevenness in your basement floor, it’s time to prepare the area for leveling. Start by removing any furniture or items from the space to create an open and accessible work area. Clean the floor thoroughly, removing any debris or loose materials that could interfere with the leveling process.
FAQ: Do I need any special tools for preparing the area?
Answer: While it’s not necessary to have specialized tools for preparing the area, having a broom, dustpan, and vacuum cleaner handy will make cleaning much easier and more efficient.
3. Choose Your Leveling Material
There are various materials available for leveling a basement floor, such as self-leveling compounds, concrete overlays, or plywood underlayment. The easiest method for leveling a basement floor is using a self-leveling compound. Self-leveling compounds are cement-based mixtures that can be poured onto the floor to create a smooth and level surface.
FAQ: How do I choose the right self-leveling compound for my basement floor?
Answer: When selecting a self-leveling compound, consider factors such as the existing floor material, the severity of the unevenness, and any specific requirements for your project (e.g., moisture resistance). It’s always helpful to consult with a professional or read product labels to ensure you choose the most suitable option for your needs.
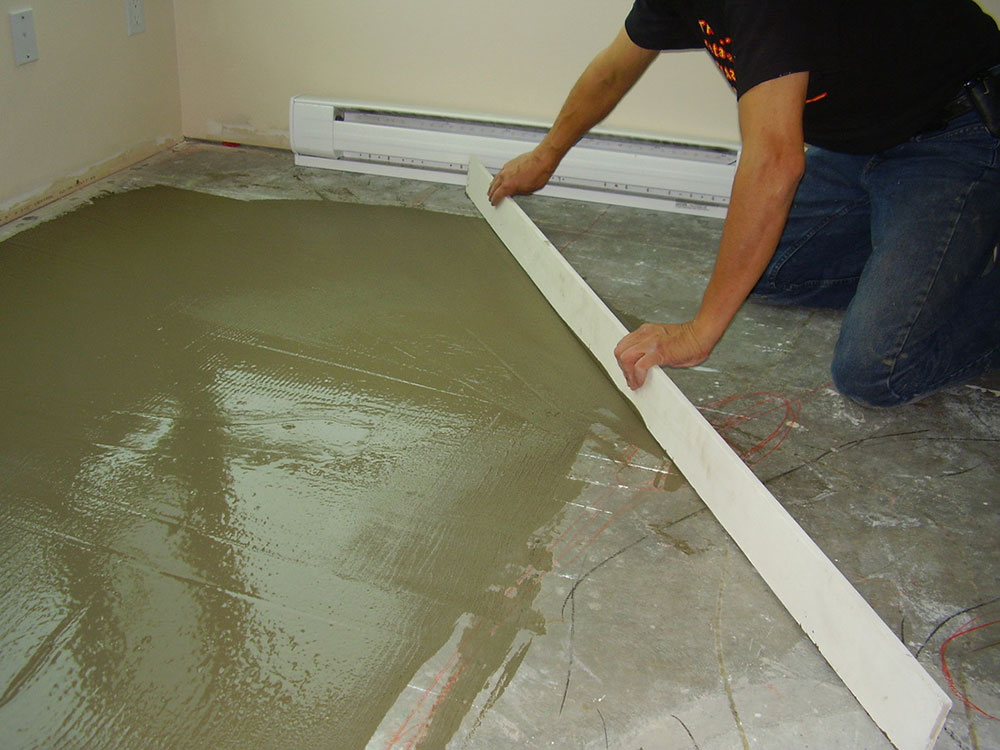
4. Mix and Apply the Self-Leveling Compound
Before mixing the self-leveling compound, read the manufacturer’s instructions carefully to ensure proper mixing ratios and application techniques. Generally, you will need to mix the compound with water until it reaches a pourable consistency.
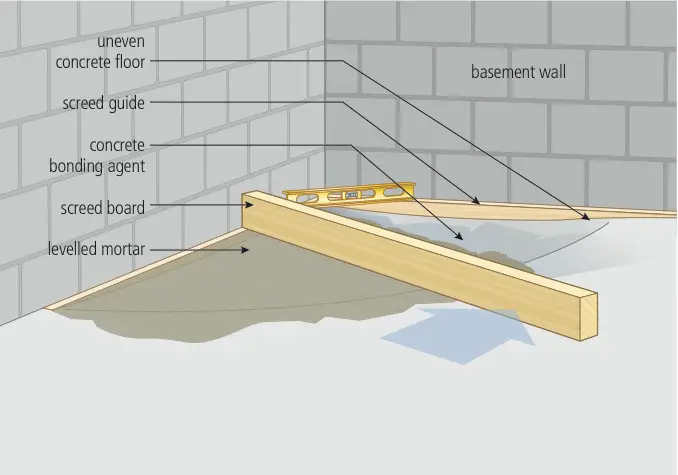
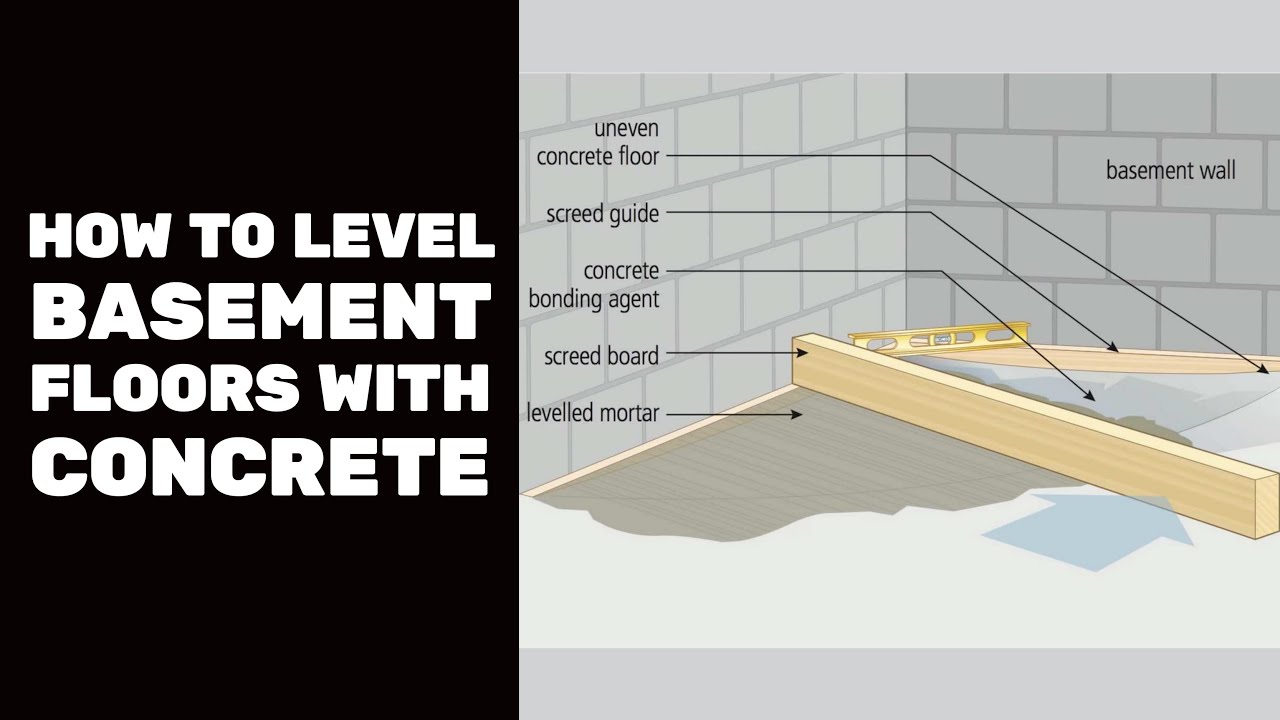
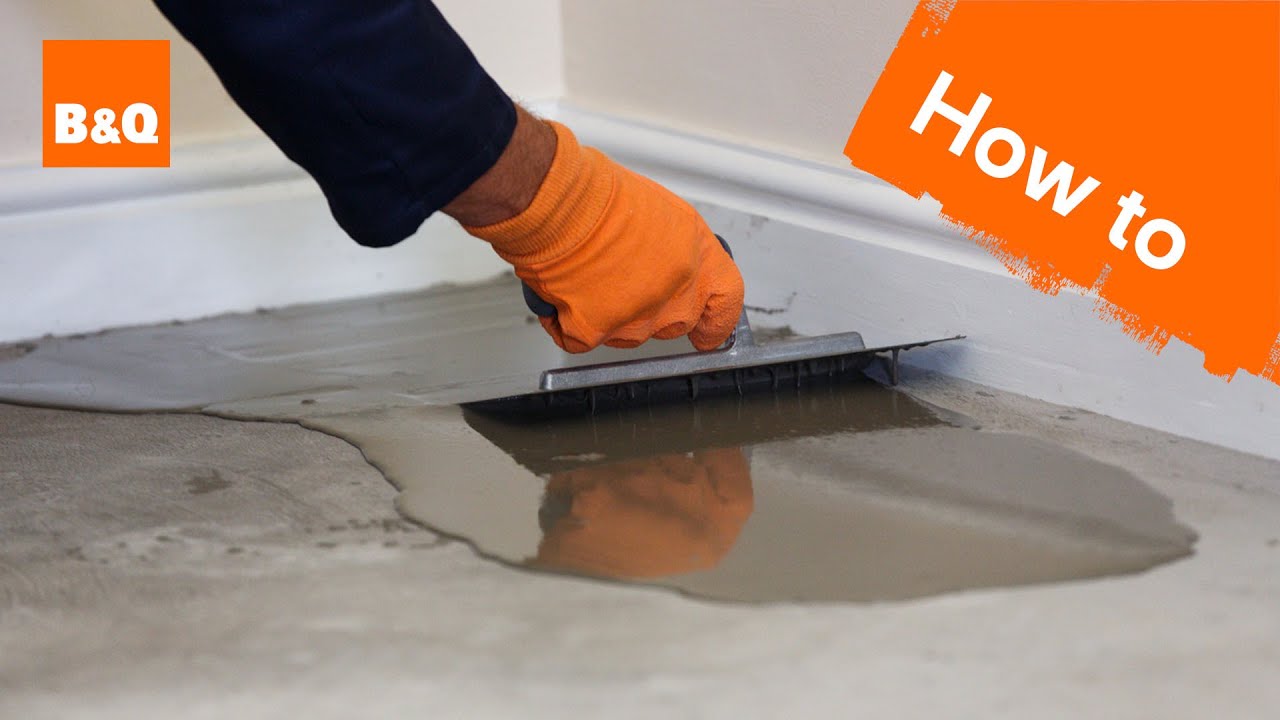
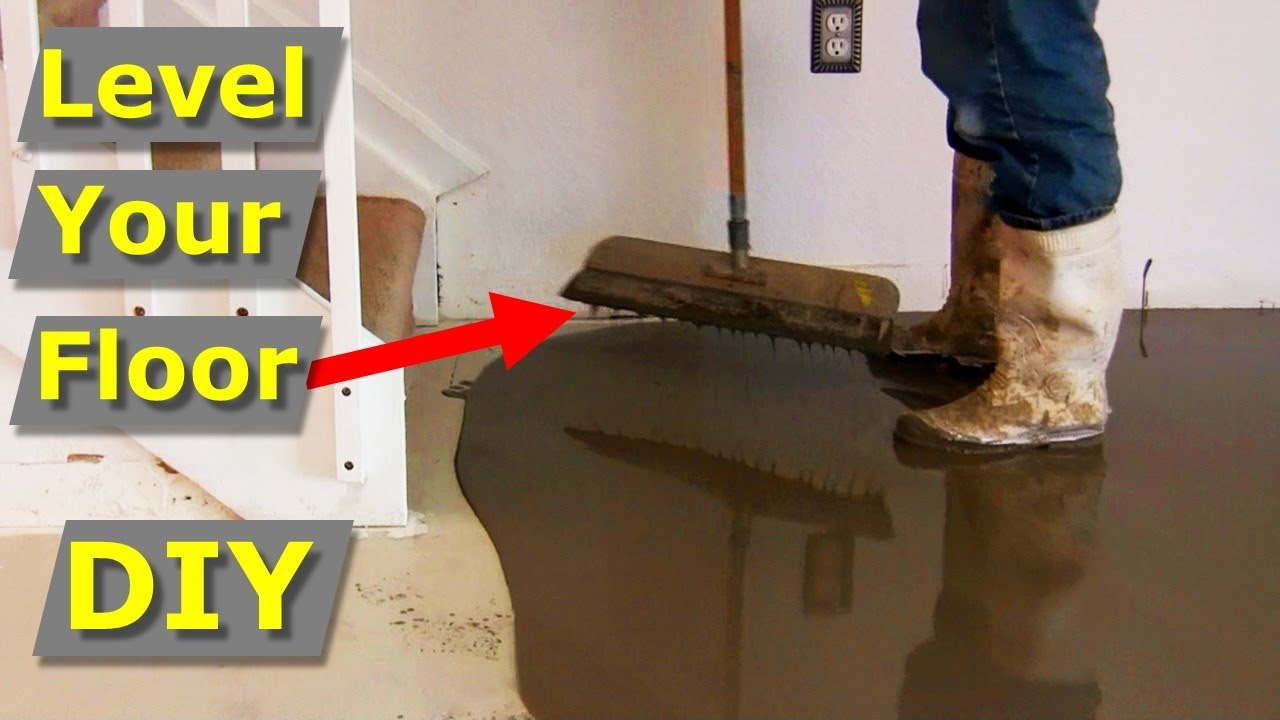
Start by applying bonding agent to the entire floor surface. This will ensure proper adhesion between the existing floor and the leveling compound. Once the bonding agent has dried, pour the mixed self-leveling compound onto the lowest areas of the floor, spreading it evenly with a trowel or squeegee. Work quickly but carefully to ensure even coverage.
FAQ: Can I level my basement floor without using a bonding agent?
Answer: While using a bonding agent is not always necessary, it is highly recommended as it improves adhesion between the existing floor and the leveling compound. Skipping this step may result in poor bonding and an Uneven surface. It’s best to follow the manufacturer’s instructions and use a bonding agent for optimal results.
5. Allow the Compound to Cure
After applying the self-leveling compound, allow it to cure according to the manufacturer’s instructions. This typically takes several hours or even a day, depending on the product and environmental conditions. During this time, avoid walking on the newly leveled areas to prevent any damage or disruption to the curing process.
FAQ: How long does it take for a self-leveling compound to cure?
Answer: The curing time can vary depending on factors such as temperature, humidity, and the specific product used. It’s best to refer to the manufacturer’s instructions for an accurate estimate of curing time.
6. Check for Any Remaining Unevenness
Once the self-leveling compound has cured, inspect the basement floor for any remaining unevenness. If you notice any areas that are still not level, you may need to repeat the leveling process in those specific spots. Follow the same steps of cleaning, applying bonding agent, mixing and applying the self-leveling compound as necessary.
7. Finish the Leveled Floor
Once you have achieved a level surface in your basement, you can proceed with finishing the floor according to your preferences. This may include installing new flooring materials such as carpet, tile, or laminate. Make sure to follow proper installation techniques and allow sufficient time for any adhesives or finishes to dry before using the space.
By following these steps and taking precautions along the way, you can level your basement floor effectively and create a more functional and aesthetically pleasing space. Remember that if you’re unsure about any aspect of the process or if you suspect structural damage, it’s always best to consult with a professional for guidance. Overall, the process of leveling a basement floor involves cleaning the floor, applying a bonding agent, mixing and applying a self-leveling compound, allowing it to cure, checking for any remaining unevenness, and finishing the floor with desired materials. It is important to follow manufacturer’s instructions and take necessary precautions throughout the process. Consulting with a professional is recommended if unsure or if there is suspected structural damage. Overall, the process of leveling a basement floor involves the following steps:
1. Clean the Floor: Remove any debris, dust, or oil from the basement floor to ensure proper adhesion of the self-leveling compound.
2. Prepare the Subfloor: Check for any cracks or holes in the subfloor and repair them before applying the self-leveling compound.
3. Apply Bonding Agent: Apply a bonding agent to improve adhesion between the existing floor and the leveling compound. Skipping this step may result in poor bonding and an uneven surface.
4. Mix and Apply Self-Leveling Compound: Follow the manufacturer’s instructions to mix the self-leveling compound and apply it to the basement floor using a trowel or squeegee. Work quickly to spread it evenly across the surface.
5. Allow the Compound to Cure: After applying the self-leveling compound, allow it to cure according to the manufacturer’s instructions. Avoid walking on the newly leveled areas during this time to prevent damage or disruption to the curing process.
6. Check for Any Remaining Unevenness: Once the self-leveling compound has cured, inspect the basement floor for any remaining unevenness. If necessary, repeat the leveling process in those specific spots.
7. Finish the Leveled Floor: Once you have achieved a level surface in your basement, you can proceed with finishing the floor according to your preferences, such as installing new flooring materials like carpet, tile, or laminate.
Remember to always follow manufacturer’s instructions and take necessary precautions throughout the process. If you’re unsure about any aspect of leveling your basement floor or suspect structural damage, it’s best to consult with a professional for guidance.