Furthermore, selecting stain-resistant grout is most likely a good idea for tile for a kitchen where spills often happen. Over and above that, it is readily available in a wide variety of sizes, colors, and styles. In case any boards need changing, does it at this time, for the brand new tile floor will deal with the subfloor permanently. Installing ceramic tile flooring straight to your vinyl or linoleum subfloor surfaces is significantly discouraged.
Images Related to How To Demo A Tile Floor
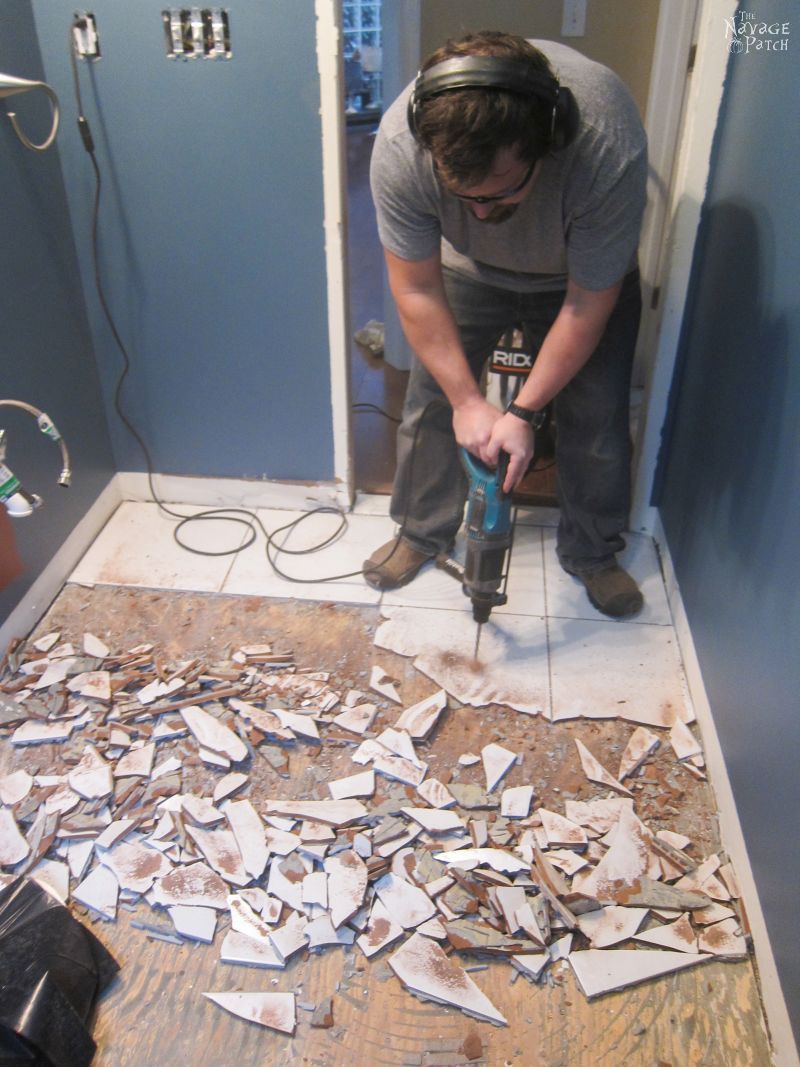
How To Demo A Tile Floor
Tiles will last for years in case they're taken care of, moreover nearly never wear out. When the floor is actually dry, remove all of the spacers between the flooring. Once you are done, you are able to today begin enjoying the advantages of getting ceramic tile flooring. Sponges and clean dry rags will come in handy for cleaning and wiping off excess mortar products and grout lining out of your newly finished ceramic tiling floor. You will see the grout becoming degree and pushed into just about all clear out spaces.
How To Remove Tile – Kitchen Infinity

When you have made certain of the aisle of flooring you will use ceramic tiling for and furthermore, the tiles which you wish to make use of – you're ready to start. The last phase of the ceramic tile installation procedure is mixing the grout and distribute it between the areas of the tiles until there is no hollow left. Affordable yet full of quality, ceramic tiles are quite durable and flexible materials.
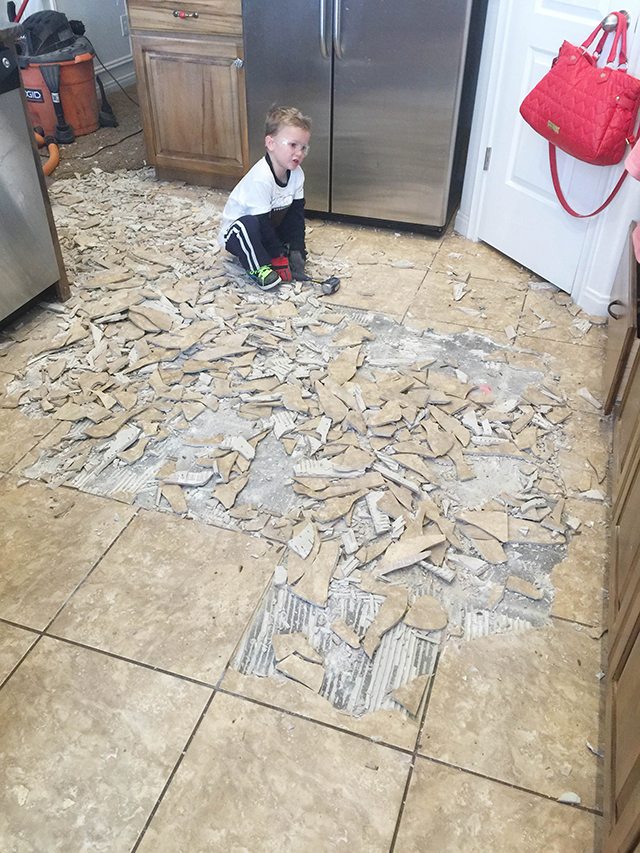
How to Remove Tile Flooring Yourself {with Tips and Tricks} All
How to Remove Ceramic Floor Tile
/removing-ceramic-floor-tile-452501-hero-8300d7b0a9c94ba6a2e844788a0225bc.jpg)
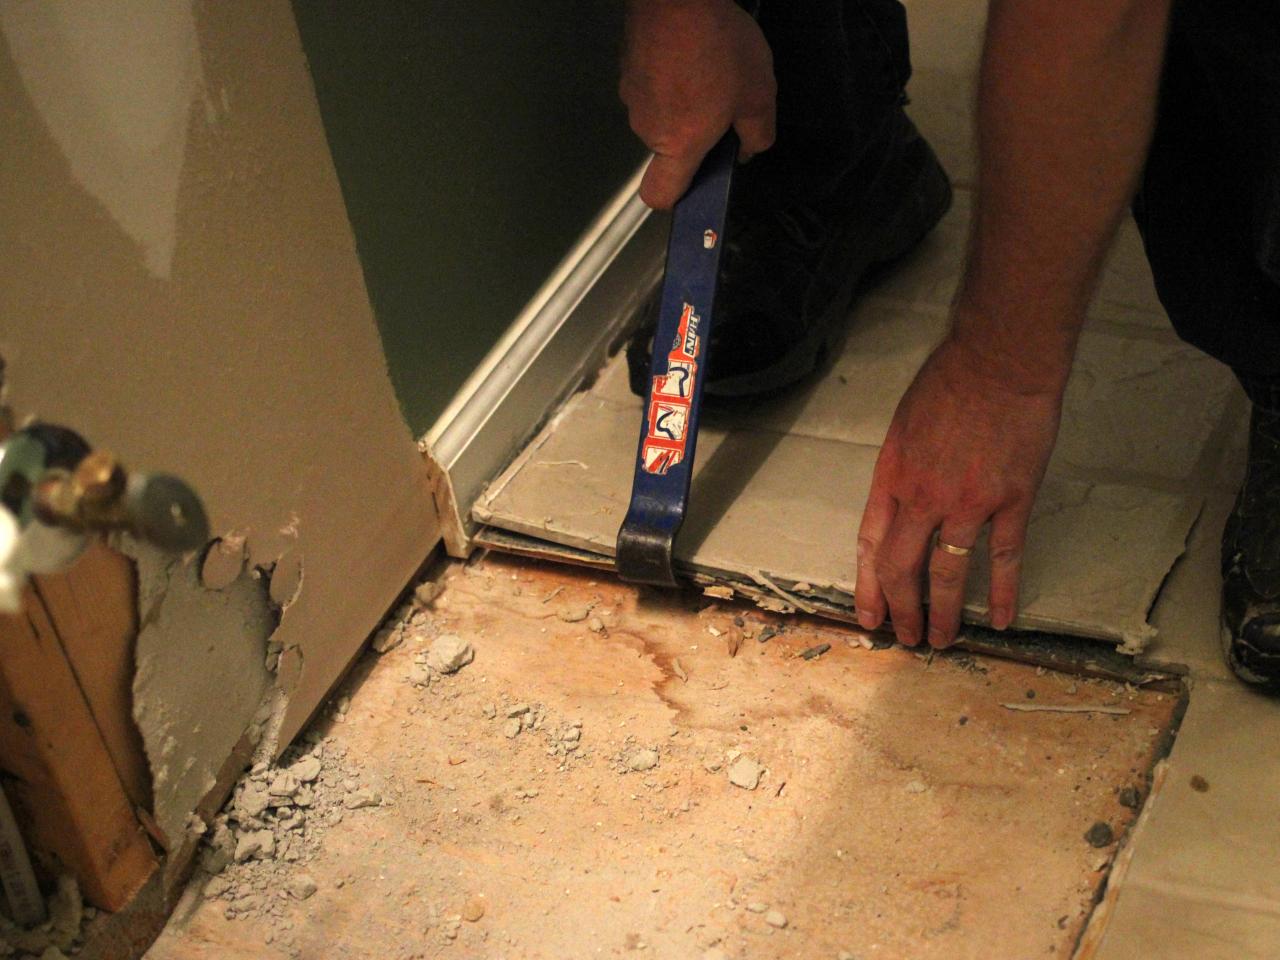
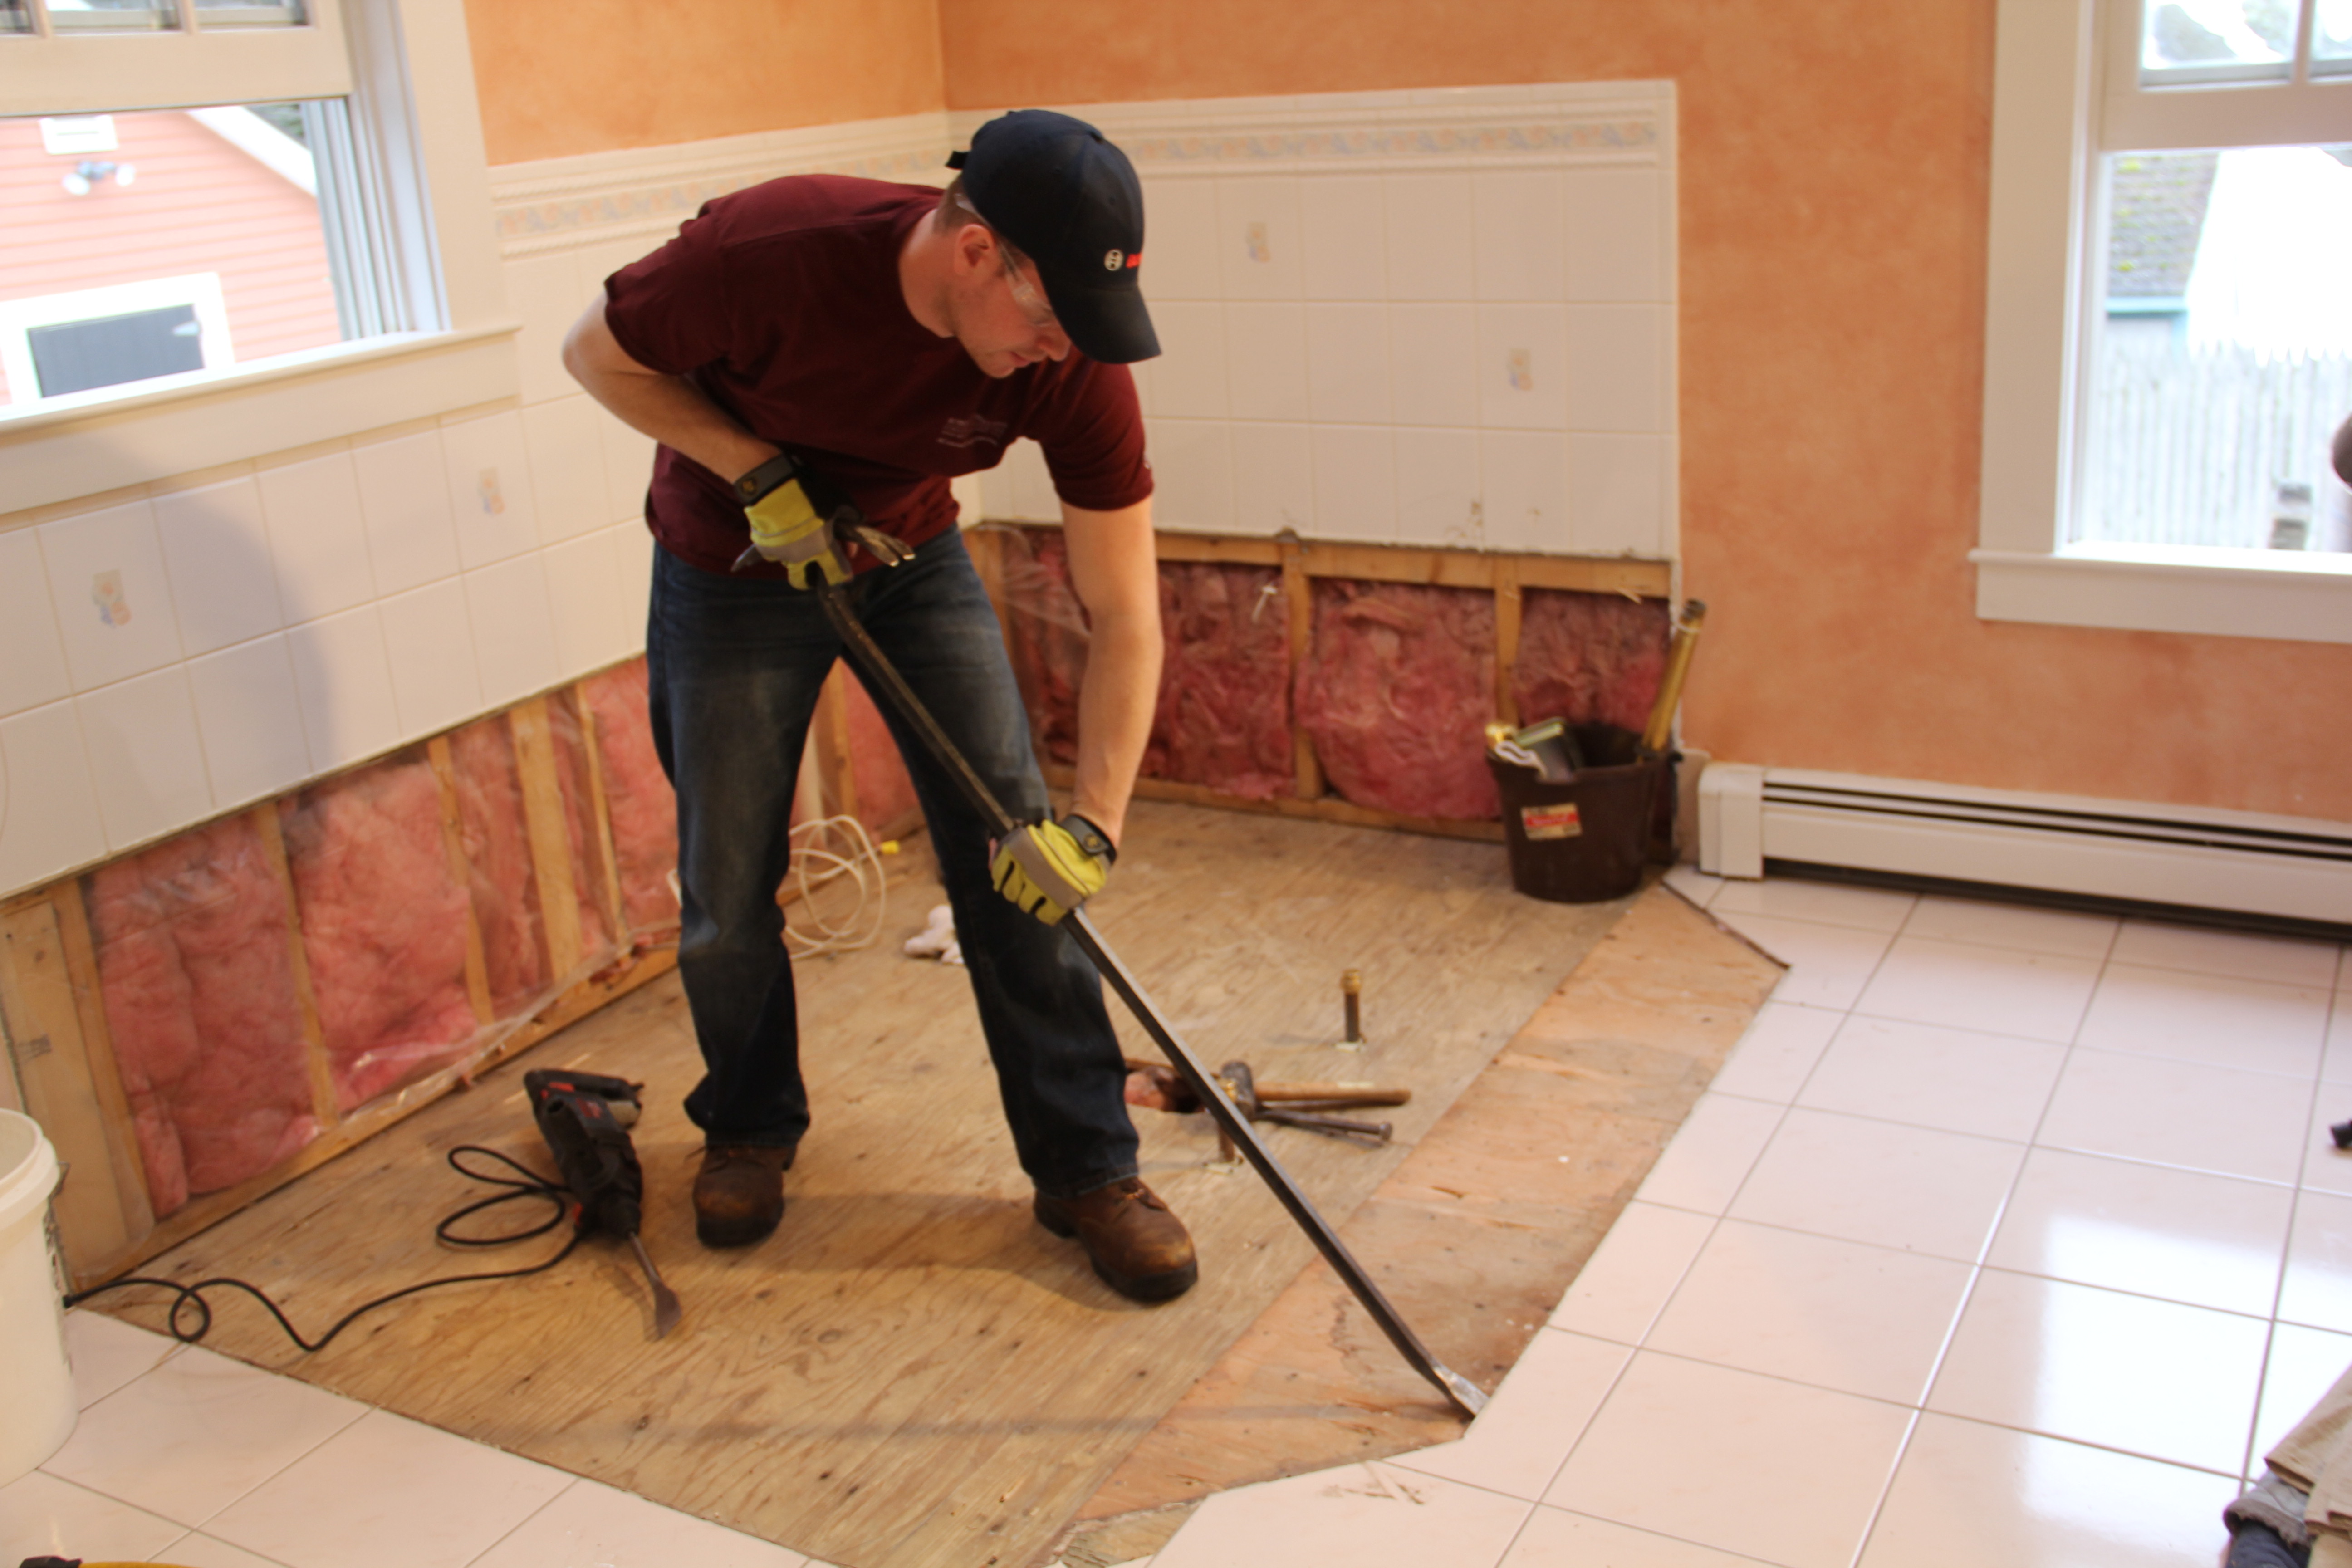
How To Remove A Tile Floor and Underlayment – Concord Carpenter
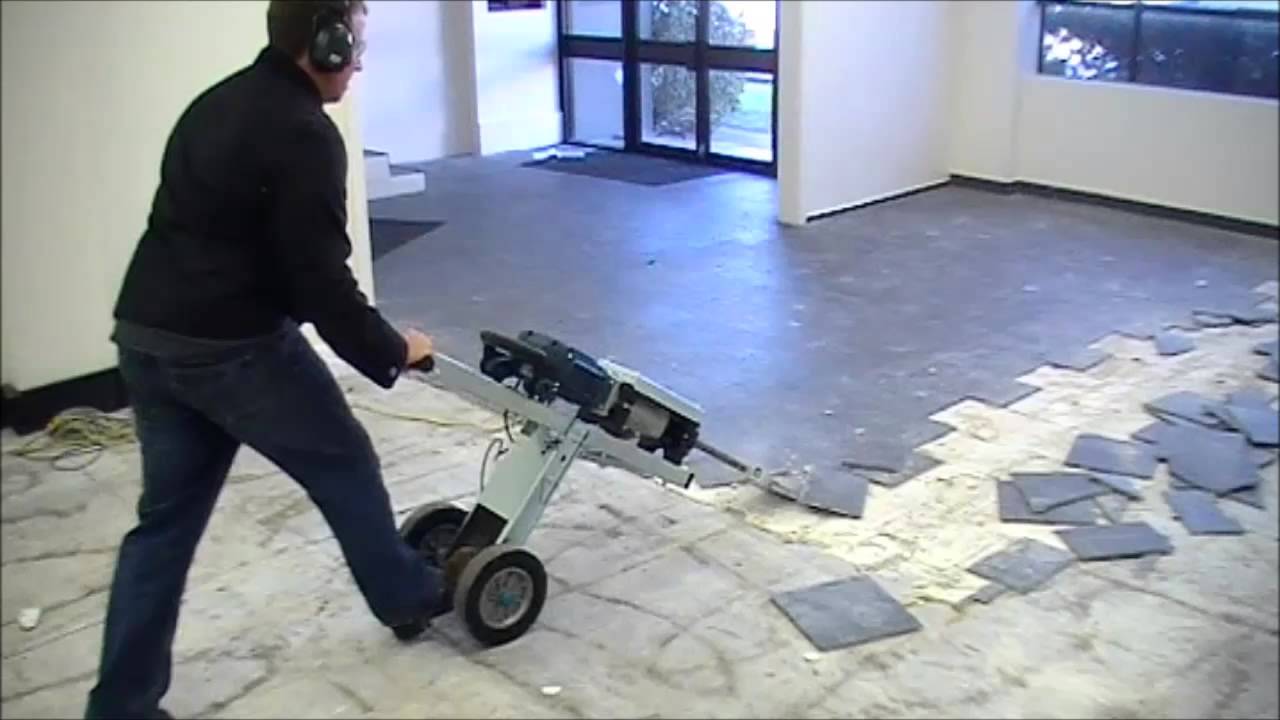
FASTEST WAY TO REMOVE FLOOR TILES
How to Remove Tile the Easy Way – Like a Pro PTR

How To Remove A Tile Floor and Underlayment – Concord Carpenter
HOW TO REMOVE TILE THE EASY WAY – Be Your Own Handyman @ Home
How to Remove Tile Flooring Yourself {with Tips and Tricks} All
How to Remove Ceramic Floor Tiles BuildDirect® Learning

How to Remove Tile (Ugh!) – The Honeycomb Home
How to Remove Tile Flooring – The Navage Patch
How To Remove Ceramic Tile And Thinset – The Nifty Nester

Related articles:
- Vintage Bathroom Floor Tile Patterns
- Bathroom Floor Tile DIY
- Limestone Bathroom Floor Tiles
- Bathroom Floor Porcelain Tile
- Concrete Bathroom Floor Ideas
- White Bathroom Ceramic Tiles
- Bathroom Floor Baseboard
- Rustic Bathroom Flooring Ideas
- Bathroom Flooring Options
- Bamboo Bathroom Flooring Ideas
How To Demo A Tile Floor: A Step-by-Step Guide
Introduction:
A tile floor can add beauty and elegance to any space, but there may come a time when you need to replace it. Whether you want to update the style or address damage, demoing the existing tile floor is the first step in the process. While it may seem like a daunting task, with the right tools and techniques, you can successfully remove a tile floor. In this article, we will provide you with a detailed guide on how to demo a tile floor effectively.
I. Preparation:
Before starting the demolition process, it is essential to prepare yourself and the area properly. This includes gathering the necessary tools, ensuring safety measures, and protecting adjacent surfaces.
1. Tools needed:
– Safety goggles
– Dust mask
– Work gloves
– Pry bar or crowbar
– Hammer
– Chisel
– Floor scraper
– Sledgehammer (if necessary)
– Dumpster or designated disposal area for debris
2. Safety measures:
Wearing safety goggles and a dust mask is crucial to protect your eyes and respiratory system from flying debris and dust particles. Additionally, work gloves will provide better grip and protect your hands from sharp edges.
3. Protecting adjacent surfaces:
To prevent damage to walls or baseboards during the demo process, use painter’s tape to cover these surfaces. This will create a buffer zone that ensures your demo work remains focused on the tile floor alone.
FAQs:
Q: Can I use any type of gloves for protection?
A: It is recommended to use heavy-duty work gloves made of leather or other durable materials that offer good grip and protection against cuts or punctures.
Q: Should I wear ear protection?
A: While not mandatory for tile floor demolition, wearing ear protection can minimize noise exposure from hammering or using power tools.
II. Removing Tiles:
Once you have prepared yourself and the area, it’s time to remove the tiles. This process requires careful attention and patience to avoid damaging the subfloor.
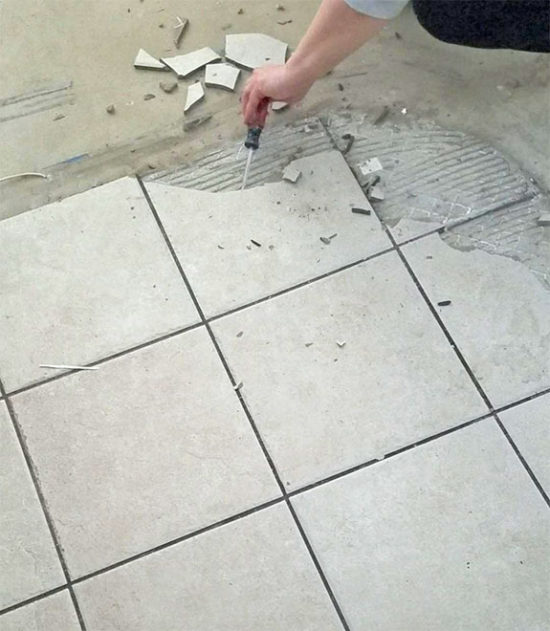
1. Starting point:
Begin by identifying a starting point for tile removal. It is often best to start from an edge or corner of the room. Use the pry bar or crowbar to lift the first tile slightly, creating a gap between the tile and the floor.
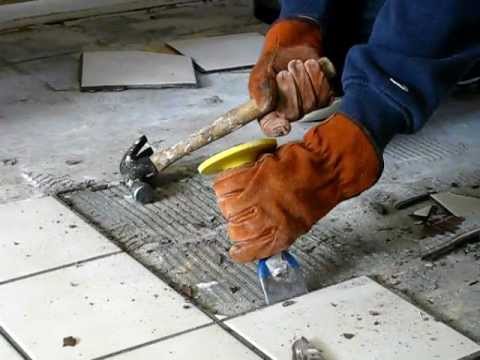
2. Breaking tiles:
To break the first tile, use a hammer and chisel. Position the chisel on one of the grout lines near the lifted tile, then strike it firmly with the hammer. The goal is to create cracks in the tile that make it easier to remove.
3. Removing individual tiles:
Once you have broken a tile, use the pry bar or crowbar to lift it off the floor completely. If necessary, use a floor scraper or chisel to remove any remaining adhesive or grout residue from the subfloor.
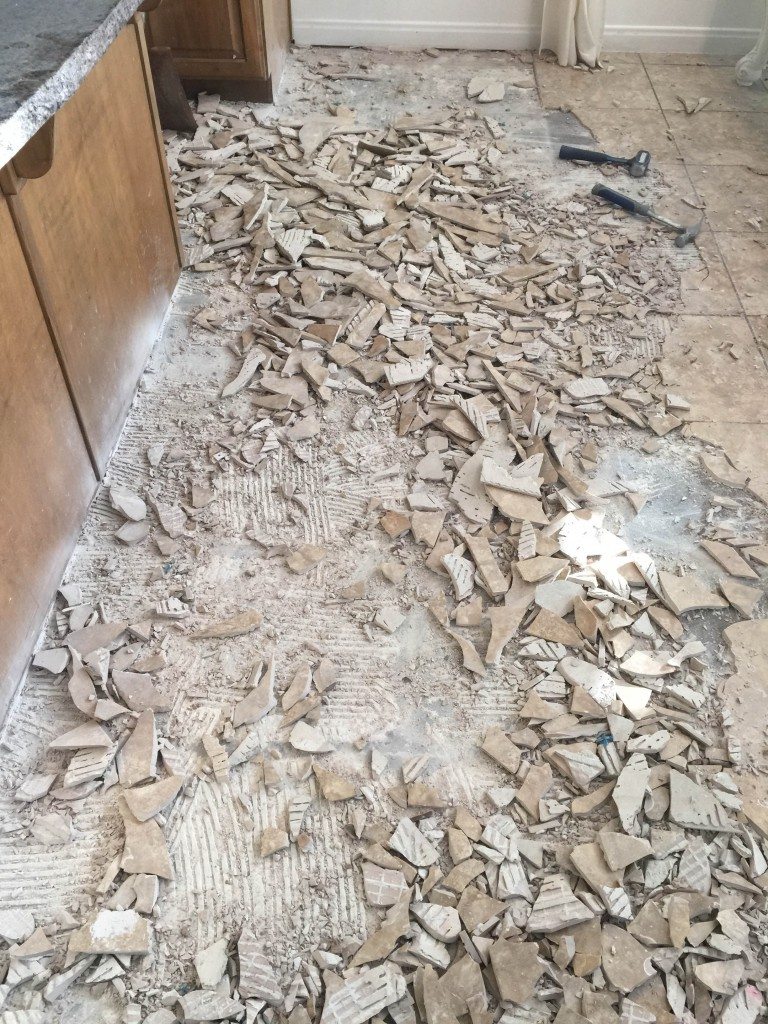
4. Continuation:
Continue breaking and removing tiles in this manner until you have cleared a substantial area of your tile floor. Be mindful not to rush or exert excessive force, as this can damage the subfloor.
FAQs:
Q: Can I reuse the removed tiles?
A: Reusing removed tiles is possible if they are in good condition and properly cleaned. However, keep in mind that some tiles may break during removal, making them unsuitable for reuse.
Q: What should I do if a tile won’t budge?
A: If a tile appears stubborn and won’t come loose, you can try using a s Stronger tool such as a rotary hammer or an electric chipping hammer to break it apart. Alternatively, you can try applying heat to the tile using a heat gun or a blow dryer to soften any adhesive that may be holding it in place. Be cautious when using these tools and always wear protective gear to avoid injury. A: If a tile won’t budge, you can try using a stronger tool such as a rotary hammer or an electric chipping hammer to break it apart. Alternatively, you can apply heat to the tile using a heat gun or a blow dryer to soften any adhesive that may be holding it in place. However, always exercise caution when using these tools and make sure to wear protective gear to avoid injury.
“How do I prepare the existing floor before demoing a tile floor?”
Preparing the existing floor before demolishing a tile floor is an important step to ensure the process goes smoothly and safely. Here are some steps to follow:1. Clear the area: Remove all furniture, appliances, and any other items from the room to create a clear workspace.
2. Turn off utilities: Shut off the electricity and water supply to the room. This will prevent any accidents or damage during the demolition process.
3. Protect surrounding areas: Cover adjacent walls, cabinets, countertops, or any other areas that you want to protect from debris or potential damage during demolition.
4. Wear protective gear: Put on safety goggles, gloves, a dust mask, and knee pads to protect yourself from potential injuries, dust, and debris.
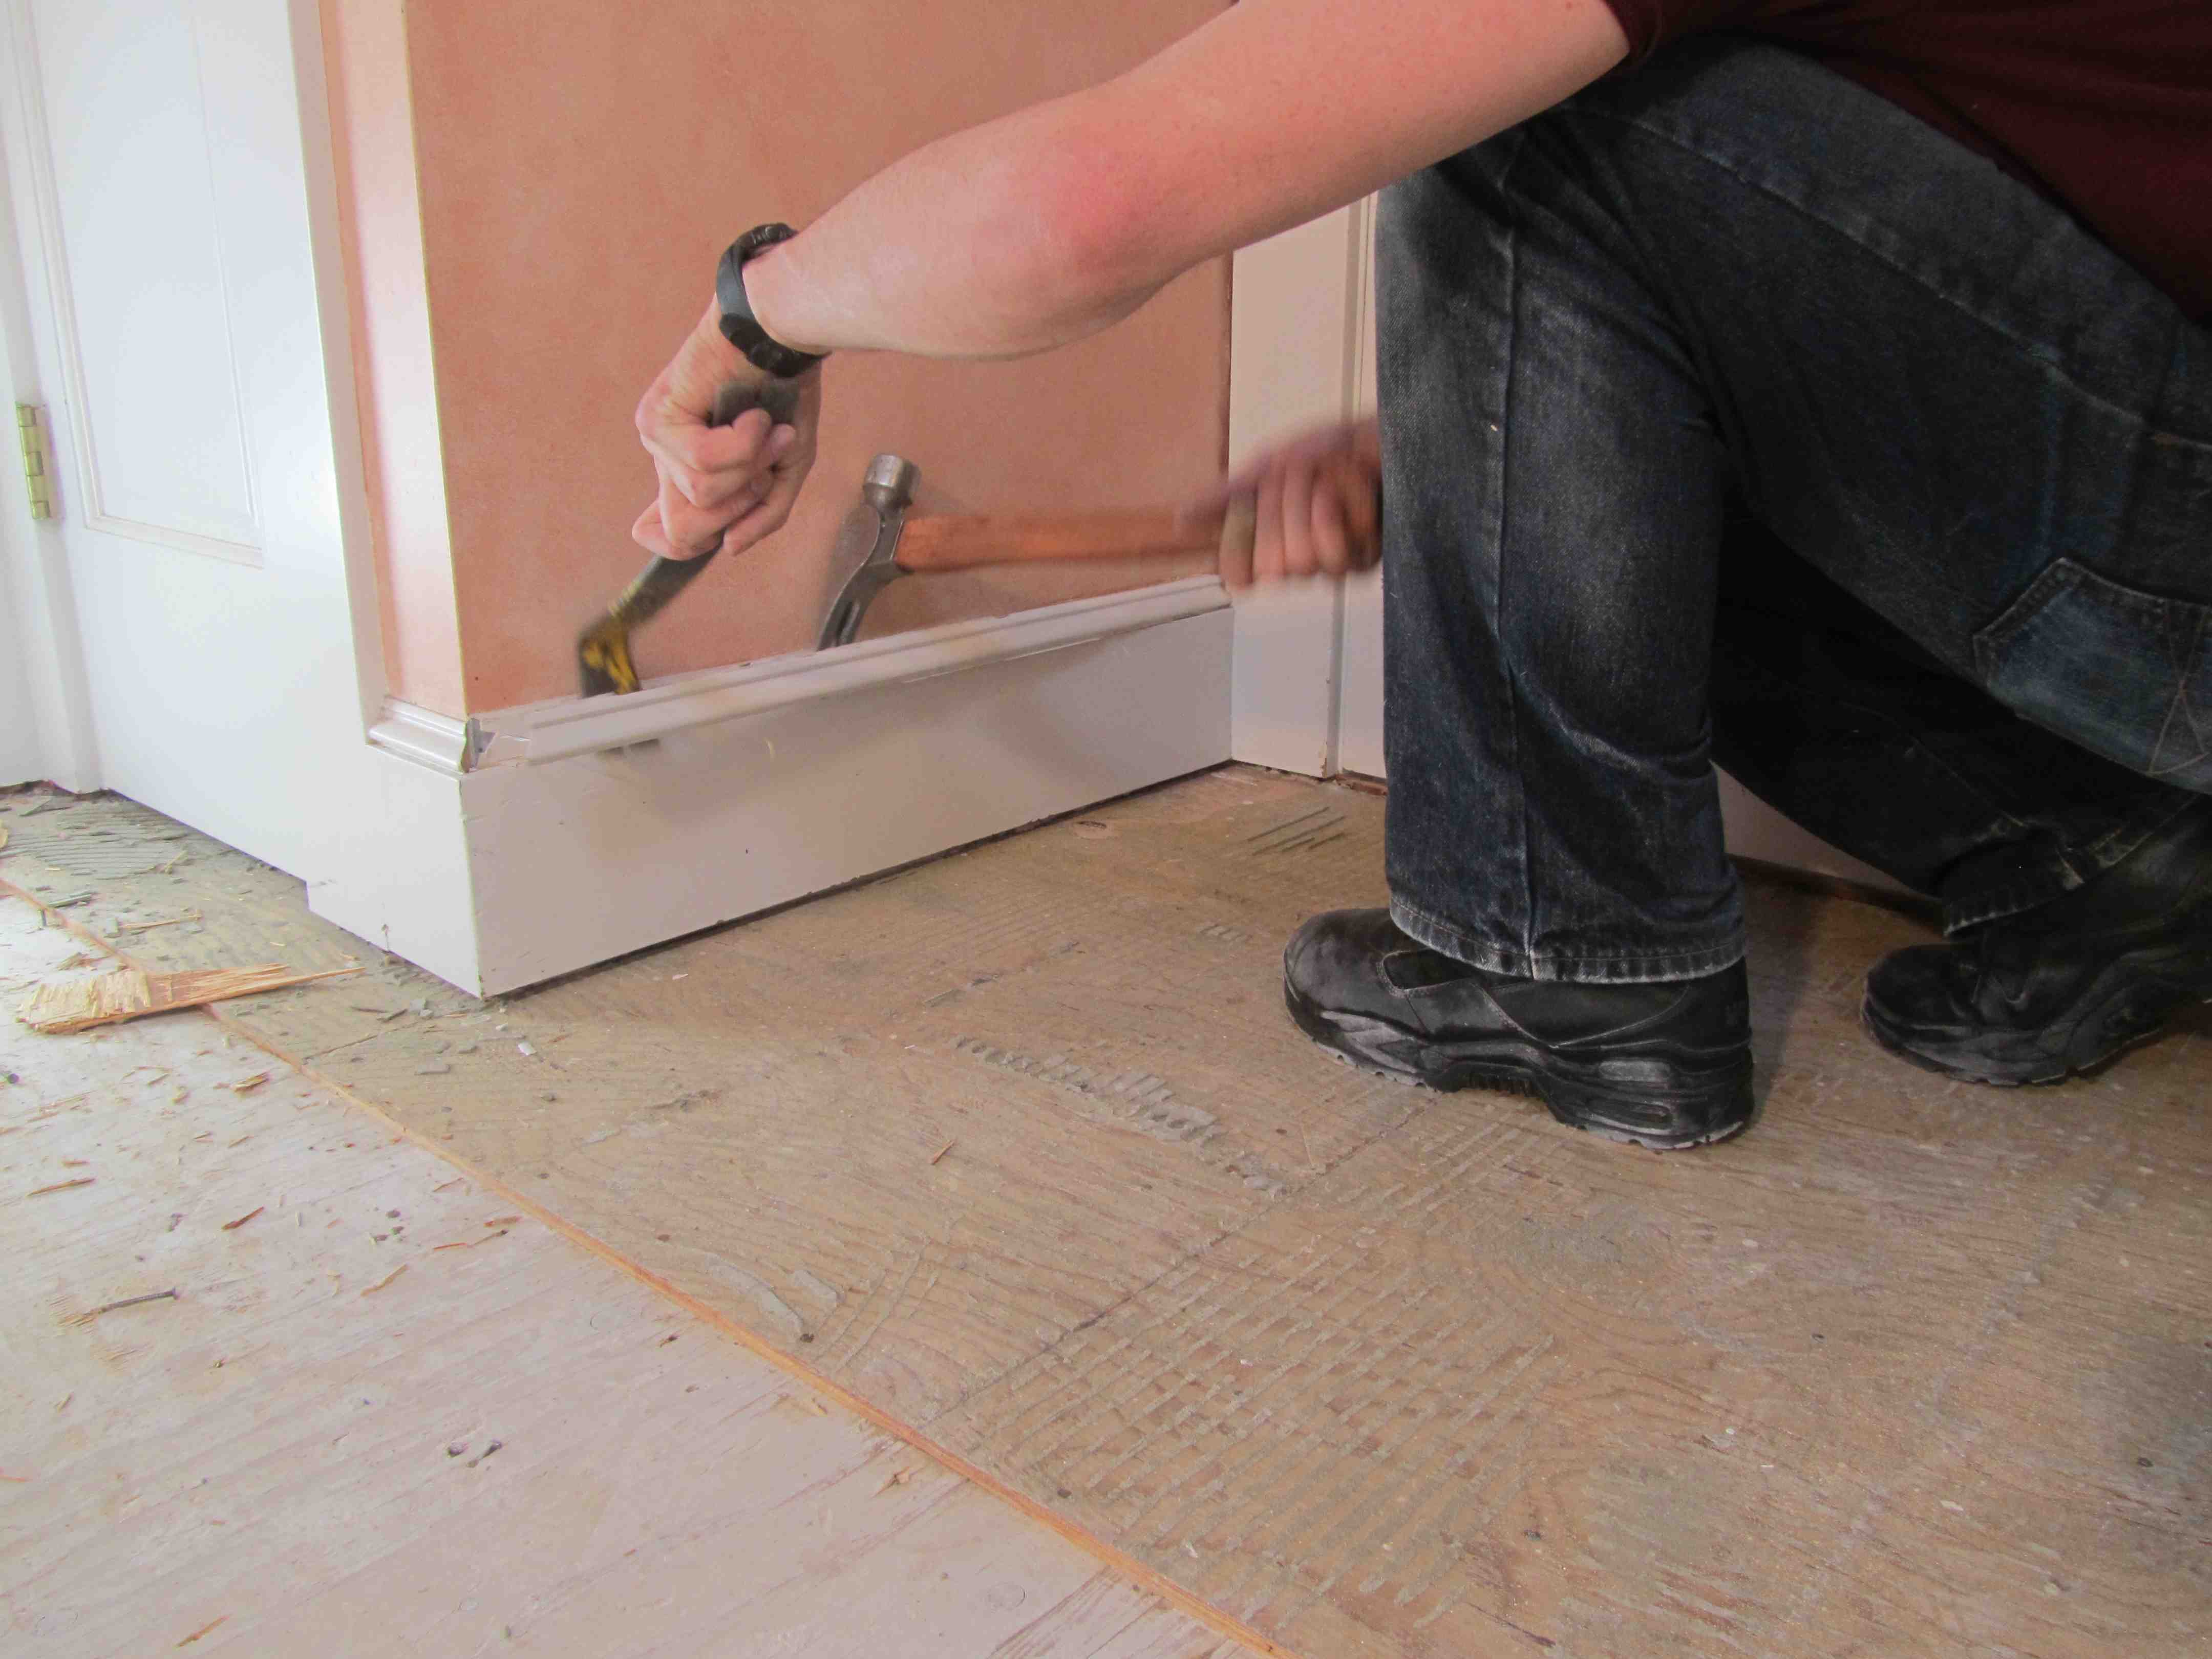
5. Remove baseboards: Carefully remove any baseboards or trim along the edges of the floor using a pry bar or crowbar. This will make it easier to remove the tiles and prevent damage to the walls.
6. Test for asbestos (if applicable): If your home was built before the 1980s, there’s a possibility that the tile adhesive or backing may contain asbestos. It’s essential to have it tested by professionals before proceeding with demolition if you suspect its presence.
7. Start removing tiles: Use a chisel or flat pry bar to break a tile in an inconspicuous area and then start removing tiles one by one using a hammer and chisel or a tile removal tool. Work carefully to avoid damaging the subfloor beneath.
8. Remove thinset/adhesive: Once all the tiles are removed, you’ll likely have leftover thinset or adhesive on the subfloor. Use a floor scraper or chisel to remove this residue, taking care not to damage the subfloor.
9. Clean up debris: Dispose of all debris properly in accordance with local regulations. Sweep or vacuum the area thoroughly to remove any remaining dust and debris.
10. Inspect the subfloor: After the tile removal and cleaning, inspect the subfloor for any damage, rot, or unevenness. Repair or replace any damaged sections and level the surface if necessary before installing new flooring.
Remember to take your time during the preparation process and exercise caution to avoid injuries or damage. If you’re unsure about any steps, it’s always recommended to consult with a professional contractor or flooring specialist.