Linoleum tile floors rarely scratch and this can be a huge plus. Mix the mixture the right way and try soaking a piece of cloth in it. Run your damp mop of the floor when a week and also you are going to have a clean floor. Users have to be designed with the best hard tile floor products. You can pick these tiles possibly for the bedroom of yours or the living rooms of yours, kitchen area as well as bathroom.
Images Related to Installing Tile Flooring In Kitchen
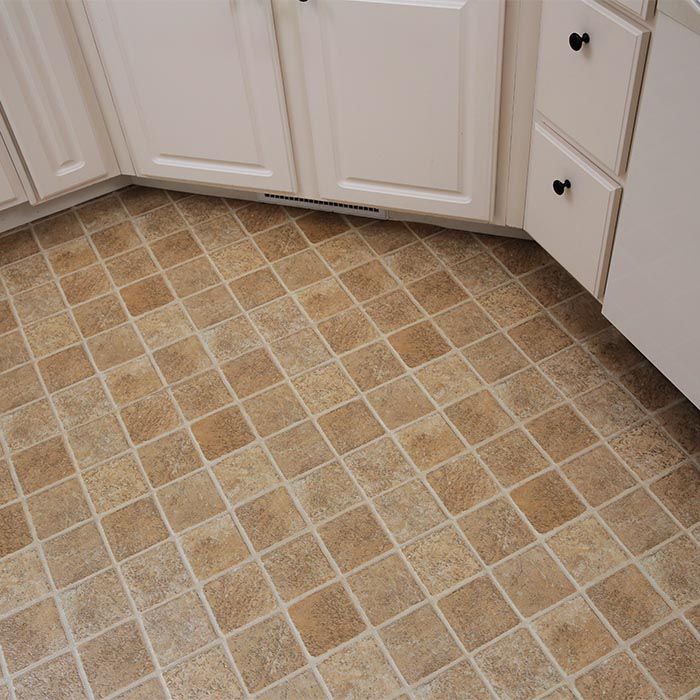
Installing Tile Flooring In Kitchen
Old edges are actually flaked off by tiny nips with the nose on the pliers. Thankfully, the hot steam generated by tile cleansers helps eliminate germs, mold, mildew, and bacteria from floors. You can buy most of the resources and components you'll need for you neighborhood hardware store, or perhaps home facility. First, make certain you've an accurate measurement of your bedroom, so that you are able to buy the right tile.
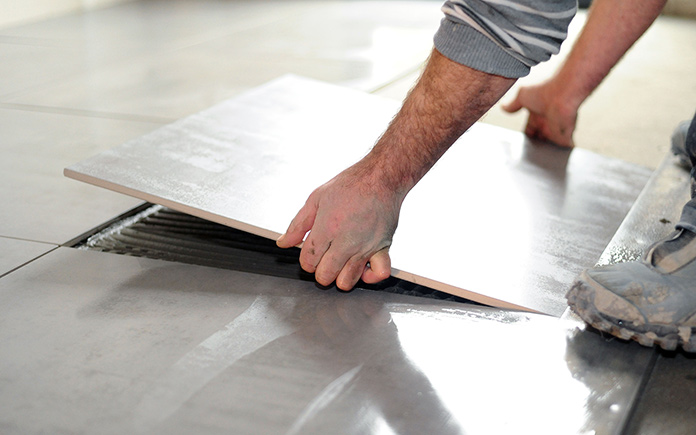
How to Install Ceramic Tile Flooring in 9 Steps – This Old House
:no_upscale()/cdn.vox-cdn.com/uploads/chorus_asset/file/19496978/howto_tile_01.jpg)
Remember which the point in time that's spent eliminating the old flooring, putting in the subflooring, installing away the flooring, thin setting the flooring, grouting the tiles, and cleaning up the flooring is actually a 7 day affair. They are sexy – in case you pick the right type of flooring – and may be found in themes and colors to suit your house.
Tips For Installing A Kitchen Vinyl Tile Floor merrypad

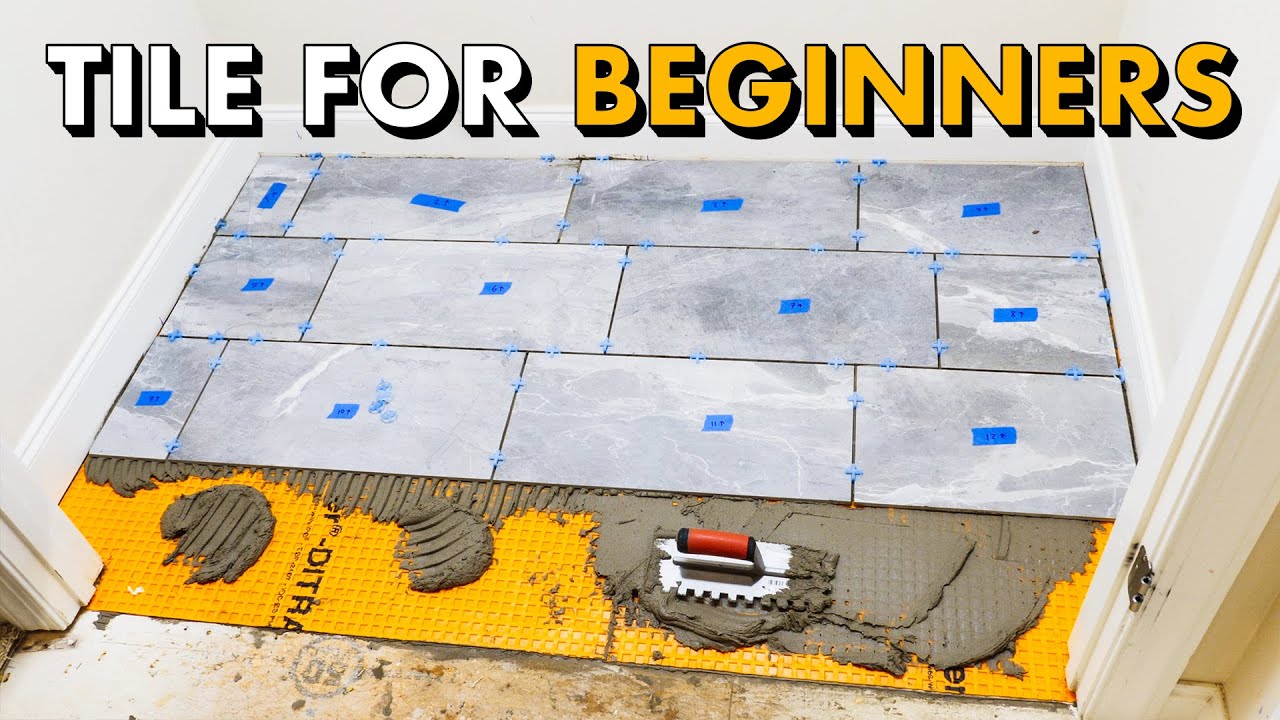
Tile Floor 101 Step by Step How to Install Tile for the First Time

How to Install Ceramic Floor Tile
/Installing-Ceramic-Floor-Tile-86464768-583ffd0d5f9b5851e5eac8c0.jpg)
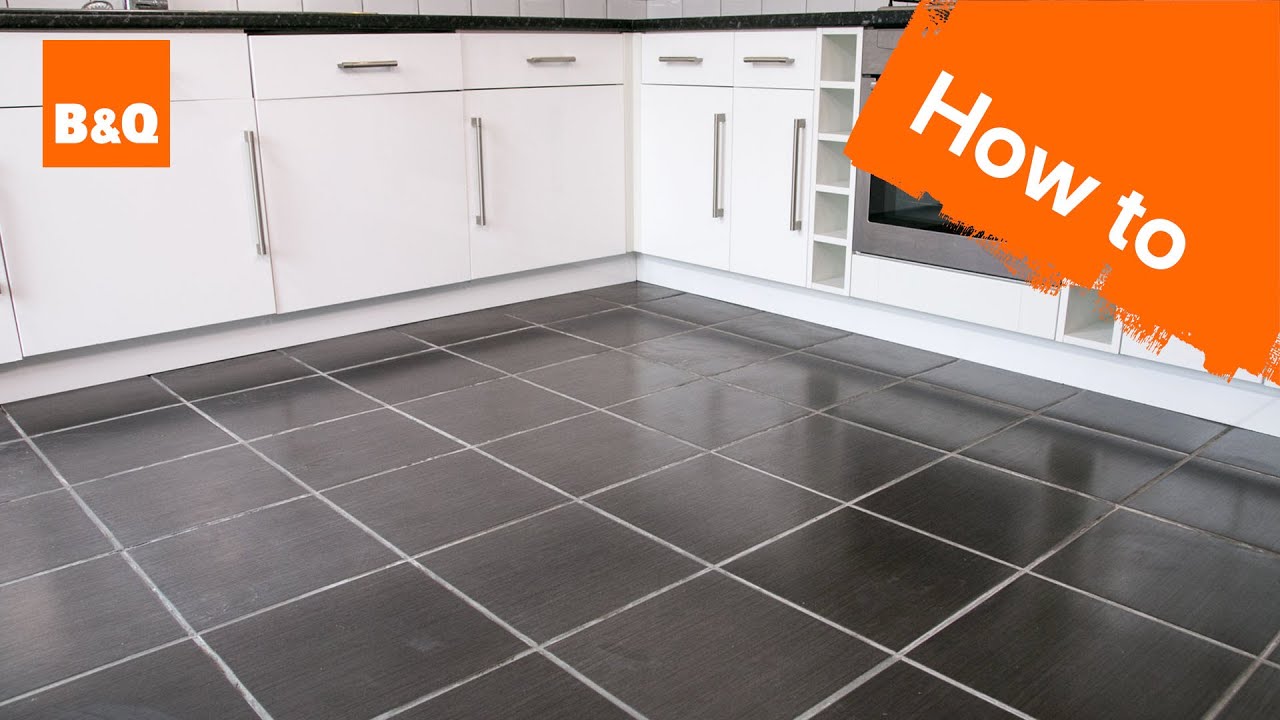
How to tile a floor part 1: preparation
Commercial Kitchen Tile Floor JLC Online

Tiles or Cabinets? Which Comes First?
How to Install a Tile Floor
LVT Flooring Over Existing Tile the Easy Way – Vinyl Floor

Subfloors and Underlayment for Ceramic Tile Floors
/best-subfloors-to-use-for-laying-tile-1822586-hero-efcfac9422ab457da5d2cbc7f7361df7.jpg)
How to Install Wood-Look Floor Tile
How to Tile a Kitchen Floor Part 1 The Home Depot

Can You Lay Tile Directly Over a Plywood Subfloor? – Todayu0027s Homeowner
Related articles:
- Vintage Bathroom Floor Tile Patterns
- Bathroom Floor Tile DIY
- Limestone Bathroom Floor Tiles
- Bathroom Floor Porcelain Tile
- Concrete Bathroom Floor Ideas
- White Bathroom Ceramic Tiles
- Bathroom Floor Baseboard
- Rustic Bathroom Flooring Ideas
- Bathroom Flooring Options
- Bamboo Bathroom Flooring Ideas
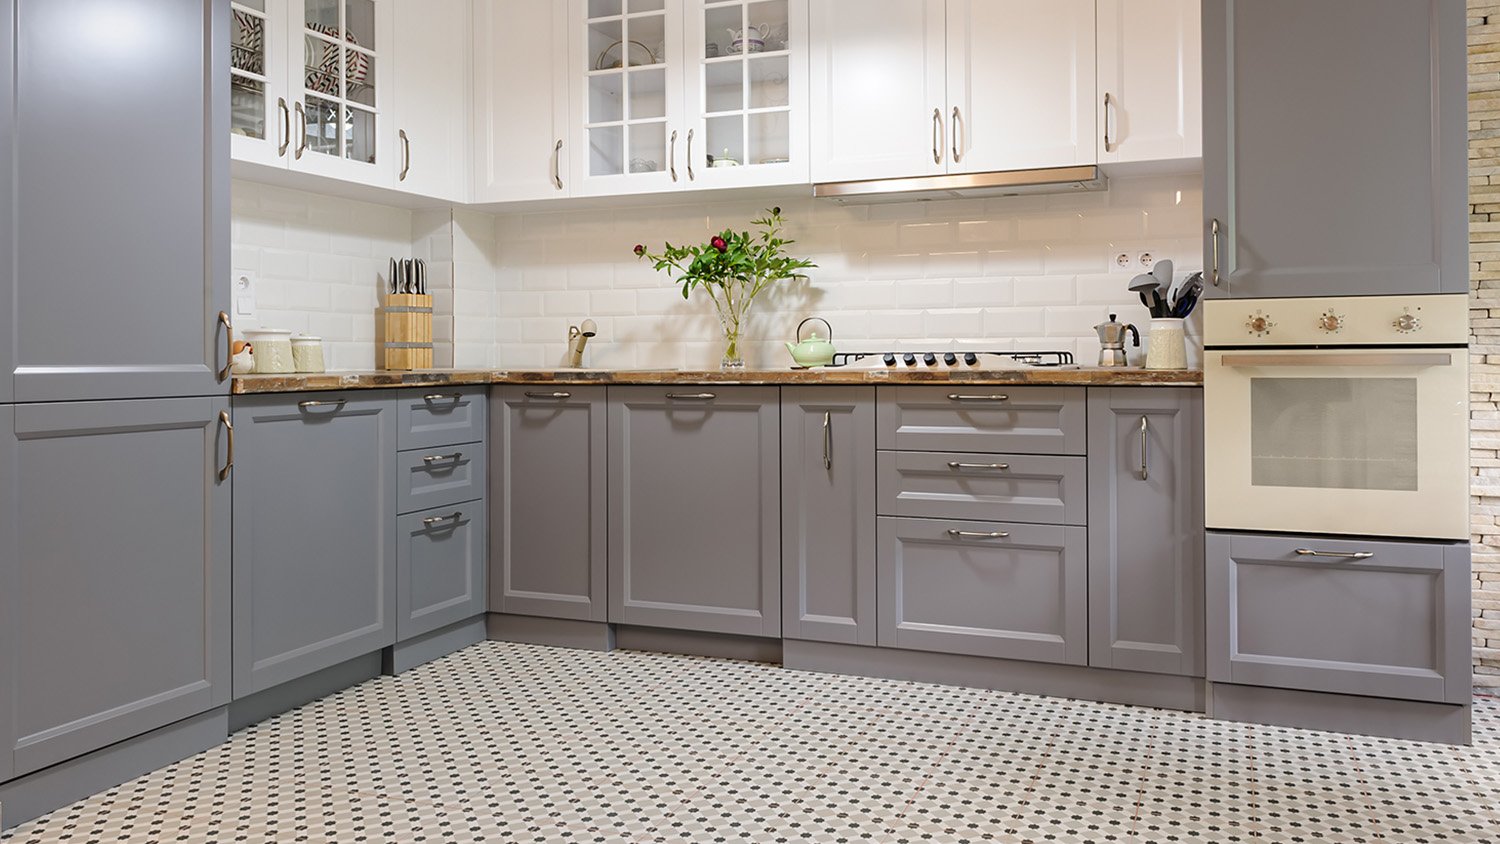
When it comes to upgrading your kitchen, installing tile flooring can be a fantastic way to enhance the look and functionality of the space. With its durability, ease of maintenance, and wide range of design options, tile flooring is a popular choice for many homeowners. In this article, we will discuss the process of installing tile flooring in the kitchen, including preparation, materials needed, installation steps, and maintenance tips.
Preparation:
Before starting the installation process, it is essential to prepare the kitchen floor properly. This includes removing any existing flooring material, such as carpet or linoleum, and ensuring that the subfloor is clean, dry, and level. Any imperfections in the subfloor should be addressed before laying down the tile to prevent issues later on.
Materials Needed:
To install tile flooring in your kitchen, you will need several materials and tools. These include tiles (of your choice), tile adhesive or mortar, grout, spacers, a trowel, a tile cutter or wet saw, a rubber grout float, a sponge, and sealer (if using natural stone tiles). It is essential to choose high-quality materials to ensure a durable and long-lasting finish.
Installation Steps:
1. Begin by dry-fitting the tiles on the kitchen floor to determine the layout and make any necessary cuts.
2. Apply a layer of adhesive or mortar to a small section of the floor using a trowel.
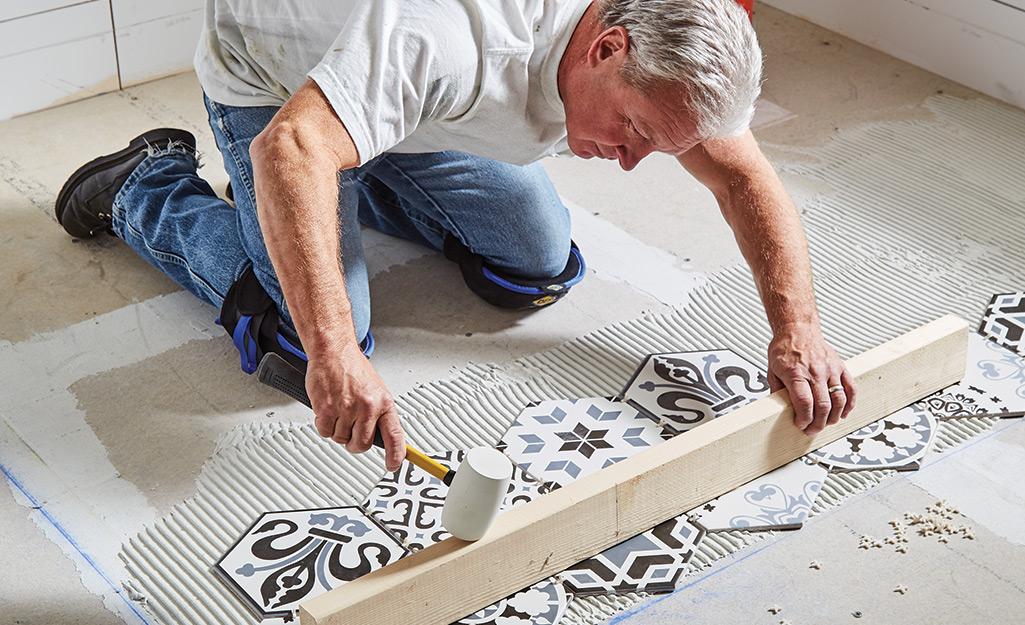
3. Place the tiles in the adhesive or mortar in your desired pattern, using spacers to maintain even spacing between tiles.
4. Continue applying adhesive or mortar and placing tiles until the entire floor is covered.
5. Allow the adhesive or mortar to dry according to manufacturer instructions before grouting.
6. Mix grout according to manufacturer instructions and apply it with a rubber grout float, pressing it into the spaces between tiles.
7. Wipe off excess grout with a damp sponge before it dries.
8. Allow the grout to cure for at least 24 hours before sealing (if necessary) and enjoying your newly tiled kitchen floor.
Maintenance Tips:
To keep your tile flooring looking its best for years to come, it is essential to follow proper maintenance practices. Regularly sweep or vacuum the floor to remove dirt and debris that can scratch the tiles. Mop with a mild detergent and water as needed to keep the tiles clean and shiny. Avoid using harsh chemicals or abrasive cleaners that can damage the tile’s finish. Additionally, consider resealing natural stone tiles periodically to protect them from stains and moisture.
FAQs:
1. Can I install tile flooring over existing vinyl or linoleum?
No, it is not recommended to install tile flooring over existing vinyl or linoleum as these materials do not provide a suitable base for tile adhesion. It is best to remove the existing flooring material and prepare the subfloor before installing tile.
2. How long does it take to install tile flooring in a kitchen?
The time it takes to install tile flooring in a kitchen depends on factors such as the size of the room, complexity of the layout, and experience level of the installer. On average, it can take anywhere from a few days to a week to complete the installation process.
3. Do I need professional help to install tile flooring in my kitchen?
While installing tile flooring can be a DIY project for those with some experience in home improvement tasks, it may be best to hire a professional installer for larger or more complex projects. Professional Installers have the knowledge and skills to ensure that the tiles are properly laid and sealed, resulting in a high-quality finish that will last for years to come. Additionally, they can help with any challenges or issues that may arise during the installation process.
4. How do I choose the right type of tile for my kitchen floor?
When selecting tiles for your kitchen floor, consider factors such as durability, ease of maintenance, and style. Porcelain and ceramic tiles are popular choices for kitchen floors due to their durability and resistance to moisture. Natural stone tiles such as marble or travertine can add a touch of elegance but may require more maintenance. It is essential to choose tiles that are suitable for high-traffic areas and easy to clean to ensure longevity in your kitchen.
5. How do I prevent cracking in my tile flooring?
To prevent cracking in your tile flooring, it is crucial to ensure that the subfloor is properly prepared before installation. This includes repairing any cracks or uneven areas and ensuring that the subfloor is stable and rigid. Additionally, using flexible adhesive or mortar can help absorb movement and prevent tiles from cracking. Properly spacing tiles and using expansion joints in large areas can also help prevent cracking by allowing for slight movement without damaging the tiles.
By following these installation steps, maintenance tips, and FAQs, you can successfully install tile flooring in your kitchen and enjoy a beautiful, durable floor for years to come. If you have any further questions or concerns, it is always best to consult with a professional tile installer who can provide expert advice and assistance throughout the process. Remember to properly maintain your tile flooring by regularly cleaning and sealing it to protect it from stains and moisture, ensuring its longevity and beauty in your kitchen.