Bath room floors ceramic tiles come in all shapes and sizes and could be laid out in various fashions and so as to give your bathroom the look you wish. You will want the bathroom of yours to be a playful, comfortable room to invest time in and the bathroom floor tile used could help develop that kind of atmosphere. Ceramic tiles are the most popular bathroom floor flooring.
Here are Images about DIY Retile Bathroom Floor
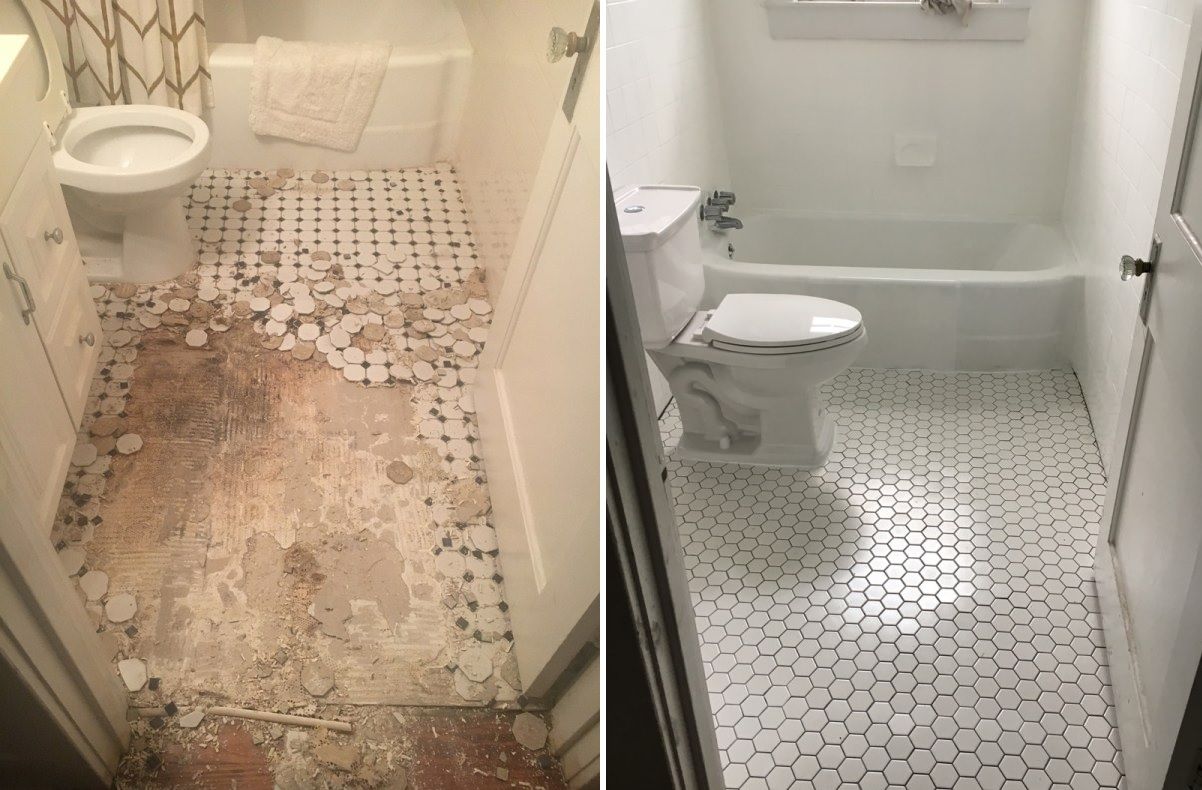
DIY Retile Bathroom Floor

By checking out some of today's best choices, it's more than possible to get the design and style that you need at an awesome price. Ceramic is wonderfully water-resistant, too, that is a vital point in relation to developing a bathroom – not a single thing is worse compared to stepping right onto a damp, soggy flooring.
How To Update Your Bathroom Floor Tiles – 6 DIY ideas

There are numerous options from which you are able to choose your desired flooring layout. Printed tiles wear out faster though they are cheaper and permit one to experiment with different styles & patterns. There are a variety of sorts of flooring you can choose when it comes to your living areas and bedrooms but you cannot choose any & every flooring material as bath room flooring.
Images Related to DIY Retile Bathroom Floor
How To Update Your Bathroom Floor Tiles – 6 DIY ideas
How to Lay a Tile Floor HGTV

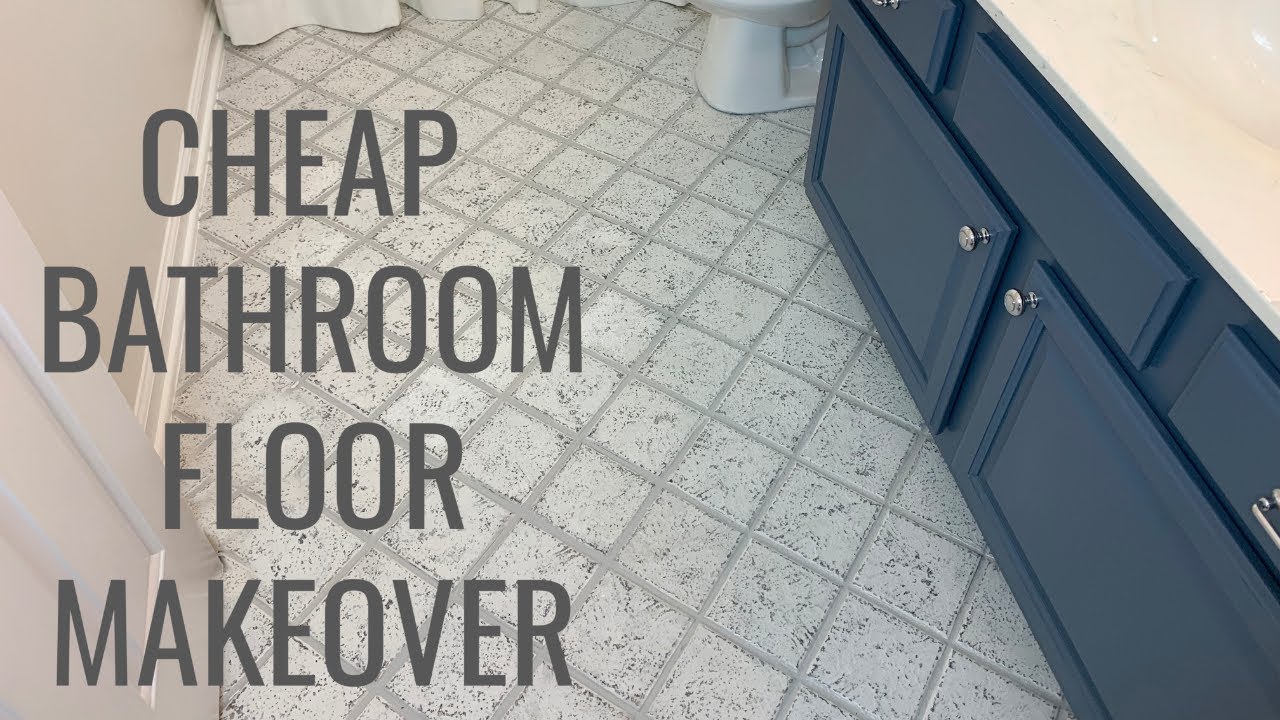
Cheap Bathroom Floor Makeover Easy DIY
How To Tile a Bathroom Floor The Home Depot

How To Update Your Bathroom Floor Tiles – 6 DIY ideas

The Renovation Hack That Will Save You $1000s: Bathroom Tile Floor

DIY Painted Bathroom Floor

How To DIY a Custom Tile Floor Architectural Digest
How to Tile a Bathroom Floor A DIY Guide Mr. Fix It DIY

How to Retile a Bathroom for a Bright New Look
How to Tile a Bathroom Floor with Wickes

Easy DIY Bathroom Floor Makeover Idea on a Budget Floor makeover

Related articles:
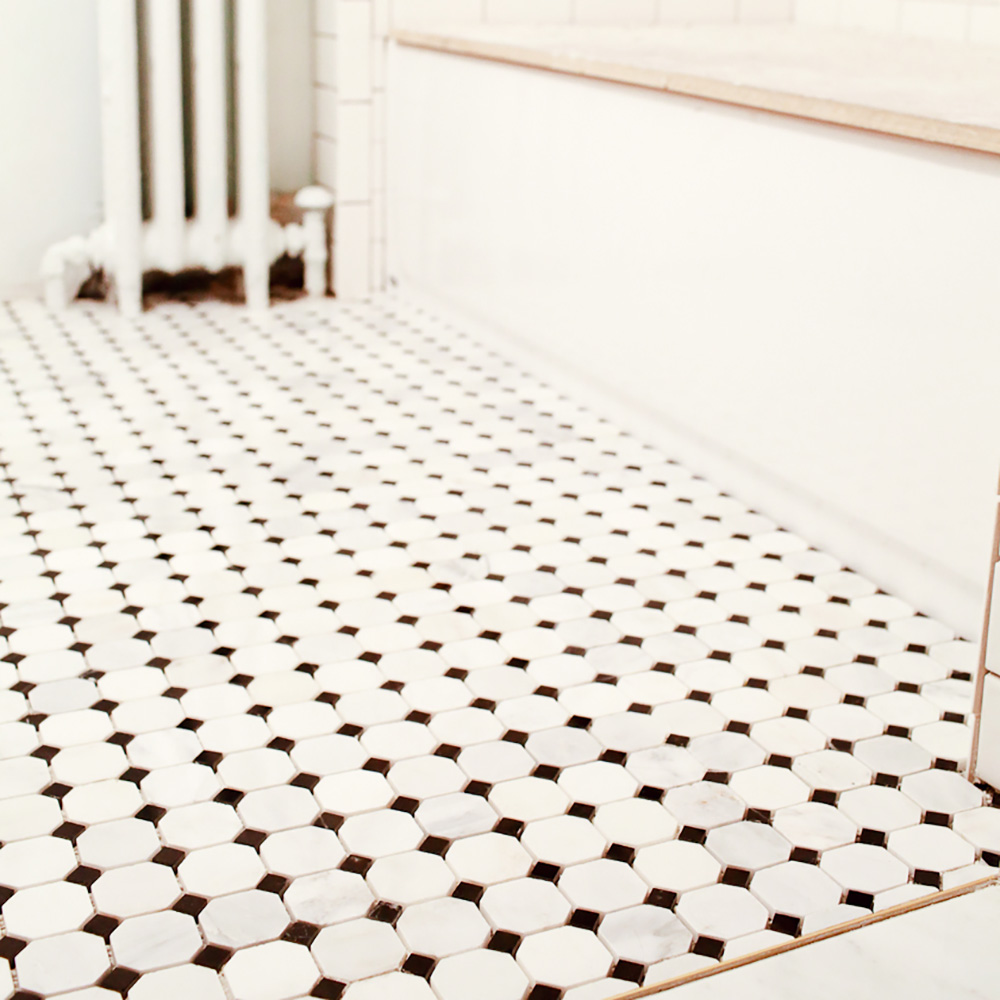
- Vintage Bathroom Floor Tile Patterns
- Bathroom Floor Tile DIY
- Limestone Bathroom Floor Tiles
- Bathroom Floor Porcelain Tile
- Concrete Bathroom Floor Ideas
- White Bathroom Ceramic Tiles
- Bathroom Floor Baseboard
- Rustic Bathroom Flooring Ideas
- Bathroom Flooring Options
- Bamboo Bathroom Flooring Ideas
Are you looking to give your bathroom a fresh new look? One of the most impactful ways to update the appearance of your bathroom is by retiling the floor. While hiring a professional to do the job can be costly, with a little bit of time and effort, you can tackle this project yourself. In this article, we will guide you through the process of DIY retiling your bathroom floor, from preparation to completion.
Preparation
Before you can start retiling your bathroom floor, you need to make sure you have all the necessary tools and materials. Some of the tools you will need include a tile cutter, trowel, grout float, sponge, level, and tape measure. As for materials, you will need tiles, mortar, grout, spacers, and sealer. Make sure to measure the area of your bathroom floor accurately so that you know how many tiles you will need.
FAQ: How do I know how many tiles I need for my bathroom floor?
Answer: To calculate the number of tiles needed for your bathroom floor, measure the length and width of the area in square feet. Then divide this number by the size of one tile (in square feet). Add about 10% extra for cuts and mistakes.
Removing Old Tiles
The first step in retiling your bathroom floor is to remove the old tiles. Use a chisel and hammer to carefully pry up each tile, being careful not to damage the subfloor underneath. Once all the tiles are removed, clean the subfloor thoroughly to ensure a smooth surface for the new tiles.
FAQ: Do I need to remove the old grout before retiling?
Answer: Yes, it is important to remove old grout before retiling. This will ensure that the new tiles adhere properly and prevent any unevenness in the finished floor.
Laying New Tiles
Once the subfloor is clean and dry, it’s time to start laying the new tiles. Start by spreading mortar on a small section of the subfloor using a trowel. Press each tile into place firmly, using spacers to ensure even spacing between tiles. Continue this process until all tiles are laid out.
FAQ: How do I cut tiles for edges and corners?
Answer: To cut tiles for edges and corners, use a tile cutter or wet saw. Measure and mark where you need to cut on the tile, then carefully score and snap or cut with a wet saw.
Grouting
After all the tiles are laid out and set in place, it’s time to grout. Mix grout according to the manufacturer’s instructions and use a grout float to spread it over the tiles at a 45-degree angle. Make sure to fill in all gaps between tiles completely. Once the grout has set for about 15-20 minutes, use a damp sponge to wipe away excess grout from the tile surfaces.
FAQ: How long should I wait before walking on newly tiled floors?
Answer: It is recommended to wait at least 24 hours before walking on newly tiled floors to allow enough time for the mortar and grout to fully set.
Sealing
To protect your newly tiled bathroom floor from moisture and stains, it’s important to seal it. Choose a high-quality sealer specifically designed for your type of tile and apply it according to the manufacturer’s instructions. This will help prolong the life of your new bathroom floor and keep it looking great for years to come.
Fin Ishing Touches
Once the sealer has dried, you can add any finishing touches to your newly tiled bathroom floor. This could include installing new baseboards or trim around the edges of the room, as well as any other decorative elements you desire. Take the time to clean up any remaining grout residue or dust to ensure a polished final look.
Maintaining Your Tiled Bathroom Floor
To keep your newly tiled bathroom floor looking its best, it’s important to maintain it properly. Regularly sweep or vacuum to remove dirt and debris, and mop with a mild detergent and water as needed. Avoid using harsh chemicals or abrasive cleaners that could damage the tile or grout. Additionally, reseal the grout every few years to ensure continued protection against moisture and stains.
By following these steps and tips, you can successfully re-tile your bathroom floor and create a fresh, stylish look in your space. With proper care and maintenance, your new tile floor will provide lasting beauty and functionality for years to come. If you have any further questions or need assistance with your bathroom floor tiling project, don’t hesitate to consult with a professional or visit your local home improvement store for guidance. With the right tools, materials, and know-how, you can transform your bathroom with a beautiful new tile floor. Remember, tiling a bathroom floor can be a challenging but rewarding project. Take your time, follow these steps carefully, and don’t hesitate to ask for help if needed. With proper preparation, installation, and maintenance, you can enjoy a stunning new bathroom floor that will enhance the overall look and feel of your space. Good luck with your tiling project!