Bathroom tiles are definitely more hygienic than other sorts of flooring because they are very convenient to clean. As a question of fact, vinyl last for a long time on end. Most importantly, don't compromise on the appearance which you would like. In case you would like the appearance of wood in a material that can greatly tolerate the perils of this bathroom, laminate flooring could be for you.
Here are Images about How To Tile A Bathroom Floor Over Wood
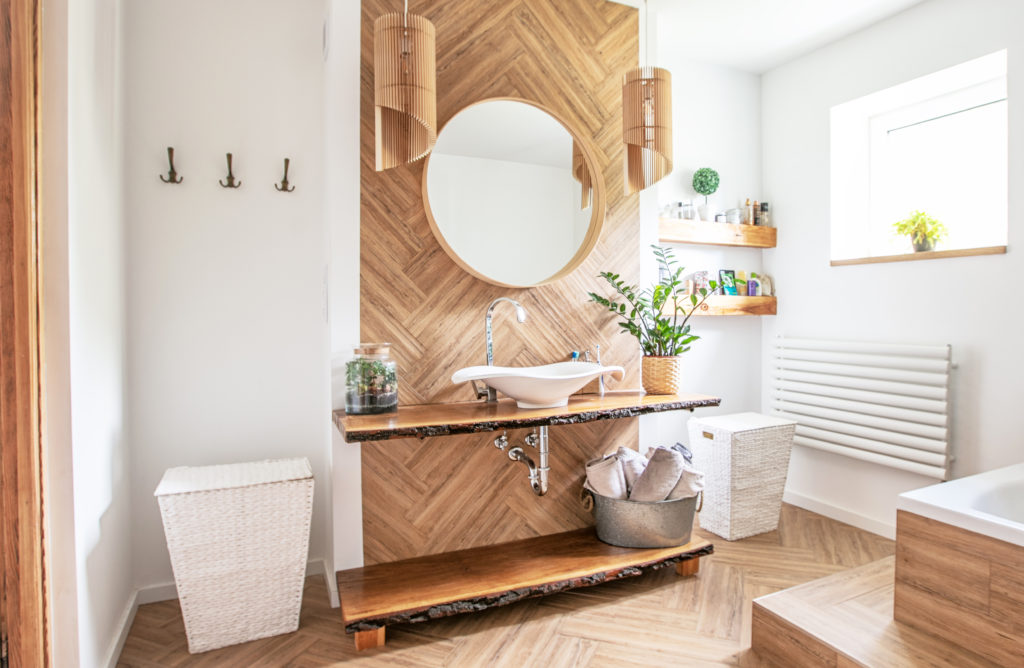
How To Tile A Bathroom Floor Over Wood
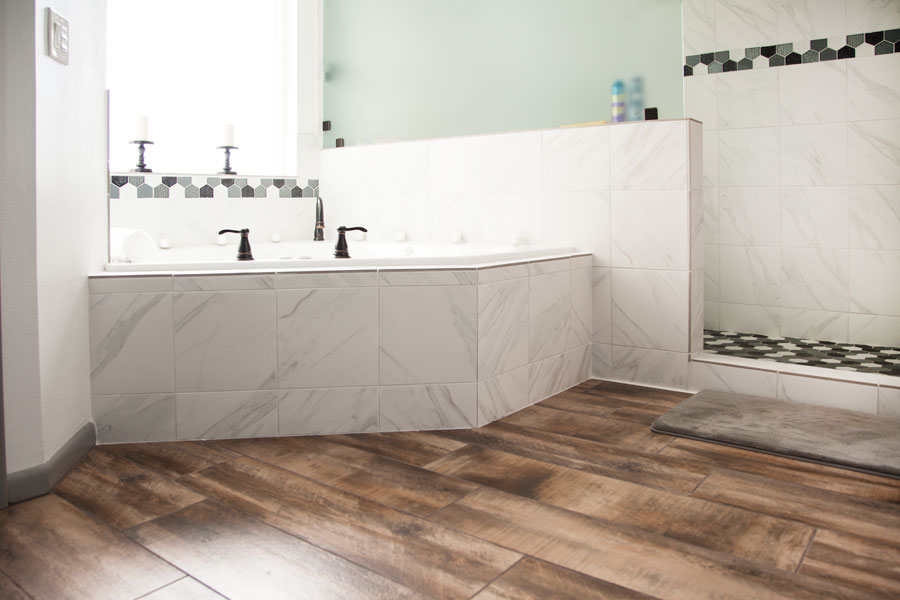
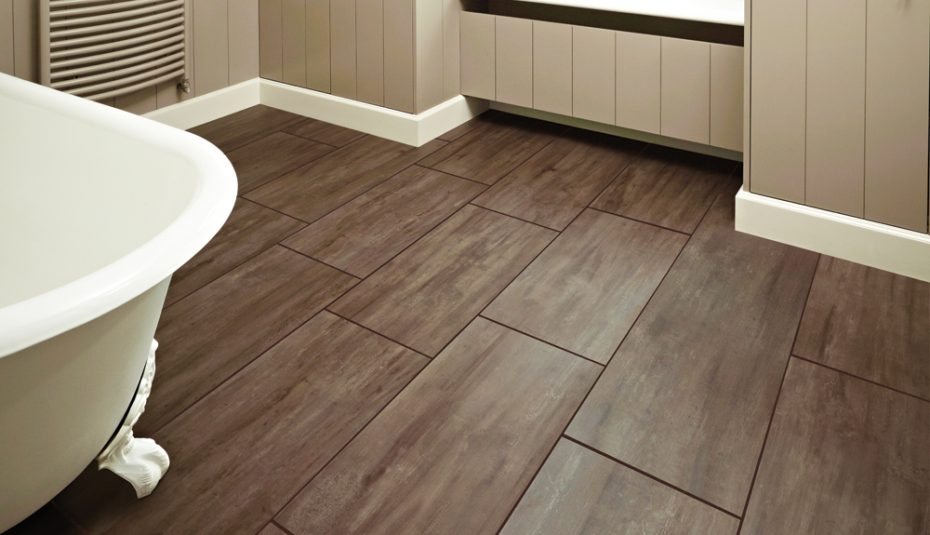
colors which are Bright like peach and grey colored are fun, they can make the bathroom experience cozier and in addition they go best with a far more country looking bath room decor. You will find a good deal of colors & designs to check out in the market. Ceramic tiles are perhaps the most common type of flooring option for the bathroom's floor design.
Transition Time: How to Connect Tile and Hardwood Floors
It's your decision to let the imagination flow of yours and choose flooring which best suits your bathroom. This is much better than the other three choices because moisture finds it tough to penetrate through that kind of bath room flooring. The best part about utilizing bathroom floor vinyl tiles is you can do it yourself. The most used bathroom floor tiles suggestions is using ceramic flooring.
Images Related to How To Tile A Bathroom Floor Over Wood
How to Prepare a Subfloor for Tile Installation
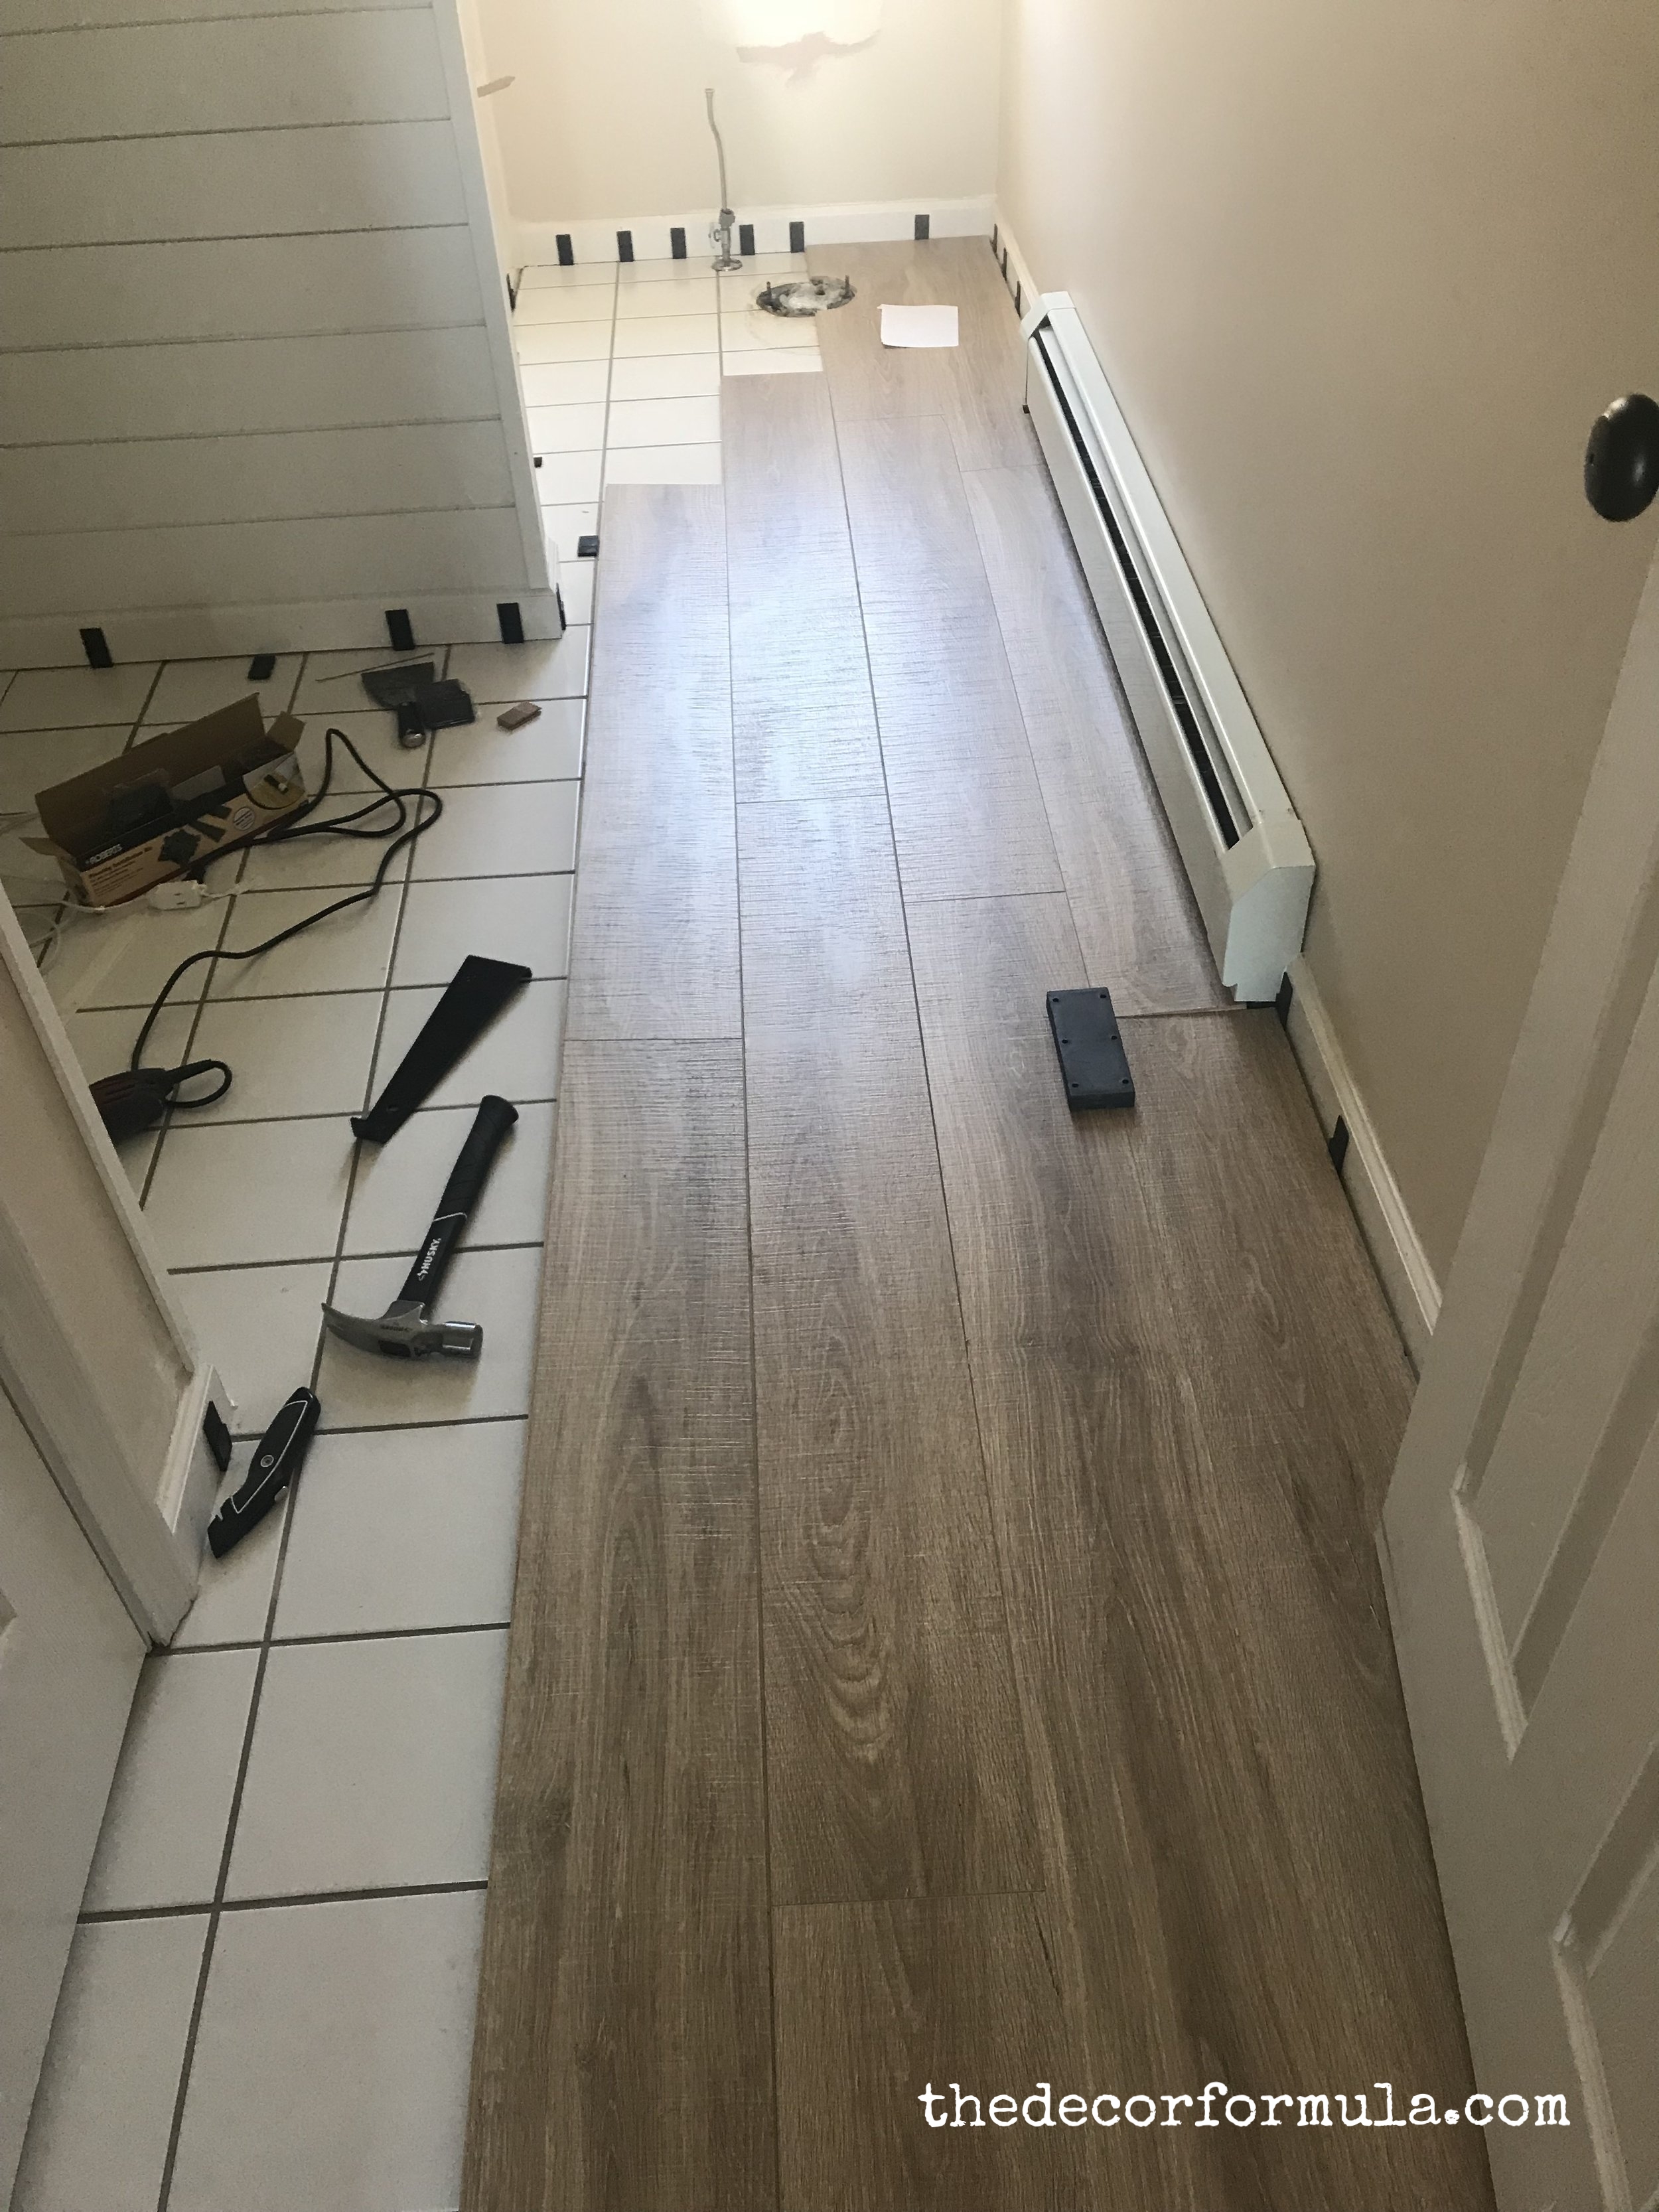
Installing Tile That Looks Like Hardwood

How to Install Tile Over a Wood Subfloor – Todayu0027s Homeowner

Ideas for Covering Up Tile Floors Without Removing It u2014 The Decor
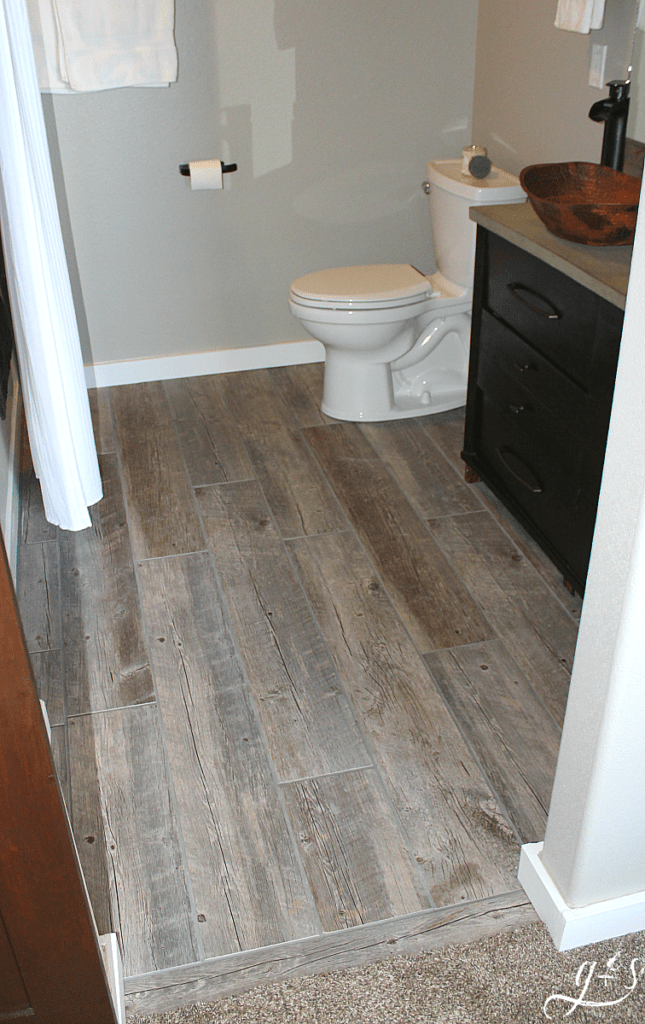
Wood Floor Bathrooms (u0026 How to Do Them Right) FlooringStores
Best Bathroom Flooring Options – Flooring Inc
The Tile Shop Page Not Found Wood tile bathroom, Faux wood

15 Ideas for Wood Floors in Bathrooms
/luxurious-bathroom-157434905-5c55ffc146e0fb0001c089a0.jpg)
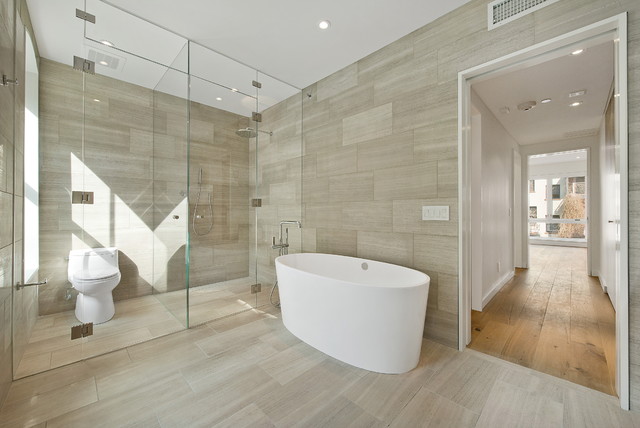
33 Wood Tile Bathroom Ideas – Wood Tile Shower Designs
How to Keep Bathroom Floors Warm in the Winter

ProHandymen Bathroom Floor Ideasvinyl, Wood u0026 Tile – San Diego Pro
Bathroom Floor Tile: 14 Top Options – Bob Vila

Related articles:
- Vintage Bathroom Floor Tile Patterns
- Bathroom Floor Tile DIY
- Limestone Bathroom Floor Tiles
- Bathroom Floor Porcelain Tile
- Concrete Bathroom Floor Ideas
- White Bathroom Ceramic Tiles
- Bathroom Floor Baseboard
- Rustic Bathroom Flooring Ideas
- Bathroom Flooring Options
- Bamboo Bathroom Flooring Ideas
How To Tile A Bathroom Floor Over Wood
Tiling a bathroom floor over wood can be a great way to update the look and feel of your bathroom while adding durability and water resistance. However, it is important to follow the right steps and techniques to ensure a successful installation. In this article, we will guide you through the process of tiling a bathroom floor over wood, providing detailed instructions and answering frequently asked questions along the way.
Preparation: Ensuring a Solid Foundation
Before you start tiling your bathroom floor over wood, it is crucial to ensure that the wood subfloor is structurally sound and free from any damage or rot. If you notice any weak or damaged areas, it is recommended to repair or replace them before proceeding with the tiling process.
1. Remove existing flooring: Begin by removing any existing flooring materials such as vinyl, laminate, or carpet. Use a pry bar or chisel to carefully lift and remove the old flooring, taking care not to damage the subfloor.
2. Clean the subfloor: Thoroughly clean the subfloor to remove any dirt, debris, or adhesive residue. Use a broom or vacuum cleaner to sweep away loose particles and then wash the surface with a mild detergent solution. Allow it to dry completely before moving on to the next step.
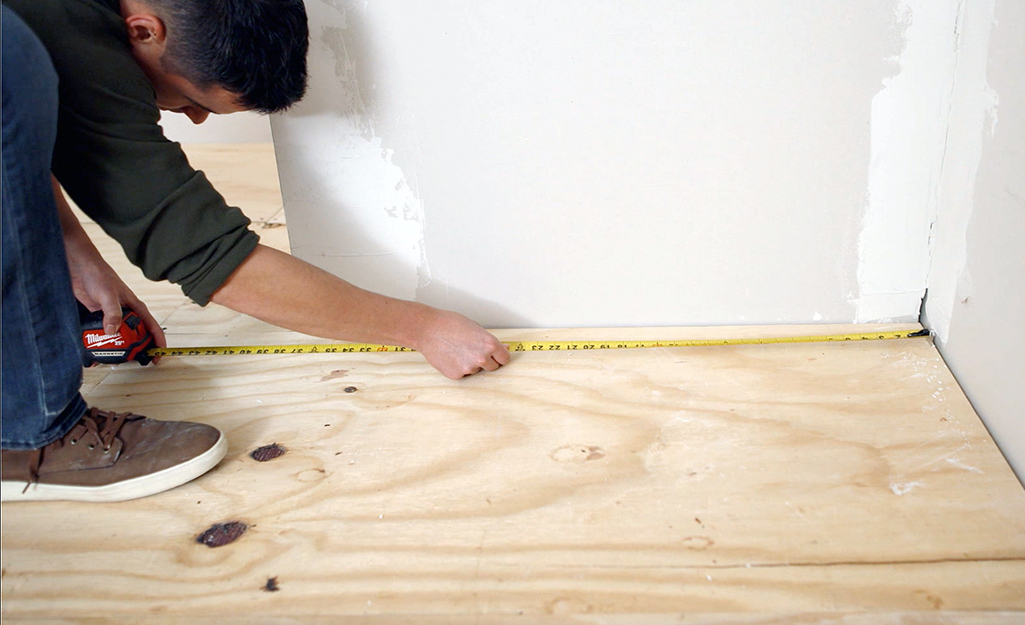
3. Check for levelness: It is essential to have a level subfloor for proper tile installation. Using a long level or straightedge, check for any uneven areas on the wood surface. If you discover any low spots or unevenness exceeding 1/8 inch per 6 feet, consider using self-leveling underlayment to create a smooth and level base.
Choosing the Right Underlayment
To ensure that your tile installation remains stable and crack-free over time, selecting the appropriate underlayment is crucial. There are several options available for tiling over wood subfloors:
1. Cement Backer Board: Cement backer board, such as HardieBacker or Durock, is a popular choice for tiling over wood. It provides a stable and moisture-resistant surface and helps prevent tile cracking. Follow the manufacturer’s instructions for proper installation, including using a thin-set mortar and screws or nails to secure the backer board to the wood subfloor.
2. Uncoupling Membrane: An uncoupling membrane, like Schluter Ditra or Custom Building Products’ RedGard Uncoupling Mat, can be used to isolate the tile from any potential movement in the wood subfloor. This helps prevent cracks in the tiled surface. Apply the uncoupling membrane according to the manufacturer’s instructions, typically using a thin-set mortar.
3. Plywood with Waterproofing: Another option is to use plywood as the underlayment and apply a waterproofing membrane on top of it. This method provides both stability and moisture resistance. Make sure to choose exterior-grade plywood that is at least 5/8 inch thick and follow the waterproofing membrane manufacturer’s instructions for proper application.
Preparing for Tile Installation
Once you have chosen and installed the appropriate underlayment for your bathroom floor, it is time to prepare for tile installation:
1. Gather your tools and materials: Before starting, make sure you have all the necessary tools and materials on hand. These may include tiles, tile adhesive, notched trowel, tile spacers, tile cutter or wet saw, grout, grout float, sponge, and a level. 2. Measure and plan: Measure the dimensions of your bathroom floor to determine how many tiles you will need. Consider the layout and design of your tiles, including any patterns or borders you want to create. Use a chalk line or pencil to mark reference lines on the subfloor to guide your tile placement.
3. Mix the tile adhesive: Follow the manufacturer’s instructions to mix the tile adhesive to the proper consistency. Use a trowel to spread a thin, even layer of adhesive onto a small section of the subfloor, starting at one corner and working your way out.
4. Lay the tiles: Place the first tile onto the adhesive, pressing it firmly into place. Use tile spacers to create consistent gaps between tiles for grout lines. Continue laying tiles in a row, using a level to ensure they are straight and even. Cut any necessary tiles using a tile cutter or wet saw.
5. Allow adhesive to dry: Allow the adhesive to dry completely before proceeding. This may take several hours or overnight, depending on the manufacturer’s instructions.
6. Apply grout: Once the adhesive is dry, mix the grout according to the manufacturer’s instructions. Use a grout float to spread the grout over the tiles, pressing it into the gaps between them. Remove any excess grout with a damp sponge.
7. Clean and seal: After allowing the grout to dry for a short time, use a damp sponge to clean any remaining grout residue from the surface of the tiles. Once completely dry, apply a sealer according to the manufacturer’s instructions to protect your newly installed tile floor.
Remember to always follow safety precautions when working with tools and materials, and consult professional help if needed. Some additional tips for preparing for tile installation in a bathroom are:
– Remove any existing flooring: If you have old flooring in your bathroom, remove it before installing the underlayment and tiles. This will ensure a smooth and even surface for the new tiles.
– Check the subfloor for any damage: Before installing the underlayment, inspect the subfloor for any damage or rot. Replace any damaged areas to ensure a solid foundation for the tiles.
– Allow the underlayment to acclimate: If you are using cement backer board or plywood as the underlayment, allow it to acclimate to the room’s temperature and humidity levels before installing. This will prevent any warping or buckling of the material.
– Use a waterproofing membrane in wet areas: If your bathroom has areas that are prone to water exposure, such as around the shower or bathtub, consider using a waterproofing membrane on top of the underlayment. This will provide an extra layer of protection against moisture.
– Plan the tile layout: Before starting to lay the tiles, plan out the layout and design. Consider where you want to start laying tiles and how they will align with walls and fixtures. This will help ensure a visually pleasing result and make the installation process easier.
– Take your time with grouting: When applying grout, work in small sections at a time to prevent it from drying too quickly. Use a grout float to press the grout into the gaps between tiles at a 45-degree angle. Wipe off excess grout with a damp sponge before it fully dries.
– Clean up as you go: As you install the tiles and grout, clean up any excess adhesive or grout that may get on the surface of the tiles. This will make the final cleaning process easier and prevent any staining or discoloration of the tiles.
By following these additional tips, you can ensure a successful and professional-looking tile installation in your bathroom. Additionally, here are some extra tips to consider for a successful tile installation in your bathroom:
– Measure and plan: Before purchasing tiles, measure the area you will be tiling to determine how many tiles you need. Consider adding a few extra tiles for cuts and replacements. Plan out the pattern and design of your tiles before starting the installation.
– Use spacers: To ensure even spacing between tiles, use tile spacers. These small plastic pieces help maintain consistent gaps and allow for grout application later on.
– Cut tiles carefully: When cutting tiles to fit around edges or obstacles, use a tile cutter or wet saw. Measure twice and cut once to avoid mistakes. Wear safety goggles and gloves when cutting tiles.
– Allow for expansion joints: Leave small gaps (around 1/8 inch) between the tiles and walls or fixtures to allow for natural expansion and contraction of the materials due to temperature changes.
– Apply adhesive evenly: Use a notched trowel to apply adhesive to the underlayment. Spread it evenly in one direction, making sure to cover the entire area where the tile will be placed.
– Let adhesive dry properly: Follow the manufacturer’s instructions for drying times before applying grout. It’s important to allow the adhesive to cure fully for a strong bond.
– Choose suitable grout color: Consider the color of your tiles when choosing grout. A contrasting color can highlight the pattern, while a matching color can create a seamless look. Test different grout colors on a sample tile before finalizing your choice.
– Seal grout regularly: After completing the installation and allowing the grout to dry, apply a grout sealer according to manufacturer instructions. This will help protect the grout from stains, moisture, and mildew growth.
– Maintain proper ventilation: Proper ventilation in your bathroom is crucial to prevent moisture buildup, which can lead to mold and mildew growth. Install an exhaust fan or open windows during and after showering to reduce humidity levels.
By following these additional tips, you can ensure a successful and professional-looking tile installation in your bathroom.