When I started planning my home renovation two years ago, I never imagined how much time I’d spend thinking about wood flooring patterns. I assumed all hardwood floors looked basically the same, just planks running in one direction. How wrong I was. As I researched and visited showrooms, I discovered an entire universe of design possibilities that could dramatically change how each room felt.
The pattern you choose affects everything from how spacious a room appears to the overall style and character of your home. I experimented with different layouts across my house, from classic herringbone in the entryway to modern wide planks in the living room, and each decision taught me something valuable. Let me share what I learned about wood flooring designs and how choosing the right pattern transformed my spaces in ways I never expected.
Understanding Traditional Straight Lay Patterns
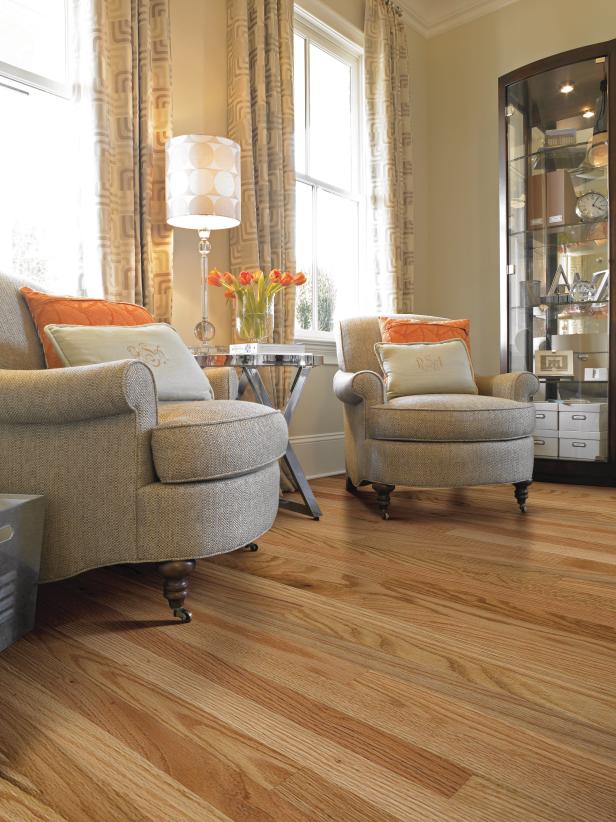
I started my flooring journey with the most common pattern, straight lay, where planks run parallel to each other in one continuous direction. This seemed like the safe, straightforward choice for my main living areas. What I didn’t initially understand was how much the direction of those planks would impact the perception of space. My contractor explained that running planks lengthwise along the longest wall makes rooms appear longer and more spacious, while running them perpendicular can make narrow spaces feel wider. I tested this theory in my hallway, installing the planks perpendicular to the length, and it genuinely made the corridor feel less cramped and tunnel-like.
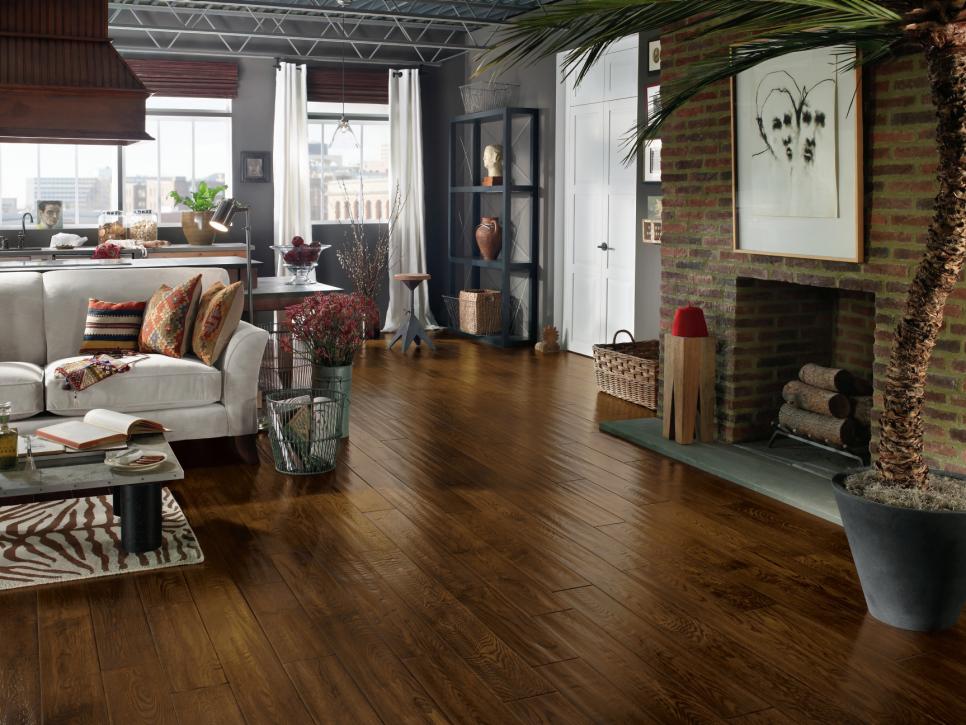
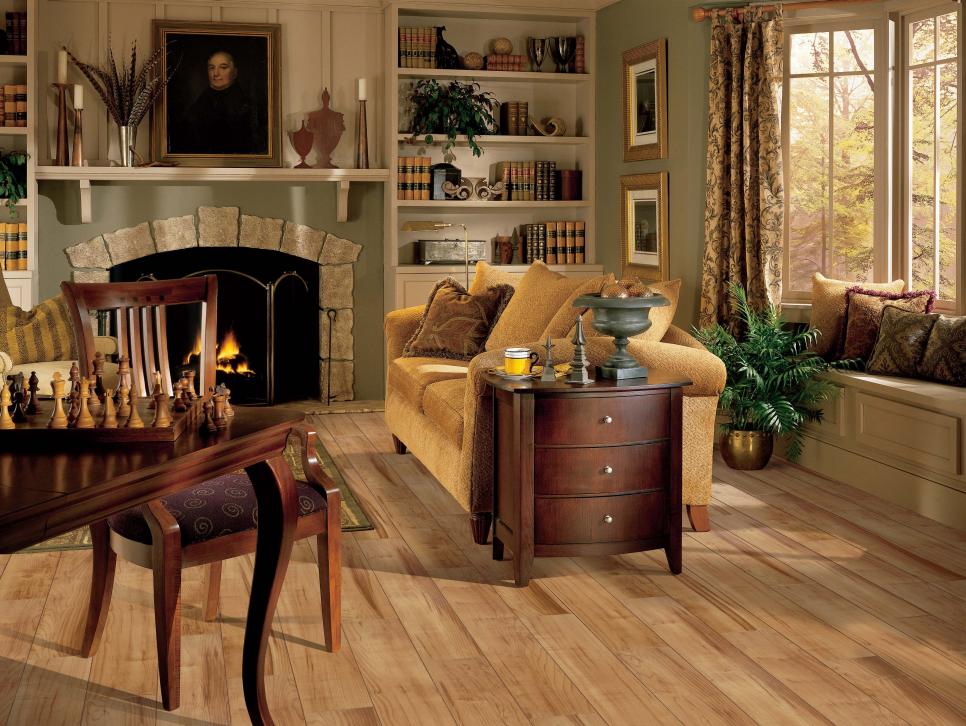
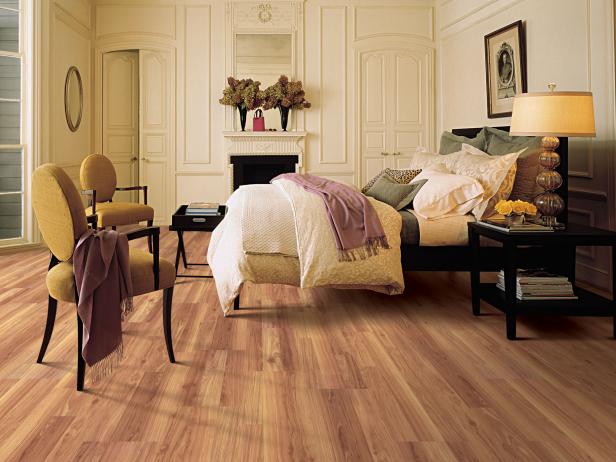
The beauty of straight lay patterns lies in their versatility and timeless appeal. I used this approach in my bedrooms and main living areas, choosing three-and-a-quarter-inch oak planks with a natural finish. The installation was relatively straightforward, which kept labor costs reasonable at about $4 per square foot beyond materials.
I loved how the continuous lines created a calm, flowing aesthetic that didn’t compete with my furniture or decor. The pattern also made the spaces feel cohesive and connected, especially important in my open-concept main floor, where the kitchen, dining, and living areas flow together. The subtle grain variations in the oak provided visual interest without overwhelming the senses.
One consideration I hadn’t anticipated was how straight lay patterns show dirt and imperfections more readily than busier patterns. Every crumb, every pet hair, every scratch becomes visible along those clean lines. I’ve had to be more diligent about sweeping and maintaining the finish than I expected.
However, repairs and replacements are easier with a straight lay. When my washing machine leaked and damaged several planks, my contractor could replace them relatively seamlessly. With more complex patterns, matching and replacing damaged sections would have been significantly more challenging. For anyone wanting classic elegance with practical maintenance, straight lay remains an excellent choice that I’m happy with in most of my home.
Exploring the Elegance of Herringbone Patterns
After seeing herringbone flooring at a friend’s historic home, I became obsessed with recreating that sophisticated look in my entryway. This pattern, where planks are laid at 90-degree angles to create a distinctive V-shape, adds incredible visual interest and a sense of luxury that straight planks simply can’t match.
I spent weeks deciding between traditional herringbone and the similar chevron pattern. Herringbone has the planks meeting at right angles with the ends cut straight, while chevron has angled cuts that create perfect points. I chose herringbone because the traditional look felt more appropriate for my 1920s colonial-style home.
The installation process was significantly more complex and expensive than I anticipated. My installer charged $12 per square foot for labor alone, triple what I paid for straight lay installation. Every piece needed precise cutting and fitting, and the process moved much more slowly. For my 80-square-foot entryway, installation took three full days compared to what would have been less than a day for straight planks.
I also needed to purchase about 15 percent more material to account for waste from all the angled cuts. Despite the extra cost, watching the pattern come together was absolutely mesmerizing. The intricate design transformed my entryway from a forgotten pass-through space into a stunning focal point that guests always comment on.
Living with herringbone has taught me both its advantages and challenges. The busy pattern brilliantly hides dirt, scratches, and wear patterns that would be obvious on straight planks. My high-traffic entryway still looks relatively pristine despite constant use. The pattern also adds architectural interest that makes the space feel more expensive and carefully designed.
However, furniture placement requires more thought. Large pieces can obscure the beautiful pattern you worked so hard to create, so I’ve kept my entryway relatively open with just a console table and mirror. I’ve also noticed that the pattern can make small spaces feel busier or more closed-in, which is why I limited it to the entryway rather than extending it throughout the house.
Discovering the Drama of Diagonal Installations
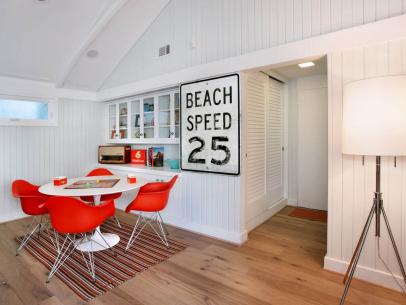
Diagonal flooring wasn’t even on my radar until my contractor suggested it for my awkwardly shaped home office. This room had irregular angles where an addition met the original house, and the off-kilter walls made any flooring pattern look misaligned. Running the planks at a 45-degree angle to the walls created an optical illusion that made the irregular room feel more balanced and intentional. I was skeptical at first, worried it would look gimmicky or dated, but I decided to trust his expertise. The transformation completely exceeded my expectations, turning my most problematic room into one of my favorites.
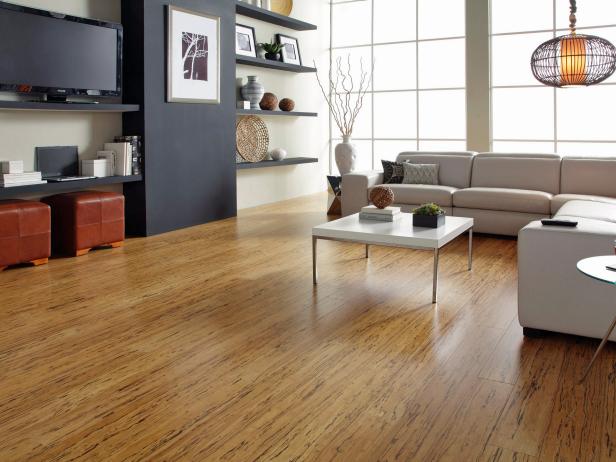
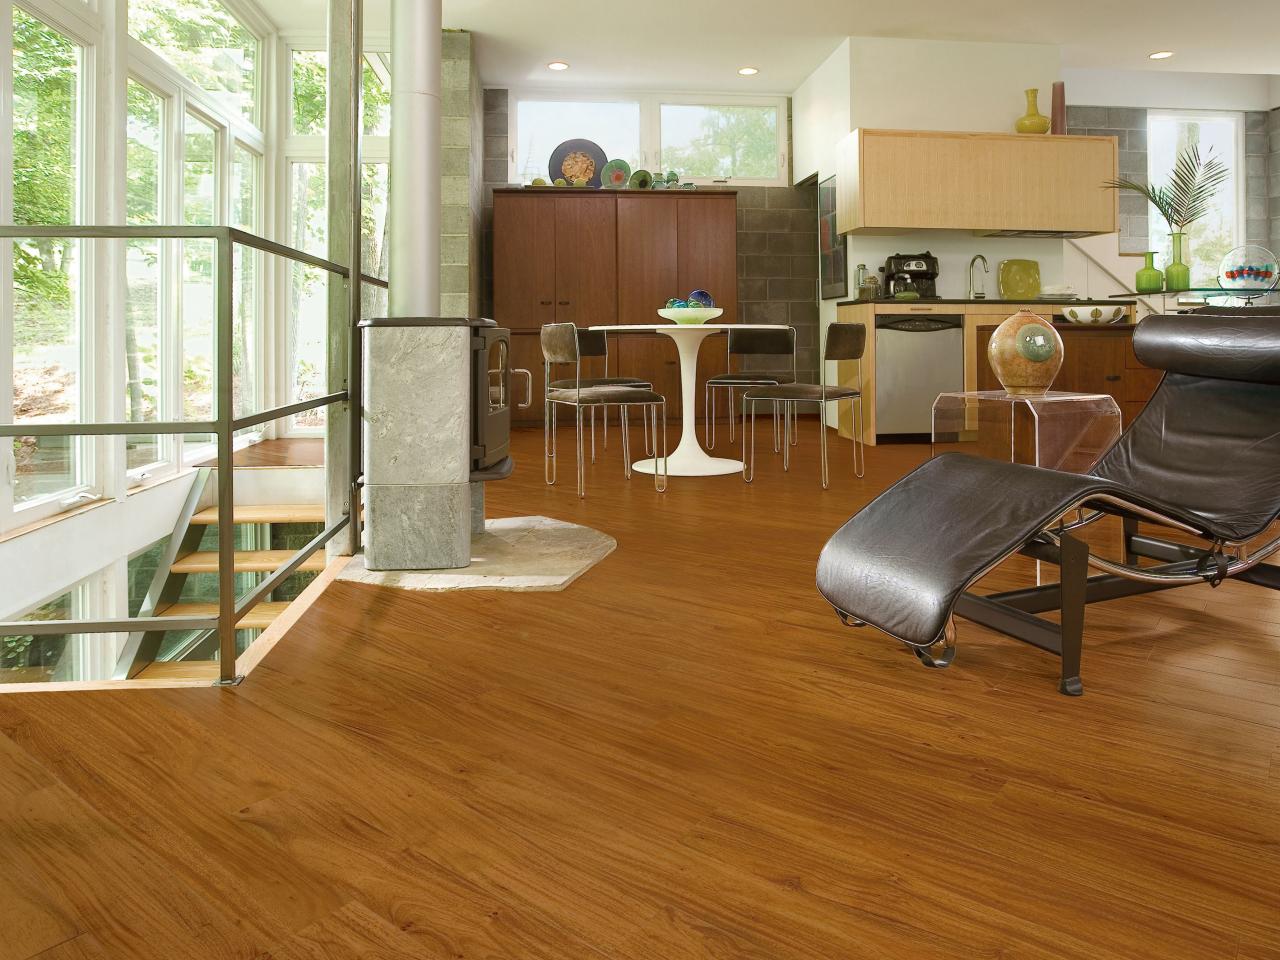
The diagonal installation added a dynamic energy to the space that straight planks never could have achieved. The angled lines draw the eye across the room in interesting ways, making the 12-by-14-foot office feel more spacious and less boxy. I used wider six-inch planks in a rich walnut stain, and the diagonal orientation showcased the wood grain beautifully from multiple angles.
The pattern also helped disguise the fact that the room isn’t perfectly square, something that would have been glaringly obvious with traditional straight installation. Visitors often comment that the room feels larger than it actually is, which I attribute entirely to the diagonal layout creating movement and visual interest.
The challenges of diagonal installation mirror those of herringbone in some ways. Material waste was higher, about 20 percent extra to accommodate all the angled cuts at the room’s perimeter. Installation costs were also elevated to $8 per square foot for labor, double the straight lay rate. The contractor had to be extremely precise with measurements and cuts, especially where the diagonal planks met the doorways and needed transition strips.
Maintenance has been straightforward, though I’ve noticed that the diagonal lines tend to show dust and debris more than I expected, possibly because they catch light differently. Despite these minor drawbacks, the diagonal installation solved a significant design challenge and created a unique space I genuinely love working in every day.
Embracing Mixed-Width Plank Designs
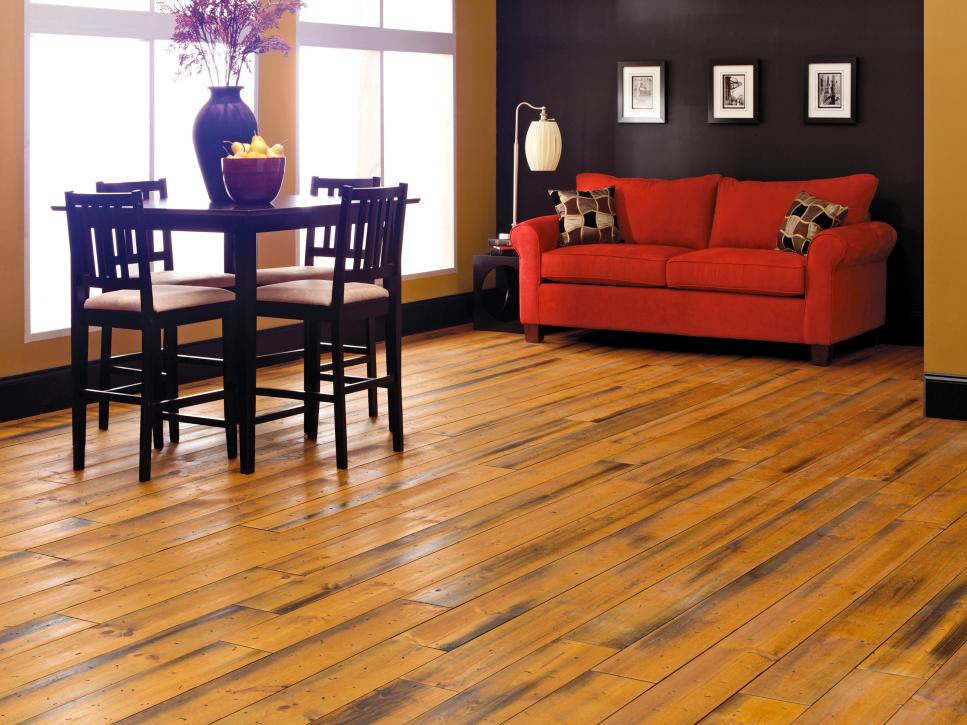
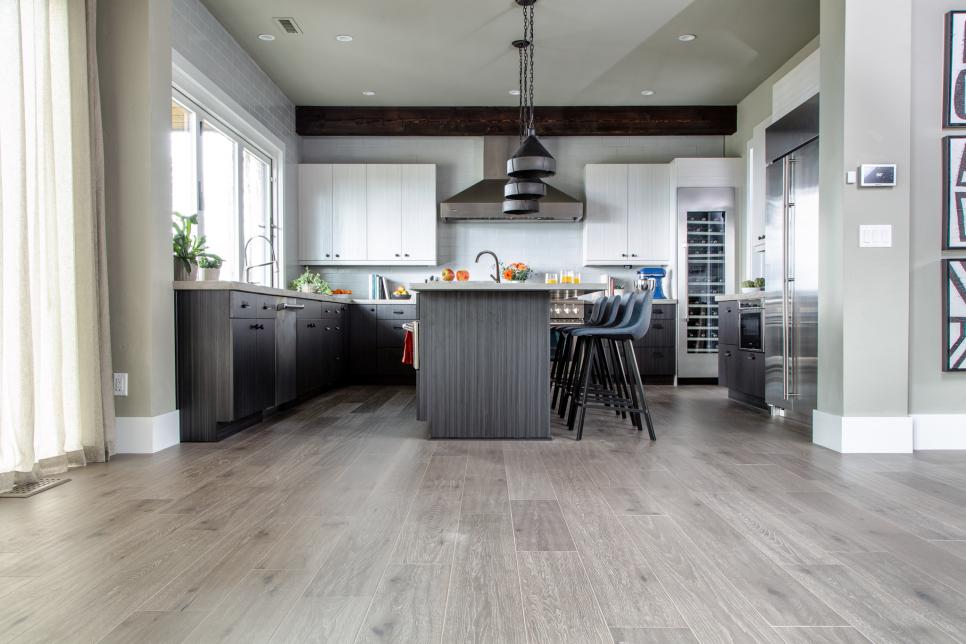
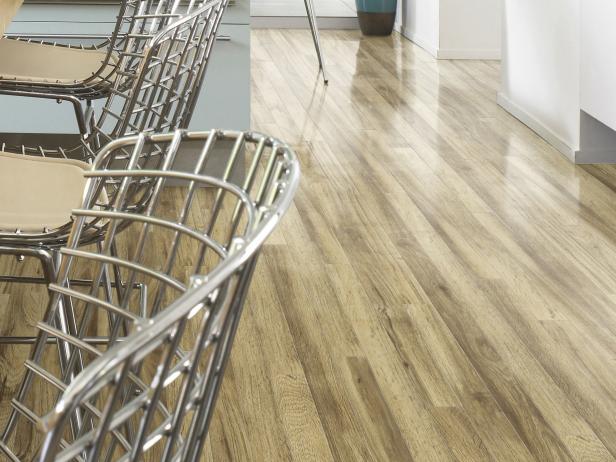
One of my favorite design decisions was choosing mixed-width planks for my open-concept living and dining area. Instead of uniform boards, I installed a random pattern combining three-inch, five-inch, and seven-inch planks. This approach creates a more casual, organic feel that reminded me of reclaimed barn wood floors I’d admired in design magazines.
My flooring supplier offered pre-selected bundles with the widths already mixed in proportions that ensured good visual balance, which took the guesswork out of the process. The varied widths added texture and character that uniform planks couldn’t achieve, making my 600-square-foot open space feel collected and authentic rather than builder-basic.
Installing mixed-width planks required careful planning to avoid awkward patterns or clustering of similar widths. My installer laid out several rows at a time before securing anything, moving planks around until the distribution looked natural and random. This process added time to the installation, though not as much as complex patterns like herringbone.
The labor cost was about $5.50 per square foot, slightly more than standard installation but worth it for the added visual interest. I appreciated how the varied widths created subtle movement across the floor without the formal precision of geometric patterns. The randomness felt relaxed and inviting, perfect for the family-focused spaces where we spend most of our time.
Living with mixed-width planks has been wonderful for both aesthetics and practicality. The varied pattern disguises wear, scratches, and traffic patterns remarkably well. Areas that get heavy use, like the path between the kitchen and dining table, show less obvious wear than my bedrooms with uniform planks.
The mix of widths also makes the grain variations more interesting, with wider planks showcasing dramatic swirls and knots while narrower pieces provide visual breaks. One unexpected benefit is how forgiving this pattern is for repairs. When I needed to replace a damaged plank, finding an exact width match wasn’t critical since the whole point is variety. This flexibility gives me peace of mind knowing future repairs won’t require finding perfectly matched materials.
Creating Visual Impact with Parquet and Geometric Patterns
I went bold with my dining room, installing a parquet pattern that features small wooden pieces arranged in geometric designs. Specifically, I chose a basket weave pattern where rectangular pieces create an interlocking woven appearance. This was my most adventurous flooring decision, inspired by the elegant parquet floors I’d seen in European manor homes during a vacation. I worried it might feel too formal or old-fashioned, but I balanced it with contemporary furniture and lighting to create an interesting mix of traditional and modern. The result is a dining room that feels special and intentional, perfect for hosting dinner parties and holiday gatherings.
Parquet installation is an art form that requires exceptional skill and patience. Each small piece must be precisely placed and secured, creating the overall geometric pattern one section at a time. Many modern parquet options come as pre-assembled tiles, which is what I used to control costs and installation time.
These 12-by-12-inch tiles contained the complete basket weave pattern, making installation similar to tile work. Even with pre-assembled sections, my installer charged $10 per square foot for labor due to the precision required for alignment. I also needed to ensure my subfloor was perfectly level, requiring additional prep work that added $200 to the project. The finished floor took five days to install and finish for my 200-square-foot dining room.
The visual impact of parquet has been everything I hoped for and more. The intricate pattern adds a level of sophistication and craftsmanship that makes every meal feel special, even casual weeknight dinners. The geometric design also serves practical purposes, hiding crumbs and minor spills better than simpler patterns. Light reflects off the varied grain directions in interesting ways throughout the day, so the floor never looks quite the same twice.
However, I’ve learned that parquet requires careful furniture consideration. Heavy tables and chairs can leave impressions on the smaller pieces, so I use felt pads religiously. The pattern also shows scratches more readily than I expected, though they blend into the busy design better than they would on straight planks. Despite needing extra care, my parquet dining room floor remains my proudest flooring choice.
Mixing Patterns and Creating Transitions Between Spaces
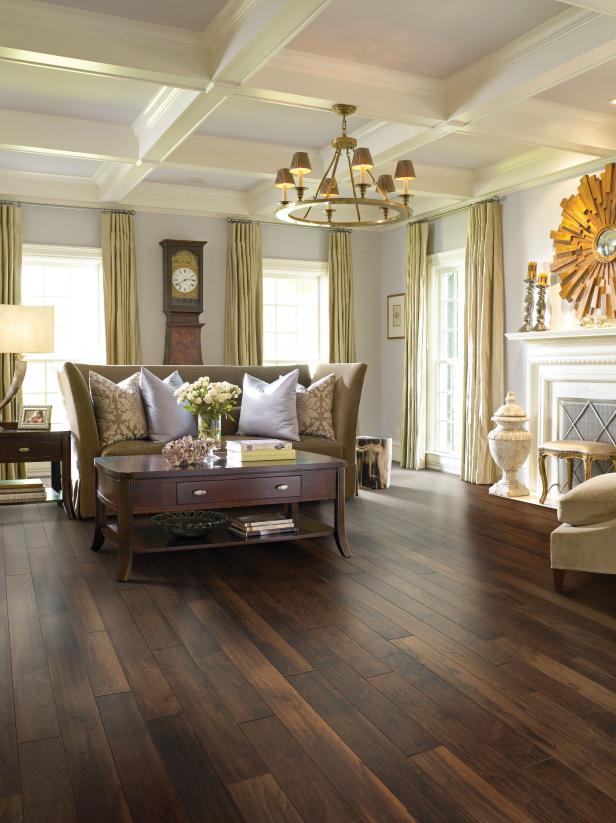
One of the most challenging aspects of my flooring project was creating smooth transitions between different patterns and rooms. I didn’t want my home to feel like a disjointed collection of flooring samples, yet I wanted distinct patterns to define different spaces. In my open-concept main floor, I used straight lay oak planks throughout most of the space but incorporated a border pattern around the perimeter of the living room area.
This subtle design choice delineated the living space from the adjoining kitchen and dining area without interrupting the flow. The border, made from the same oak but running perpendicular to the main planks, cost an additional $300 but added custom detail that made the space feel professionally designed.
Transitioning from wood to wood between rooms required careful planning, especially where different patterns met. Between my herringbone entryway and the straight lay planks in the adjoining hallway, my contractor installed a three-inch walnut transition strip. This darker wood created a clear visual break that acknowledged the pattern change while looking intentional rather than like a mistake.
I used similar transition strips at doorways throughout the house, choosing them to either match the darker flooring or provide contrast depending on the specific situation. At the threshold between my diagonal office and the straight hallway, the transition strip was essential for creating a clean edge where the angled cuts met perpendicular planks.
The most complex transition was between my mixed-width living area and the parquet dining room. Initially, I planned a simple threshold strip, but my designer suggested something bolder. We created a small border area using straight three-inch planks that ran parallel to the doorway, creating a frame effect around the parquet. This solution required additional planning and cost about $150 in extra materials and labor, but it made the transition feel deliberate and sophisticated.
Throughout this process, I learned that transitions deserve as much consideration as the patterns themselves. Poorly executed transitions can undermine even the most beautiful flooring, while thoughtful transitions enhance the overall design and create a cohesive flow throughout your home. Taking time to plan these details made all the difference in my final result.
How much more expensive are decorative wood flooring patterns compared to standard straight lay?
From my experience, pattern complexity directly impacts cost. Standard straight lay oak flooring cost me about $8 per square foot installed, including materials and basic labor. Diagonal installations ran about $10 per square foot total, adding roughly 25 percent to the cost. Herringbone jumped to $15 per square foot due to intensive labor and material waste. Parquet tiles were about $12 per square foot installed. These prices included mid-grade oak or similar hardwoods. Exotic woods or wider planks increase costs further. Budget an extra 15 to 20 percent for materials beyond the basic square footage to cover waste and mistakes. Complex patterns are worth the investment in high-visibility areas but might be overkill for closets or less-used rooms.
Which wood flooring pattern is easiest to maintain and keep clean?
Surprisingly, I’ve found that busier patterns like herringbone and mixed-width planks hide dirt, scratches, and wear better than simple straight lay. My herringbone entryway still looks great despite heavy traffic, while my straight lay bedroom shows every speck of dust. Parquet requires more careful cleaning around the geometric pieces where debris can settle, but overall hides imperfections well. The grain direction and pattern complexity affect how light reveals dirt and scratches. For maintenance ease, I’d recommend mixed-width straight lay planks; they offer some pattern variation to disguise wear while remaining simple to clean and repair. Avoid very wide single planks in light finishes if you have kids or pets, as they show everything.

Can I install different wood flooring patterns myself, or should I hire professionals?
I successfully installed straight lay planks in my guest bedroom as a DIY project, saving significant money on that 150-square-foot room. However, I hired professionals for everything else, and I’m glad I did. Complex patterns like herringbone, parquet, and diagonal installations require specialized skills, precise measurements, and experience I simply didn’t have. Even my mixed-width installation benefited from a professional eye for proper distribution and spacing. If you’re handy and patient, a simple straight lay is definitely DIY-friendly with rented tools and careful preparation. Anything more complex risks expensive mistakes and wasted materials. I recommend starting with a small, low-visibility room if trying DIY, then hiring pros for the main living areas and complex patterns.
How do different patterns affect the perceived size of a room?
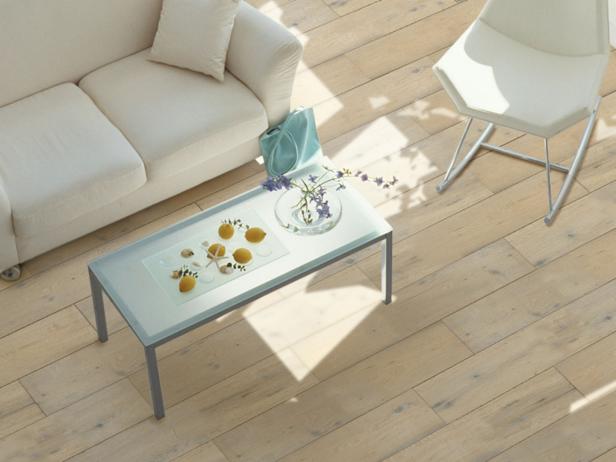
Pattern direction dramatically impacts room perception, something I experienced firsthand. Diagonal patterns make rooms feel larger and less boxy, which saved my awkwardly shaped office. Straight planks running lengthwise make rooms appear longer, while perpendicular installation can widen narrow spaces. Herringbone and other busy patterns add visual interest but can make small rooms feel cluttered. I limited these to larger spaces. Wider planks generally make rooms feel more spacious, while narrow strips can make spaces seem smaller. Mixed-width planks create a balanced effect without overwhelming smaller rooms. My biggest lesson was testing pattern directions before installation. My contractor laid out sample rows so I could visualize the effect before committing.

What wood species works best for complex flooring patterns?
I used oak for most of my patterns because it’s affordable, durable, and has a moderate grain that works with various designs. For herringbone and parquet, I actually preferred oak’s subtler grain over dramatic species like hickory; the pattern itself provides visual interest without competing grain. My diagonal office uses walnut for its rich color and elegant grain that looks beautiful from multiple angles. Maple works wonderfully for geometric patterns due to its fine, consistent grain. I’d avoid very grainy woods like ash or heavily figured woods for complex patterns, as they can look too busy. For mixed-width installations, slight grain variation adds character. Consider how the species’ natural characteristics will interact with your chosen pattern before purchasing.
How long do different wood flooring patterns typically last?
Pattern choice doesn’t significantly affect longevity; the wood species, finish quality, and maintenance matter more. My oak floors should last 50-plus years with proper care, regardless of pattern. However, complex patterns like parquet may show wear differently than straight planks. I’ve noticed my herringbone looks newer longer because the pattern disguises traffic wear, while my straight bedroom planks show wear patterns more obviously. All my floors received the same polyurethane finish with three coats for durability. I plan to refinish in 10 to 15 years, which is possible with most patterns, though refinishing parquet requires more skill. The biggest longevity factor has been consistent maintenance, weekly sweeping, immediate spill cleanup, and felt pads under all furniture to protect any pattern equally.

Wood Floor Buyer’s Guide
Wood Flooring Options
Wood Flooring Ideas & Designs
Wood Flooring Ideas & Designs
Wood Flooring Trends
Choosing Hardwood Flooring
Related articles: