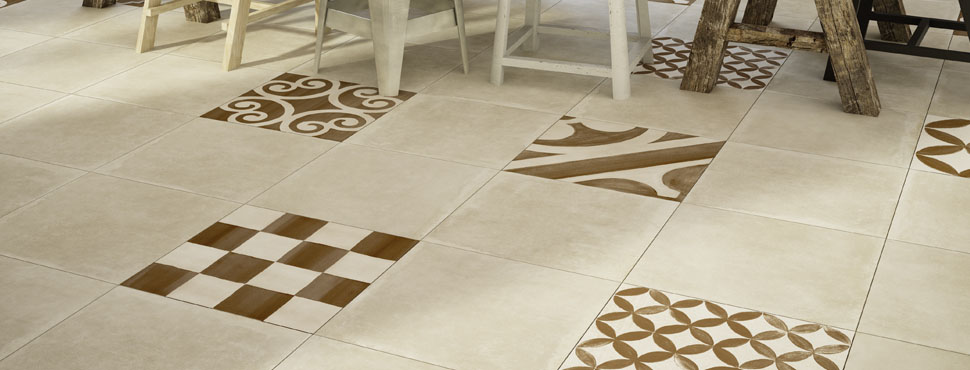
Tiles however are far easier to install but garage area tile flooring surfaces does come with its very own pros positives and negatives as we shall see going forward. And then, wipe the thin excess off the flooring and hold on at least twenty four hours for these people to set. Mosaic tile flooring is among the most adored types due to the high amount of creativity you are able to use in having them in your house.
Images Related to Vitrified Tile Flooring Installation
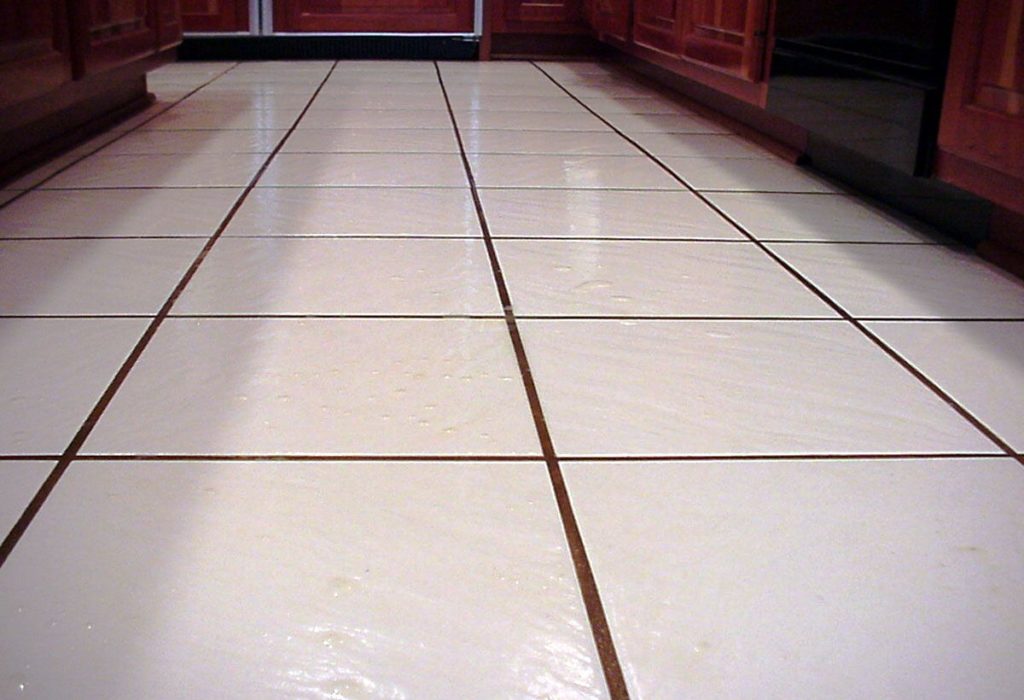
Vitrified Tile Flooring Installation

Professional removal could be required, but frequently one that you are able to avoid by increasing the floor. This particular form of tile is the affordable way to get the look of granite or perhaps marble floors. You'll need to be cautious enough to deal with a wet tile saw or utility knife. The next phase of your ceramic tile flooring surfaces set up is the correct measuring of the floor of yours and your tiles.
Step By Step Procedure To Install Tile Flooring

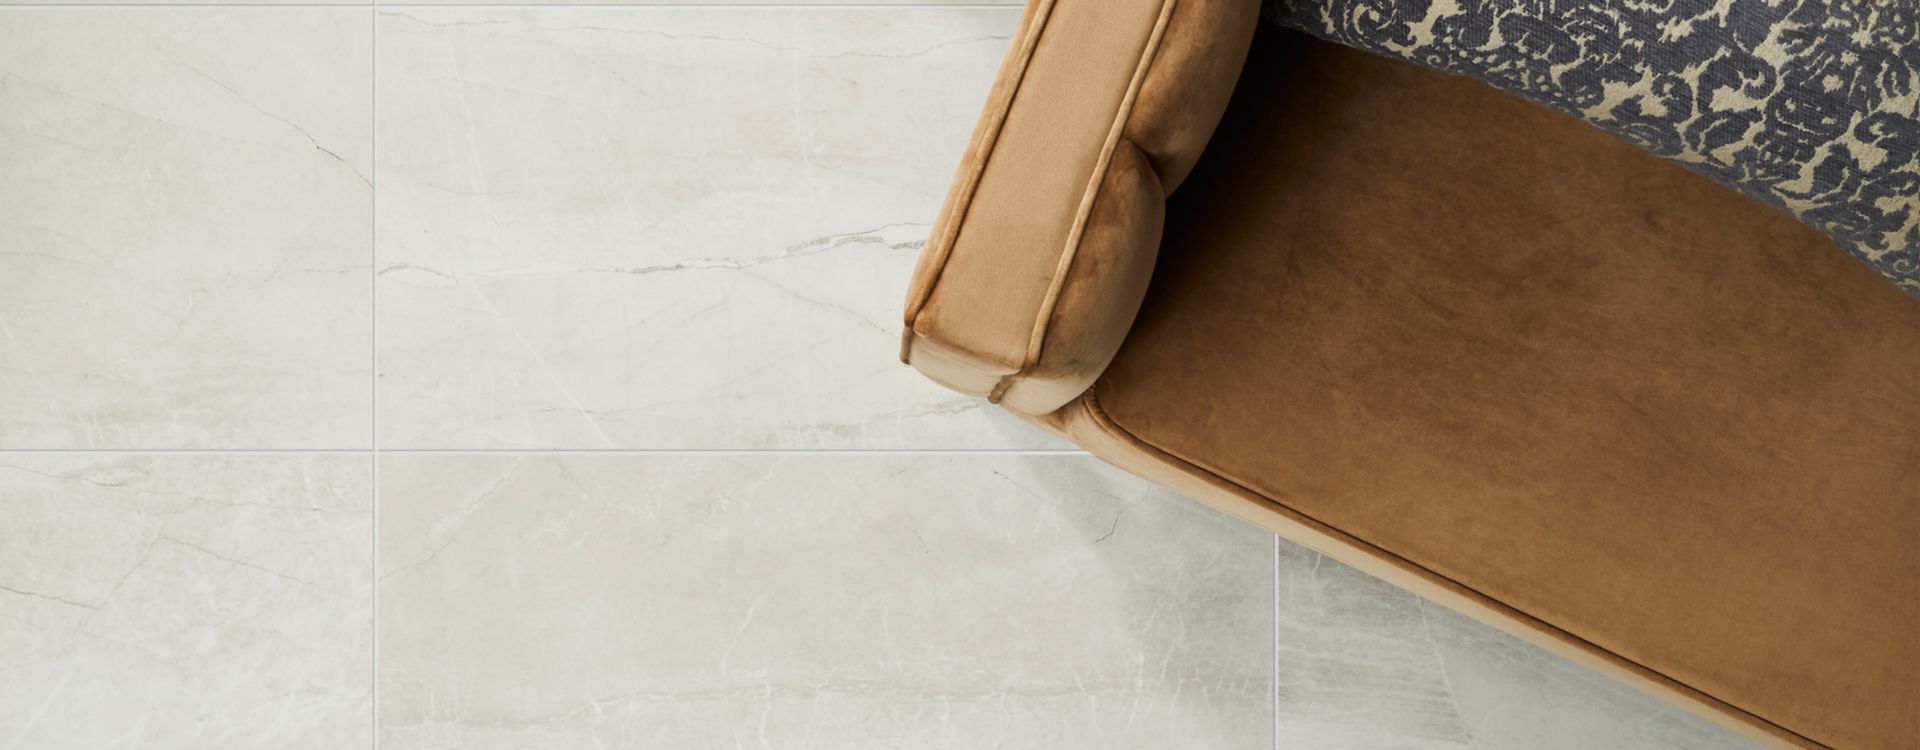
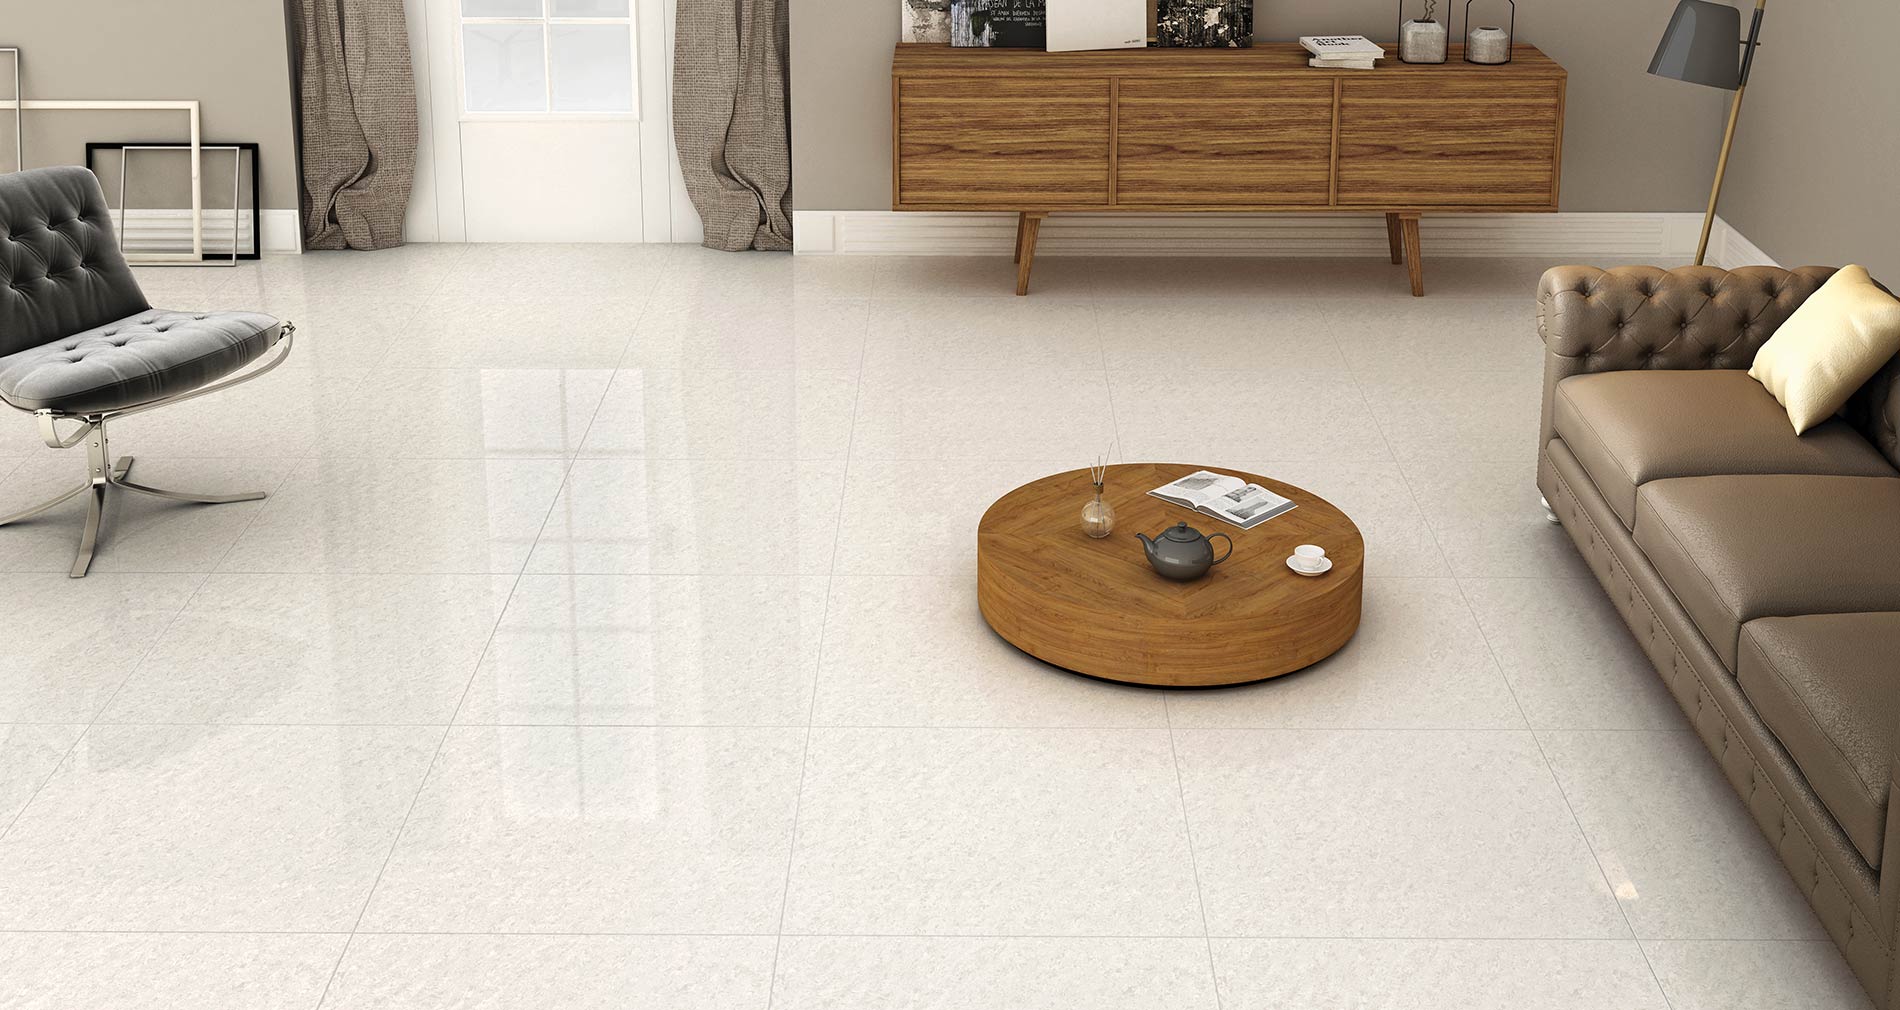
You can opt for one variety of tile once you would like flooring that is durable and beautiful. Glass tiles are widely available in the marketplace with so many colors as well as styles in addition to textures. Work with a scraper at a 45 % angle to push the grout down. One reason for this versatility is the fact that tiles come in a wide variety of sizes and colors.
Laying Vitrified Tiles on Floor Step by Step procedure- ವಿಟ್ರಿಫೈಡ್ ಟೈಲ್ಸ್ ಹಾಕುವ ವಿಧಾನ

How to Install Flooring Tiles? – Step By Step Procedure – Happho

How To Lay Tile u2013 A Detailed Guide To Floor Installation
How long does it take to install Tile Floors? ProFlooringTX
Vitrified Tile Fitting Tiles Installation Tile Laying on Site Floor tiles installation process

VITRIFIED TILES FLOORING An Architect Explains And Reviews
VITRIFIED TILES FLOORING An Architect Explains And Reviews
VITRIFIED TILES FLOORING An Architect Explains And Reviews
Vitrified Tiles Vitrified Floor Tiles Types Of Vitrified Floor

What are the advantages and disadvantages of vitrified and ceramic

How to Lay a Tile Floor – Todayu0027s Homeowner

Prepare and Install a Tile Floor HGTV
Related articles:
- Vintage Bathroom Floor Tile Patterns
- Bathroom Floor Tile DIY
- Limestone Bathroom Floor Tiles
- Bathroom Floor Porcelain Tile
- Concrete Bathroom Floor Ideas
- White Bathroom Ceramic Tiles
- Bathroom Floor Baseboard
- Rustic Bathroom Flooring Ideas
- Bathroom Flooring Options
- Bamboo Bathroom Flooring Ideas
Vitrified tiles are a popular choice for flooring due to their durability, low maintenance, and aesthetic appeal. When it comes to installing vitrified tile flooring, there are several important factors to consider in order to ensure a successful and long-lasting installation. In this article, we will discuss the step-by-step process of vitrified tile flooring installation, from preparation to finishing touches.
Preparation:
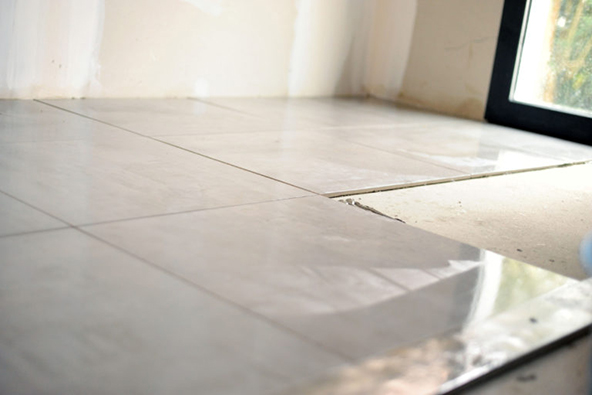
Before starting the installation process, it is important to prepare the surface where the tiles will be laid. This includes ensuring that the subfloor is clean, dry, and level. Any existing flooring should be removed, and any cracks or uneven areas should be filled and smoothed out. It is also important to measure the area accurately in order to determine the quantity of tiles needed.
FAQs:
Q: Do I need to remove the existing flooring before installing vitrified tiles?
A: Yes, it is recommended to remove any existing flooring before installing vitrified tiles in order to ensure a smooth and level surface.
Q: How do I know if the subfloor is level?
A: You can use a straight edge or level tool to check for any uneven areas on the subfloor. If there are any high or low spots, they should be addressed before proceeding with the installation.
Laying the Tiles:
Once the preparation is complete, the next step is to lay out the tiles according to the desired pattern. It is important to start from the center of the room and work towards the walls in order to ensure a symmetrical layout. Spacers should be used between tiles to maintain consistent spacing and grout lines.
FAQs:
Q: What type of adhesive should I use for vitrified tile installation?
A: It is recommended to use a high-quality tile adhesive that is suitable for vitrified tiles. Consult with your tile supplier or hardware store for recommendations.
Q: How do I determine the best layout for my tiles?
A: You can experiment with different layouts by dry-fitting the tiles before applying adhesive. This will help you visualize how the final result will look and make any adjustments as needed.
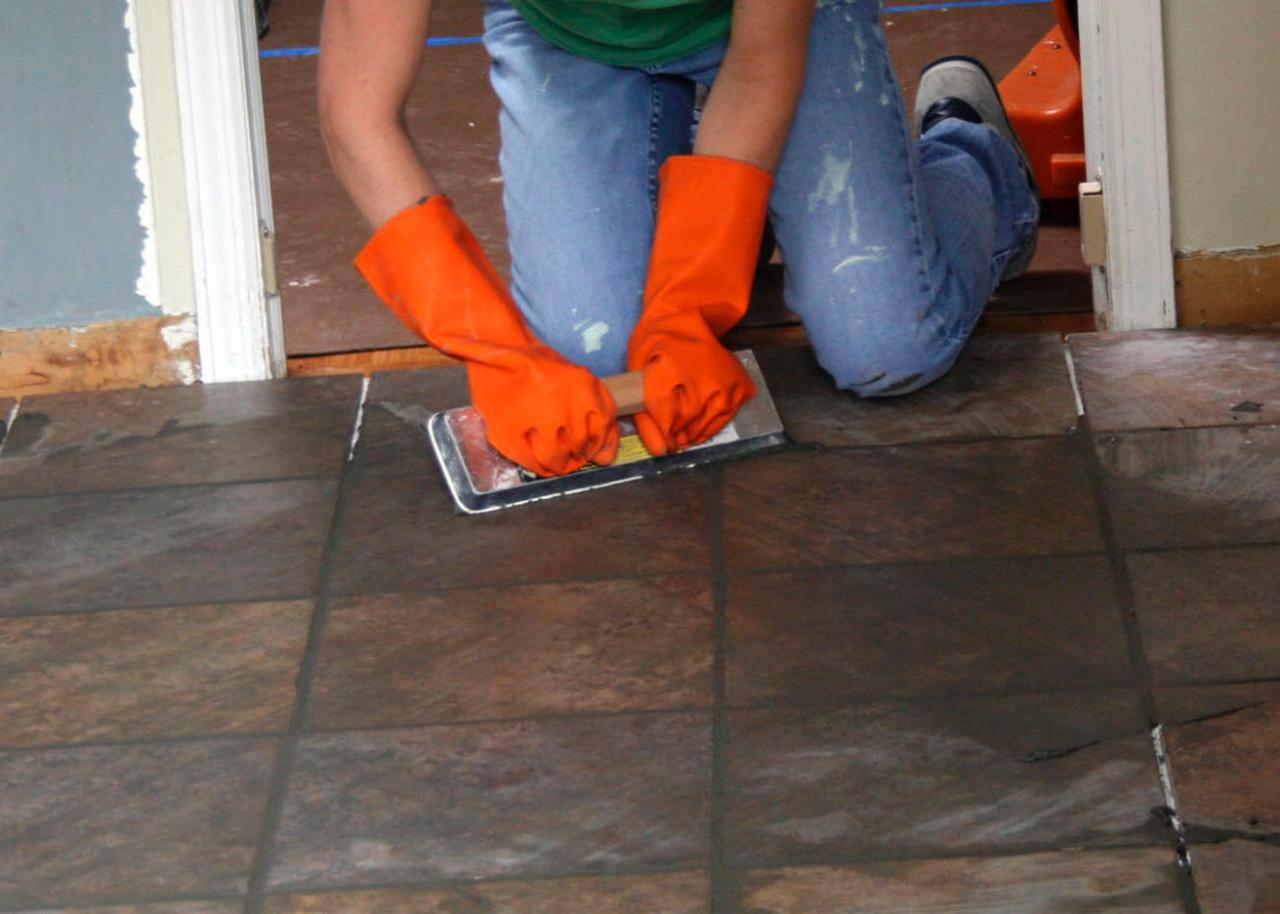
Grouting:
After all the tiles have been laid and adhesive has dried, it is time to grout the joints between the tiles. Grout not only provides a finished look but also helps to seal out moisture and prevent dirt buildup. It is important to choose a grout color that complements your tile choice.
FAQs:
Q: How long should I wait before grouting after laying the tiles?
A: It is recommended to wait at least 24 hours after laying the tiles before grouting in order to allow the adhesive to fully cure.
Q: How do I apply grout properly?
A: Mix the grout according to manufacturer instructions and apply it using a rubber float, pressing it into the joints between tiles at a 45-degree angle. Wipe off excess grout with a damp sponge before it dries completely.
Sealing:
Once the grout has dried completely, it is important to seal both the tile surface and grout joints in order to protect them from stains and water damage. There are various sealers available on the market specifically designed for vitrified tiles.
FAQs:
Q: How often should I reseal my vitrified tile floor?
A: It is recommended to reseal your vitrified tile floor every 1-2 years depending on foot traffic and usage.
Q: Can I walk on my Newly installed vitrified tile floor immediately after sealing?
A: It is best to wait at least 24 hours after sealing before walking on the floor to allow the sealer to fully cure and provide maximum protection.
Maintenance:
Regular maintenance is key to keeping your vitrified tile floor looking its best. Sweeping or vacuuming regularly will help prevent dirt and debris from scratching the surface. Mopping with a mild detergent and water can help keep the tiles clean. Avoid using harsh chemicals or abrasive cleaners, as they can damage the tiles.
FAQs:
Q: How do I remove stains from my vitrified tile floor?
A: For stubborn stains, you can try using a mixture of baking soda and water or a commercial tile cleaner specifically designed for vitrified tiles. Be sure to follow the manufacturer’s instructions carefully.
Q: Can vitrified tiles be used in outdoor areas?
A: Yes, vitrified tiles are suitable for outdoor use as well. However, it is important to choose tiles that are specifically rated for outdoor use and ensure proper installation and sealing to protect them from the elements.
By following these steps and guidelines, you can ensure a successful installation and long-lasting beauty of your vitrified tile floor. If you have any further questions or concerns, consult with a professional installer or your tile supplier for expert advice. Remember to always follow the manufacturer’s instructions and recommendations for care and maintenance of your vitrified tile floor to ensure its longevity and beauty for years to come. If you have any doubts or questions, don’t hesitate to seek advice from professionals in the industry.