Preparing the Subfloor
Proper preparation of the subfloor is crucial for a successful vinyl tile flooring installation. Ensure that the subfloor is clean, dry, and level. Remove any old flooring, debris, and adhesives. Fill in any cracks or holes with a suitable filler and sand down uneven areas. A smooth and even subfloor provides a stable foundation for the vinyl tiles, preventing issues like lifting or uneven wear. Thorough preparation ensures a long-lasting and professional-looking result.

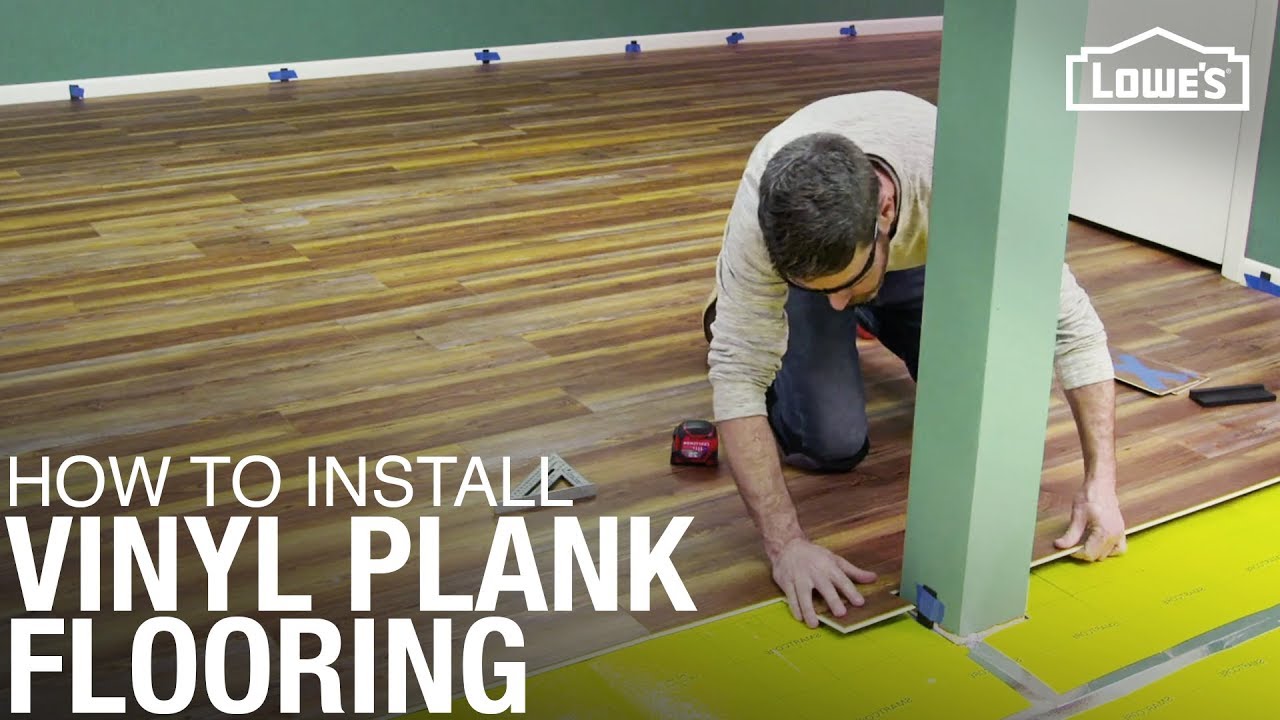
Measuring and Planning
Accurate measuring and planning are essential steps in the installation process. Measure the dimensions of the room to determine the amount of vinyl tile needed. Consider the layout and direction of the tiles, taking into account any patterns or designs. Mark a reference line along the center of the room to ensure that the tiles are aligned properly. Planning ahead helps avoid mistakes and ensures that the tiles are installed evenly and symmetrically.
Applying Adhesive
Applying adhesive correctly is key to securing the vinyl tiles in place. Choose a high-quality adhesive recommended for vinyl flooring. Spread the adhesive evenly over a small section of the subfloor using a trowel, following the manufacturer’s instructions. Work in small sections to prevent the adhesive from drying out before the tiles are laid. Proper adhesive application ensures that the tiles adhere firmly and reduces the risk of shifting or lifting over time.

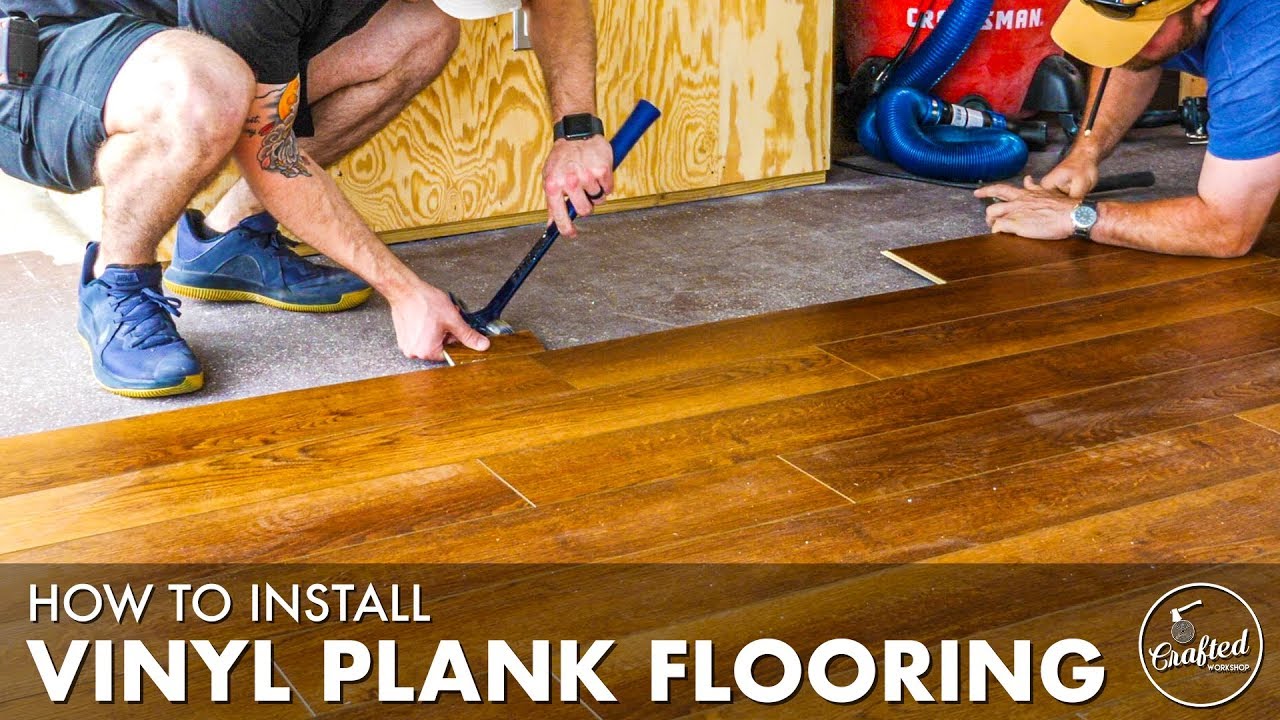
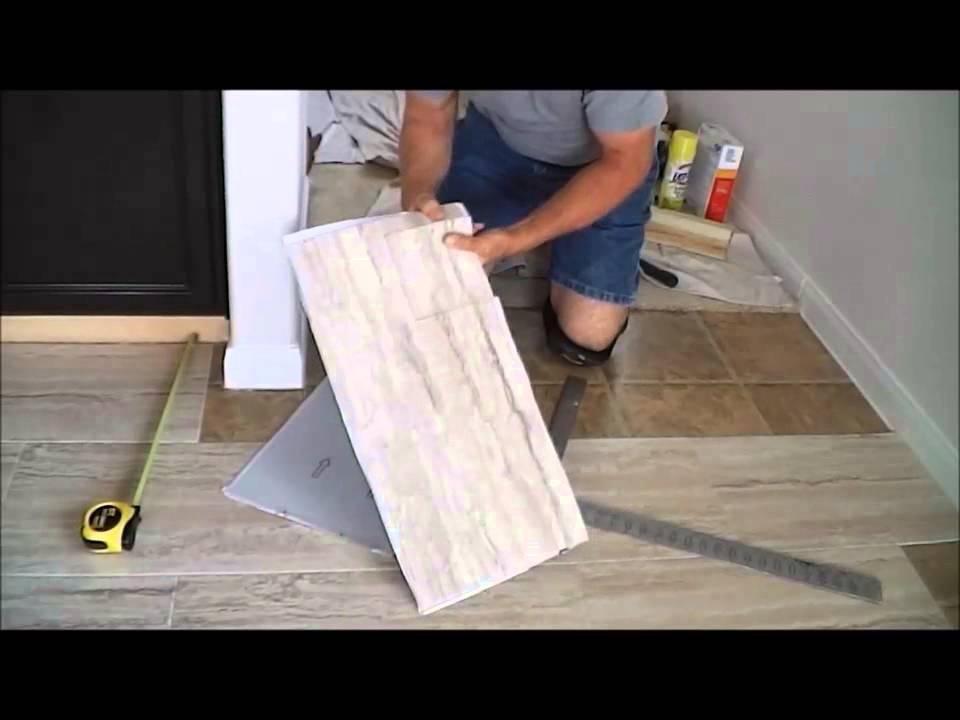
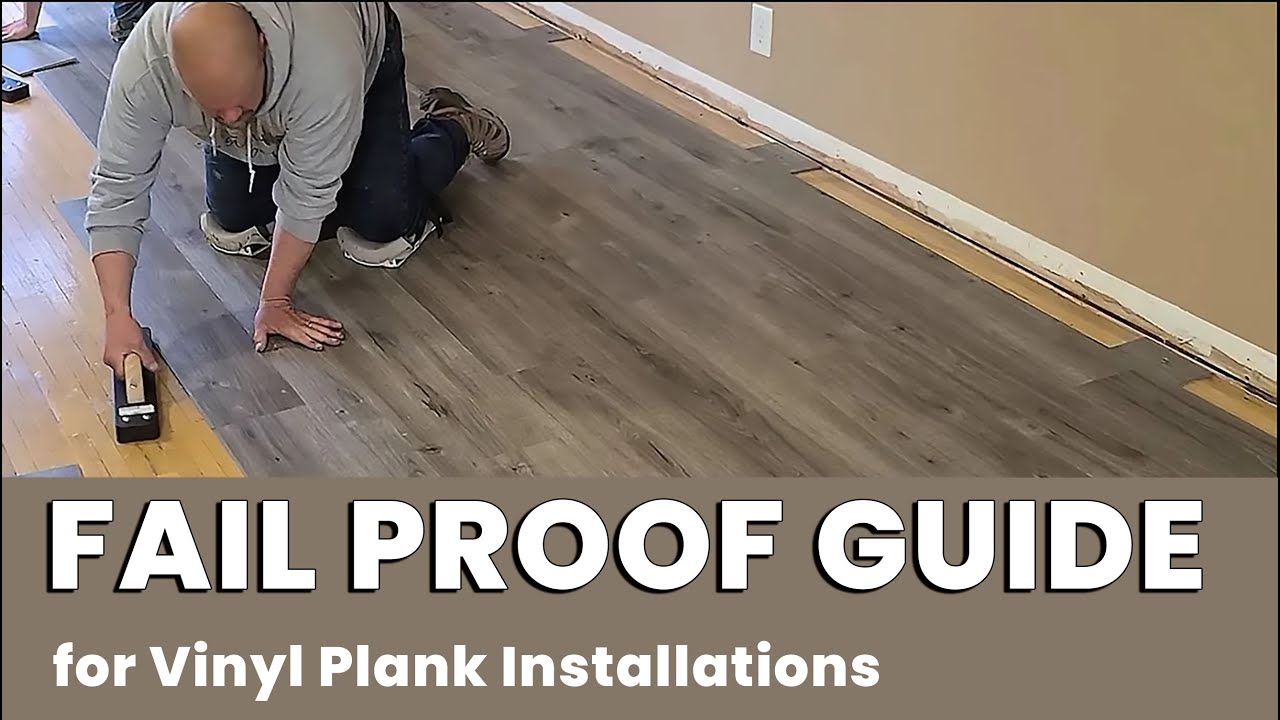
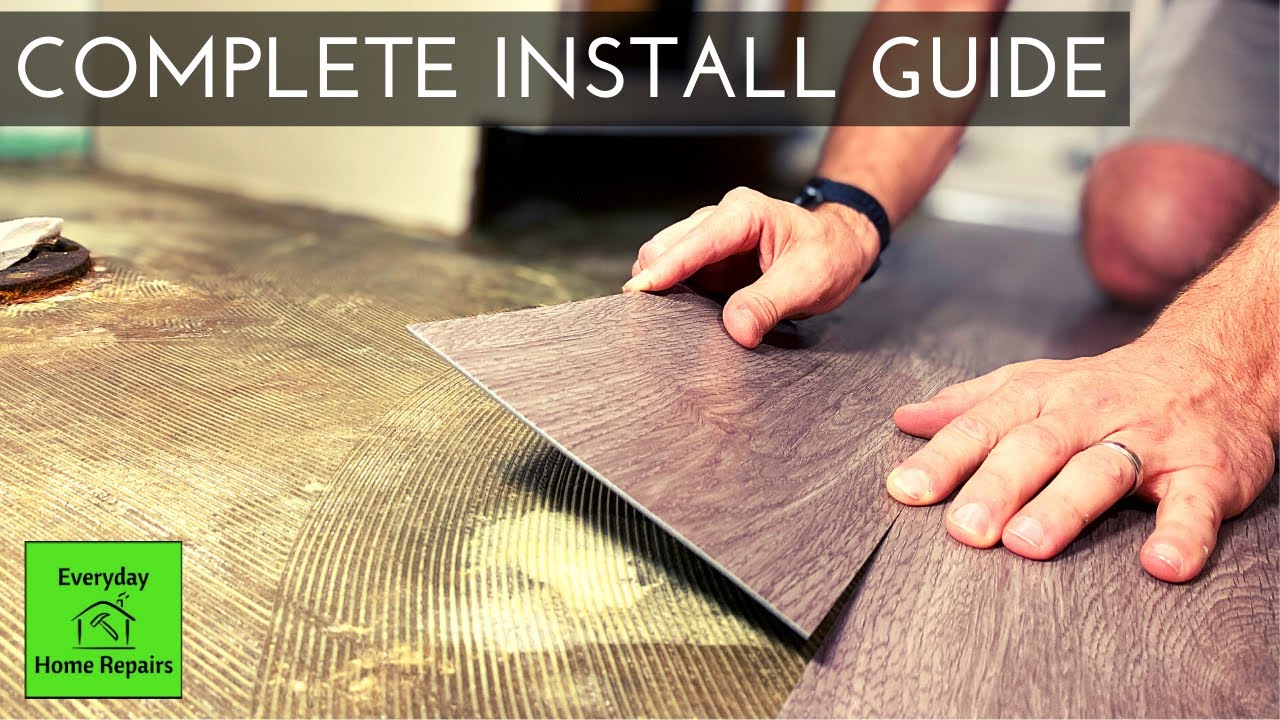
Installing the Tiles
Begin installing the vinyl tiles along the reference line, pressing each tile firmly into the adhesive. Use spacers to maintain consistent gaps between the tiles for a professional finish. Cut the tiles as needed to fit around obstacles or along the edges of the room, using a utility knife or a vinyl tile cutter. Continue working in small sections, ensuring that each tile is securely in place. Take your time to achieve a precise and neat installation.
Finishing Touches
After all the tiles are installed, roll the floor with a heavy roller to ensure proper adhesion and remove any air bubbles. Allow the adhesive to dry according to the manufacturer’s recommendations before walking on the floor. Finally, install baseboards or trim around the edges of the room to cover any gaps and give the installation a finished look. Regular cleaning and maintenance will keep your vinyl tile flooring looking pristine and extend its lifespan.

How to Install Peel-and-Stick Vinyl Tile Flooring The Home Depot

Installing Your Peel-and-Stick Vinyl Tile Floor

How to Install Vinyl Plank Flooring in a BATHROOM 🚽

TrafficMaster ceramica 12″ X 24″ vinyl tile floor installation.
Beginner Mistakes Installing Vinyl Plank Flooring

Install Vinyl Plank or Laminate WITHOUT LOSING Your Mind Hereu0027s How
How To Install Glue Down Vinyl Plank Flooring Bathroom Concrete Floor
Related articles: