When I first suggested vinyl flooring for our kitchen renovation, my husband practically rolled his eyes. Like many people, we associated vinyl with cheap, dated flooring from decades past. But after living with luxury vinyl plank in our kitchen for three years now, I can honestly say it was one of the smartest decisions we made during our remodel. The combination of durability, water resistance, comfort underfoot, and realistic wood appearance has exceeded all my expectations. What started as a budget-conscious choice has become something I genuinely love and recommend to anyone considering kitchen flooring options.
Waterproof Options That Actually Deliver
The waterproof feature was my primary concern when choosing kitchen flooring, and luxury vinyl plank has performed flawlessly through countless spills, leaks, and even a minor dishwasher overflow. Unlike laminate or hardwood, I never worry about water damage when something spills. I simply wipe it up without panic or urgency, knowing the flooring can handle moisture indefinitely.
I specifically chose 100% waterproof luxury vinyl planks rather than water-resistant options, and this distinction proved crucial during our kitchen sink plumbing leak last year. Water sat on the floor for hours before I discovered it, yet there was no swelling, warping, or damage whatsoever. The peace of mind this provides in a kitchen environment cannot be overstated.
The installation method affects waterproof performance significantly. I opted for click-lock planks with a waterproof core rather than glue-down tiles, which creates a completely sealed surface. The tight locking system prevents water from seeping between planks, essentially creating one continuous waterproof barrier across the entire kitchen floor.
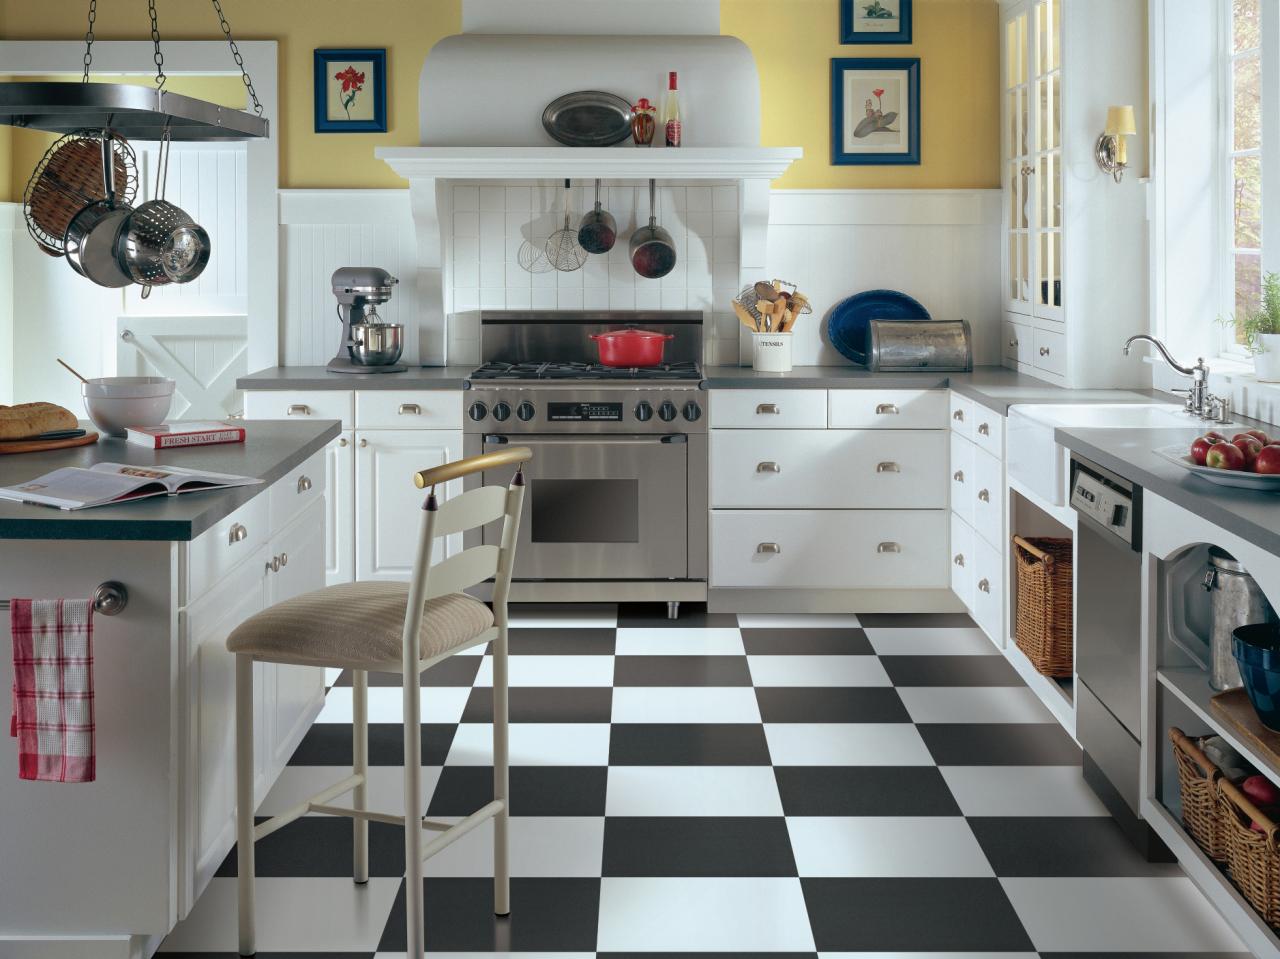
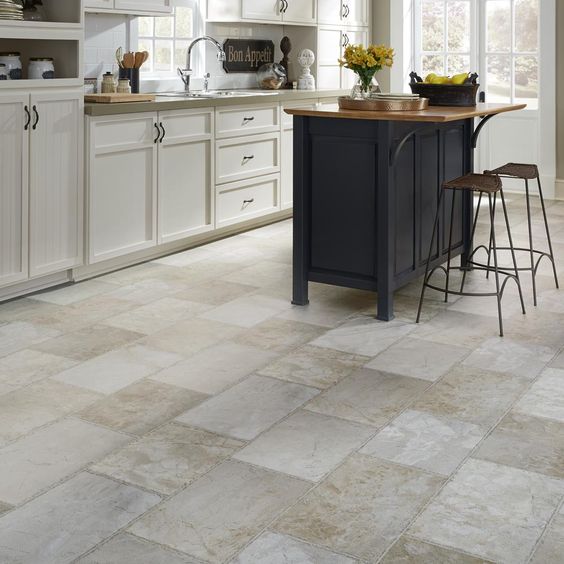
Luxury Vinyl Tile Styles and Realistic Textures
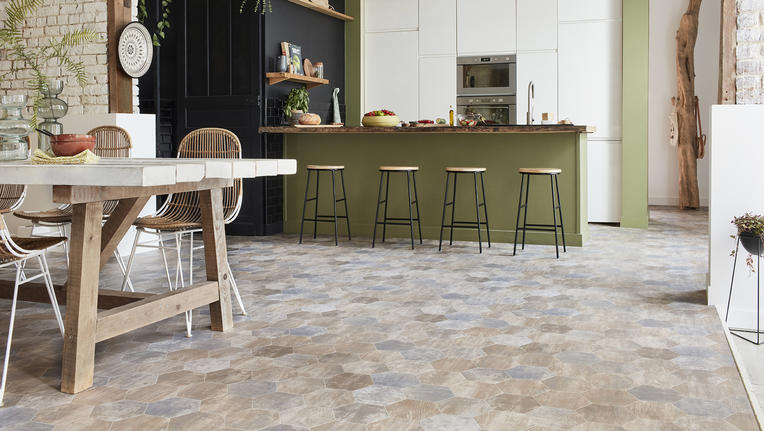
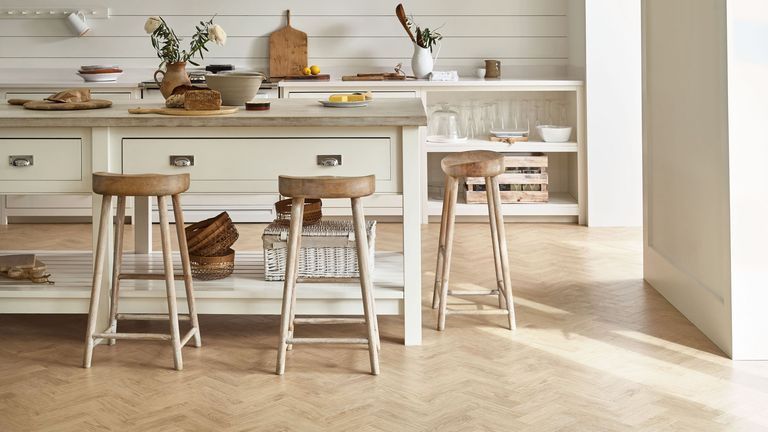
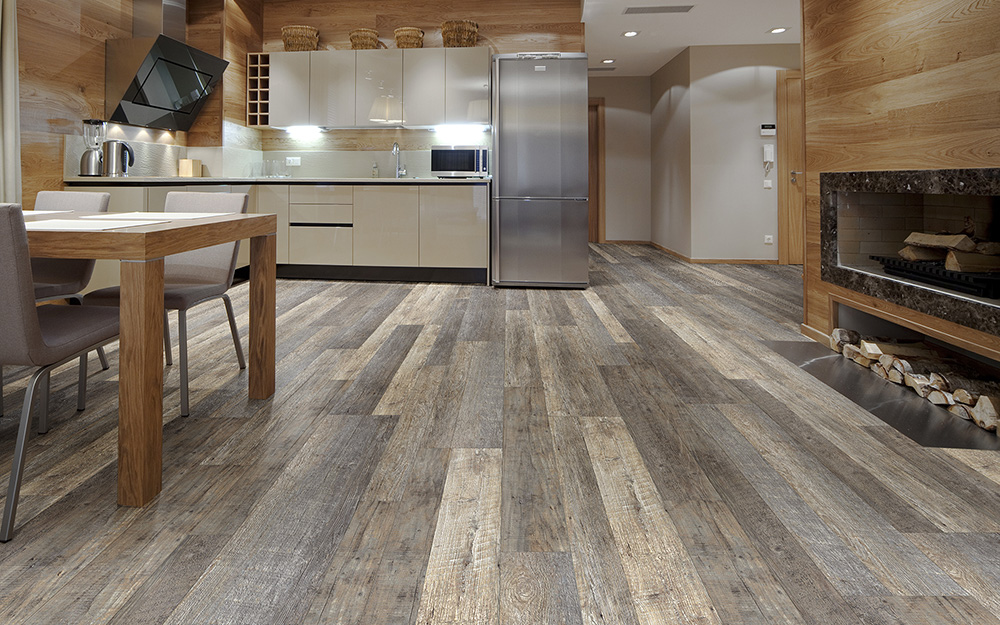
The realism of modern luxury vinyl has improved dramatically from the obviously fake patterns I remembered from childhood. My chosen oak-look planks fool almost everyone who visits our home. The grain patterns, color variations, and even the subtle texture feel remarkably authentic underfoot and visually match real hardwood beautifully.
I spent considerable time comparing different texture options and ultimately selected a hand-scraped surface that adds authentic character without being too pronounced. Some textures can trap dirt and be difficult to clean in kitchen environments, so finding the right balance between realism and practicality was important for long-term satisfaction.
Color selection offered an incredible variety, from traditional wood tones to modern gray washes and even exotic species looks. I chose a medium brown oak with subtle gray undertones that complement both our white cabinets and stainless steel appliances. The neutral palette works with changing decor trends while maintaining a timeless appeal that won’t look dated in ten years.
DIY Installation Tips for Success
Installing the vinyl plank flooring myself saved thousands compared to professional installation quotes, and the process was much easier than I anticipated. The click-lock system requires no glue, nails, or special tools beyond basic hand tools. I completed our 200 square foot kitchen in two weekend days, working at a comfortable pace.
Proper subfloor preparation proved crucial for professional-looking results. I spent extra time ensuring the substrate was completely level, clean, and smooth. Any imperfections telegraph through vinyl flooring, so I filled small dips with floor leveling compound and sanded high spots. This preparation time was well worth the effort for a smooth, professional appearance.
The most challenging aspect was cutting planks around cabinet toe kicks and appliances, but a sharp utility knife and patience solved most issues. I invested in a good-quality vinyl cutting tool for cleaner cuts around complex shapes. Measuring twice and cutting once definitely applies here, though vinyl is forgiving enough that small gaps hide under trim or appliances.

Comfort and Warmth Compared to Tile
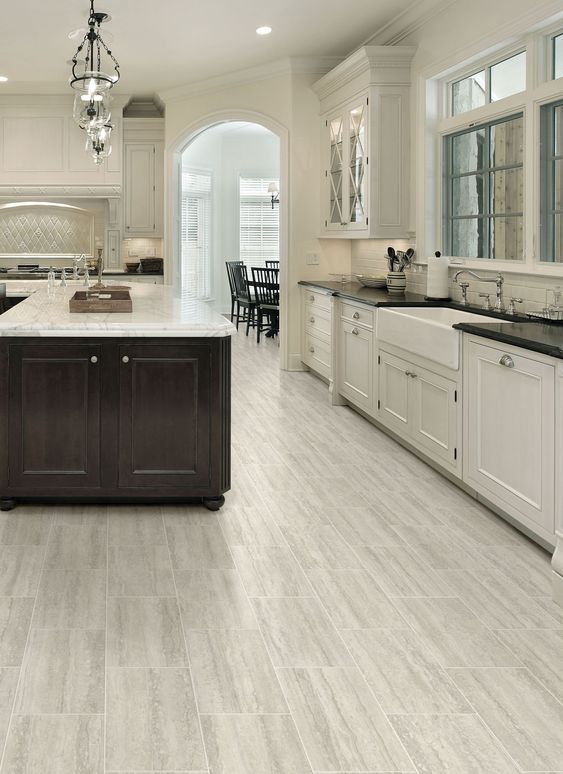
The comfort difference between vinyl and ceramic tile flooring became immediately apparent once installation was complete. Vinyl provides slight cushioning that reduces leg fatigue during long cooking sessions, something I never realized I was missing with our previous tile floor. The softer surface is also more forgiving when dishes or glasses accidentally drop.
Temperature comfort was another unexpected benefit. Unlike tile that stays cold, vinyl flooring feels warm and comfortable barefoot, even on winter mornings. This characteristic makes the kitchen more inviting and pleasant to work in during all seasons, encouraging more family time in the space.
Sound absorption capabilities surprised me as well. Vinyl significantly reduces noise from footsteps, dropped utensils, and chair movements compared to hard surfaces like tile or stone. This quieter environment makes the kitchen more peaceful and prevents noise from carrying throughout the house during early morning or late evening activities.
Maintenance and Cleaning Realities
Daily maintenance has been refreshingly simple compared to our previous natural stone floor that required special cleaners and regular sealing. I sweep or vacuum regularly and mop weekly with basic floor cleaner or even just warm water. The non-porous surface doesn’t harbor bacteria or absorb stains like natural materials can.
Scratches and scuffs have been minimal despite heavy kitchen use with pets and children. The wear layer on quality luxury vinyl planks provides excellent protection against normal household wear. The few minor scratches that have appeared are barely noticeable unless you’re looking for them specifically, and they don’t affect the floor’s performance.
Deep cleaning occasionally involves slightly more effort around textured areas, but nothing requiring special equipment or techniques. I use a microfiber mop for regular cleaning and occasionally scrub stubborn spots with a soft brush. The key is addressing spills promptly, though even sticky substances like syrup or grease clean up easily with warm soapy water.
Long-Term Durability and Cost Value
Three years later, our vinyl flooring shows minimal signs of wear despite constant foot traffic, chair sliding, and general kitchen activities. The high-traffic areas around the sink and stove look nearly identical to less-used sections. The 20-year warranty provided confidence in the product’s longevity, though based on current performance, I expect decades of service.
The cost savings compared to hardwood, natural stone, or quality ceramic tile were substantial. My total material cost was about $3 per square foot for premium luxury vinyl planks, compared to $8-15 per square foot for comparable hardwood options. Even factoring in eventual replacement, the value proposition remains compelling for budget-conscious homeowners.
Return on investment considerations favor vinyl flooring for most situations. While premium materials like hardwood might add slightly more resale value, the practical benefits and lower maintenance costs of vinyl often outweigh this difference. The modern appearance and quality feel of luxury vinyl planks appeal to most homebuyers and don’t detract from home value.

How does vinyl flooring handle heavy kitchen appliances and furniture?
Mine has handled everything perfectly, including refrigerator moves and heavy stand mixer storage. Quality vinyl has excellent dent resistance, though I use furniture pads under chair legs as a precaution. The thick wear layer and solid core construction prevent permanent indentations from normal kitchen use and appliances.
Is vinyl flooring safe for food preparation areas?
Absolutely! The non-porous surface doesn’t harbor bacteria like natural materials can, making it very hygienic for kitchen use. It’s easy to sanitize and doesn’t require special cleaners. I have no concerns about food safety, and many commercial kitchens use similar vinyl products for their cleanliness and durability.

How does luxury vinyl compare to laminate for kitchen use?
Vinyl is completely waterproof, while laminate is only water-resistant, making vinyl far superior for kitchen environments. Vinyl is also more comfortable underfoot and generally quieter. While laminate can be slightly less expensive, the performance benefits of vinyl in kitchens make it worth the modest price difference.
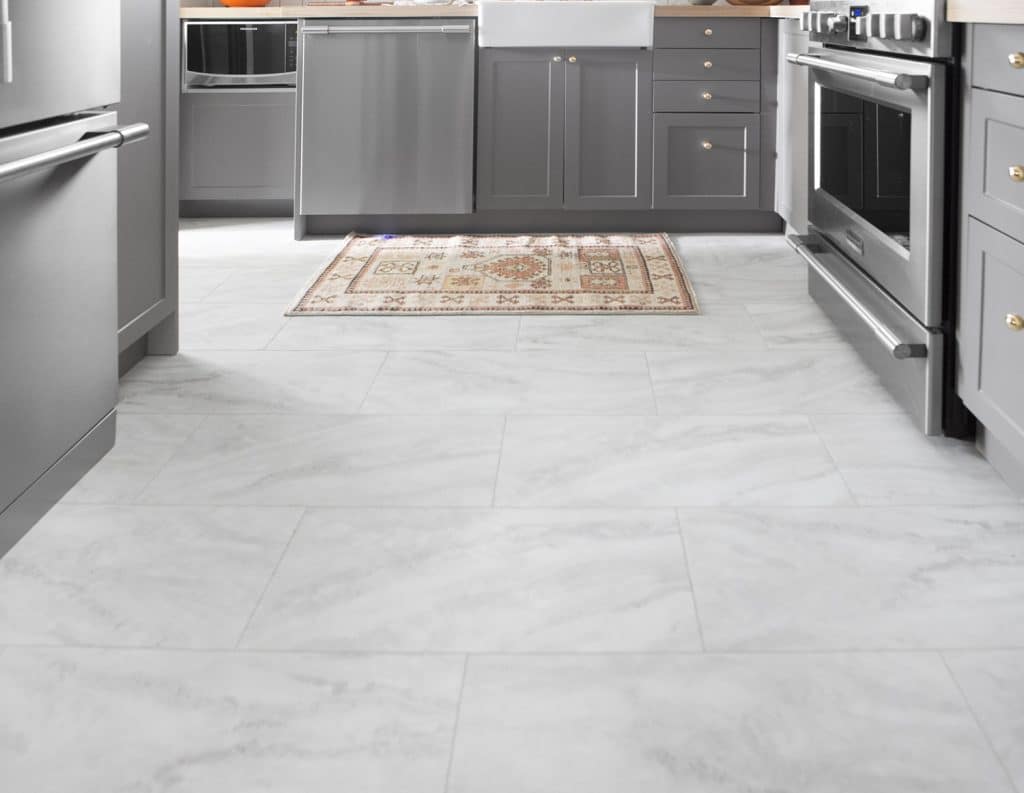
Can you install vinyl flooring over existing kitchen tiles?
Yes, in most cases! I installed mine directly over old ceramic tile after ensuring it was firmly attached and level. This saved removal costs and installation time. The key is having a smooth, stable surface. Loose tiles need repair first, but generally, vinyl can go over most existing hard flooring materials.

What’s the realistic lifespan of vinyl flooring in a busy kitchen?
Based on manufacturer warranties and my research, quality luxury vinyl should last 15-25 years in residential kitchens with proper care. My flooring still looks new after three years of heavy use. The wear layer thickness affects longevity, so investing in thicker commercial-grade options pays off for high-traffic kitchens.
Does vinyl flooring off-gas or have health concerns?
Modern luxury vinyl planks are much safer than older vinyl products. Look for FloorScore or GREENGUARD certification for low emissions. Mine had no noticeable odor after installation, and indoor air quality wasn’t affected. Quality manufacturers have eliminated most concerning chemicals from current formulations.

Vinyl Flooring Ideas With Pros And Cons
Types of Vinyl Flooring
A Review of My Luxury Vinyl Tile Flooring – Click and Lock LVT

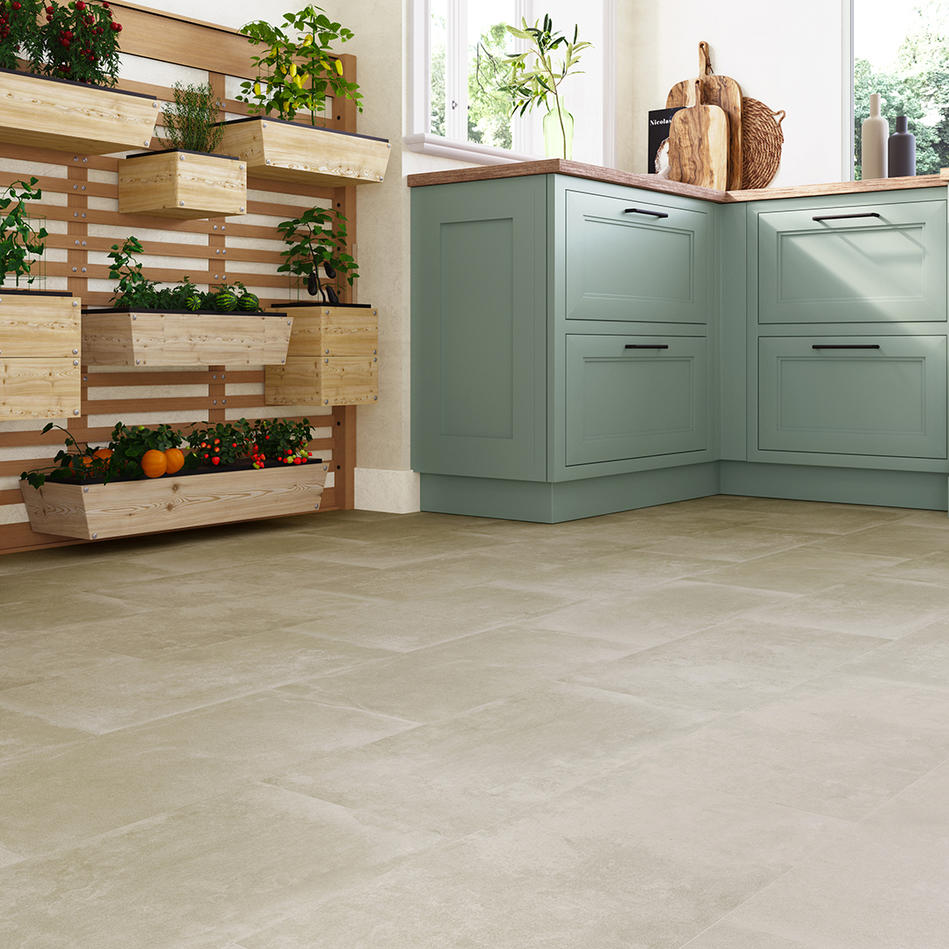
Vinyl Kitchen Flooring Ideas
How to Lay Luxury Vinyl Tile Flooring (LVT) + a feature in TABLE
Everything you need to know about Vinyl flooring Tarkett
Linoleum Flooring in the Kitchen
Related articles: