When I started planning my bathroom renovation two years ago, I was completely overwhelmed by flooring options and secretly terrified of making an expensive mistake. After countless hours researching materials, visiting showrooms where I knelt on sample after sample, and weighing pros and cons until my head spun, I chose vintage look vinyl flooring, and it transformed my space in ways I never expected.
The authentic-looking wood grain patterns paired with modern waterproof technology gave me exactly the cozy, farmhouse aesthetic I craved without the maintenance nightmares of real hardwood in a moisture-heavy environment. What started as a practical compromise became the foundation for a design I love, proving that sometimes the most sensible choice can also be the most beautiful.
Why I Fell for Vintage Vinyl Aesthetics
The moment I discovered vintage look vinyl planks, I knew I had found my solution to the eternal bathroom flooring dilemma. There’s something magical about how modern manufacturing can capture the authentic character of aged wood, complete with realistic grain patterns, knots, and weathered textures that fool even close inspection. Unlike actual vintage wood, which would warp and rot in my humid bathroom environment, these vinyl planks give me all the visual warmth and charm without any of the structural concerns. I spent hours in the showroom running my hands over different samples, amazed by how convincing the textures felt and how each plank had unique variations that mimicked real wood’s natural inconsistencies.
What sold me was the variety of vintage styles available, from bleached driftwood that reminded me of coastal cottages to rich barnwood that evoked rustic farmhouses. I could choose exactly the level of distressing and aging that matched my vision, whether I wanted subtle wear marks or dramatic weathering that looked like it had survived decades of use. The color options ranged from soft grays and whites, perfect for a clean, Scandinavian loo,k to deeper browns and honey tones that created warmth and coziness. I found myself taking photos of different combinations and testing them against my existing fixtures, imagining how each would change the entire mood of my space.
The authenticity impressed me most because I had been skeptical about vinyl’s ability to truly mimic natural materials convincingly. These vintage planks captured not just the visual appearance of aged wood but also subtle details like the way light plays across weathered surfaces and how different areas show varying degrees of wear.
I learned that the best manufacturers use high-definition photography and advanced printing techniques to create patterns that never repeat, ensuring that no two planks look identical, just like real reclaimed wood. The result is a floor that tells a story and creates character without requiring decades of actual aging or the environmental impact of harvesting old-growth timber.

Waterproof Performance That Changed Everything
Living with vinyl flooring in my bathroom for over two years has completely changed my relationship with moisture and maintenance anxiety. Before making the switch, I constantly worried about water damage from shower splashes, condensation, and the inevitable spills that come with family life, especially with teenagers who seem to flood the bathroom daily. Now I can relax knowing that my floor is completely waterproof, not just water-resistant like some other materials that still leave you vulnerable to seepage and long-term damage. The peace of mind alone has been worth the investment, eliminating the stress I used to feel every time someone left puddles on the bathroom floor.
The installation process revealed just how serious modern vinyl flooring takes moisture protection, with advanced backing systems and tight locking mechanisms that create a completely sealed surface. My installer explained how the planks interlock so precisely that water can’t penetrate between seams, unlike traditional materials, where grout lines or gaps become vulnerable points for moisture infiltration. I watched him demonstrate by pouring water directly onto the installed floor, and it beaded up and wiped away completely without any absorption or staining. The confidence this gave me to use bold colors and patterns without fear of water damage was liberating, opening up design possibilities I had never considered.
What surprised me most was how the waterproof quality extended beyond just surface protection to include resistance to humidity and temperature changes that plague bathroom environments. My previous floors would expand and contract with seasonal changes, creating gaps and buckling that looked terrible and created maintenance headaches. The vinyl flooring maintains its appearance and stability regardless of moisture levels or temperature fluctuations, staying perfectly flat and secure through two years of daily use, steamy showers, and varying weather conditions. I no longer notice seasonal changes in my floor’s appearance or performance, which was a constant concern with my previous materials.

Installation Adventures and DIY Reality
I decided to tackle the installation myself, partly to save money and partly because I enjoy hands-on projects that let me feel more connected to my home improvements. The manufacturer’s claims about easy installation seemed too good to be true, but I’m happy to report that the floating floor system is designed for confident DIYers with basic tools and moderate patience. The click-lock system made sense intuitively, and I found the process oddly satisfying as each plank snapped into place with a reassuring click that told me everything was aligned correctly. However, I learned that preparation is critical, spending more time on subfloor prep than actual installation, because any imperfections would show through the finished floor.
My biggest challenge came with cutting planks to fit around the toilet and vanity, requiring precise measurements and careful use of a utility knife and straight edge. I invested in a proper vinyl cutting tool after struggling with basic scissors, and this made an enormous difference in achieving clean, professional-looking edges. The learning curve included figuring out the best techniques for scribing around irregular shapes and understanding how to maintain consistent gaps for expansion while ensuring tight seams. I made a few mistakes early on, but the forgiving nature of the material meant I could remove and reinstall planks without damage, something that wouldn’t be possible with glued-down installations.
The most rewarding part was seeing the transformation happen in real-time as each row revealed more of the beautiful vintage pattern I had chosen. By the second day, I had developed a rhythm and confidence that made the work feel meditative rather than stressful, though I recommend having a friend help with the first few rows to ensure everything starts perfectly straight. The entire bathroom took me a weekend to complete, working at a comfortable pace with breaks for measuring twice and cutting once. Looking back, the sense of accomplishment from installing my floor added to my satisfaction with the final result, and I gained skills and confidence for future projects.
Living with Luxury Vinyl Daily
Two years into living with my vintage look vinyl flooring, I can honestly say it has exceeded my expectations for both durability and continued visual appeal. The surface shows virtually no wear despite constant foot traffic, dropped hair tools, and the general abuse that bathroom floors endure from busy family life. I was initially concerned about scratching or scuffing, but the wear layer has proven remarkably resistant to damage, maintaining its original appearance and texture even in high-traffic areas near the shower and vanity. The realistic wood grain pattern helps camouflage any minor imperfections, though I’ve been surprised by how few have appeared over time.
Cleaning became unexpectedly simple, transforming what used to be a dreaded chore into a quick and easy maintenance task. A simple sweep and damp mop keep the floor looking pristine, and I love how quickly it dries without leaving water spots or streaks that plagued my previous flooring. Spilled hair products, makeup, and even nail polish wipe away without staining or requiring special cleaners, giving me confidence to use my bathroom without constantly worrying about damage. The low-maintenance aspect has been particularly appreciated during busy periods when deep cleaning gets postponed, as the floor continues to look good with minimal attention.
The comfort factor surprised me most, as the vinyl provides a softer, warmer feeling underfoot compared to traditional bathroom tiles that always felt cold and hard. Standing at the vanity during morning routines or while blow-drying hair is much more comfortable, and the slight cushioning effect reduces fatigue during longer grooming sessions. The surface temperature stays comfortable year-round, never shocking my bare feet with cold tiles in winter or becoming uncomfortably hot in summer. I’ve also noticed that dropped items are less likely to break on the resilient surface, saving me money and cleanup time when inevitable accidents happen.

Cost Analysis and Value Considerations
When I first started pricing flooring options, I was shocked by how much money I could spend on bathroom renovations if I wasn’t careful with material choices. Vintage look vinyl flooring offered the perfect balance between achieving the aesthetic I wanted and staying within a reasonable budget that wouldn’t derail my entire renovation plan. The initial cost per square foot was significantly less than hardwood, natural stone, or high-end ceramic tiles, but still provided the premium look I was seeking. I calculated that I saved approximately 60% compared to my original plan for reclaimed hardwood, money that I redirected toward other bathroom improvements like better lighting and fixtures.
The installation savings amplified the value proposition considerably, as I was able to tackle the project myself over a weekend rather than paying professional installation fees. Even if I had hired professionals, the labor costs would have been lower than more complex flooring installations that require specialized tools, adhesives, or lengthy curing times. When I factored in the time savings from quick installation and immediate usability, the vinyl option became even more attractive for someone juggling renovation timelines with family life and work obligations. I was able to complete the floor on Saturday and have a fully functional bathroom by Sunday evening.
Long-term value considerations have proven even more favorable than I initially expected, with maintenance costs staying minimal and no signs of premature wear requiring replacement or repairs. The waterproof nature means I don’t have to worry about costly moisture damage that could affect subfloors or surrounding areas, insurance that becomes more valuable over time. I’ve calculated that the money saved on installation and materials has already paid for several other home improvements, and the durability suggests this floor will serve me well for many more years without significant additional investment. Friends who chose more expensive options have already dealt with maintenance issues and costs that I’ve completely avoided.

Maintenance Secrets for Longevity
Developing a simple but effective maintenance routine has kept my vintage vinyl flooring looking showroom-new after two years of daily use, and I’ve learned that consistency matters more than intensive cleaning sessions. My weekly routine takes less than ten minutes and involves sweeping up any debris, then mopping with warm water and a gentle floor cleaner designed for luxury vinyl. I avoid harsh chemicals, abrasive cleaners, and excessive water that could potentially seep into seams, sticking to manufacturer recommendations that have proven effective and safe. The key is addressing spills and dirt promptly rather than letting them sit and potentially cause staining or buildup over time.
I discovered that preventive measures make the biggest difference in maintaining the floor’s appearance and protecting my investment for the long term. Strategic placement of bath mats near the shower and sink catches most water and debris before it reaches the vinyl, though I’m careful to use mats with non-slip backing that won’t trap moisture underneath. I also learned to lift furniture rather than dragging it when rearranging, and I use furniture pads under heavy items to prevent indentations or scratches from developing over time. These small habits have become second nature and require no additional time or effort in my daily routine.
The most important lesson I’ve learned is that proper humidity management extends the floor’s life and performance significantly beyond just regular cleaning. I run the exhaust fan during and after showers to prevent excessive moisture buildup that could affect the subfloor or create conditions for mold and mildew growth around edges. I also wipe up standing water promptly and ensure good air circulation, especially in areas where moisture tends to accumulate like behind the toilet or near the tub. These practices protect not just the vinyl surface but the entire bathroom environment, contributing to better indoor air quality and preventing costly moisture-related problems down the road.

How does vintage look vinyl hold up to constant moisture and humidity in bathrooms?
In my experience, it’s been bulletproof against moisture. Two years in, with daily showers and typical bathroom humidity, I’ve had zero issues with warping, buckling, or water damage. The waterproof core means I don’t worry about spills or splashes, and it handles humidity changes much better than laminate or hardwood ever could.
Can I install luxury vinyl flooring myself, or do I need professional help?
A: I installed mine myself over a weekend and found it surprisingly manageable with basic tools. The click-lock system is intuitive, though proper subfloor prep is crucial. If you’re handy with measuring and cutting, it’s doable. The floating installation means no adhesives or complicated techniques are required.

How much should I budget for vintage look vinyl flooring in a standard bathroom?
I spent about $4 per square foot for quality planks, so roughly $200-300 for an average bathroom. Add tools if installing yourself, or professional installation costs. It’s significantly cheaper than hardwood or stone while delivering a similar visual impact. Factor in long-term savings from low maintenance costs.
Does luxury vinyl flooring feel cheap or fake compared to real wood or tile?
I was skeptical too, but modern vinyl surprised me with realistic textures and a convincing appearance. The comfort underfoot is superior to hard tiles, and the surface stays warm. Guests consistently mistake it for real wood. The key is choosing quality products with good wear layers and realistic printing.

How do I clean and maintain vinyl flooring to keep it looking new?
My routine is incredibly simple: weekly sweeping and damp mopping with mild cleaner. Spills wipe up easily without staining, and I avoid harsh chemicals or excessive water. The low-maintenance aspect was a major selling point, and it’s lived up to expectations. No special treatments or refinishing needed.
Will furniture and dropped items damage luxury vinyl flooring over time?
I use furniture pads and haven’t seen any indentations or scratches after two years. The wear layer protects against normal household impacts, and dropped items are less likely to break on the resilient surface. It’s much more forgiving than ceramic tile while still maintaining durability for everyday family use.

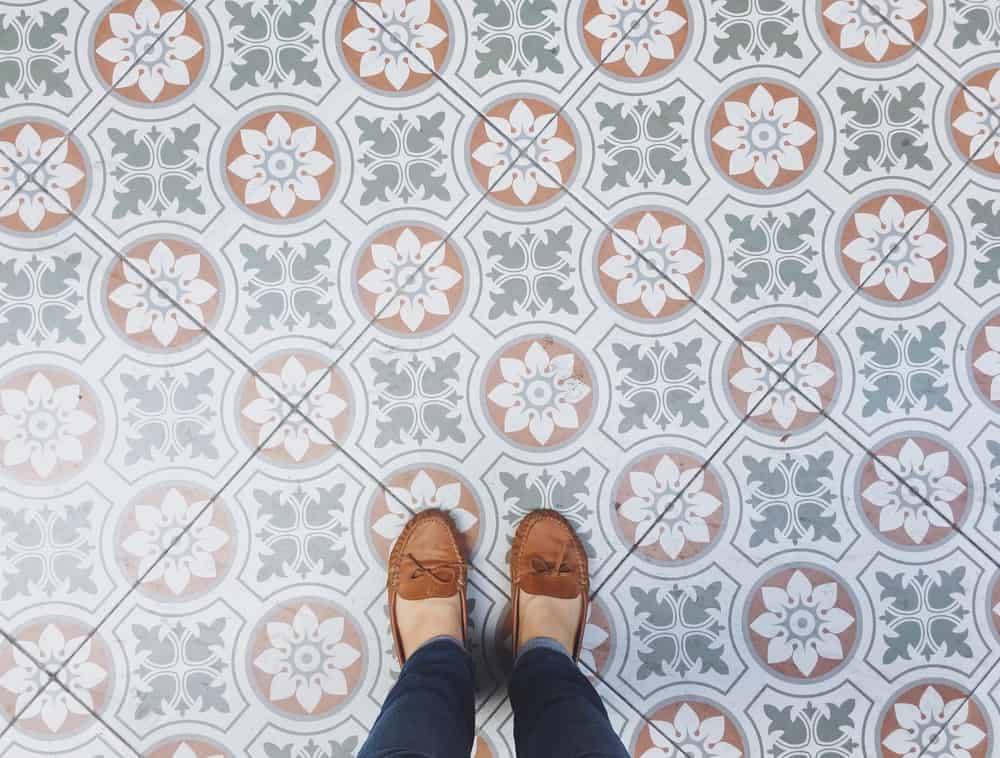
Retro 12″ x 12″ x 1.5mm Vinyl Tile
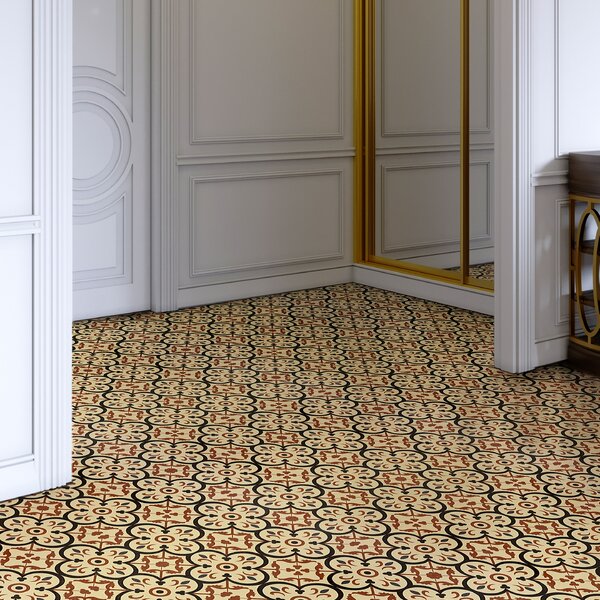
Patterned Vinyl Flooring – New Styles To Shake The Floor Under

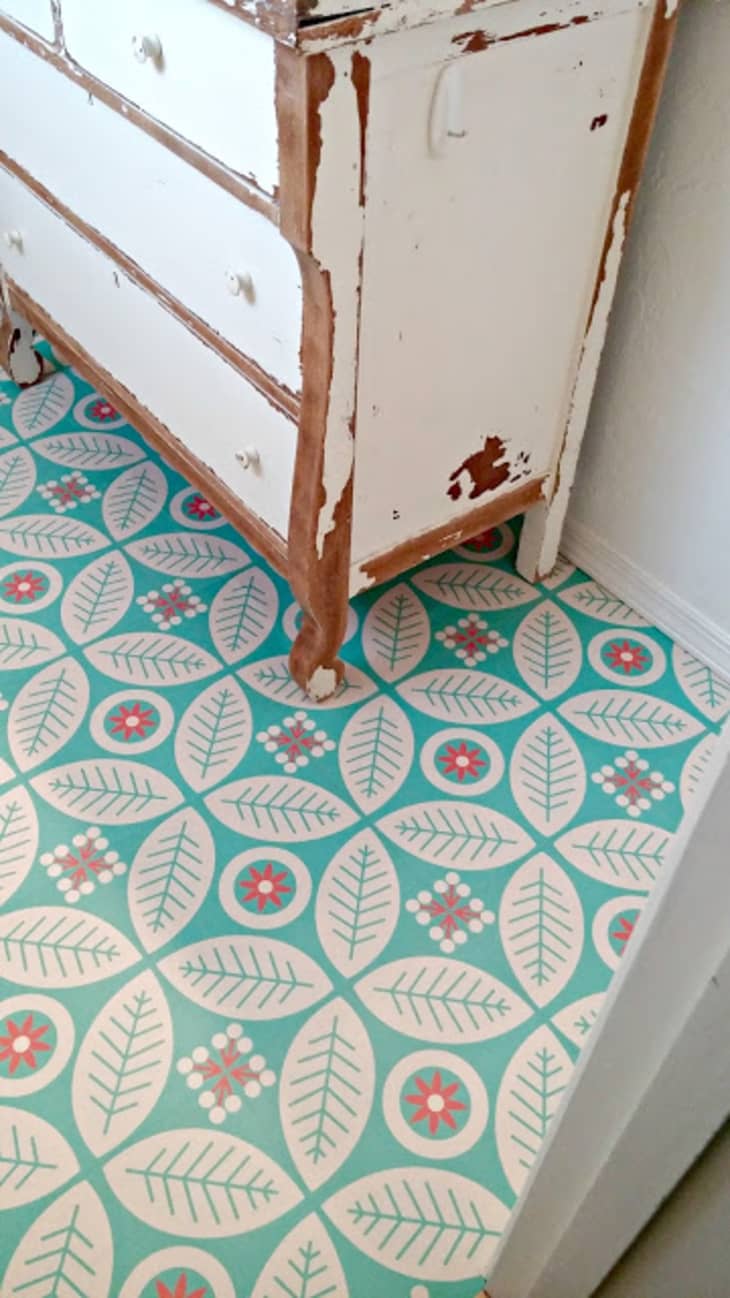
Vintage Vinyl Floorcloths (Pattern 33 I Am Not A Bumblebee

Cheap & Chic: Rooms that Made Us Love Vinyl Flooring Apartment
Retro

Related articles: