You can do the mosaic picture by yourself by putting together parts of tiles together or you are able to purchase the pre-arranged mosaic flooring and lay the sheet on the floors. The first task is taking up the old floor covering, whatever it might possibly be. The intersection of the two lines of the plus is actually the school of the floor space; it's here that you must start your ceramic tile flooring set up.
Images Related to Tile Floor Photos
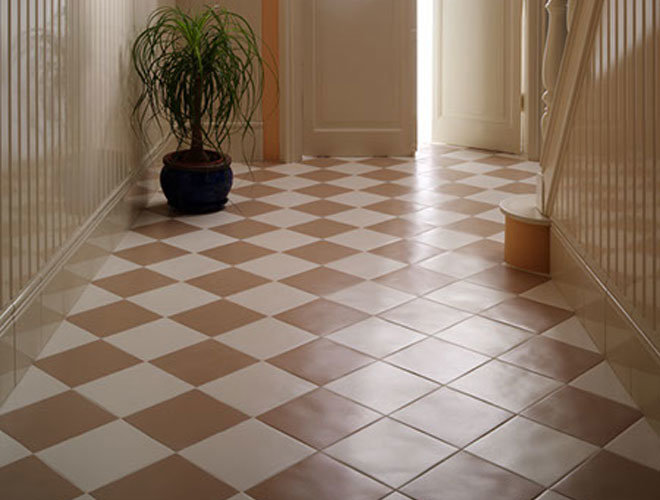
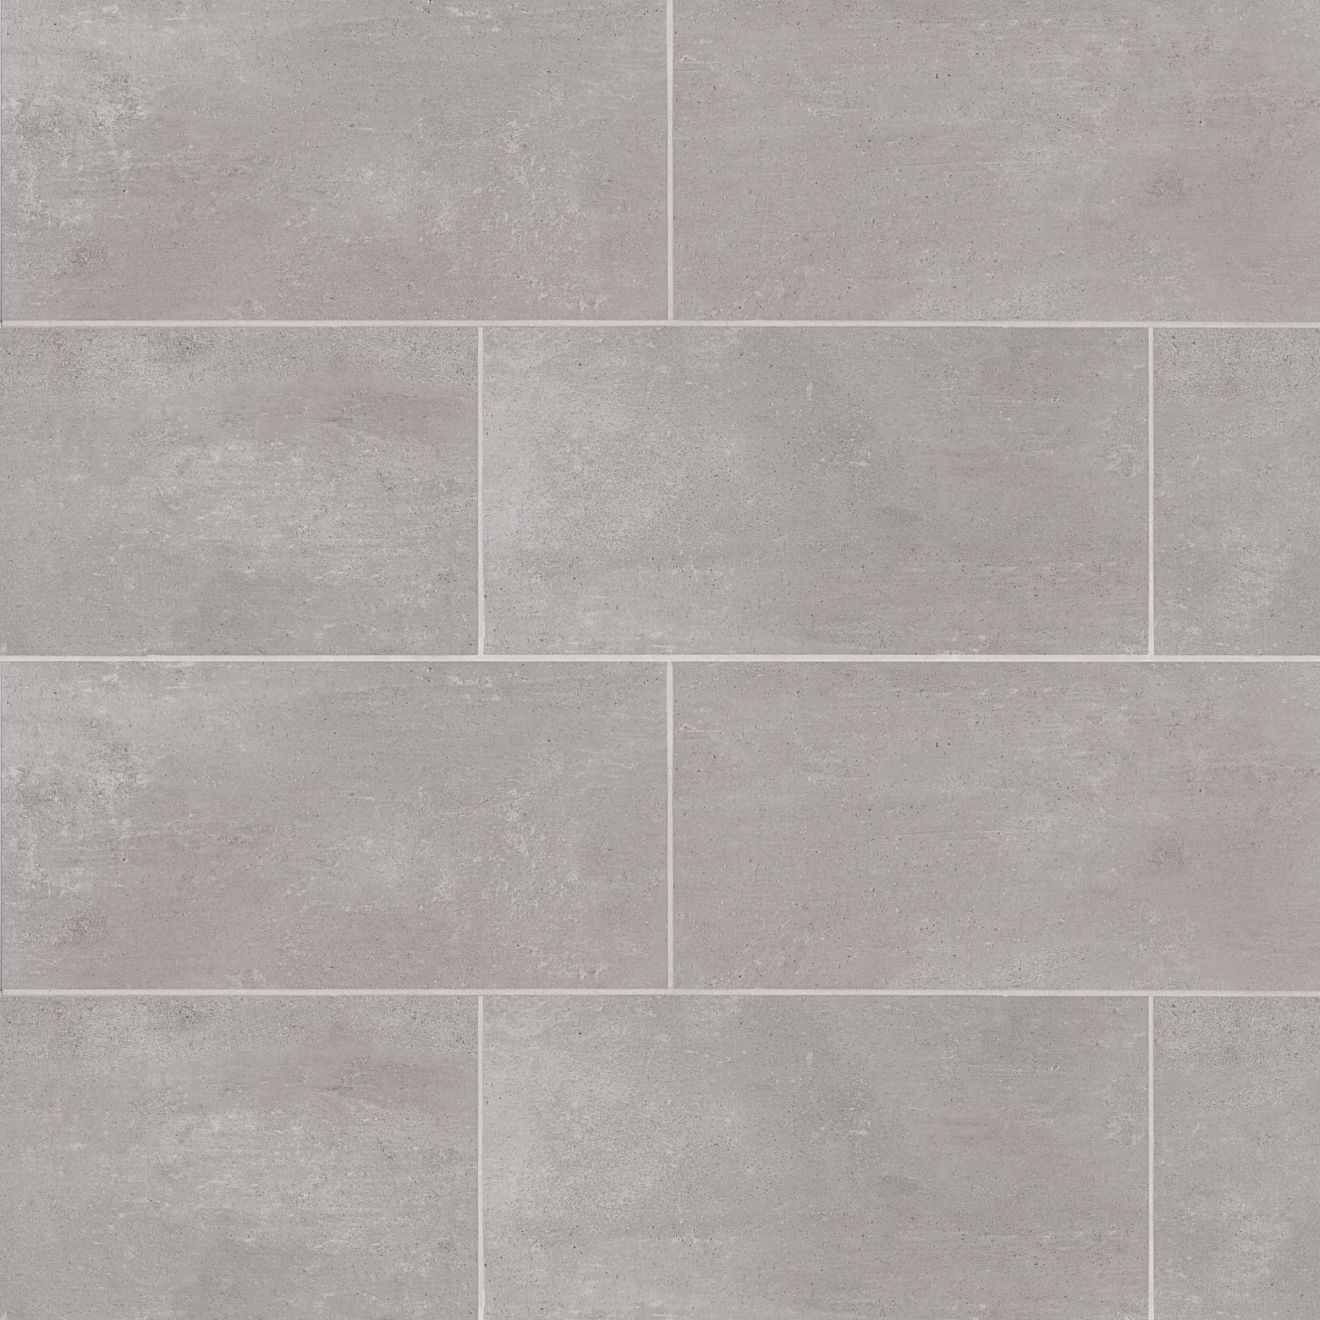
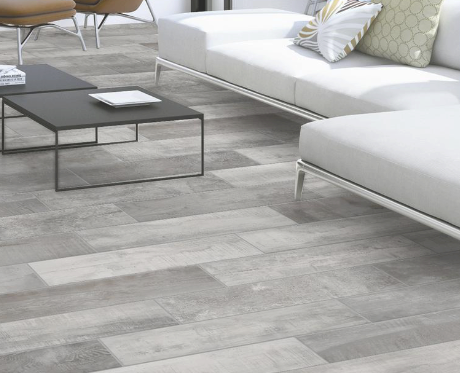
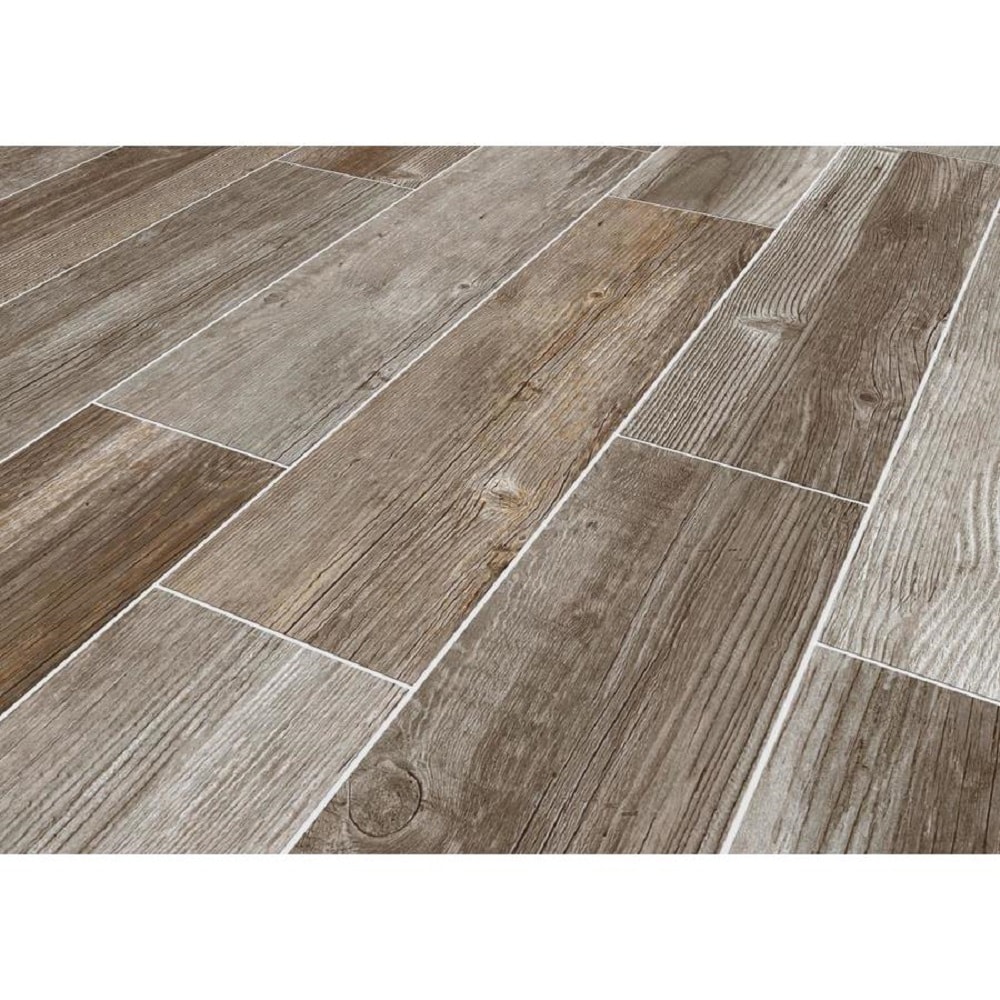
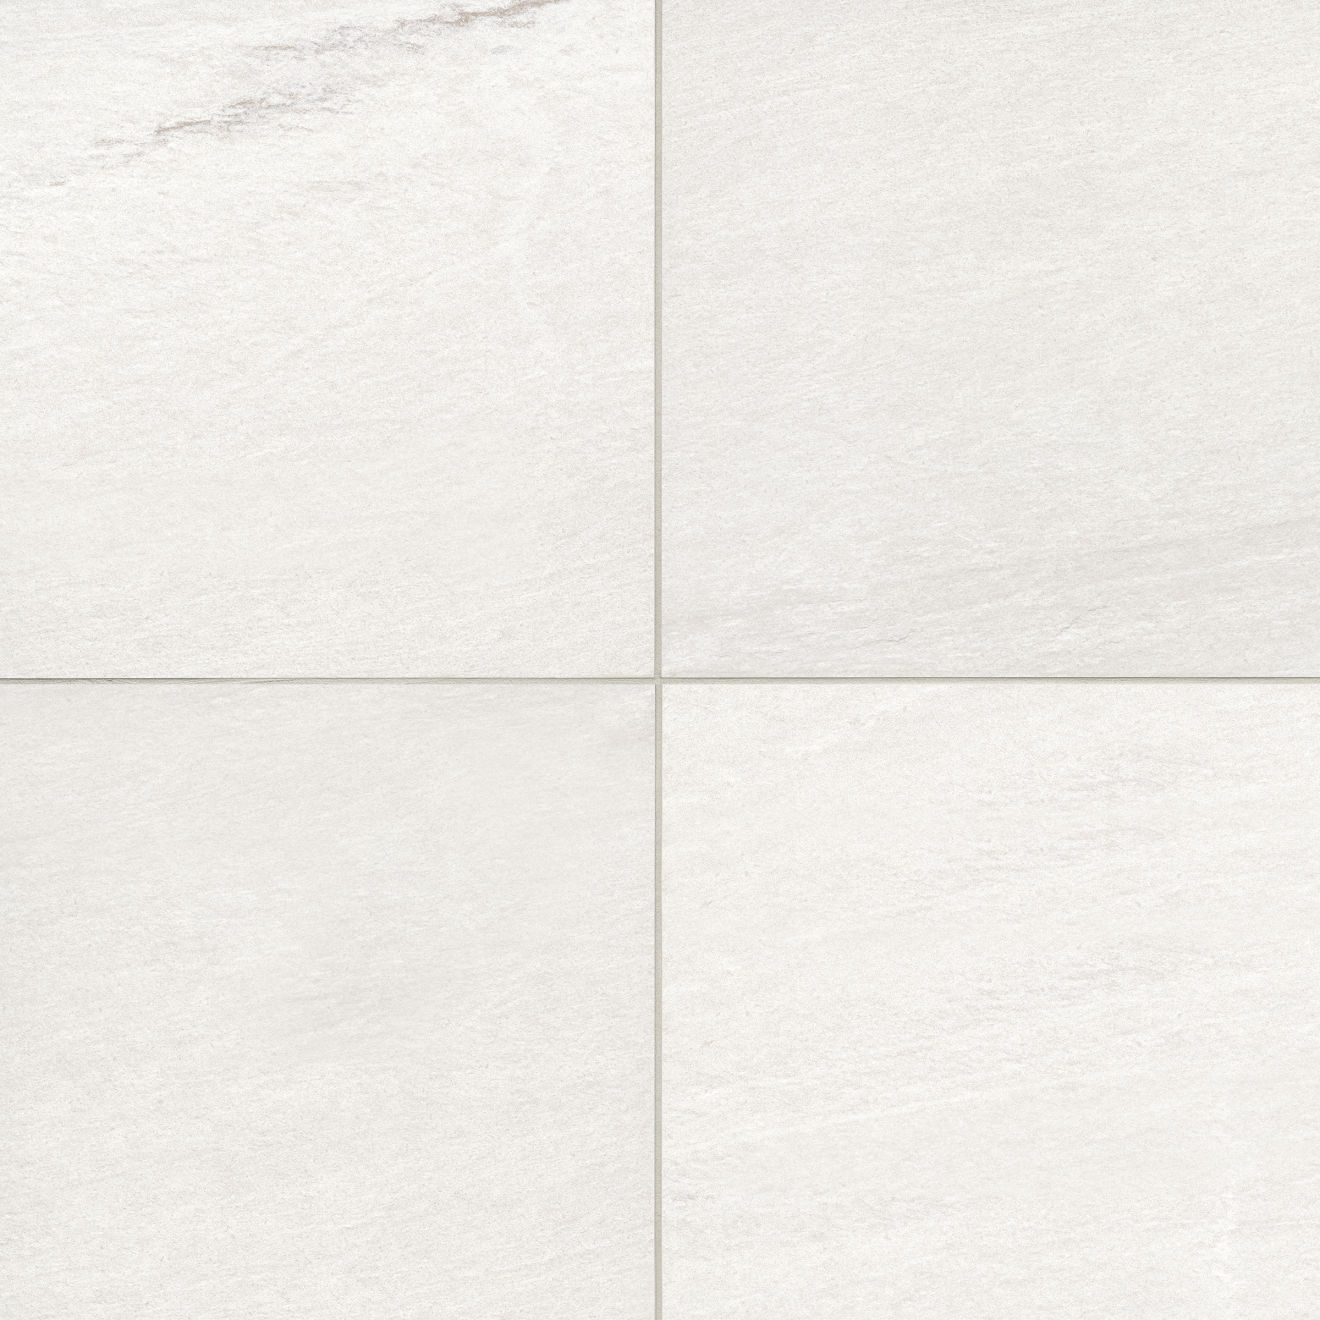
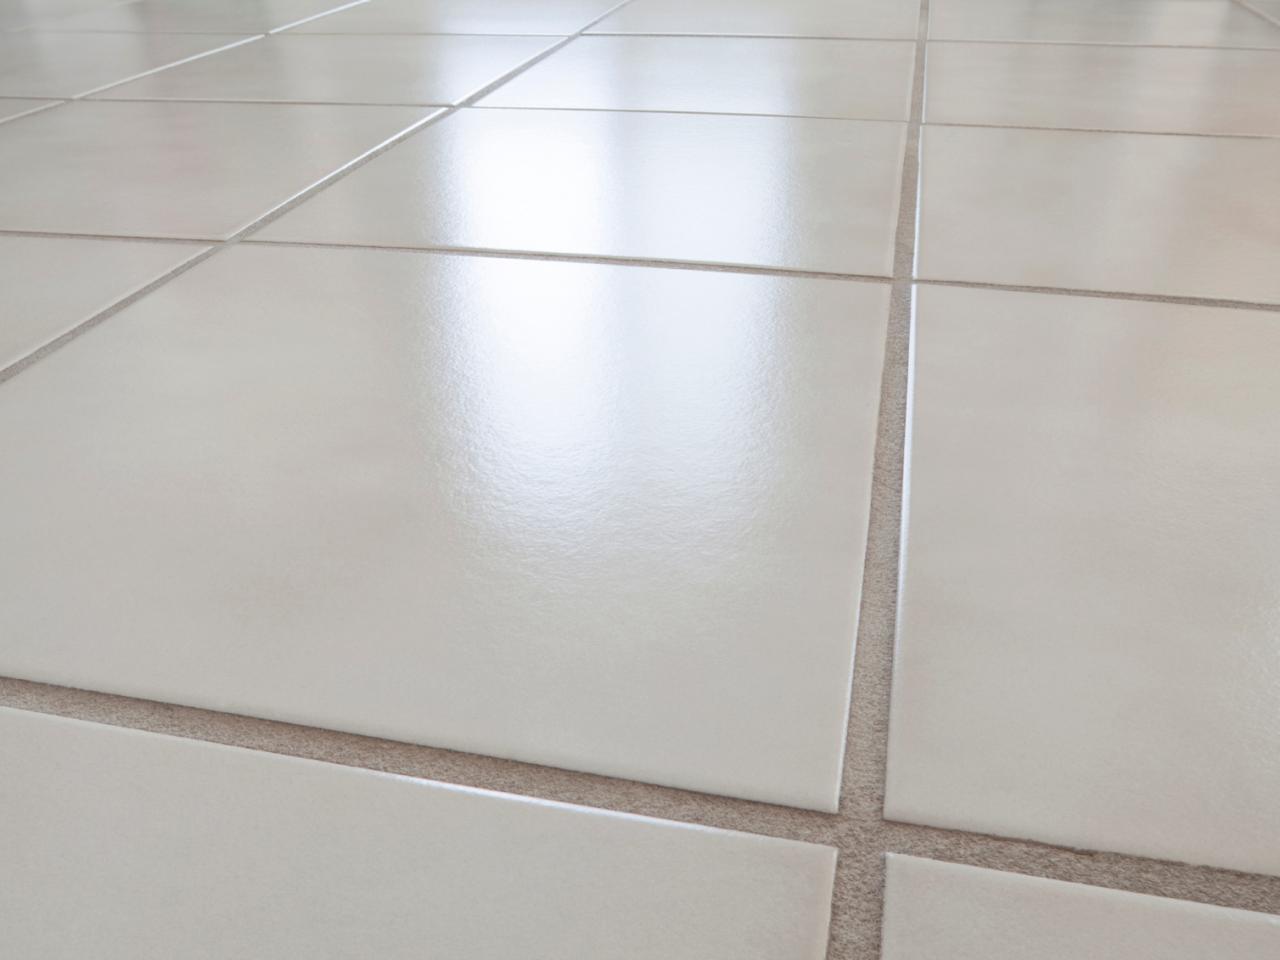
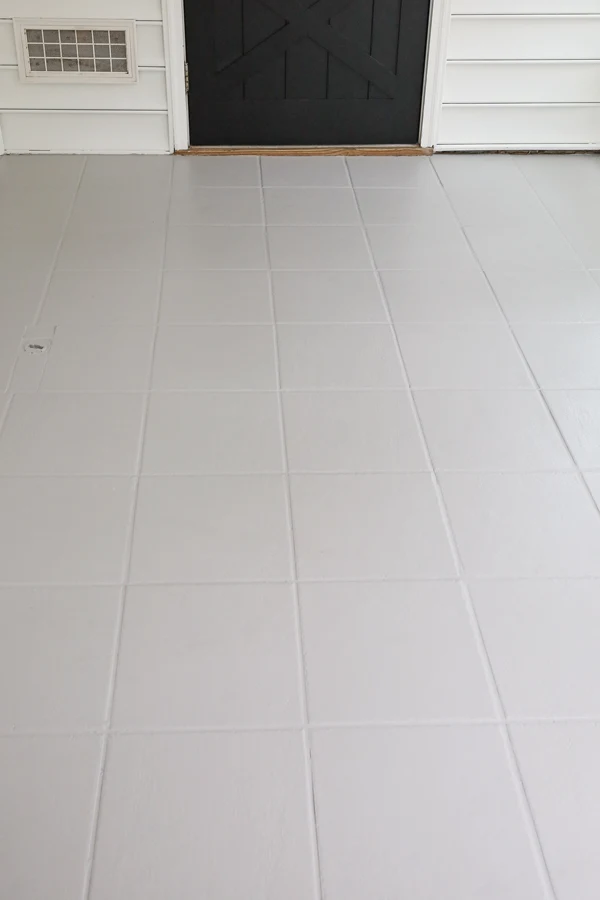
Tile Floor Photos

Since marble is not the hardest of natural stones, it would not thrive as a floors covering in certain, really high traffic areas, even thought they're perfect floor tiling for typical residential as well as light industrial applications, and marble holds up facial. Additional use polished granite on their counter tops that become very well-known to the point they're practically requirement in customized kitchen.
Ceramic Floor Tile – Ceramic Flooring Cost, Benefits, Installation
Porcelain may be utilized to emulate the finish or appearance of some other types like stone and bricks so for numerous interior designers, it is an incredibly flexible content in terms of design. Sooner or later you are going to come to spots where flooring should be cut. With tiles having a wide variety of textures, colors and designs, the possibilities are also endless for tile flooring suggestions.
Simply Modern 12″ x 24″ Floor u0026 Wall Tile in Grey Bedrosians
Tile – The Home Depot
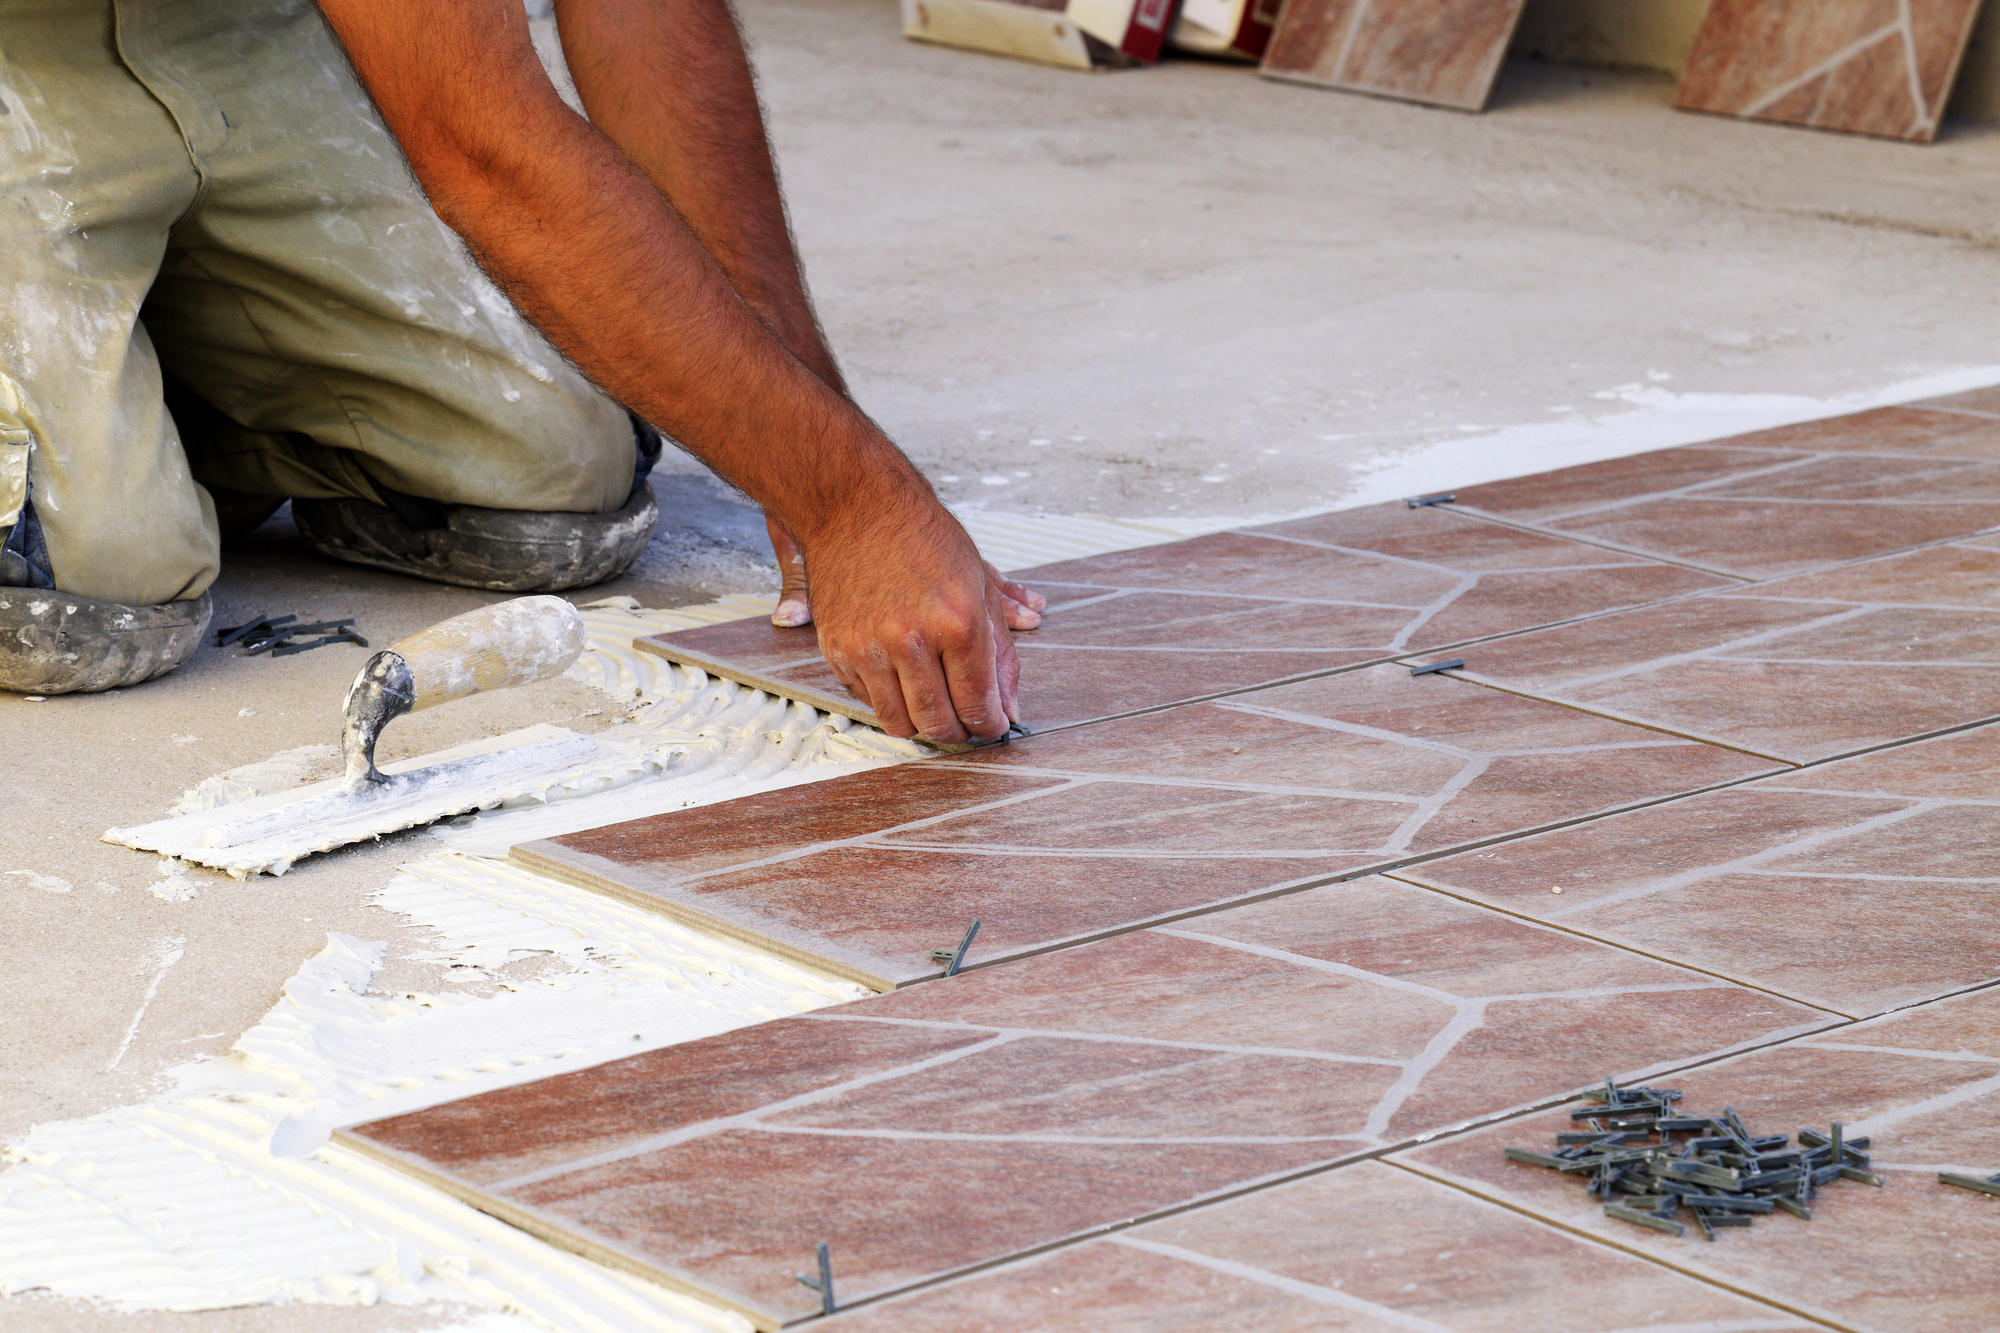
How to Install Ceramic Floor Tile
/Installing-Ceramic-Floor-Tile-86464768-583ffd0d5f9b5851e5eac8c0.jpg)
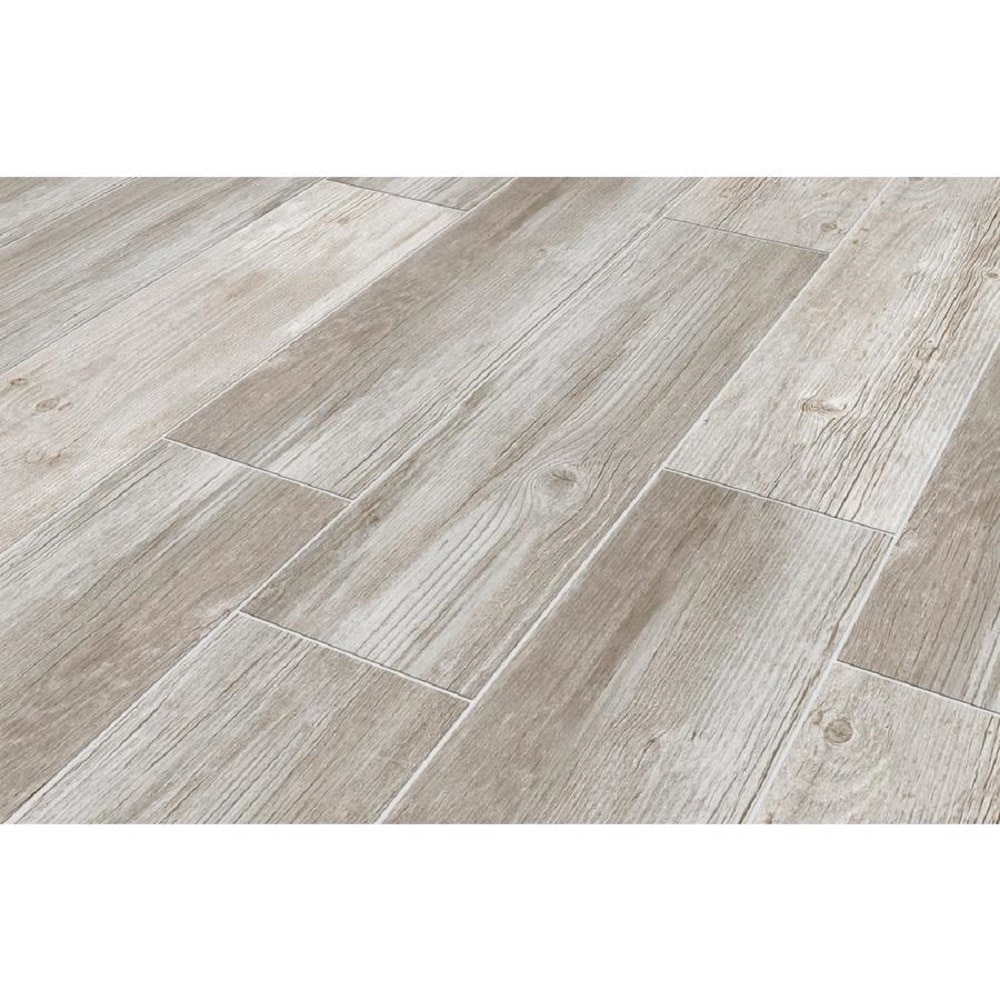
Style Selections Woods French Gray 6-in x 24-in Glazed Porcelain
3 Ways to Choose Floor Tiles – wikiHow

Urban 2.0 24″ x 24″ Floor u0026 Wall Tile in Nova White Bedrosians
Style Selections Woods Vintage Gray 6-in x 24-in Glazed Porcelain Wood Look Floor Tile
10 Most Common Mistakes When Laying Floor Tiles (And How to Avoid
Evaluate Your Floor Before Re-Covering It HGTV
Subfloors and Underlayment for Ceramic Tile Floors
/best-subfloors-to-use-for-laying-tile-1822586-hero-efcfac9422ab457da5d2cbc7f7361df7.jpg)
How to Paint Tile Floor – Angela Marie Made
Mirth Studio Patterned Hardwood Floor Tiles

Related articles:
- Vintage Bathroom Floor Tile Patterns
- Bathroom Floor Tile DIY
- Limestone Bathroom Floor Tiles
- Bathroom Floor Porcelain Tile
- Concrete Bathroom Floor Ideas
- White Bathroom Ceramic Tiles
- Bathroom Floor Baseboard
- Rustic Bathroom Flooring Ideas
- Bathroom Flooring Options
- Bamboo Bathroom Flooring Ideas
Tile Floor Photos: Capturing the Beauty and Versatility of Tile Flooring
Introduction:
Tile flooring is a popular choice for many homeowners due to its durability, easy maintenance, and aesthetic appeal. With its wide range of materials, colors, and patterns, tile flooring can add a touch of elegance to any space. In this article, we will explore the world of tile floor photos and how they showcase the beauty and versatility of tile flooring.
1. The Art of Capturing Tile Floors:
Photographing tile floors requires attention to detail and an understanding of the unique characteristics that make each type of tile stand out. A skilled photographer can capture the texture, color variations, and intricate designs that make tile floors so visually appealing. From close-up shots that highlight the individual tiles to wide-angle views that showcase the overall pattern, there are various techniques to ensure these photos capture the true essence of tile flooring.
FAQs:
Q: What equipment is needed to take high-quality tile floor photos?
A: To capture the intricate details of tile floors, it is recommended to use a DSLR camera with a macro lens for close-up shots. Additionally, a tripod can be beneficial for steady shots and better control over composition.
Q: How should lighting be considered when photographing tile floors?
A: Lighting plays a crucial role in showcasing the beauty of tile floors. Natural light can enhance the colors and textures, but it is essential to avoid harsh shadows. Diffused lighting or strategically placed artificial lights can help achieve a well-balanced illumination.
2. Highlighting Material Diversity:
One of the remarkable aspects of tile flooring is the vast array of materials available, each offering unique characteristics and visual appeal. From timeless ceramic tiles to luxurious marble and rustic terracotta, capturing the diversity of materials through photography allows homeowners to envision how different tiles can transform their living spaces.
FAQs:
Q: Are there specific tips for photographing ceramic tiles?
A: Ceramic tiles often have glossy surfaces that can reflect light. To minimize glare, it is advisable to adjust the angle of the camera or use polarizing filters. Additionally, shooting in natural light or diffused lighting can help bring out the texture and color variations of ceramic tiles.
Q: How can the natural beauty of marble tiles be captured in photos?
A: Marble tiles exhibit stunning veining patterns that add an elegant touch to any interior. To capture this natural beauty, it is crucial to photograph marble floors under soft lighting that enhances the intricate details. Experimenting with different angles and perspectives can also bring out the unique characteristics of each marble tile.
3. Emphasizing Color Schemes and Patterns:
Tile flooring offers endless possibilities for creating captivating color schemes and patterns. Whether it’s a monochromatic palette for a minimalist look or a vibrant mosaic design for a bold statement, photos of tile floors can inspire homeowners to explore various combinations and unleash their creativity.
FAQs:
Q: How can I effectively showcase the patterned design of my tile floor?
A: To emphasize the patterned design of your tile floor, consider capturing shots from different angles that highlight the repetition and symmetry. Close-up photos that focus on specific sections of the pattern can also showcase the intricacy and attention to detail.
Q: What are some popular color schemes for tile floors?
A: Popular color schemes for tile floors include neutral tones like beige, gray, and white, which provide a timeless and versatile backdrop for any interior style. Additionally, contrasting colors such as black and white or warm earth Tones like terracotta and brown can create a striking visual impact. It is important to consider the overall color scheme of the space and choose tile colors that complement or contrast with the surrounding elements.
4. Showcasing Tile Installation Techniques:
The way tiles are installed can greatly impact the overall aesthetic of a space. Whether it’s a herringbone pattern, subway tiles, or intricate mosaic work, photographs can effectively showcase different tile installation techniques and inspire homeowners to explore unique designs for their own floors.
FAQs:
Q: How can I capture the visual impact of a herringbone pattern in my tile floor?
A: To showcase the beauty of a herringbone pattern, photograph the floor from a higher angle to capture the diagonal lines and the symmetry of the design. Close-up shots that focus on individual tiles can also highlight the intricate details of each piece.
Q: Are there any specific angles or perspectives that work well for photographing mosaic tile floors?
A: When photographing mosaic tile floors, it is beneficial to experiment with different angles and perspectives to capture the overall pattern. Shooting from a lower angle can emphasize the depth and intricacy of the mosaic, while overhead shots can showcase the full extent of the design.
In conclusion, lighting, material diversity, color schemes and patterns, as well as tile installation techniques are all important factors to consider when photographing tile floors. By effectively capturing these elements, photographers can inspire homeowners and showcase the true beauty and potential of tile flooring. Photographing tile floors can be a creative way to showcase their beauty and inspire homeowners. Here are some tips and FAQs to help capture the unique features of tile floors:
1. Emphasize the patterned design:
– Capture shots from different angles to highlight repetition and symmetry.
– Take close-up photos of specific sections to showcase intricacy and attention to detail.
2. Popular color schemes for tile floors:
– Neutral tones like beige, gray, and white provide a timeless backdrop.
– Contrasting colors like black and white or warm earth tones create visual impact.
– Consider the overall color scheme of the space and choose tiles that complement or contrast with surrounding elements.
3. Showcasing tile installation techniques:
– Different installation patterns, such as herringbone or subway tiles, can greatly impact aesthetics.
– Photograph from a higher angle to capture diagonal lines and symmetry in herringbone patterns.
– Experiment with angles and perspectives for mosaic tiles to showcase depth and intricacy.
In conclusion, capturing lighting, material diversity, color schemes, patterns, and installation techniques is key to photographing tile floors effectively. By showcasing these elements, photographers can inspire homeowners and highlight the true beauty and potential of tile flooring. Some additional tips for photographing tile floors:
4. Consider lighting conditions:
– Natural light can enhance the colors and textures of the tiles.
– Avoid harsh shadows by shooting during softer lighting conditions.
– Experiment with different lighting angles to highlight the tile’s features.
5. Pay attention to composition:
– Use leading lines or framing techniques to draw attention to the tile floor.
– Incorporate other elements in the room, such as furniture or decor, to add context and visual interest.
6. Edit your photos:
– Adjust the brightness, contrast, and saturation to bring out the best qualities of the tiles.
– Crop or straighten the image if necessary to improve composition.
– Remove any distractions or blemishes using photo editing software.
7. Capture the texture and shine:
– Get close to the tiles to capture their texture and reflectivity.
– Experiment with different camera settings, such as aperture or shutter speed, to emphasize these qualities.
Remember, practice makes perfect when it comes to photography. Don’t be afraid to experiment with different techniques and perspectives to capture the true beauty of tile floors.