But, it is crucial for every home owner who's utilizing the polished concrete floor surfaces to determine how the polished flooring is achieved when all has been said as well as done. Acid Stain concrete floorings have a bit of time and once again proven the reliability of theirs when it comes to cost the, durability, and efficiency sturdiness of the flooring.
Here are Images about Laying A Concrete Floor For A Garage
Laying A Concrete Floor For A Garage
In some instances, all that will be needed is actually a basic rebuffing of the flooring surfaces with a bit of polishing compound. Remember it's vital for using concrete floor sealers to help you protect the surface area. It's accurate a visitor involves quite some simple strategy of trying to look after these concrete floors but certain facts about maintenance that have to be kept in mind.
Bat Shop Concrete Floor Pour – Time Lapse
to be able to increase the long life of the floor, people pores ought to be sealed. Those with allergies or asthma will like living with polished concrete. A reputable bristle push broom or perhaps street broom is actually strong enough to stand up to the hard concrete floor, but powerful adequate to offer a great cleaning.
Images Related to Laying A Concrete Floor For A Garage
How to pour a concrete floor for an existing garage Best How-To Guide
Laying a concrete floor in your garage – Decor Ideas

Time-lapse of pouring garage floor

Tips for a Better Concrete Garage Floor Slab
/Car-garage-GettyImages-528098460-58a1fba93df78c475869ff29.jpg)
How to Pour a Rock-Solid, Well-Insulated Garage Slab – Fine

Garage Concrete Floor Slab – Construction, Thickness and Cost

Pouring a concrete slab for a new garage
How to Pour a Concrete Slab (DIY) Family Handyman
Pouring the Concrete Floor in the Garage – Project Small House

Garage Concrete Floor Slab – Construction, Thickness and Cost

POURING A CONCRETE FLOOR FOR A NEW GARAGE

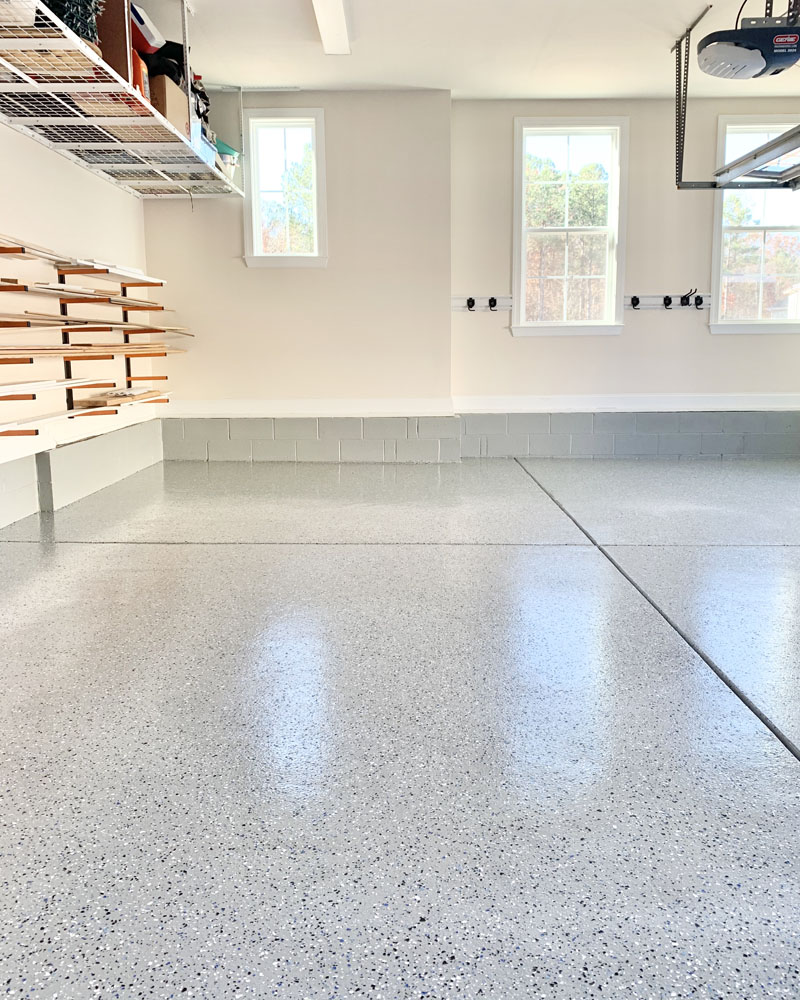
DIY Epoxy Garage Floors
Related articles:
- Stained Concrete Floors Design
- Decorative Concrete Floors
- Acid Stained Concrete Floors
- Polished Concrete Floor In Bathroom
- Concrete Floor Stain And Polish
- White Mold On Concrete Floor
- Polished Concrete Floor
- Polished Concrete Floor Cleaning
- Staining Concrete Floors Indoors Yourself
- Flooring Options For Concrete Floors
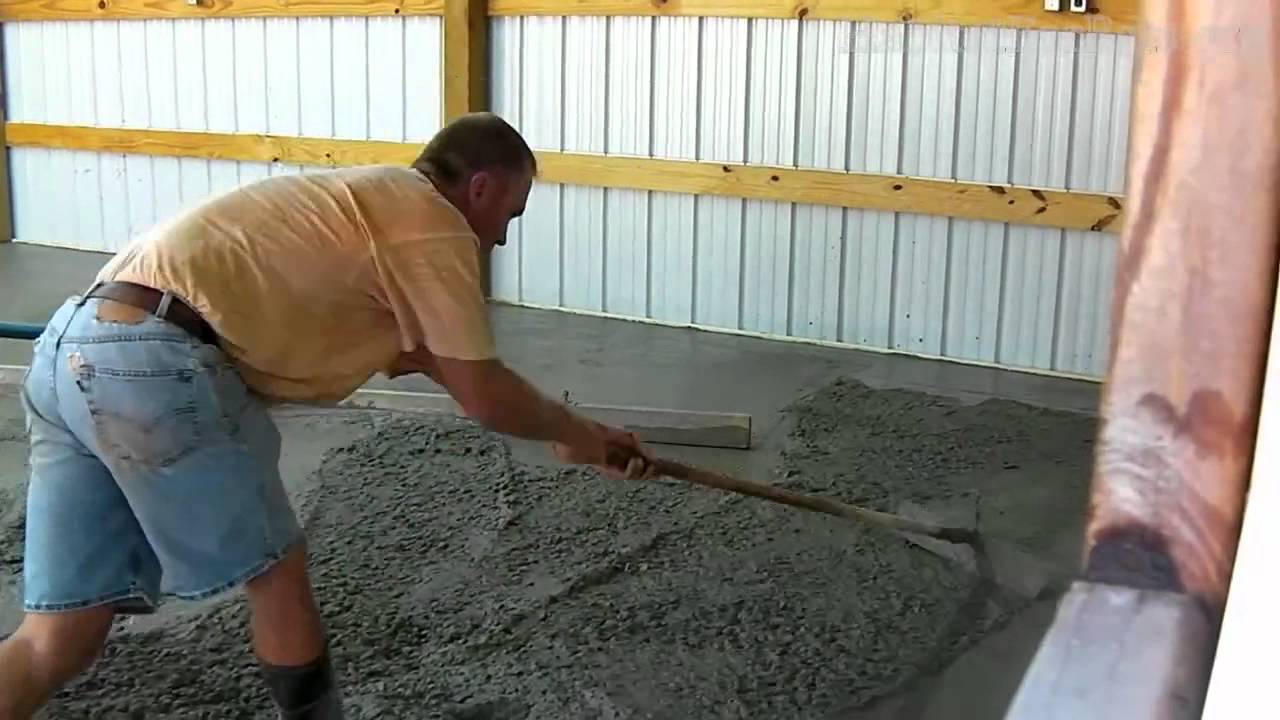
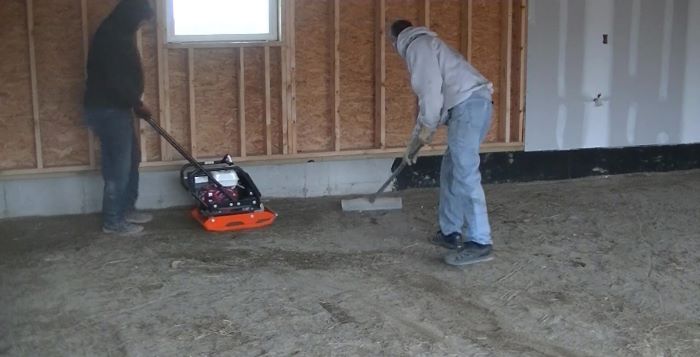
Preparing the Space
Before you begin work on laying a concrete floor in your garage, you should prepare the space properly. Start by removing any existing flooring, such as carpet or tile. You’ll also need to remove any furniture, appliances, and other items from the space. Next, inspect the subfloor for any damage or areas that need repairs. If necessary, make sure to patch up any holes or cracks. Finally, you’ll want to sweep and clean the area thoroughly before you start laying down concrete.
Gathering Supplies
Once you’ve prepared the space and cleared it out, it’s time to gather supplies. To lay a concrete floor in your garage, you’ll need:
– Concrete Mix
– Portland Cement
– Sand
– Water
– Shovels
– Wheelbarrow
– Trowel
– Tamper
– Level
– Edging Tool
Mixing the Concrete
Now that you have all your supplies gathered, it’s time to mix the concrete. Start by combining the concrete mix, Portland cement, sand and water in a wheelbarrow. Use shovels to mix the ingredients together until they form a thick paste-like consistency. Depending on the type of concrete you’re using, you may need to adjust the amount of water used to get the right consistency.
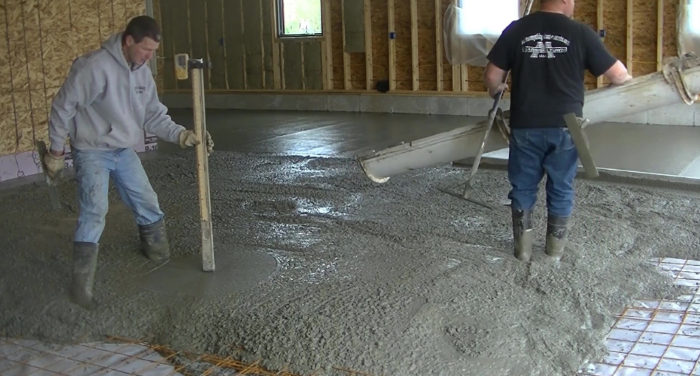
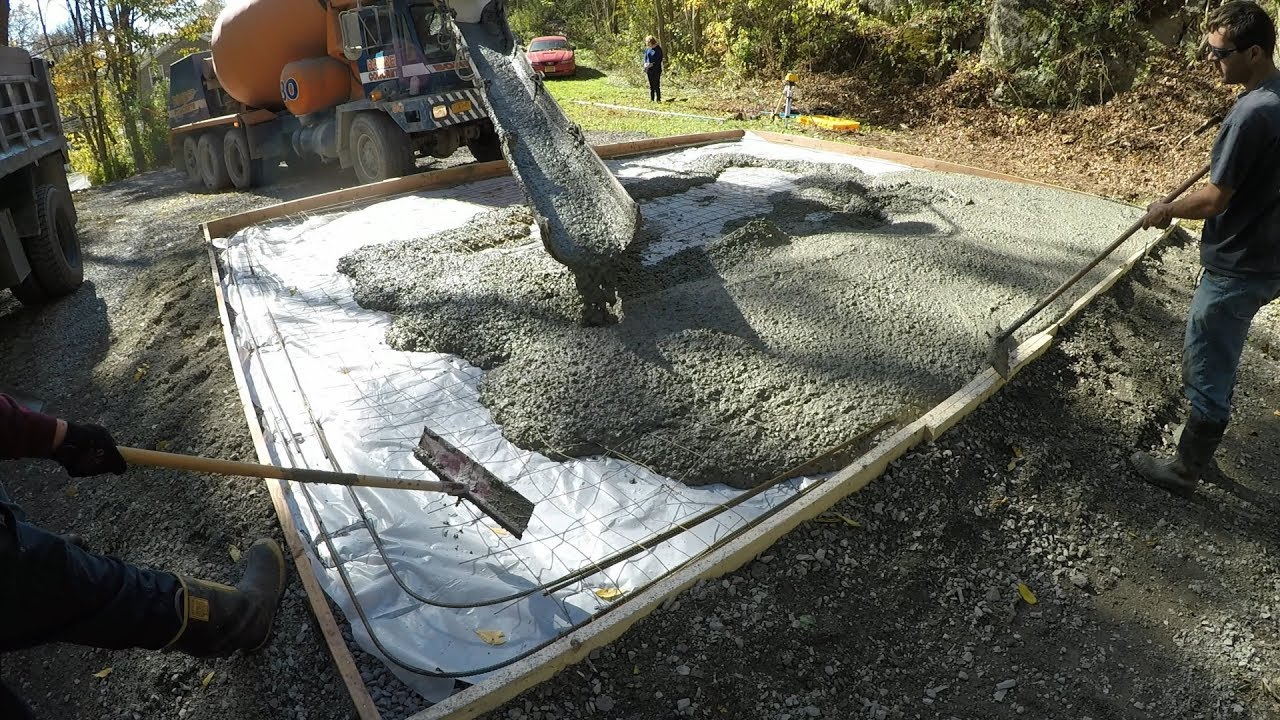
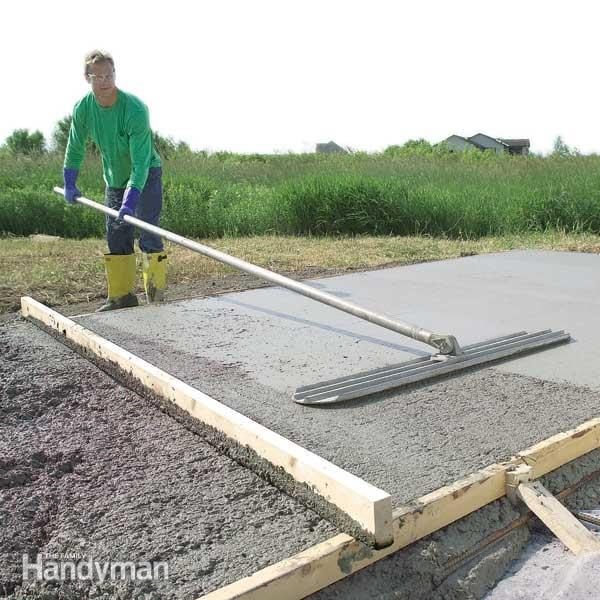
Laying the Concrete
Once your concrete is mixed, it’s time to start laying it down. Begin by pouring the concrete into one corner of your garage and use a trowel to spread it out evenly across the floor. Make sure to create an even layer that is at least 2 inches thick. Once you have an even layer of concrete spread out across your garage floor, use a tamper to flatten it out and ensure an even surface. After that, use a level to check for any dips or uneven spots that may need more work.
Edging and Finishing Touches
Once your concrete has been spread evenly across your garage floor, it’s time for edging and finishing touches. Use an edging tool to create smooth edges along the walls of your garage. This will help prevent cracking and provide a professional looking finish. Finally, let the concrete dry completely before walking on it or adding furniture or appliances back into your garage. This could take up to several days depending on weather conditions.
FAQs About Laying A Concrete Floor For A Garage
Q: What type of mix should I use for my concrete?
A: The type of mix will depend on where you live and the types of temperatures and moisture levels in your area. Generally speaking, it’s best to use a mix with Portland cement for areas with cold winters and high moisture levels as it helps create a stronger foundation that won’t crack over time due to freezing temperatures.
Q: How long does it take for my concrete floor to dry?
A: The amount of time needed for your concrete floor to dry will depend on weather conditions in your area. Generally speaking, it can take up to several days for your concrete floor to dry completely before you can walk on it or add furniture or appliances back into your garage.