The great thing is that there are several options on how you are able to have a lovely, well worth it flooring. The type of flooring you pick out for the basement of yours is going to depend on individual preference as well as potential weather elements. Basement flooring has multiple types out in the market, that makes the choice rather hard.
Here are Images about Installing Wood Floor In Basement
Installing Wood Floor In Basement
/Basementpooltable-GettyImages-173547307-17a619e46af446c5a8d78f97f8aeb7b3.jpg)
Attempt to not to be overwhelmed and instead focus on finding a thing that really works for you throughout as a number of ways as is possible. Thankfully, you can find a number of methods to set up the basement flooring, which will be appealing and practical, without the need to create major structural changes. Cement flooring prevents worry over possible flooding or excessive rain.
Engineered Hardwood Floor: Basement Installation – Birdz of a Feather

In relation to selecting a floor sort for the basement of yours, your choices are relatively limited. They are not hard to install and could brighten up a basement with affordable design options. You want to pick flooring which looks fantastic, but also one that could handle the conditions in your basement.
Images Related to Installing Wood Floor In Basement
How to Avoid Pitfalls of Installing Wood Floors in Basements

Wood Flooring In the Basement HGTV

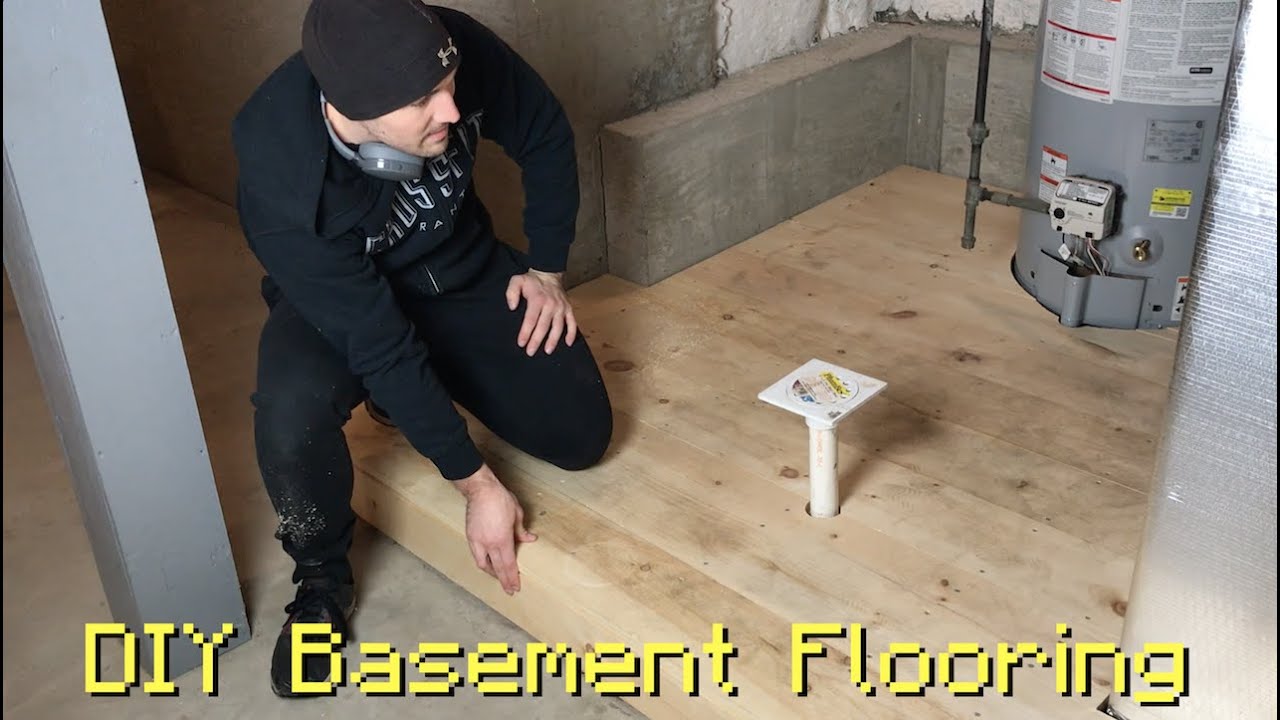
DIY Basement Wood Flooring
The One Secret to Installing a Wood Floor in a Finished Basement SVB

What is the Best Flooring For Basement u2013 Rubber, Vinyl or Laminate?

What is the Best Hardwood Floor for a Basement? Philly Floor

Installing peel and stick laminate floors in a basement remodel by

Best Basement Flooring Options (Get the Pros and Cons)

Engineered Hardwood Floor: Basement Installation – Birdz of a Feather

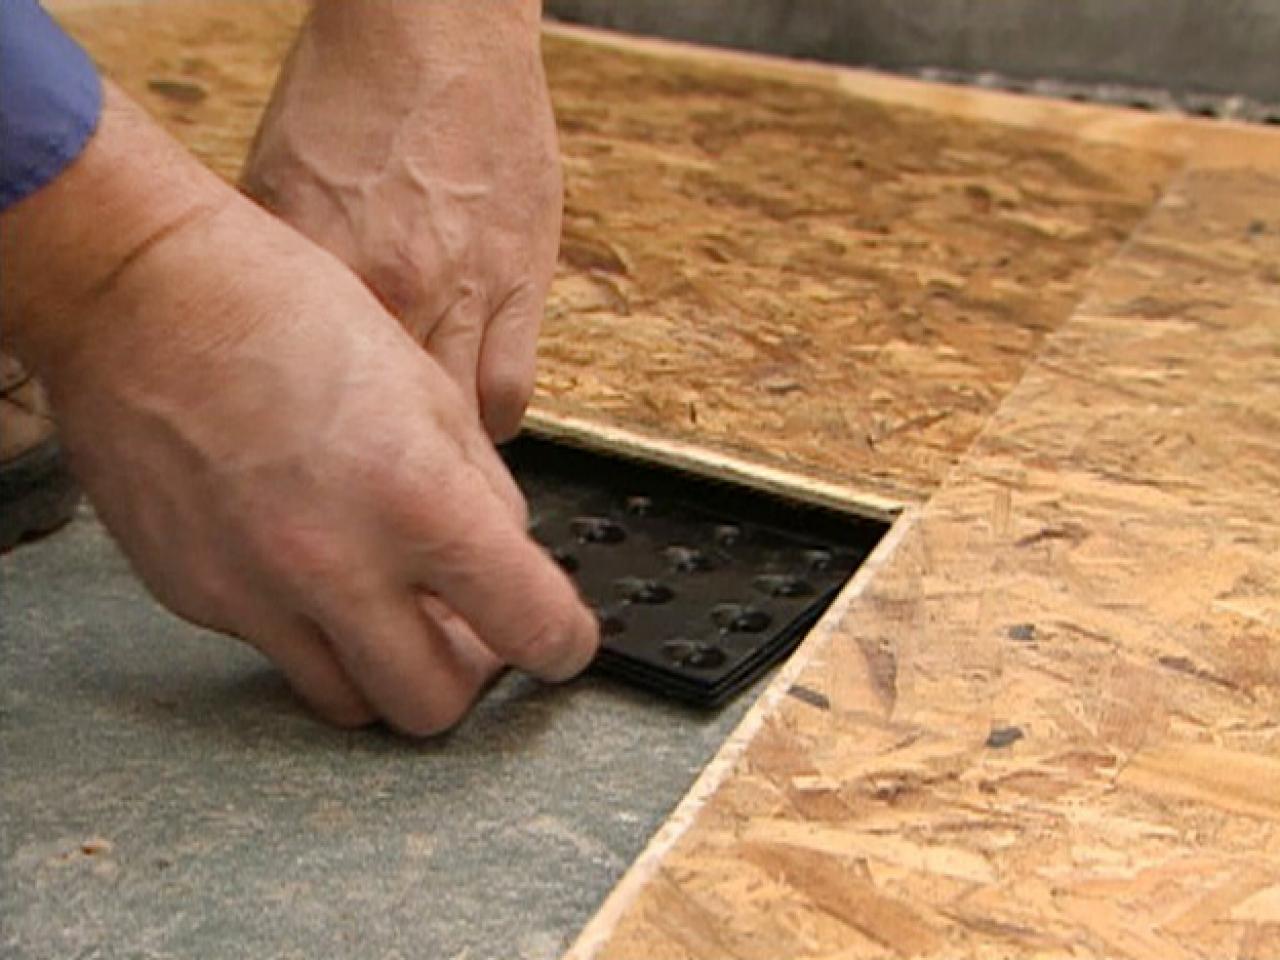
Subfloor Options for Basements HGTV
Installing Wood Floors On Concrete Slab Steller Floors

Basement Wood Flooring: Options u0026 Installation BuildDirect

Related articles:
- Stained Concrete Basement Floor
- Finishing Basement Floor
- Refinish Concrete Basement Floor
- Best Flooring For Basement
- Basement Gym Flooring Ideas
- Laminate Flooring In Basement
- Basement Concrete Floor Sweating
- Basement Floor Finishing Ideas
- Painting Unfinished Basement Floor
- Unique Basement Flooring
Installing Wood Floor In Basement
Basements are often overlooked when it comes to flooring options, but they can be transformed into beautiful and functional spaces with the right choice of flooring. One popular option is installing wood floors in the basement, as it adds warmth, elegance, and durability to the space. In this article, we will guide you through the process of installing wood floors in the basement, covering everything from preparation to finishing touches.
1. Assessing the Basement
Before diving into the installation process, it’s important to assess the condition of your basement. Check for any signs of moisture or water damage, as these issues need to be resolved before proceeding with the installation. Look for cracks in the foundation walls or floor, as well as any signs of mold or mildew. It’s crucial to address these problems first to prevent any future damage to your wood floor.
FAQ: Can I install wood floors directly on a concrete basement floor?
While it is possible to install wood floors directly on a concrete basement floor, it is generally not recommended. Concrete has a high moisture content that can seep into the wood and cause warping or mold growth. To mitigate this risk, it is advisable to install a moisture barrier or subfloor before laying down the wood flooring.
2. Choosing the Right Type of Wood Flooring
When selecting wood flooring for your basement, you need to consider its ability to withstand moisture and humidity levels that are typically higher in basements. Engineered wood flooring is a popular choice for basements because it is more resistant to moisture than solid hardwood. It consists of multiple layers of real wood fused together with a plywood core, which helps provide stability and resistance against moisture-related issues.
FAQ: Can I use laminate flooring instead of engineered wood flooring?
Laminate flooring can be used in basements, but it doesn’t provide the same level of warmth and authenticity as real wood flooring. Additionally, laminate can be more susceptible to moisture damage than engineered wood. If you want the look and feel of real wood in your basement, it is recommended to choose engineered wood flooring instead.
3. Preparing the Subfloor
Before installing the wood flooring, you need to prepare the subfloor properly. Start by cleaning the concrete surface thoroughly, removing any dirt, debris, or adhesive residue. If there are any cracks or uneven areas, use a concrete patching compound to fill them in and level the floor. Allow the compound to dry completely before moving on to the next step.
FAQ: Do I need to install a vapor barrier?
Yes, it is highly recommended to install a vapor barrier between the concrete subfloor and the wood flooring. A vapor barrier helps prevent moisture from seeping into the wood and causing damage. It can be in the form of a plastic sheet or a specialized underlayment specifically designed for basement installations.
4. Installing the Wood Flooring
Once the subfloor is properly prepared, you can proceed with installing the wood flooring. Follow these steps:
a. Acclimate the Wood Flooring: Bring the boxes of wood flooring into the basement at least 48 hours before installation. This allows the wood to adjust to the humidity and temperature of the space.
b. Lay Down Underlayment: If you have chosen an underlayment, now is the time to install it according to the manufacturer’s instructions.
c. Start with a Reference Line: Use a chalk line or laser level to create a reference line along one wall of the basement. This will ensure that your Wood flooring is installed in a straight and even manner.
d. Begin Installation: Start laying the wood flooring along the reference line, leaving a small gap between each board for expansion. Use a nail gun or adhesive to secure the boards to the subfloor, following the manufacturer’s instructions.
e. Continue Installation: Work your way across the basement, adding rows of wood flooring until you reach the opposite wall. Use a miter saw to cut the last boards to fit if necessary.
f. Trim and Finish: Once all the wood flooring is installed, trim any excess material and install baseboards or trim pieces around the perimeter of the room. Finish the wood flooring according to your desired look, whether it be staining, sealing, or adding a protective coating.
5. Maintaining Wood Flooring in Basements
To keep your wood flooring in good condition in a basement environment, there are some maintenance tips to follow:
– Clean up spills immediately to prevent moisture from seeping into the wood.
– Use a dehumidifier or air conditioner to control humidity levels in the basement.
– Avoid placing heavy objects directly on the wood flooring to prevent indentations.
– Regularly sweep or vacuum the floor to remove dirt and debris.
– Follow any specific care instructions provided by the manufacturer of your wood flooring.
By following these guidelines, you can enjoy the beauty and warmth of wood flooring in your basement while minimizing the risks associated with moisture and humidity. Installing wood flooring in a basement can be a great way to enhance the space and add warmth and beauty. However, basements can be prone to moisture and humidity, which can damage wood flooring if not properly addressed. By following these steps and maintenance tips, you can ensure that your wood flooring stays in good condition for years to come. Installing wood flooring in a basement can be a great way to enhance the space and add warmth and beauty. However, basements can be prone to moisture and humidity, which can damage wood flooring if not properly addressed. Here are some steps and maintenance tips to ensure that your wood flooring stays in good condition for years to come:
1. Acclimate the Wood Flooring: Before installation, bring the boxes of wood flooring into the basement at least 48 hours in advance. This allows the wood to adjust to the humidity and temperature of the space.
2. Lay Down Underlayment: If you have chosen an underlayment, now is the time to install it according to the manufacturer’s instructions.
3. Start with a Reference Line: Use a chalk line or laser level to create a reference line along one wall of the basement. This will ensure that your wood flooring is installed in a straight and even manner.
4. Begin Installation: Start laying the wood flooring along the reference line, leaving a small gap between each board for expansion. Use a nail gun or adhesive to secure the boards to the subfloor, following the manufacturer’s instructions.
5. Continue Installation: Work your way across the basement, adding rows of wood flooring until you reach the opposite wall. Use a miter saw to cut the last boards to fit if necessary.
6. Trim and Finish: Once all the wood flooring is installed, trim any excess material and install baseboards or trim pieces around the perimeter of the room. Finish the wood flooring according to your desired look, whether it be staining, sealing, or adding a protective coating.
To keep your wood flooring in good condition in a basement environment, follow these maintenance tips:
– Clean up spills immediately to prevent moisture from seeping into the wood.
– Use a dehumidifier or air conditioner to control humidity levels in the basement.
– Avoid placing heavy objects directly on the wood flooring to prevent indentations.
– Regularly sweep or vacuum the floor to remove dirt and debris.
– Follow any specific care instructions provided by the manufacturer of your wood flooring.
By following these guidelines, you can enjoy the beauty and warmth of wood flooring in your basement while minimizing the risks associated with moisture and humidity.