This's really not really that bad of a thing as this is what many individuals look for when they walk into a house. Lastly, there is the choice to discuss the basement with carpet. It is a sort of special polymer which has regularly been utilized as covering for pipes, drinking water plants, and anywhere that needs good, humidity resistant coating.
Here are Images about How To Level A Basement Floor With Wood
How To Level A Basement Floor With Wood
These things surround the outside of the home of yours and shouldn't be an expensive fix. Leave it for a day or even 2 and then check to find out if there's some condensate on the under edge of the plastic, if not, you're good to go. Whether it's a laundry area, a gym, an entertainment region, and sometimes even an underground bedroom will contact for various floor features.
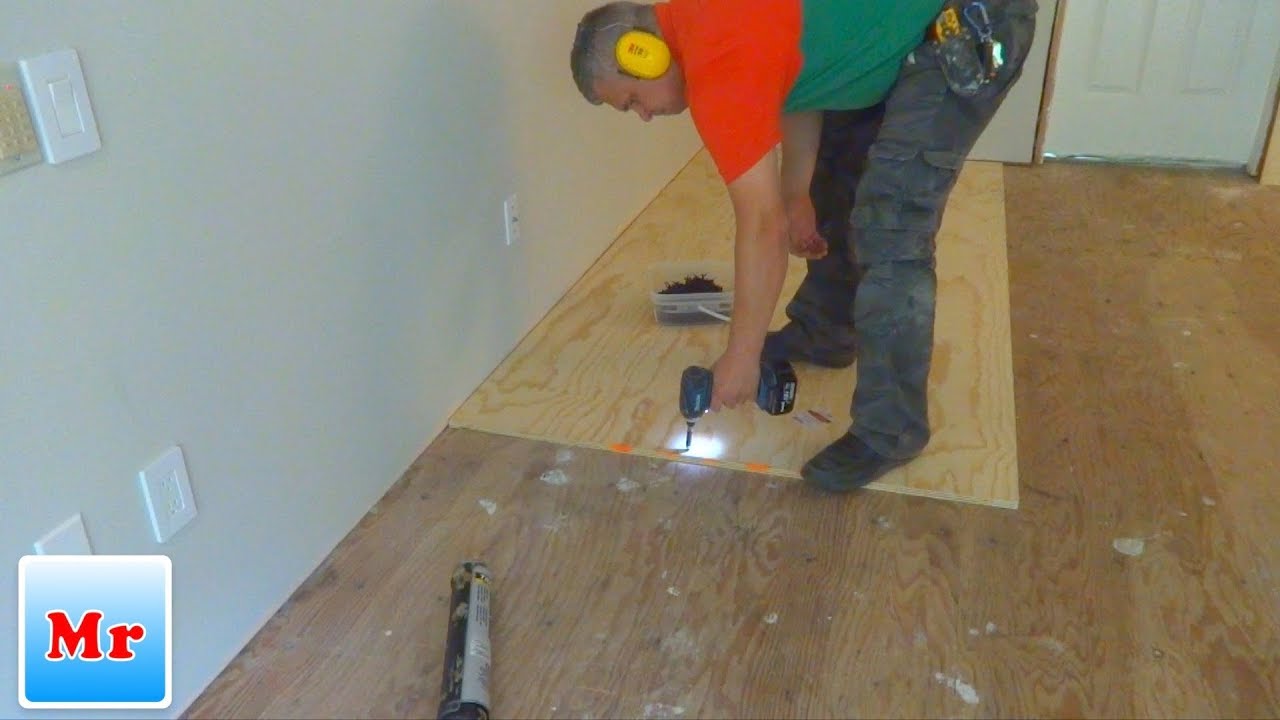
How to Make Subfloor Leveling with Plywood and Concrete Self Leveling Compound MrYoucandoityourself
When you have determined if the current concrete flooring of yours is adequately sealed and ready for a whole new layer, you are able to progress. Basement floors waterproofing must not be forgotten. If you are turning your basement into a family members room, you might want to choose a certain type of tile or perhaps linoleum that is durable and intended for quick clean up.
Images Related to How To Level A Basement Floor With Wood
How to Level a Floor: 8 Important Things to Know Before You DIY

Hot Topics: Leveling an Uneven Floor DoItYourself.com
How to Level a Floor in an Old House
/fix-sloping-sagging-and-unlevel-floors-1821649-hero-68d2631bcad54abea26c3d9c681302da.jpg)
How to Level a Floor – This Old House
/cdn.vox-cdn.com/uploads/chorus_image/image/69419339/iStock_1312655868.0.jpg)
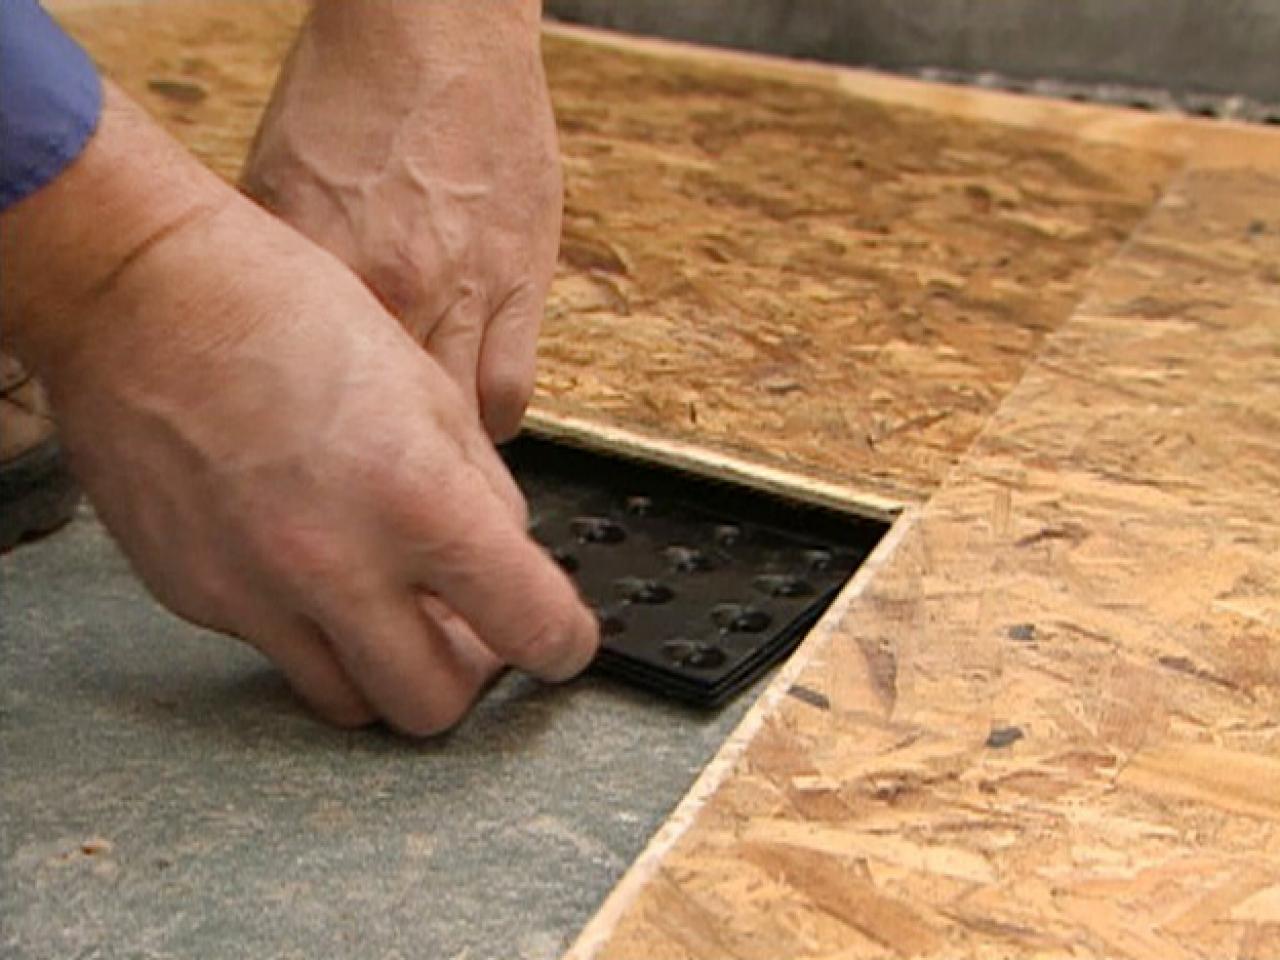
Subfloor Options for Basements HGTV
How to Level a Floor
How-to install a wood subfloor over concrete RONA
Installing Plywood Flooring Over Concrete ⋆ 🌲 ThePlywood.com
How-to install a wood subfloor over concrete RONA
How to Install Framing for Sleeper Floors Floor framing

How to Level an Uneven Subfloor
/laying-laminate-flooring-184950459-5c75f714c9e77c0001f57b1c.jpg)
How to Level a Floor
Related articles:
- Stained Concrete Basement Floor
- Finishing Basement Floor
- Refinish Concrete Basement Floor
- Best Flooring For Basement
- Basement Gym Flooring Ideas
- Laminate Flooring In Basement
- Basement Concrete Floor Sweating
- Basement Floor Finishing Ideas
- Painting Unfinished Basement Floor
- Unique Basement Flooring
Title: How to Level a Basement Floor with Wood: A Comprehensive Guide
Introduction:
A level basement floor is crucial for a variety of reasons, such as preventing water damage, ensuring proper insulation, and creating a stable foundation for your living space. If you’ve noticed unevenness in your basement floor, leveling it with wood can be an effective solution. In this article, we will provide you with a step-by-step guide on how to level your basement floor using wood, along with answers to frequently asked questions.
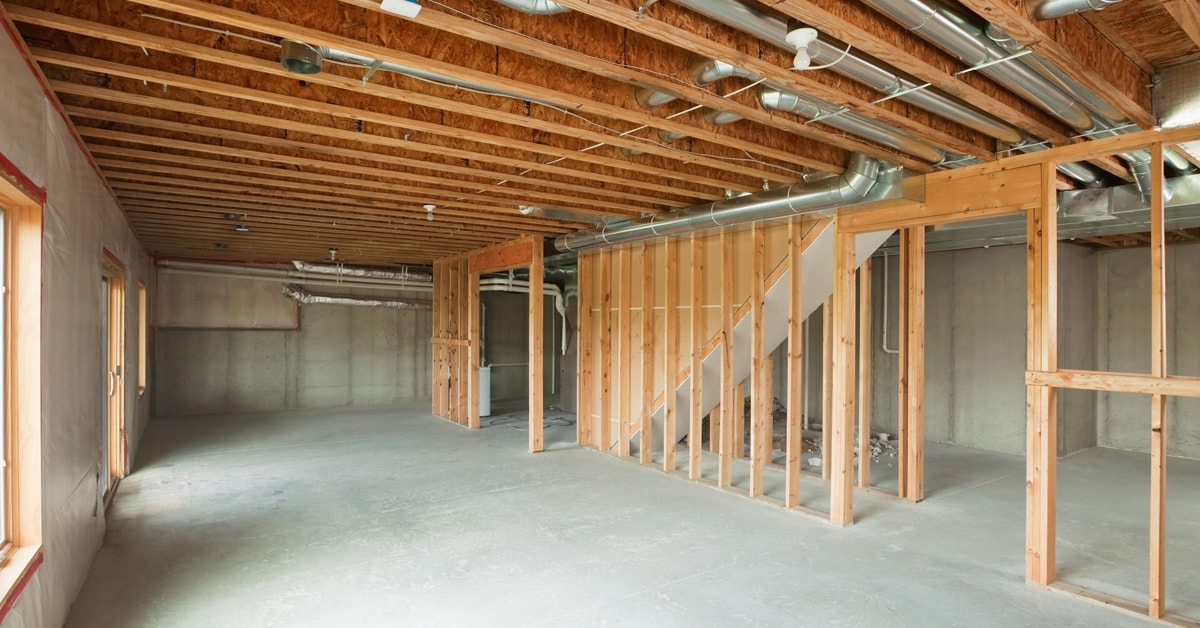
I. Assessing the Floor’s Condition:
Before beginning the leveling process, it’s essential to evaluate the condition of your basement floor. Look out for cracks, moisture issues, or any structural concerns that may require professional attention. If you’re unsure about the severity of the problems, consult a specialist before proceeding.
FAQs:
1. Can I level my basement floor if it has severe cracks or water intrusion?
If your basement floor has extensive cracks or water intrusion issues, it is recommended to address those problems first before attempting to level it. Consult a professional to assess the situation and determine the necessary repairs.
II. Gathering Materials and Tools:
Once you’ve assessed your basement floor and confirmed its suitability for leveling with wood, gather the following materials and tools:
Materials:
– Pressure-treated lumber
– Plywood sheets
– Shims
– Construction adhesive
– Concrete screws
Tools:
– Tape measure
– Circular saw or jigsaw
– Chalk line
– Level
– Drill/driver
III. Preparing the Surface:
Before installing the wooden subfloor, it’s crucial to prepare the surface properly. Here’s what you need to do:
1. Clean the Floor:
Remove any debris or dirt from the basement floor using a broom or vacuum cleaner. Ensure that there are no loose materials on the surface that could affect the installation process.
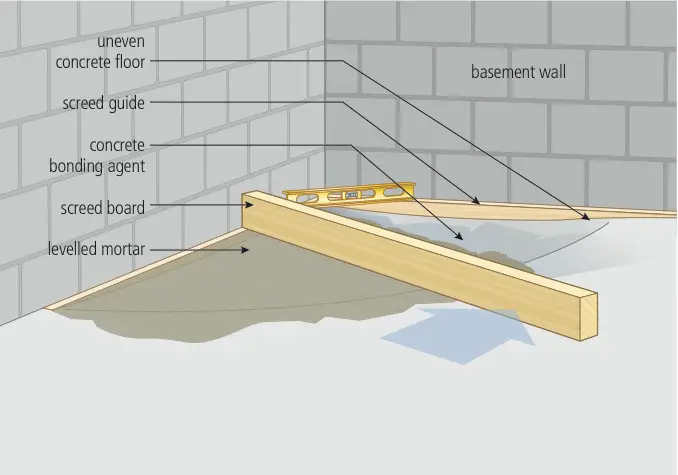
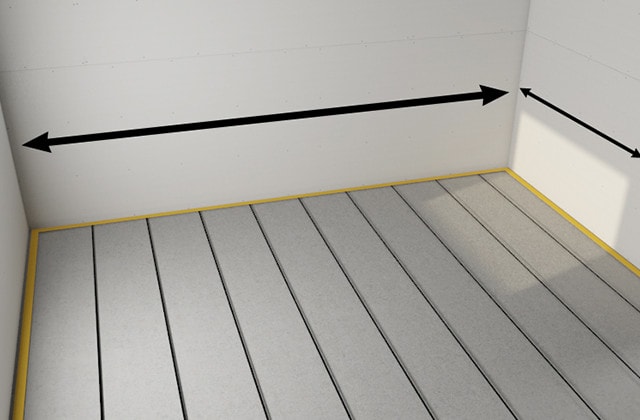
2. Mark High and Low Points:
With a tape measure and chalk line, mark the high and low points on your basement floor. This will help you determine the necessary adjustments required for leveling.
3. Address Moisture Issues:
If your basement has moisture problems, such as dampness or water seepage, it’s vital to address them before proceeding. Installing a vapor barrier or waterproofing system can prevent future damage to your wooden subfloor.
FAQs:
2. Can I install a wooden subfloor directly on a concrete basement floor?
It is not recommended to install wood directly over a concrete basement floor due to the potential for moisture damage. Using a vapor barrier or waterproofing system between the concrete and wood subfloor is crucial.
IV. Installing the Wooden Subfloor:
Now that you’ve prepared the surface adequately, it’s time to install the wooden subfloor. Follow these steps:
1. Measure and Cut Pressure-Treated Lumber:
Measure the length and width of your basement floor and cut pressure-treated lumber pieces accordingly. These will serve as sleepers, providing support for the plywood sheets.
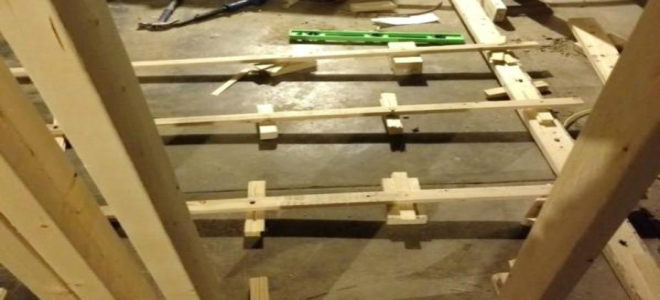
2. Lay the Sleepers:
Place the cut pressure-treated lumber pieces parallel to each other along the length of the basement floor, ensuring they are evenly spaced apart (around 16-24 inches). Use construction adhesive to secure them in place.
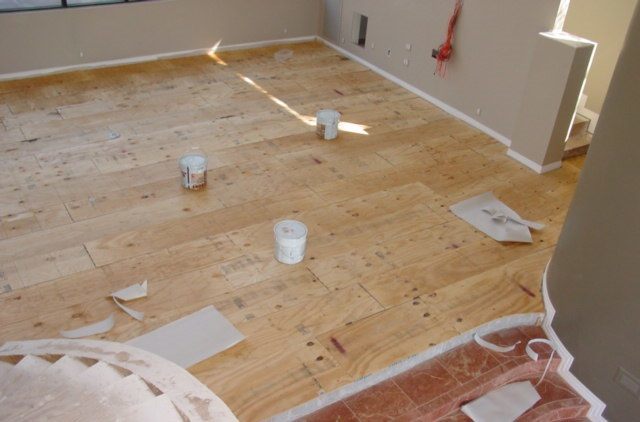
3. Attach Plywood Sheets:
Cut plywood sheets to fit between the sleepers and attach them using construction adhesive and concrete screws. Ensure that each sheet overlaps two or more sleepers for stability.
4. Level and Secure:
Check if the plywood sheets are level using A level. If necessary, use shims to adjust the height and ensure a level surface. Secure the plywood sheets to the sleepers using construction adhesive and concrete screws, ensuring they are firmly in place.
5. Fill Gaps and Cracks:
Inspect the subfloor for any gaps or cracks between the plywood sheets. Fill them with construction adhesive or a suitable filler to ensure a smooth and even surface.
6. Allow for Proper Ventilation:
To prevent moisture buildup, leave a small gap between the subfloor and walls to allow for proper ventilation. This will help mitigate any potential moisture issues in the future.
7. Check for Levelness:
After completing the installation, use a level to check that the entire subfloor is level. Make any necessary adjustments by adding or removing shims as needed.
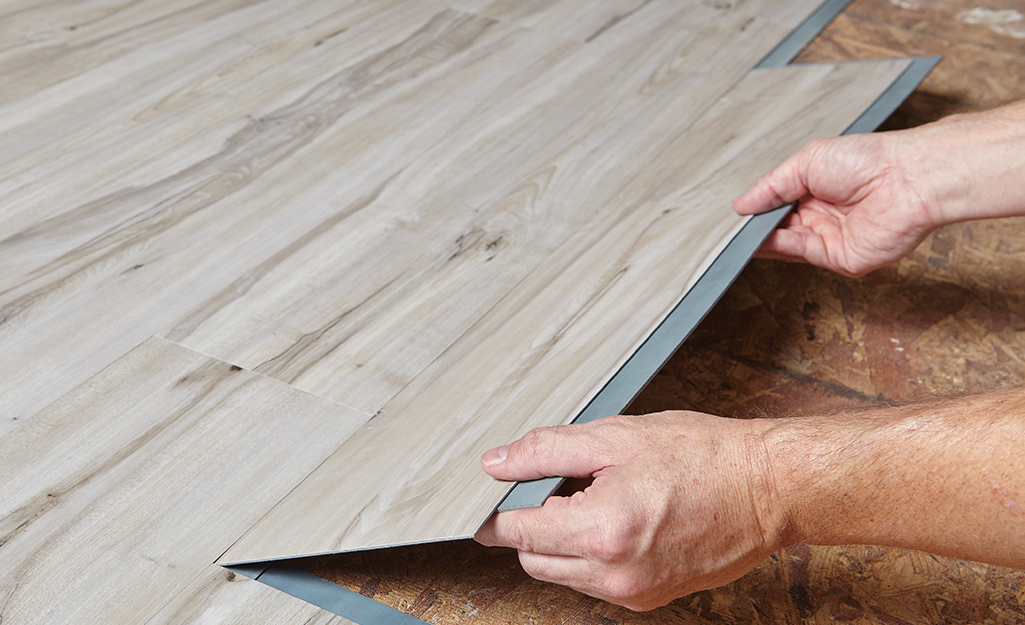
8. Proceed with Flooring Installation:
Once you have confirmed that the wooden subfloor is level and secure, you can proceed with your desired flooring installation method. Follow the manufacturer’s instructions for optimal results.
In order to prevent future damage to your wooden subfloor, it is important to follow proper installation techniques. This includes using a vapor barrier or waterproofing system between the concrete basement floor and the wood subfloor to protect against moisture damage.
Here are the steps to install a wooden subfloor:
1. Measure and cut pressure-treated lumber: Measure the length and width of your basement floor and cut pressure-treated lumber pieces accordingly. These pieces will serve as sleepers, providing support for the plywood sheets.
2. Lay the sleepers: Place the cut pressure-treated lumber pieces parallel to each other along the length of the basement floor, ensuring they are evenly spaced apart (around 16-24 inches). Use construction adhesive to secure them in place.
3. Attach plywood sheets: Cut plywood sheets to fit between the sleepers and attach them using construction adhesive and concrete screws. Make sure that each sheet overlaps two or more sleepers for stability.
4. Level and secure: Check if the plywood sheets are level using a level tool. If necessary, use shims to adjust the height and ensure a level surface. Secure the plywood sheets to the sleepers using construction adhesive and concrete screws, ensuring they are firmly in place.
5. Fill gaps and cracks: Inspect the subfloor for any gaps or cracks between the plywood sheets. Fill them with construction adhesive or a suitable filler to ensure a smooth and even surface.
6. Allow for proper ventilation: Leave a small gap between the subfloor and walls to allow for proper ventilation and prevent moisture buildup.
7. Check for levelness: After completing the installation, use a level tool to check that the entire subfloor is level. Make any necessary adjustments by adding or removing shims as needed.
8. Proceed with flooring installation: Once you have confirmed that the wooden subfloor is level and secure, you can proceed with installing your desired flooring method according to the manufacturer’s instructions. In order to prevent future damage to your wooden subfloor, it is important to follow proper installation techniques. This includes using a vapor barrier or waterproofing system between the concrete basement floor and the wood subfloor to protect against moisture damage.
Here are the steps to install a wooden subfloor:
1. Measure and cut pressure-treated lumber: Measure the length and width of your basement floor and cut pressure-treated lumber pieces accordingly. These pieces will serve as sleepers, providing support for the plywood sheets.
2. Lay the sleepers: Place the cut pressure-treated lumber pieces parallel to each other along the length of the basement floor, ensuring they are evenly spaced apart (around 16-24 inches). Use construction adhesive to secure them in place.
3. Attach plywood sheets: Cut plywood sheets to fit between the sleepers and attach them using construction adhesive and concrete screws. Make sure that each sheet overlaps two or more sleepers for stability.
4. Level and secure: Check if the plywood sheets are level using a level tool. If necessary, use shims to adjust the height and ensure a level surface. Secure the plywood sheets to the sleepers using construction adhesive and concrete screws, ensuring they are firmly in place.
5. Fill gaps and cracks: Inspect the subfloor for any gaps or cracks between the plywood sheets. Fill them with construction adhesive or a suitable filler to ensure a smooth and even surface.
6. Allow for proper ventilation: Leave a small gap between the subfloor and walls to allow for proper ventilation and prevent moisture buildup.
7. Check for levelness: After completing the installation, use a level tool to check that the entire subfloor is level. Make any necessary adjustments by adding or removing shims as needed.
8. Proceed with flooring installation: Once you have confirmed that the wooden subfloor is level and secure, you can proceed with installing your desired flooring method according to the manufacturer’s instructions.