A tiny piece of grain trapped in between the flooring as well as the subfloor will certainly take a toll on your vinyl flooring's material and will eventually use down, rip off and tear down. Ask the friends of yours as well as other connections for suggestions on which local store to go to purchase discounted vinyl flooring. The second level is a printed level of vinyl that adheres to the base level.
Images Related to Installing Vinyl Flooring In RV
Installing Vinyl Flooring In RV
A floors created out of luxury vinyl becomes a true centrepiece, including a touch of luxury and class to any room, and must be viewed as a worthy investment. This material is much more durable compared to the cheaper peel as well as stick variety, and it is going to allow the floors of yours to look gorgeous for many years to come. Vinyl floor covers are usually not as costly as other flooring types – this is biggest advantage of employing vinyl covers.
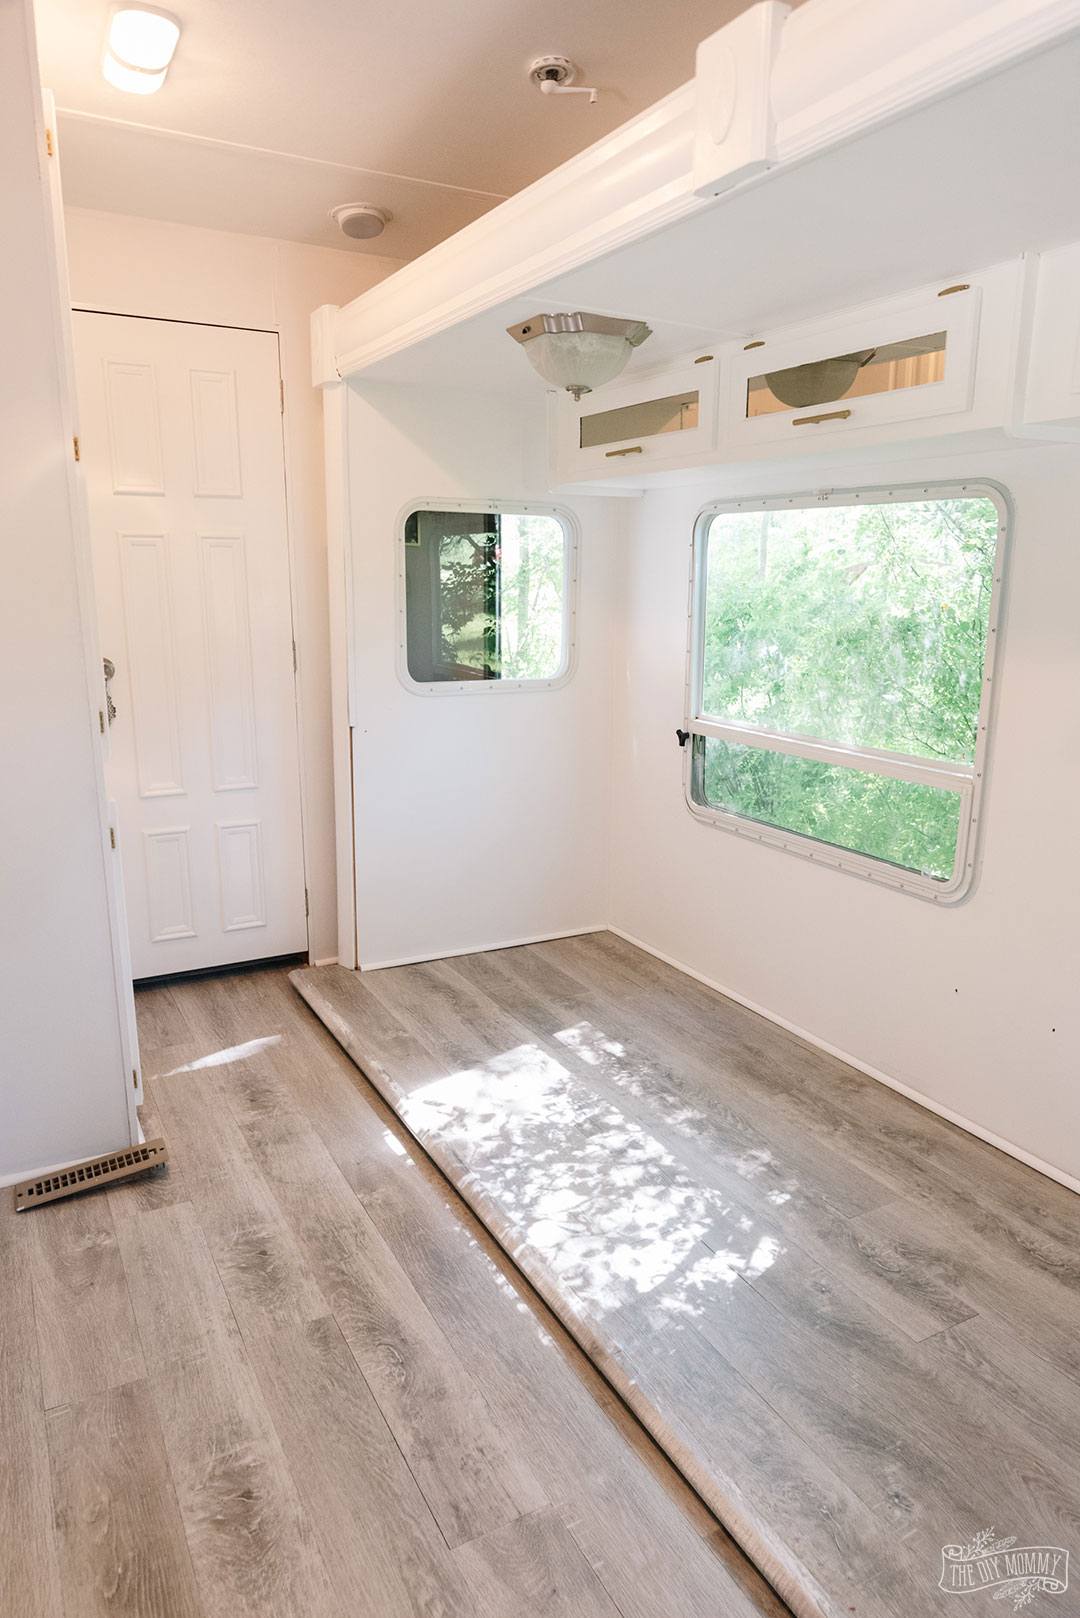
The Cameo Camper Renovation: Why + How We Installed Vinyl Plank
Tiles as well as Solid Pieces Vinyl sheet will do well in any area in the home of yours. Stay away from using an overly soaked mop, particularly with the vinyl tiles. This's because in spite of the rich luxurious look of its, the price really is inexpensive. Before you opt to pick a vinyl floors it's essential to balance the pro's and also con's of vinyl floors. Unlike a couple of years ago, vinyl flooring wore easily.
Reasons to Install Vinyl Plank Flooring in your Trailer or RV
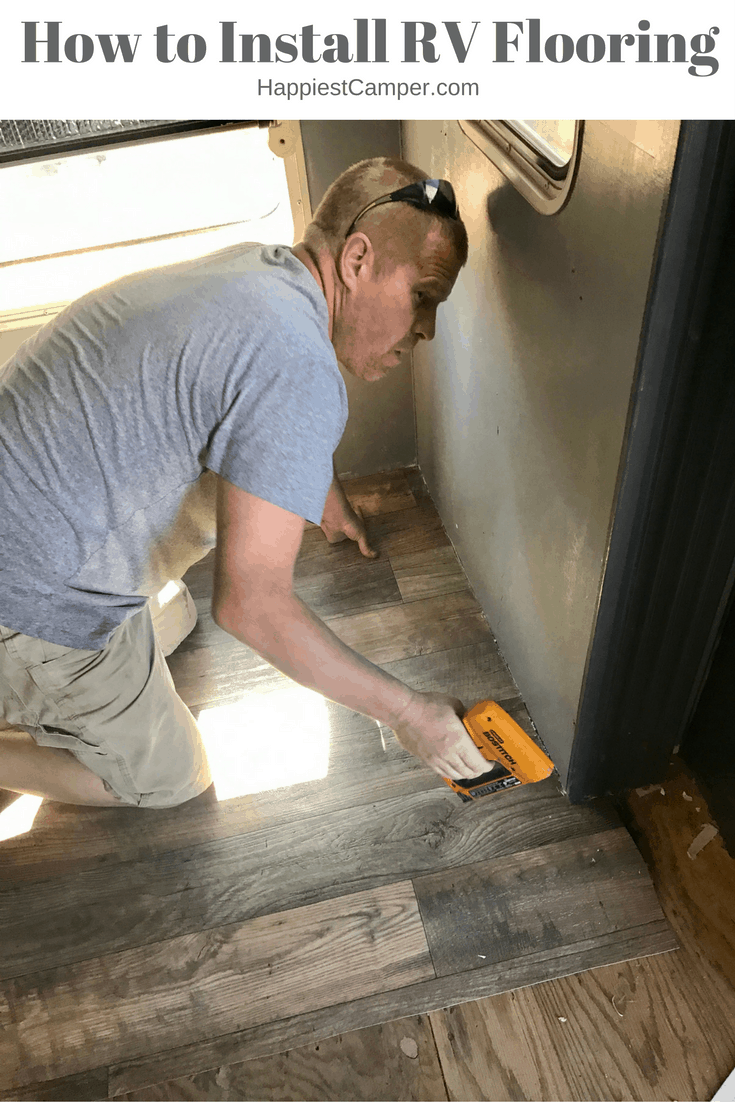
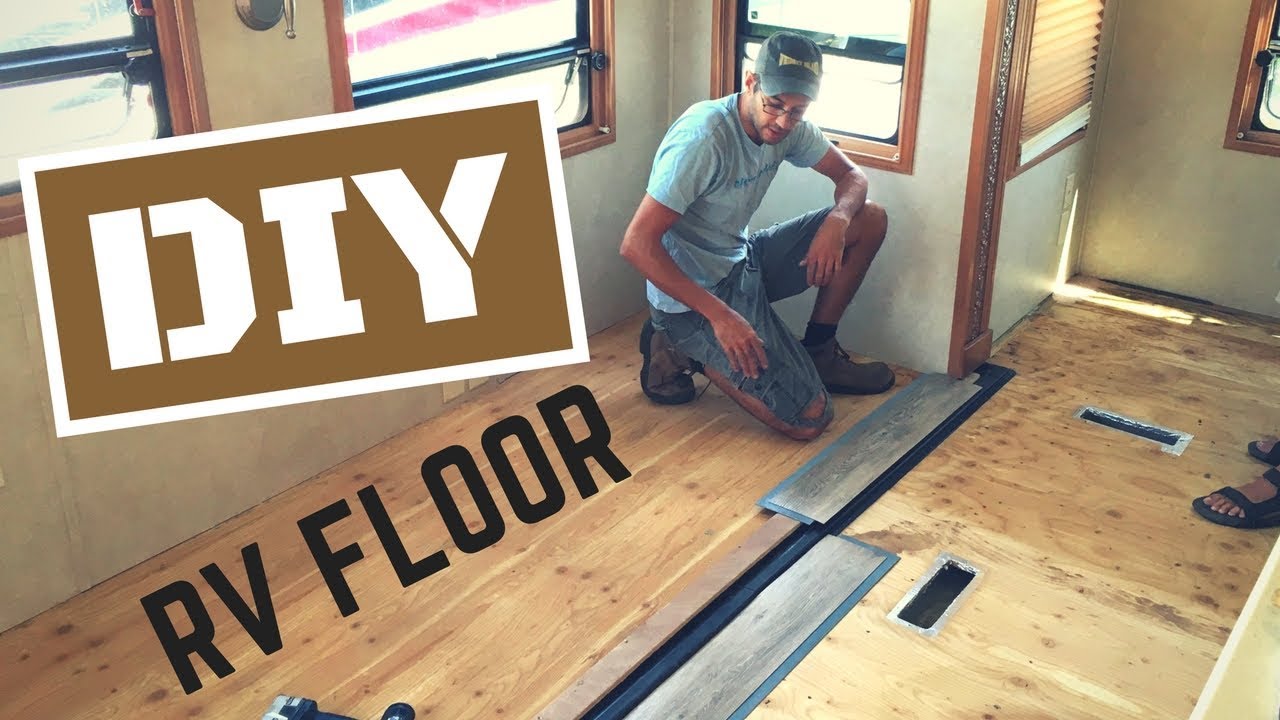
RV Flooring: How to Install Step by Step
DIY RV Renovation Installing Vinyl Plank Flooring Our DIY Camper 2 The DIY Mommy

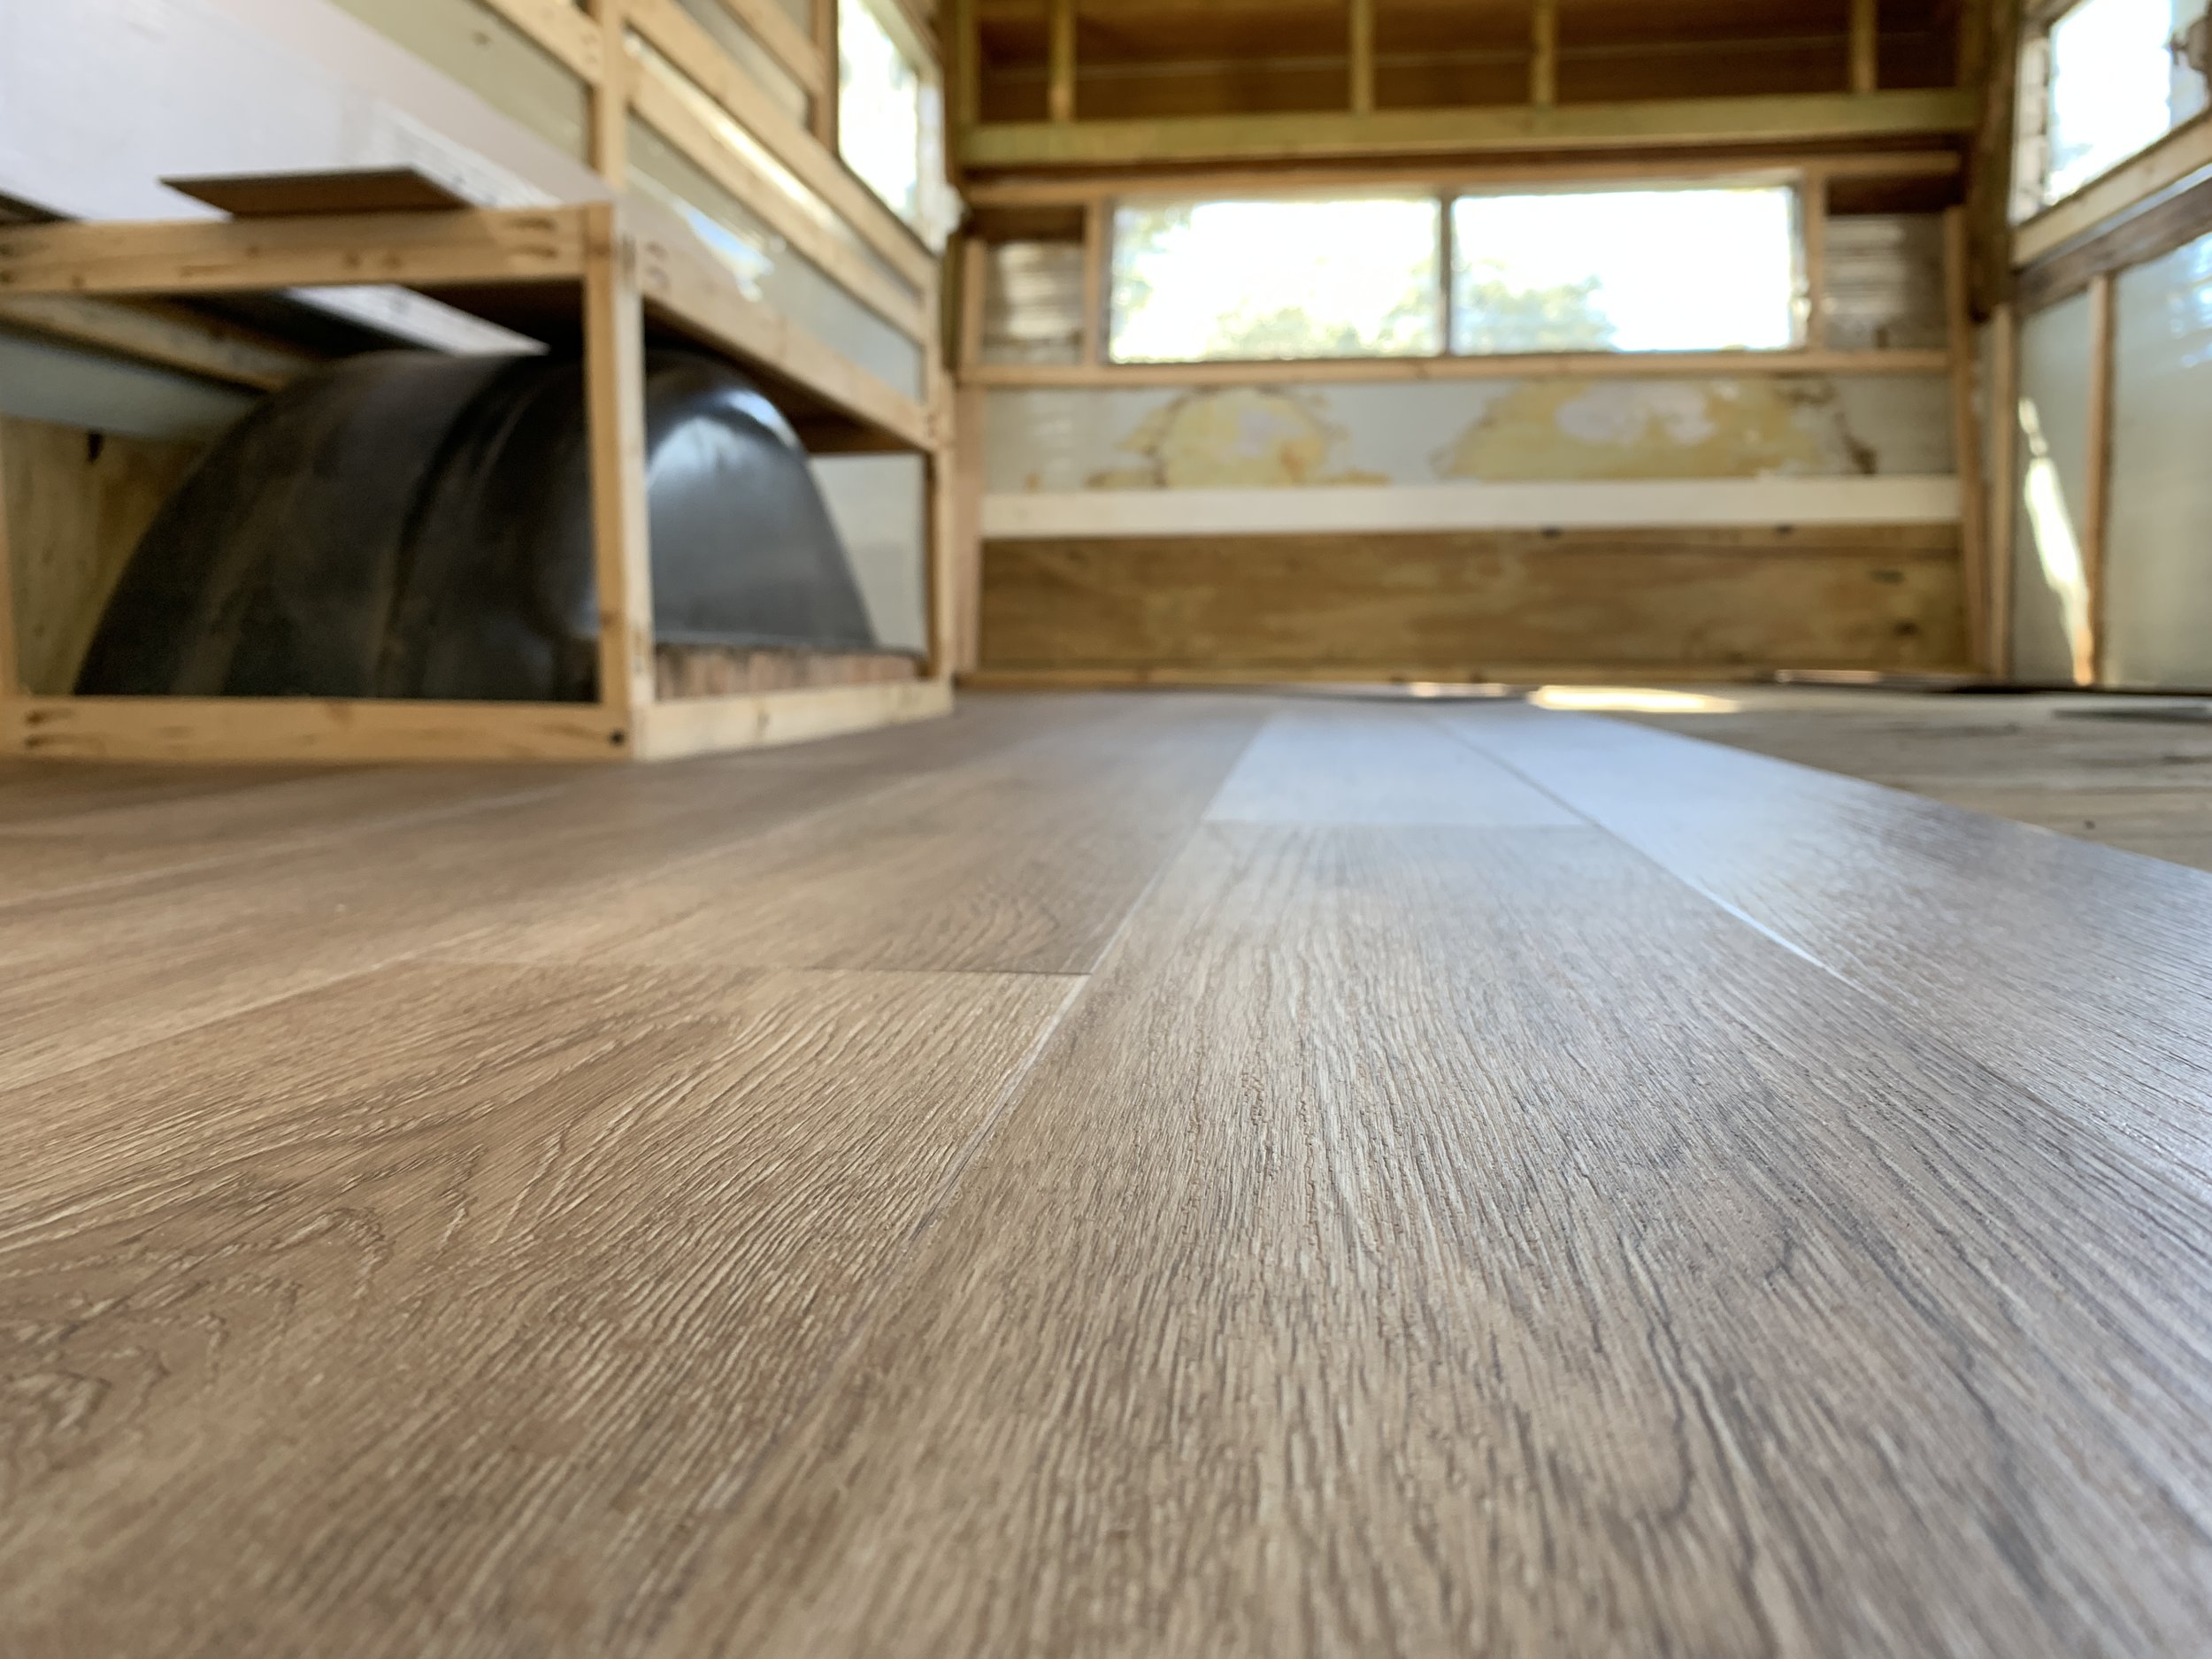
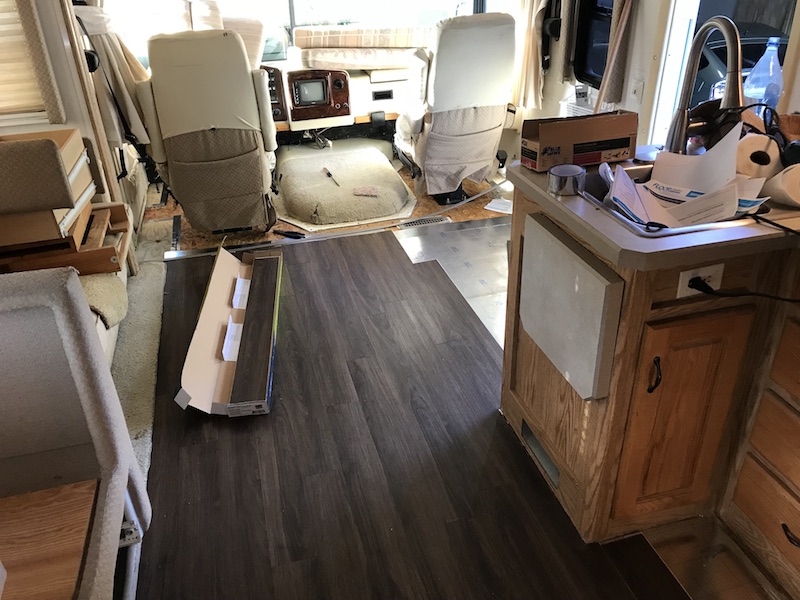
DIY RV Reflooring with a Flush Slide-Out
Reasons to Install Vinyl Plank Flooring in your Trailer or RV
How to Install Vinyl Flooring in a Camper Van » VanConverts.com

The Cameo Camper Renovation: Why + How We Installed Vinyl Plank
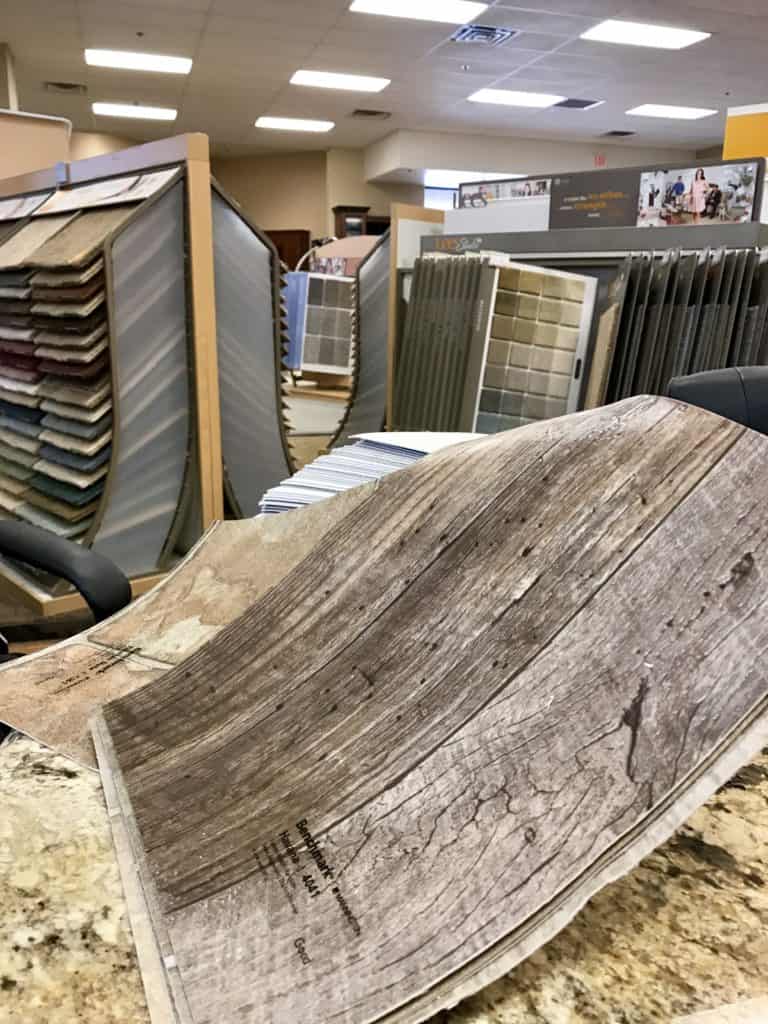
How to Install Vinyl Flooring · Chatfield Court
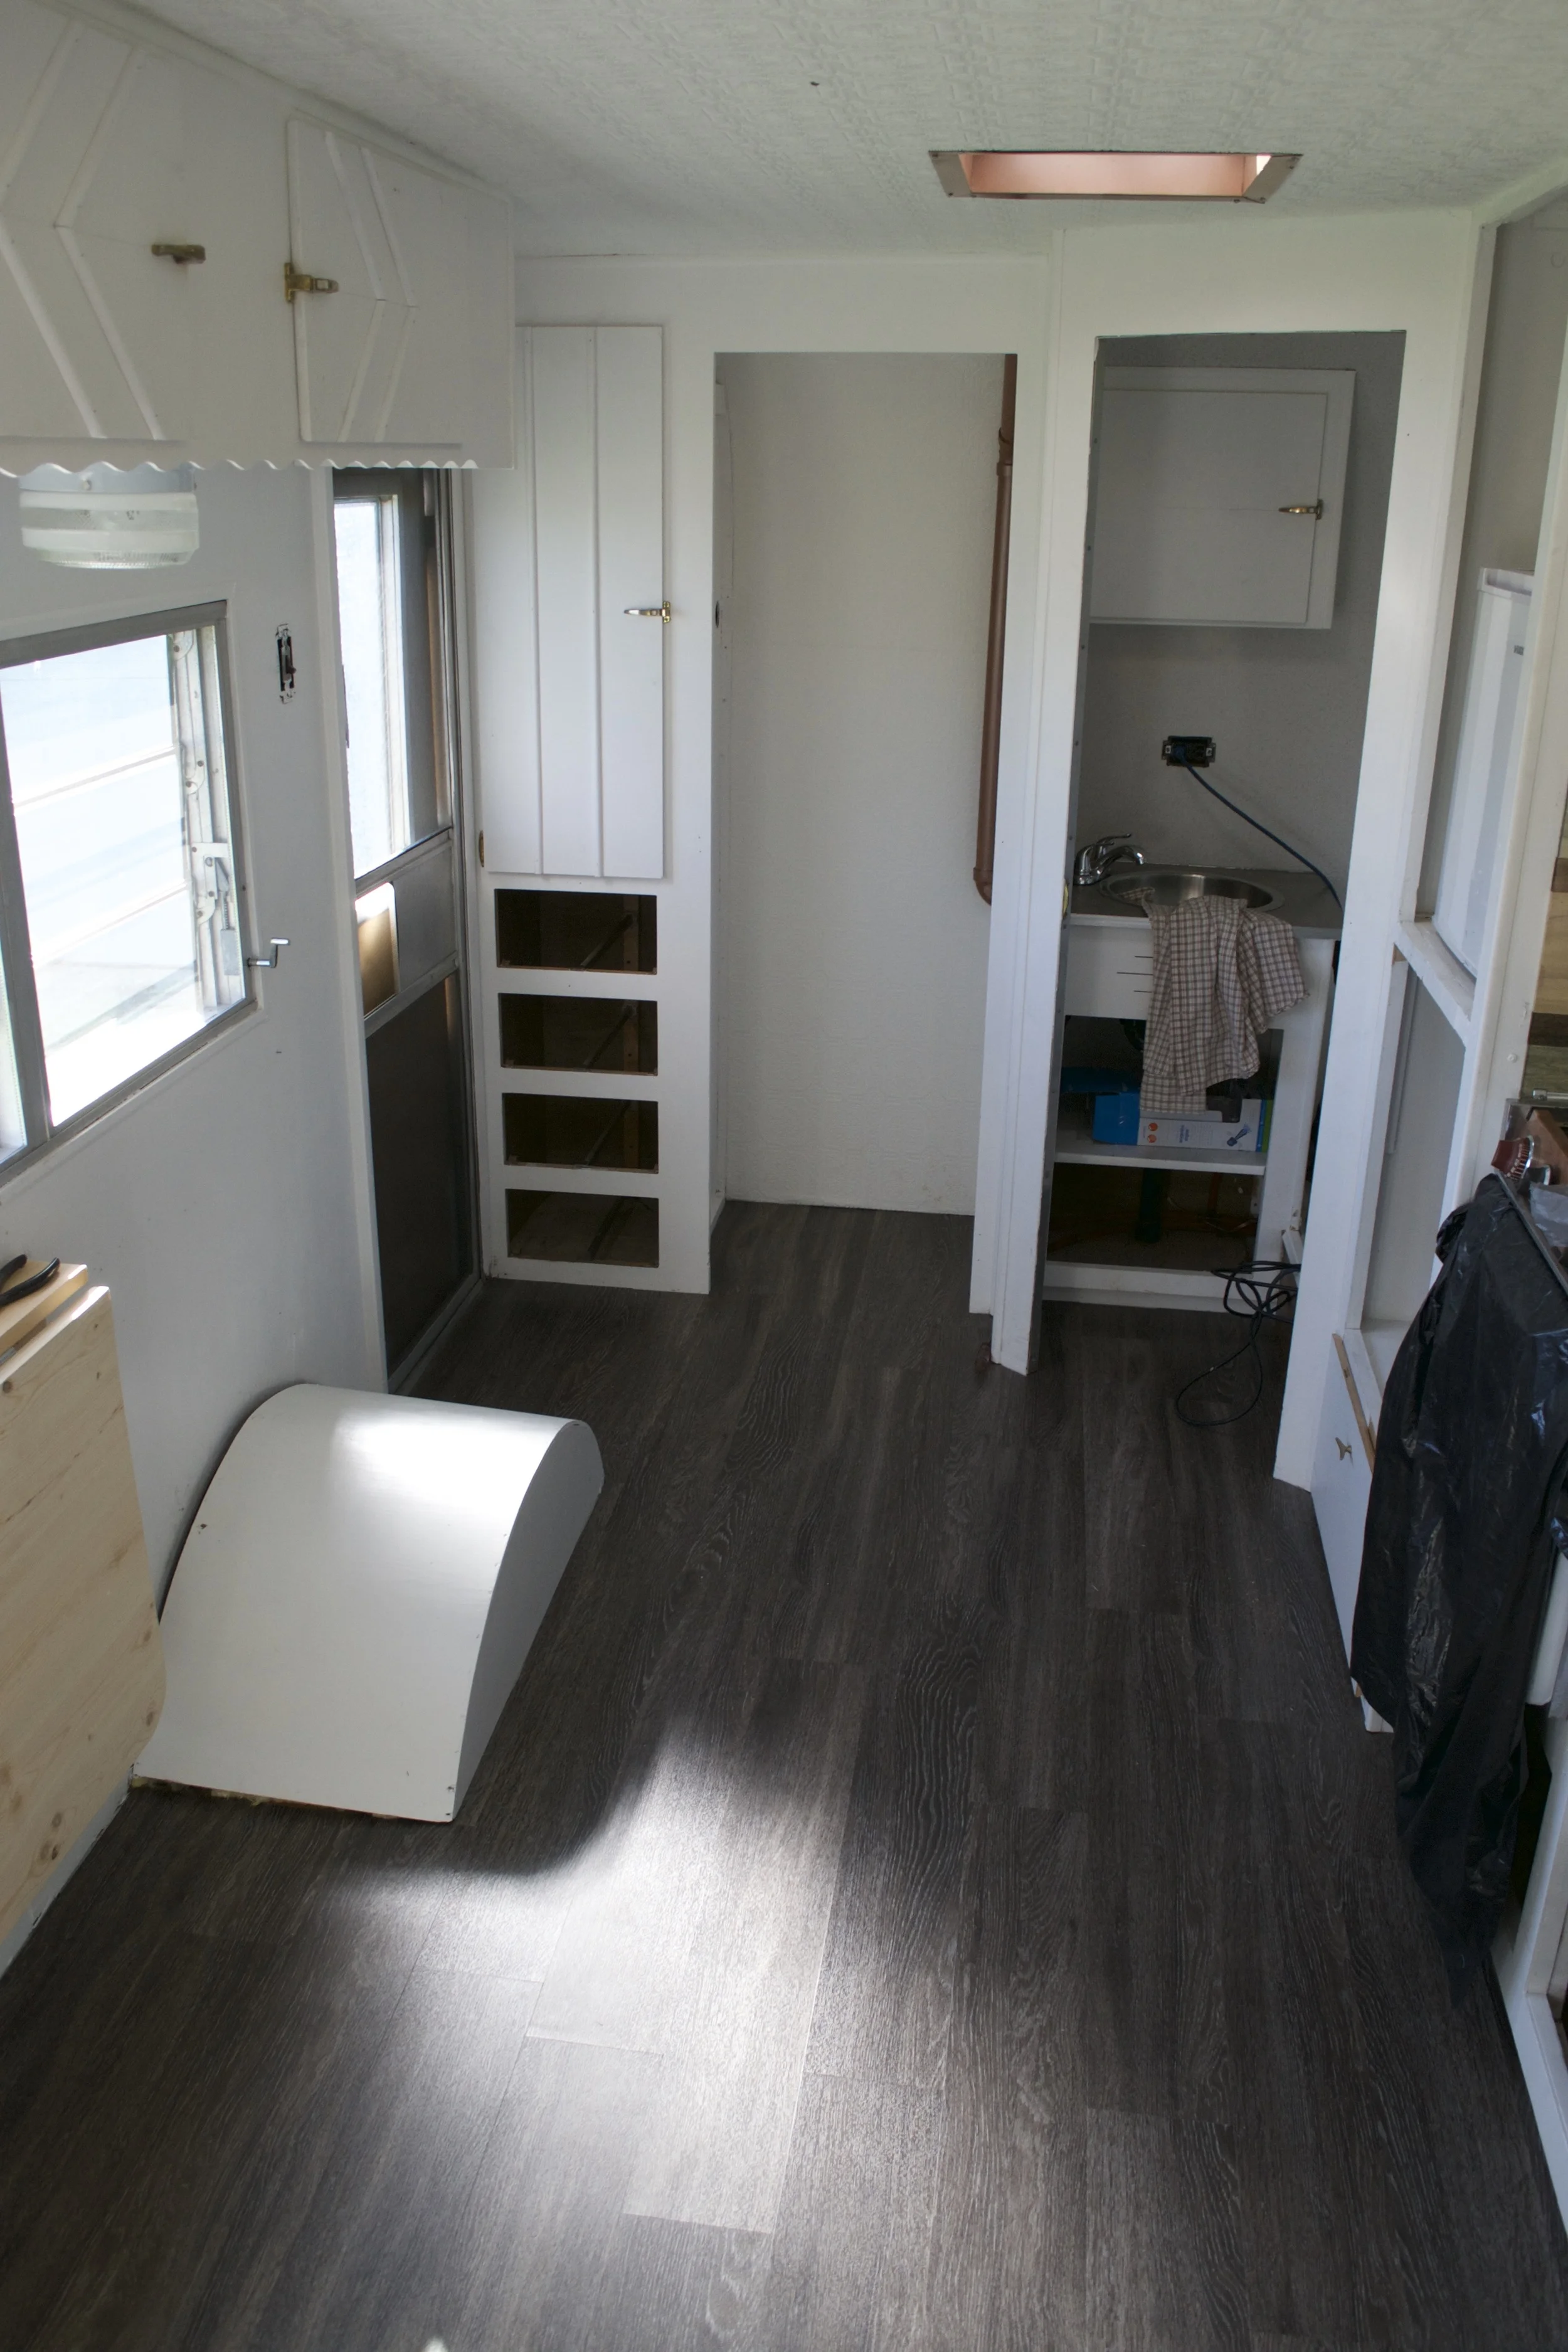
Reflooring The RV: Installing Luxury Vinyl Planks – HappilyRV
Installing Luxury Vinyl Flooring in an RV

RV Flooring: How to Install Step by Step
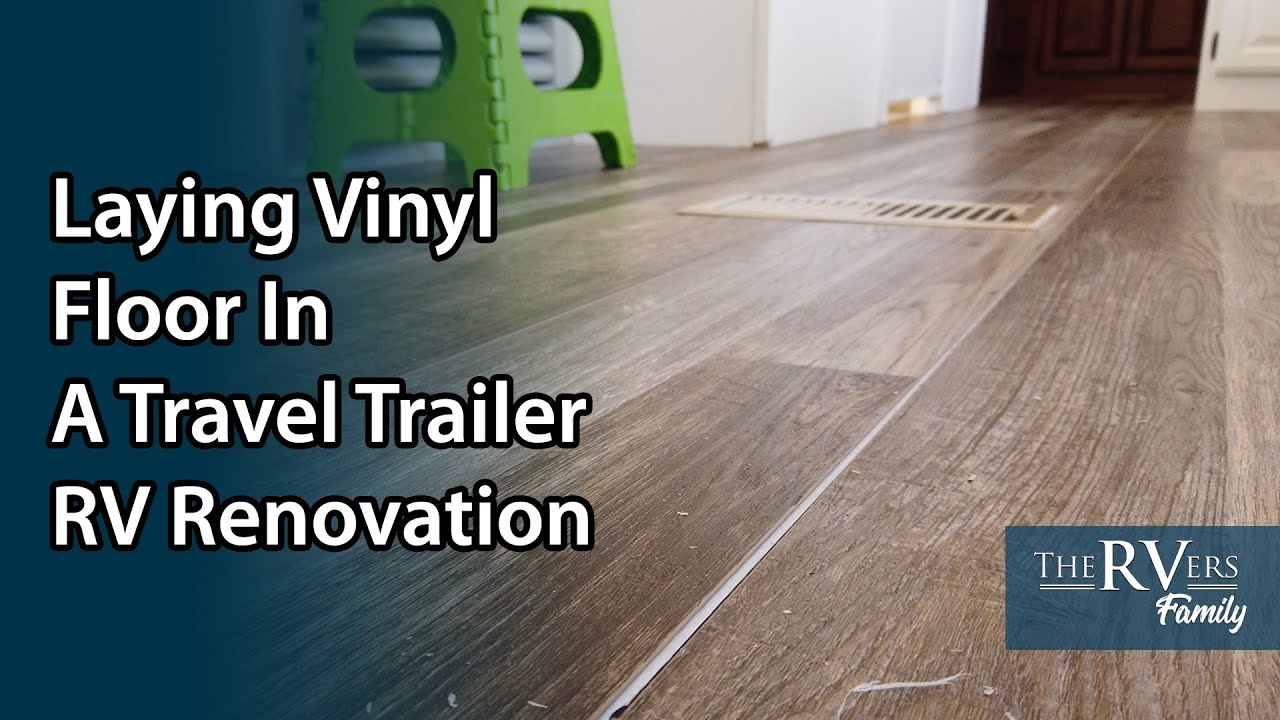
Laying Vinyl Plank Floor for our Travel Trailer Renovation u0026 Remodel!
Related articles:
- Vinyl Flooring Bathroom Tile
- Modern Vinyl Flooring
- Funky Vinyl Flooring
- Vinyl Flooring For Kitchen
- Vintage Look Vinyl Flooring
- Kitchen Vinyl Floor Tiles Ideas
- Vinyl Flooring With Wood Look
- Waterproof Vinyl Flooring
- Vinyl Flooring For Cheap
- How To Remove Vinyl Flooring
Are you looking for a cost-effective and durable flooring solution for your RV? Vinyl flooring could be the perfect solution for you. Not only is it extremely affordable, but it also provides a great look and feel, as well as being water-resistant and easy to maintain. Installing vinyl flooring in your RV can be a daunting task, but with a few simple steps, you can have beautiful new floors in no time. Whether you’re a DIYer or a professional installer, this guide will help you install vinyl flooring in your RV with ease.
What You’ll Need:
Before you begin the installation process, make sure you have all the necessary supplies and tools. You’ll need a measuring tape, chalk line, utility knife, adhesive, grout, sponge, trowel, and of course the vinyl flooring material. Additionally, if you’re installing sheet vinyl flooring, you’ll need a vinyl seam sealer.
Preparing the Surface:
Before installing vinyl flooring in your RV, it’s important to make sure that the surface is properly prepared. Start by removing any old flooring in your RV. If there are any nails or staples present, remove them with a hammer or screwdriver. Next, use a vacuum cleaner to remove all dirt and debris from the surface. Once the floor is clean and clear of debris and nails/staples, you can move on to the next step.
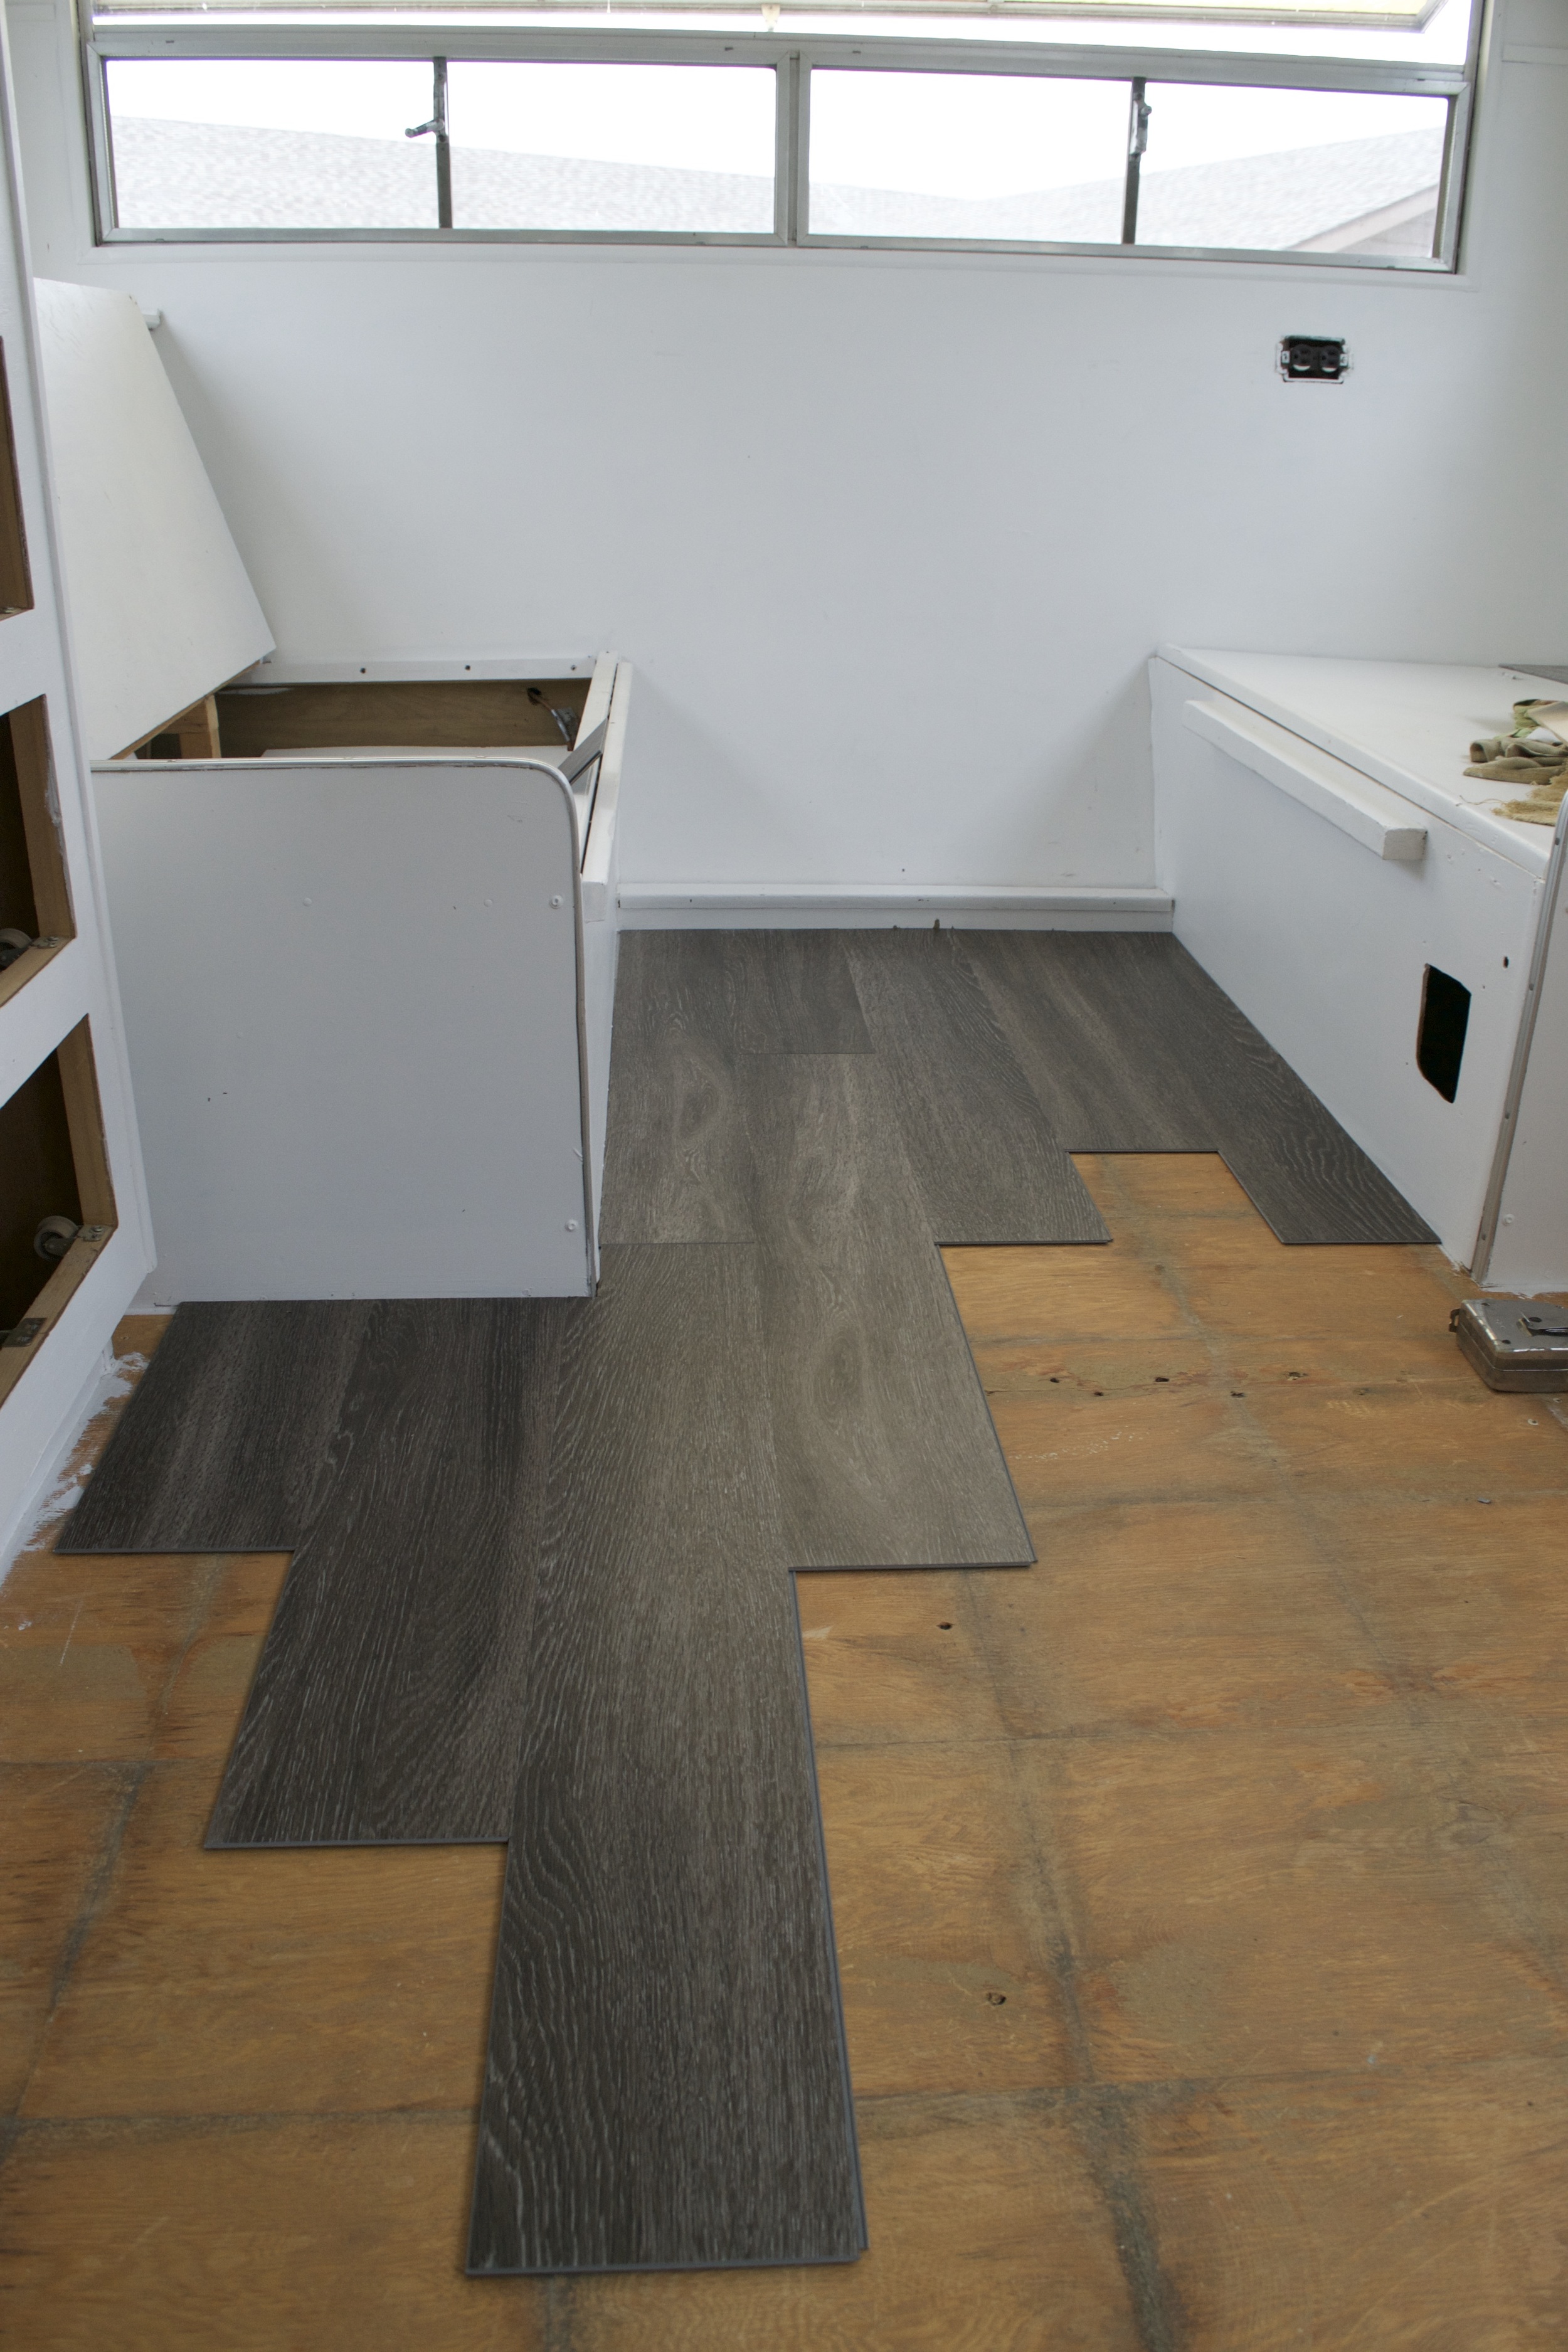
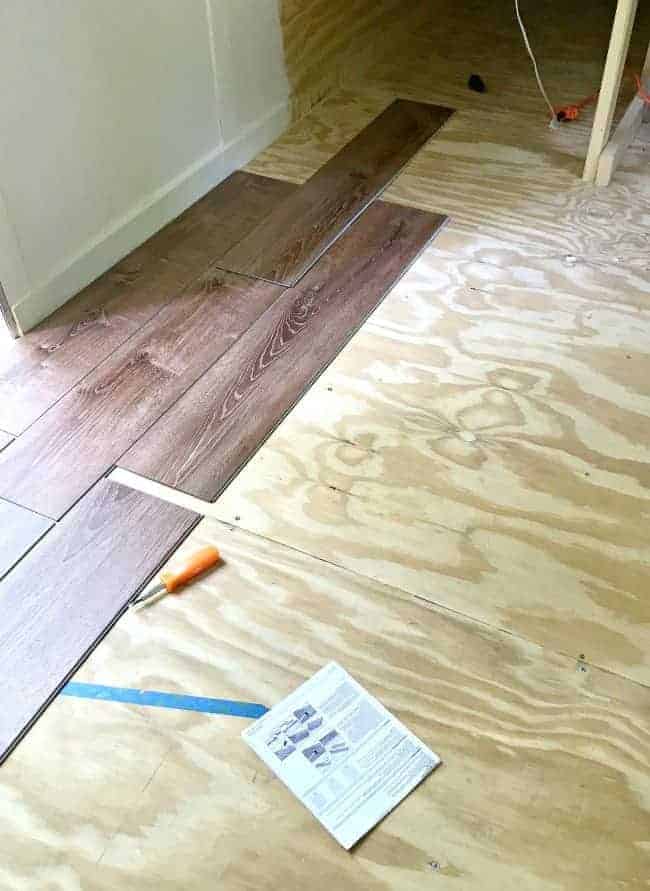
Measuring and Cutting:
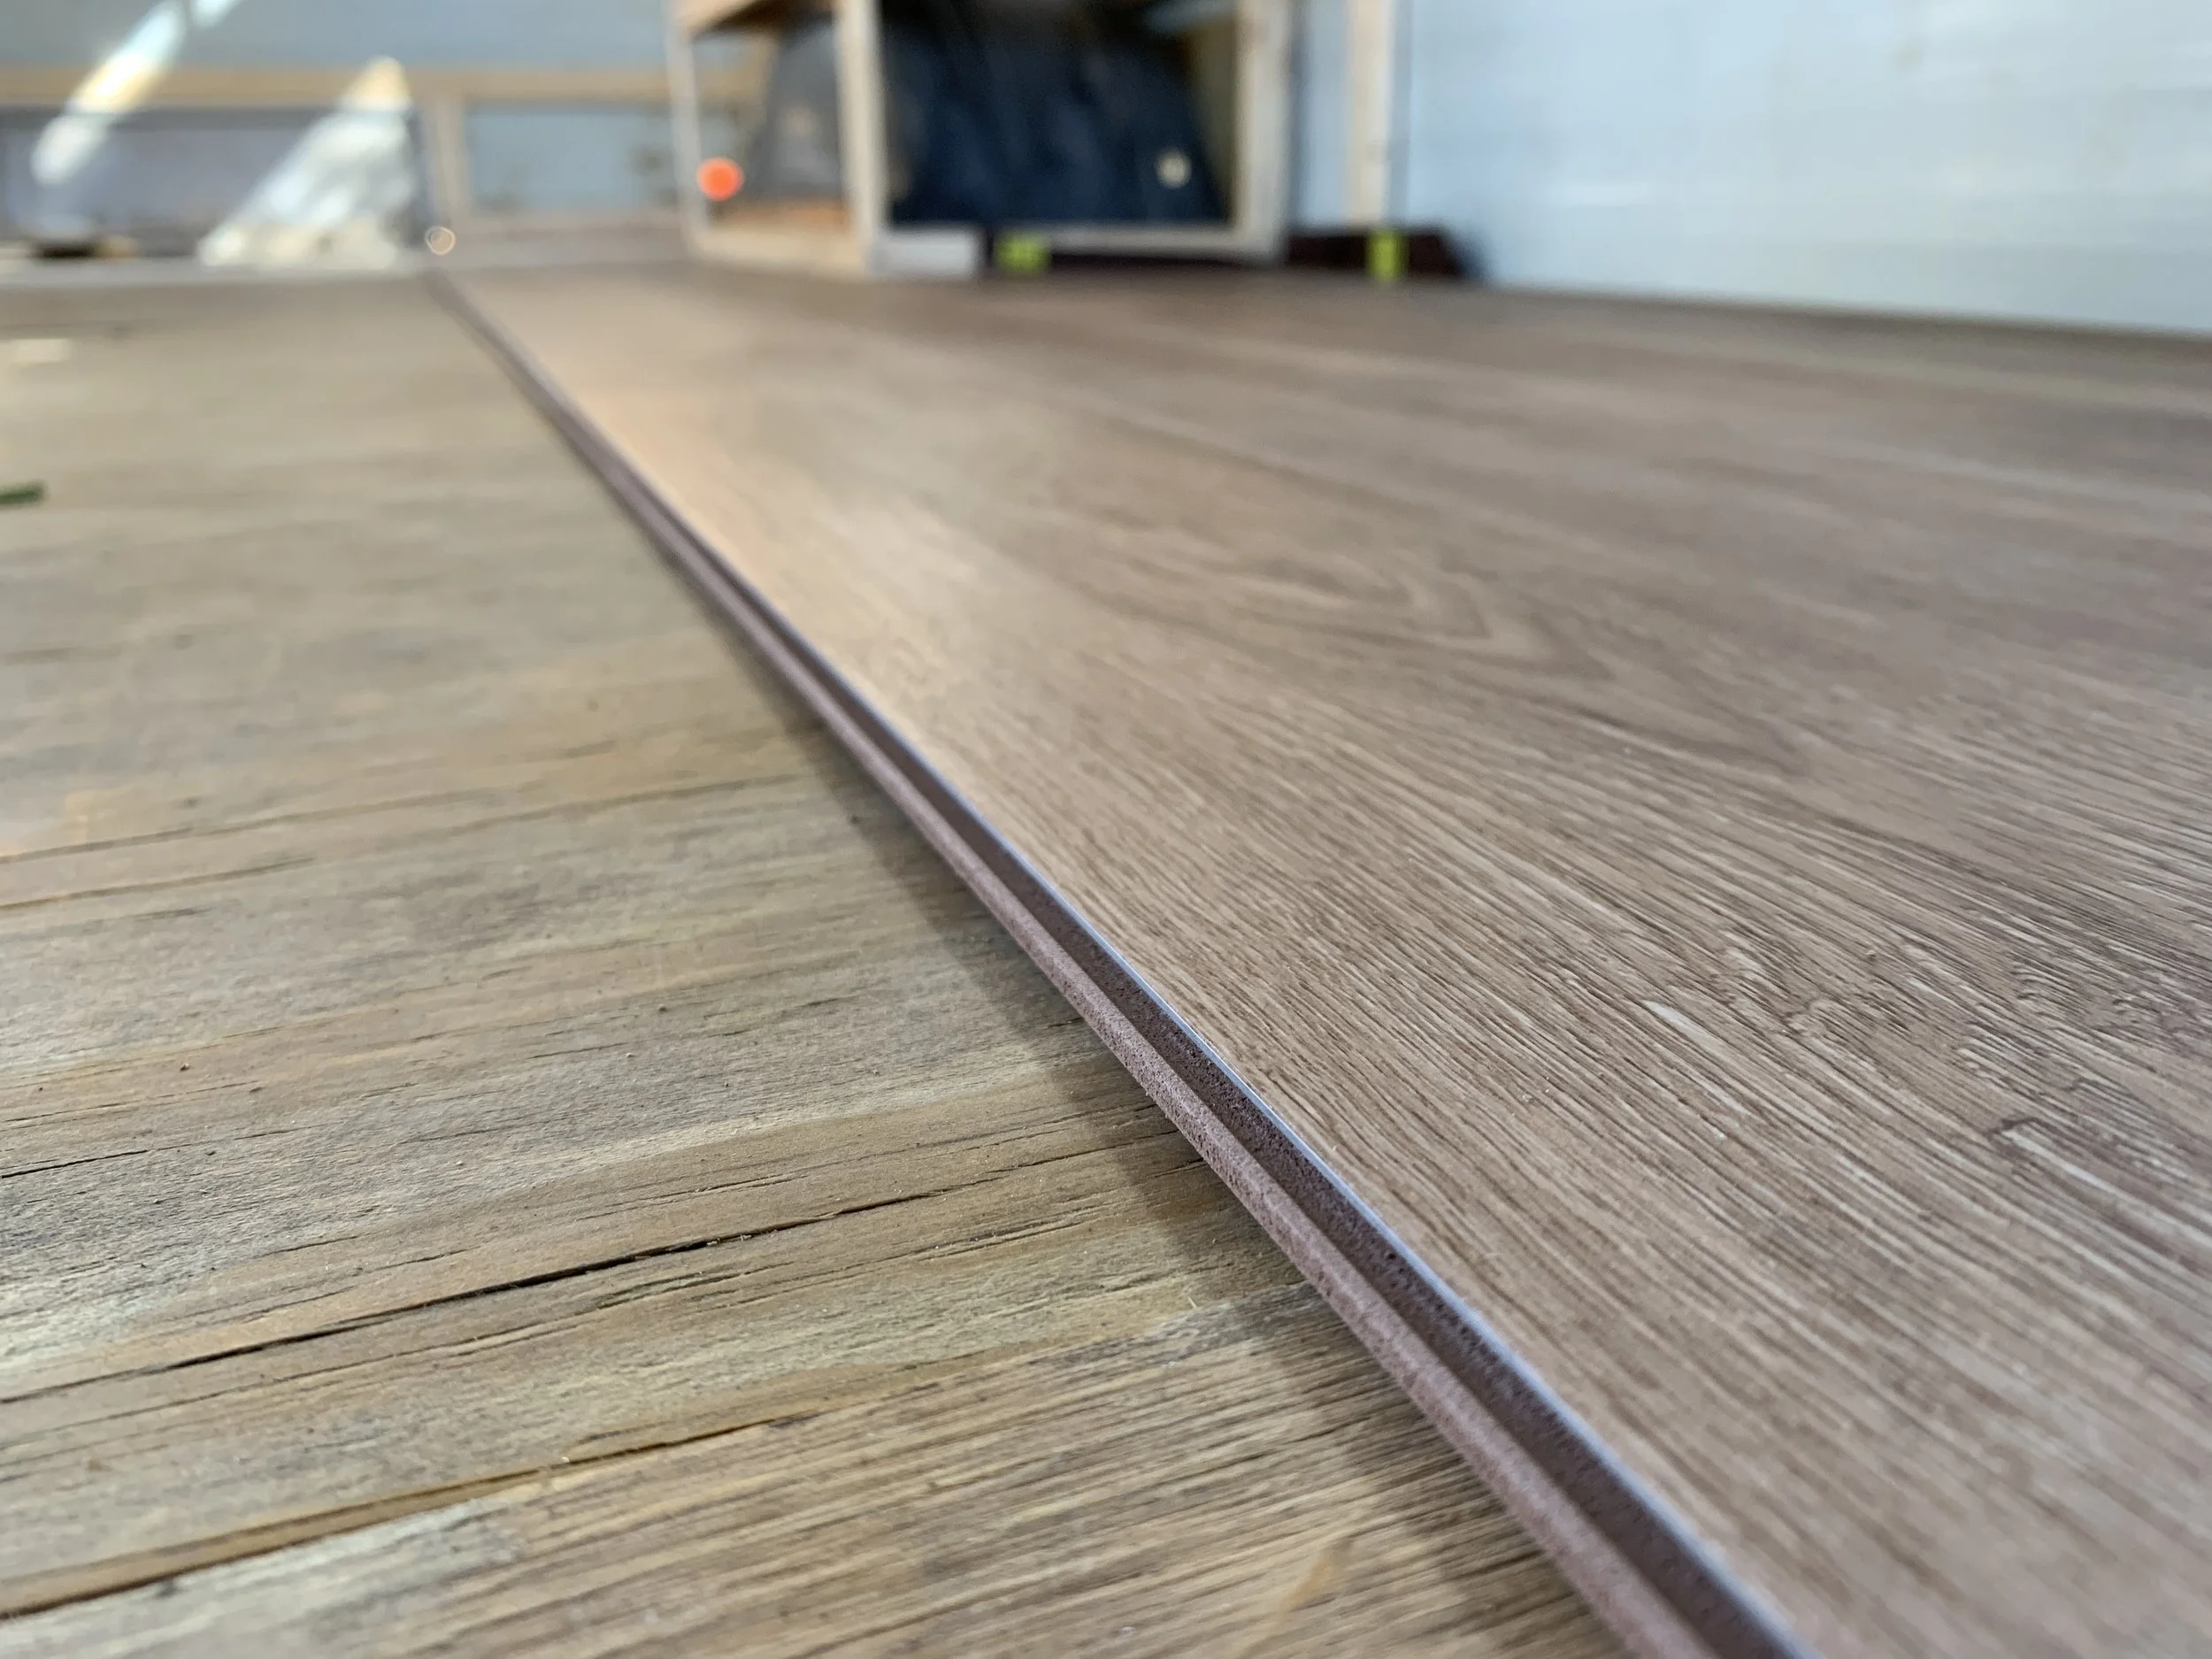
Once the surface is prepared, it’s time to measure and cut the vinyl flooring material. Measure the area where you’re going to install the flooring and mark off the measurements with a chalk line. Use a utility knife to cut the vinyl according to your measurements. Make sure you have enough material to cover the entire area with at least an inch of extra around all edges.
Applying Adhesive:
Now that you have all your pieces cut to size, it’s time to apply adhesive to the back of each piece. Start at one corner of the room and work your way out towards the other side. Make sure you spread an even layer of adhesive over each piece before installing it onto the surface. Once all pieces are glued down, allow 24 hours for the adhesive to dry completely before continuing with the installation process.
Installing Grout:
Once your adhesive has dried completely, it’s time to install grout between each piece of vinyl flooring. This will help provide a secure and long-lasting bond between each piece of vinyl flooring material. To apply grout correctly, start by moistening a sponge with warm water and wringing out any excess liquid. Then use a trowel to spread grout over each seam between pieces of vinyl flooring material. Allow 24 hours for grout to dry completely before moving on to the next step.
Applying Seam Sealer (For Sheet Vinyl):
If you’re installing sheet vinyl flooring in your RV, then it’s important that you apply a vinyl seam sealer after installing grout. This will help prevent moisture from seeping through any seams between pieces of sheet vinyl. To apply seam sealer correctly, start by using a foam brush to spread an even layer of sealer over each seam between pieces of sheet vinyl flooring material. Allow 24 hours for sealer to dry completely before moving on to the next step.
Finishing Touches:
The final step in installing vinyl flooring in your RV is adding any finishing touches such as baseboards or trim pieces around the edges of your new floors. This is not necessary but can help give your floors an added level of protection and aesthetic appeal. Once finished, sit back and enjoy your brand new floors!
Frequently Asked Questions:
Q: How long does it take to install vinyl flooring in an RV?
A: It typically takes anywhere from 2-4 days depending on how much prep work needs to be done prior to beginning installation. This includes cleaning and preparing the surface as well as measuring and cutting pieces of vinyl material before installation begins.
Q: What type of