Even though you may not be the one to install it yourself, one should always make sure to decide on those floorings which are not difficult to put in therefore the interior designer installing them doesn't spend considerable time in the home of yours and simultaneously avoid any changes which might need to be accomplished on the specific flooring. Nothing come close to laminate flooring.
Images Related to Trafficmaster Glueless Laminate Flooring Installation Video
Trafficmaster Glueless Laminate Flooring Installation Video

Laminate flooring was simple to private label you simply changed the packaging or the insert and then that produced another line or brand of flooring. As soon as you enter your house, make it a practice to remove your shoes. You can in addition go to my3cents.com to check if there's a lot of major complaints together with the products you're considering. For an alternative, try using a special block. The final backer layer provides extra support and stability.
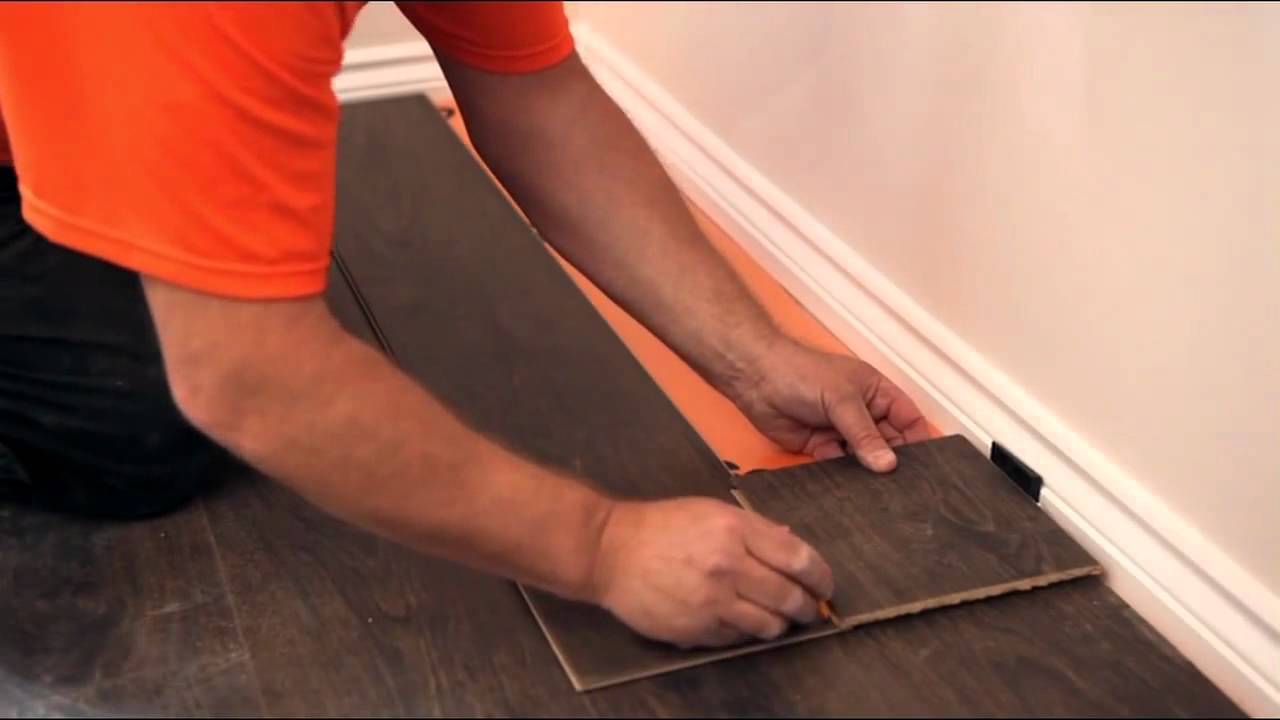
TrafficMaster Laminate Flooring Install Tip

It is regarded as a really good choice for the not-so-durable carpets and too expensive all-natural floors materials, including wood floors restoration, because it's easy to install, not very heavy on the pocket and durable as well. You can in addition be assured that they're of superior quality. Basic cleaning solutions may additionally be applied to remove the paint stains or maybe different markings within the floor.
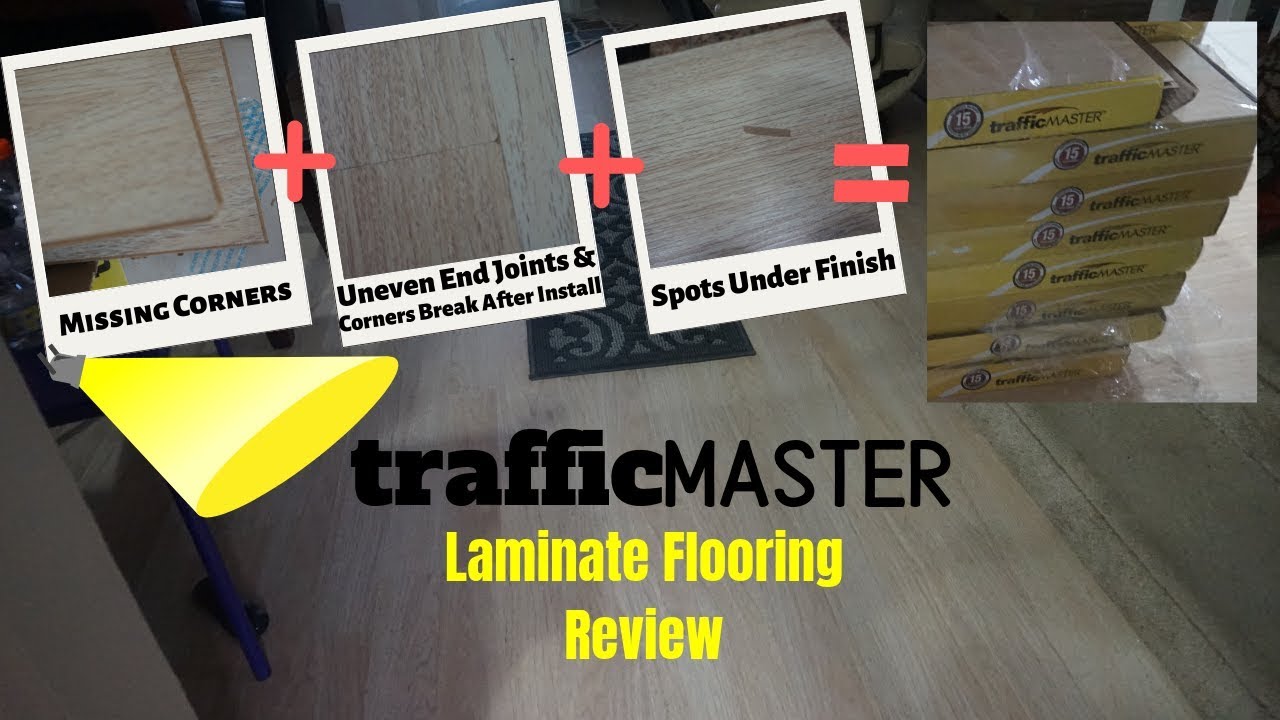
TrafficMASTER Laminate Flooring Review – Home Depot Laminate Flooring – Trafficmaster Complaints !!!
How to Lay a Laminate Floor
TrafficMASTER Floor Installation. Budget Friendly Home Remodeling

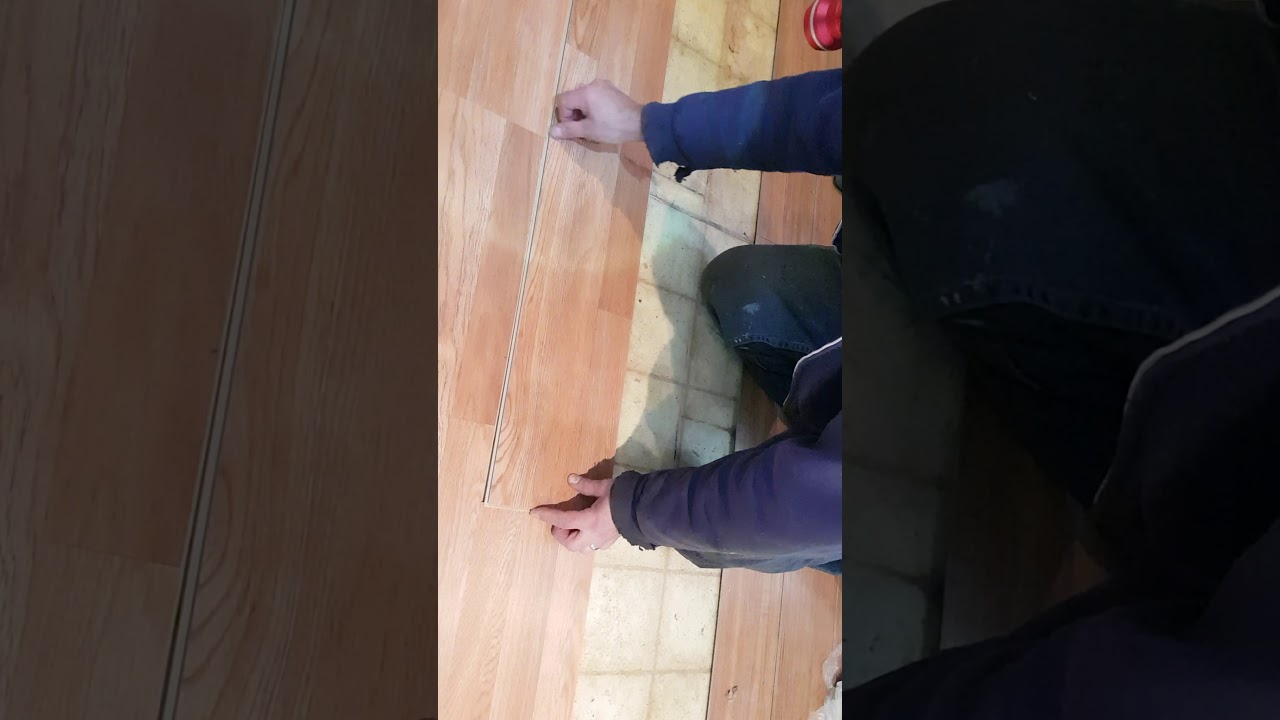
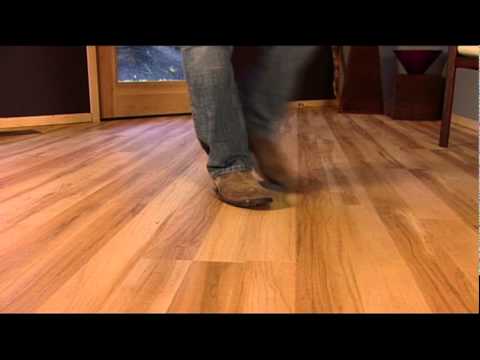
TrafficMaster Gladstone Oak laminate flooring installation
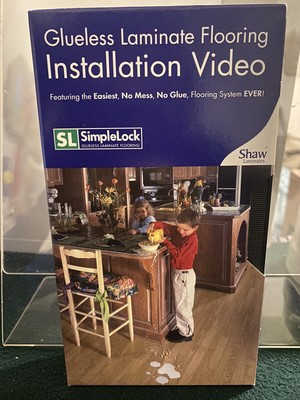
Simple Lock Glueless Laminate Flooring Installation Video DIY VHS Vintage 42369300452 eBay
Allure by Traffic Master flooring install
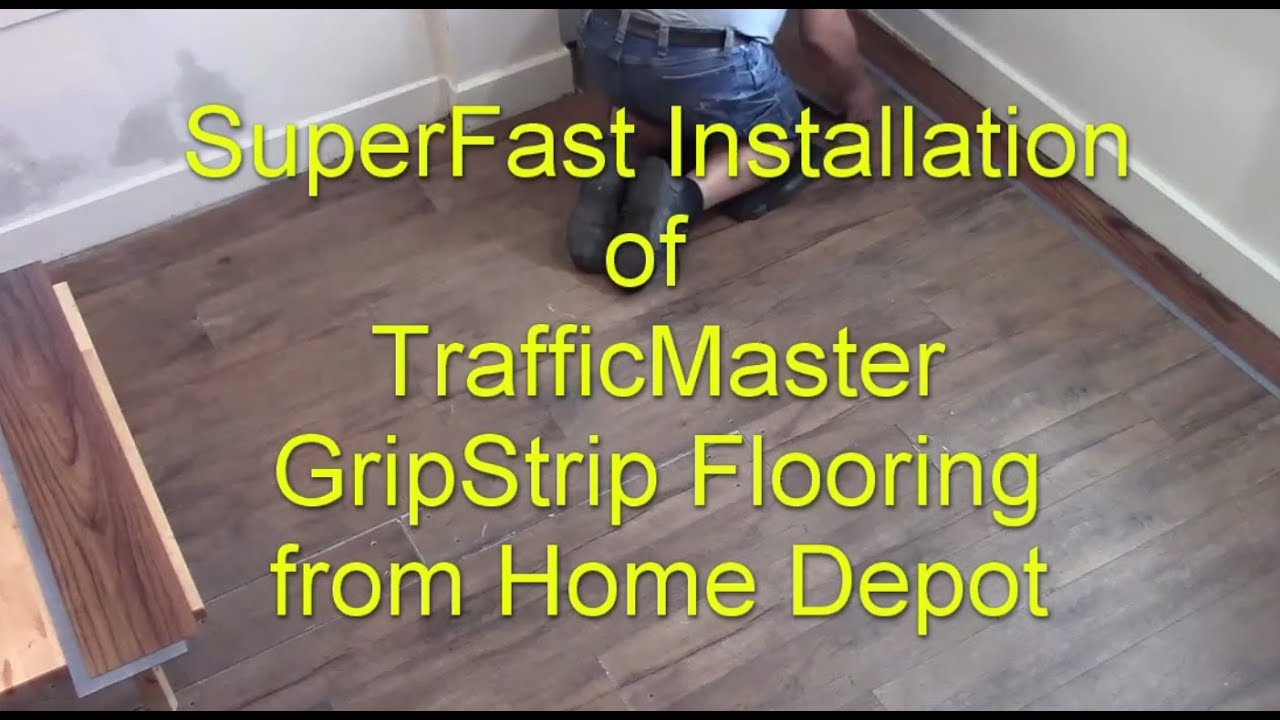
TrafficMaster GripStrip FAST Installation
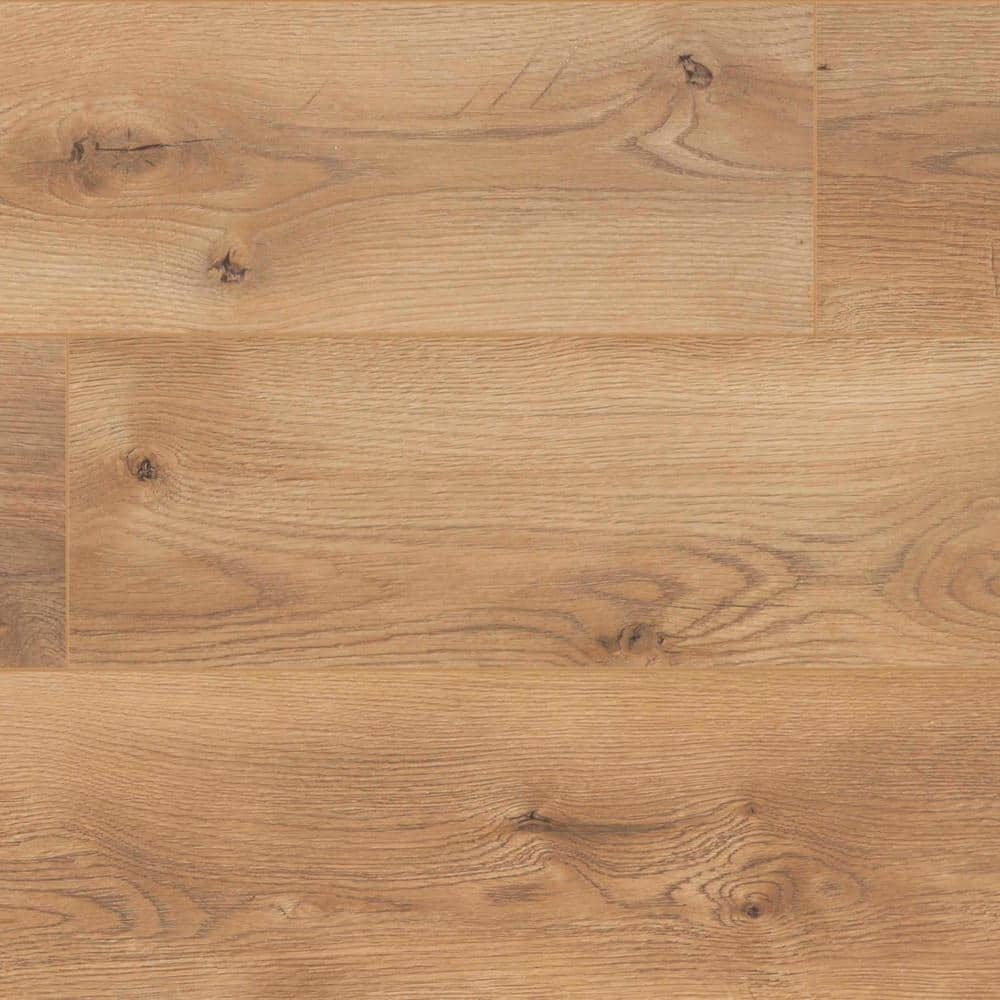
Traffic Master Baytown Oak 7mm Thick x 7-11/16 in. Wide x 50-5/8

TrafficMaster High Gloss Perry Hickory 8mm T x 4.92 in. W x 47.80

TrafficMaster Cameron Oak 7 mm Thick x 7-2/3 in. Wide x 50-5/8 in. Length Laminate Flooring (24.17 sq. ft. / case) 45106
TrafficMaster Allure Ultra Resilient Flooring Installation – Review
TrafficMASTER Farmstead Hickory 12 mm Thick x 6 1/16-in. W x 47 17

Related articles:
- Coastal Laminate Flooring
- Commercial Laminate Flooring
- Slate Laminate Flooring
- Laminate Flooring Types
- Laminate Flooring Design
- Commercial Quality Laminate Flooring
- Black Laminate Flooring
- Tigerwood Laminate Flooring
- Royal Cherry Laminate Flooring
- Laminate Flooring Thickness For Basement
Installing Trafficmaster Glueless Laminate Flooring is an easy and affordable way to give your home an updated, modern look. This type of flooring offers a durable and water-resistant option for any room in your home. With a few basic tools and products, you can be on your way to a beautiful new floor in no time!
In this article, we will go over the key steps involved in installing Trafficmaster Glueless Laminate Flooring. We will also provide helpful tips and tricks to ensure you have a successful and stress-free installation.
What You’ll Need
Before getting started, you’ll need to gather the necessary materials for the job. This includes:
• Trafficmaster Glueless Laminate Flooring
• Underlayment (optional)
• Tape Measure
• Utility Knife/Scissors
• Chalk Line
• Plastic Spacers
• Hammer/Mallet
• Pull Bar (optional)
• Wood Glue (optional)
• Saw (optional)
• Level
• Work Gloves.
Preparing the Subfloor
The first step is to prepare the subfloor for the laminate flooring. This includes cleaning the surface and making sure it is level, flat, and free of any debris or dirt. If you are installing over concrete, you may want to use an underlayment as well. This will help protect the floor from moisture and provide extra cushioning.
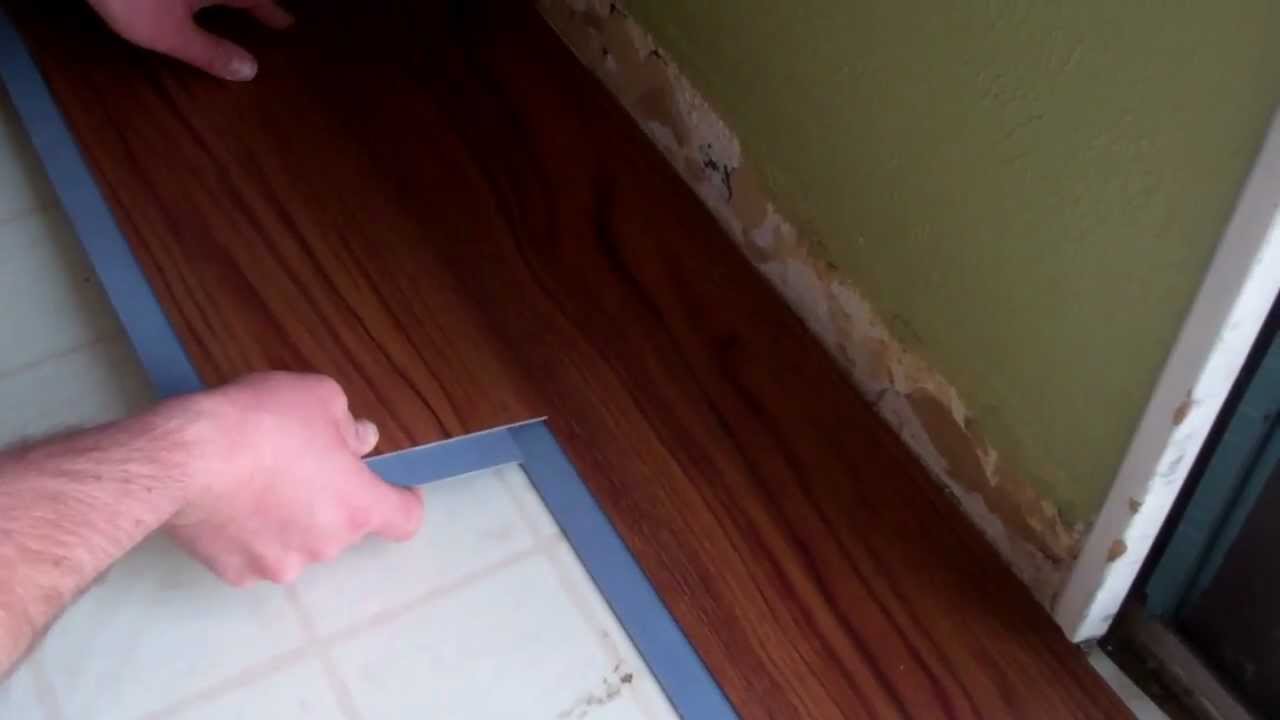
Measuring and Cutting Pieces
Once the subfloor is prepared, it’s time to start measuring and cutting pieces. Start by measuring the area where the laminate will be installed. Once you have the dimensions, use a chalk line to mark the edges of the installation area. You can then use a utility knife or scissors to cut pieces of laminate to fit within the marked area. It’s important to measure twice and cut once to ensure all pieces fit correctly. If needed, you can use a saw to make any detailed cuts or curves in the laminate planks.
Installing the First Row of Planks
Now it’s time to start installing the planks! Begin by placing a plastic spacer against one wall and place the first plank against it. Use a hammer or mallet to lightly tap it into place. Continue tapping each plank into place, using plastic spacers between each piece for even spacing. If needed, you can use wood glue along with a pull bar for tighter joints between planks. Once all planks are installed in the first row, check for levelness with a level before moving on to the next row.
Continue Installing Rows of Planks
For each subsequent row, start by cutting planks to fit around doorways or other obstacles in the room. Place plastic spacers along each wall before laying down planks in each row. Use a hammer or mallet to lightly tap each plank into place and check for levelness after every few rows. When all rows are complete, use a pull bar along edges and corners to ensure planks are tightly fitted together without any gaps or air pockets.
Finishing Touches
quarter-round molding or base trim along walls where laminate meets them. This will create a finished look and help protect wall surfaces from damage due to moisture or everyday wear and tear.
FAQs About Installing Trafficmaster Glueless Laminate Flooring
Q: Do I need underlayment?
A: Underlayment is not necessary if you are installing over concrete; however, it is recommended if you are installing over wooden subfloors as an extra layer of protection against moisture damage.
Q: How do I know if I have enough space between planks?
A: You should leave approximately 1/4 inch gap between each plank when installing laminate flooring. This allows for natural expansion due to changes in temperature or humidity levels in the room over time.