With innovations and breakthroughs in home design along with expanding creativity and style, tile flooring suggestions now go past the bathroom and the kitchen. You are able to get tile flooring in colors that are solid also, but in a larger variety of textures and colors.
Images Related to How To Put A Tile Floor Down
How To Put A Tile Floor Down
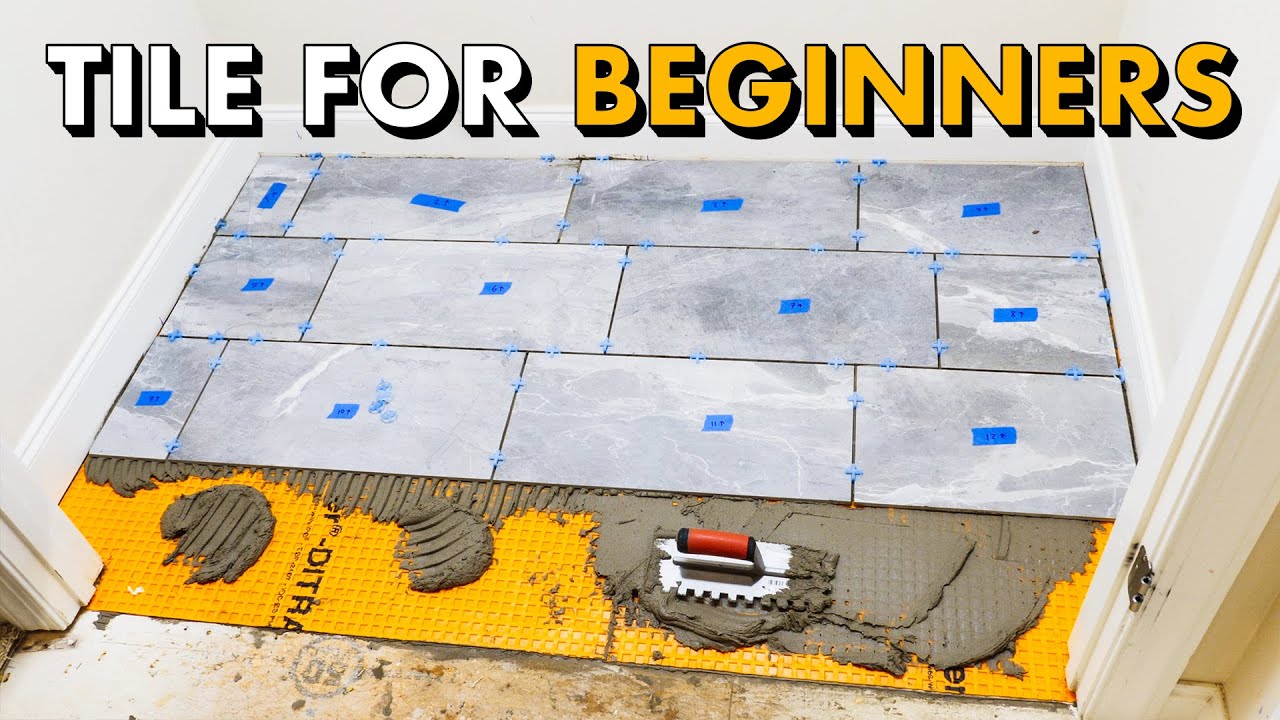
When you've your tile, you are able to pre-cut tiles which will be placed from the tips of the floor in case the floor tile is simply too large. In reality, tile floors are some of probably the most long-lasting one available at the moment! This flooring type even comes in an enormous range of styles as well as colors .
How to Install Ceramic Tile Flooring in 9 Steps – This Old House
:no_upscale()/cdn.vox-cdn.com/uploads/chorus_asset/file/19496978/howto_tile_01.jpg)
After you've made convinced of the aisle of flooring that you are going to use ceramic tiling for and furthermore, the tiles that you would like to use – you are prepared to start. The final stage of the ceramic tile set up procedure is to mix the grout and spread it between the spaces of the tiles until there is no hollow left. Affordable but loaded with quality, ceramic tiles are quite durable and versatile materials.
How to Install Ceramic Tile Flooring in 9 Steps – This Old House
:no_upscale()/cdn.vox-cdn.com/uploads/chorus_asset/file/19496947/color_gutters_illo_web_1.jpg)
Installing Tile Floor for the First Time // How To Lay Tile Floor
How To Lay Floor Tiles RONA

Installing Tile Floor for the First Time // How To Lay Tile Floor
How to Install a Tile Floor
How to Install Ceramic Tile Flooring in 9 Steps – This Old House
/cdn.vox-cdn.com/uploads/chorus_asset/file/19497064/howto_tile_12.jpg)
How to Install Ceramic Tile Flooring in 9 Steps – This Old House
/cdn.vox-cdn.com/uploads/chorus_asset/file/19497110/howto_tile_07.jpg)
How to Lay Tile: DIY Floor Tile Installation Loweu0027s
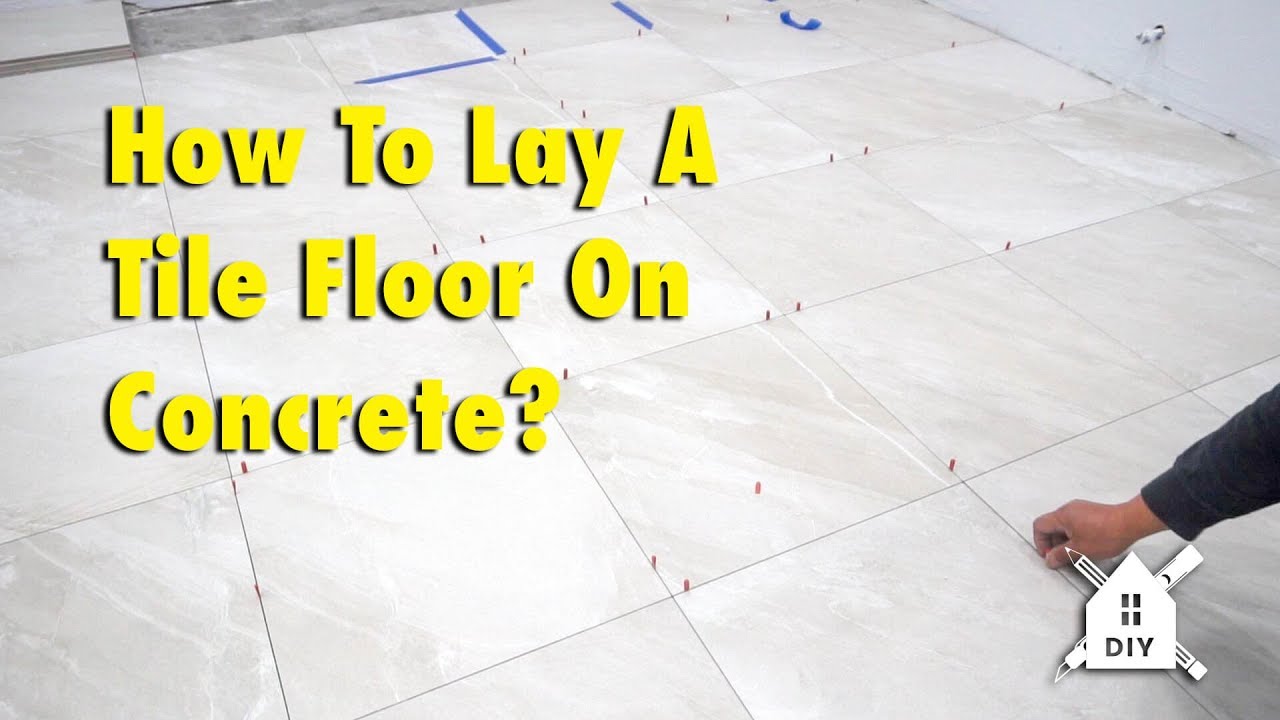
How To Lay A Tile Floor On Concrete #DIY #Homeimprovement
Beginneru0027s Guide to Laying Tile Laying tile floor, How to lay

How to Lay a Vinyl Tile Floor – This Old House
/cdn.vox-cdn.com/uploads/chorus_asset/file/19493864/howto_vinylfloor_05.jpg)
10 Most Common Mistakes When Laying Floor Tiles (And How to Avoid
Related articles:
- Vintage Bathroom Floor Tile Patterns
- Bathroom Floor Tile DIY
- Limestone Bathroom Floor Tiles
- Bathroom Floor Porcelain Tile
- Concrete Bathroom Floor Ideas
- White Bathroom Ceramic Tiles
- Bathroom Floor Baseboard
- Rustic Bathroom Flooring Ideas
- Bathroom Flooring Options
- Bamboo Bathroom Flooring Ideas
When it comes to home renovation projects, installing a tile floor can add both beauty and value to your space. Whether you are looking to update a bathroom, kitchen, or even a living room, laying down tile flooring is a great way to achieve a stylish and durable finish. In this article, we will guide you through the process of putting a tile floor down step by step.
Choosing the Right Tile
Before you begin installing your tile floor, it is important to choose the right type of tile for your space. Consider factors such as the size of the room, the amount of foot traffic the area receives, and the overall style you are trying to achieve. Ceramic and porcelain tiles are popular choices for their durability and versatility. Natural stone tiles like marble or granite can add a luxurious touch to any room. Make sure to select tiles that are suitable for the specific location you plan to install them in.
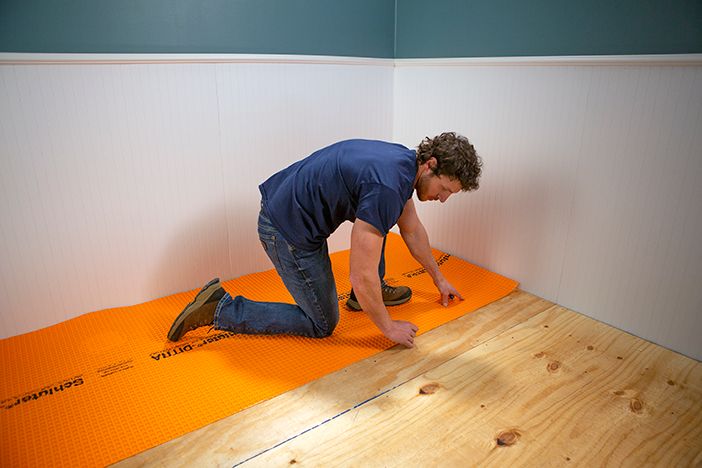
Preparing the Subfloor
One of the most crucial steps in installing a tile floor is preparing the subfloor properly. Start by removing any existing flooring material such as carpet or hardwood. Inspect the subfloor for any damage or uneven areas that may need to be repaired before proceeding. Use a level to ensure that the subfloor is flat and even. If necessary, apply a layer of underlayment to create a smooth surface for the tile installation.
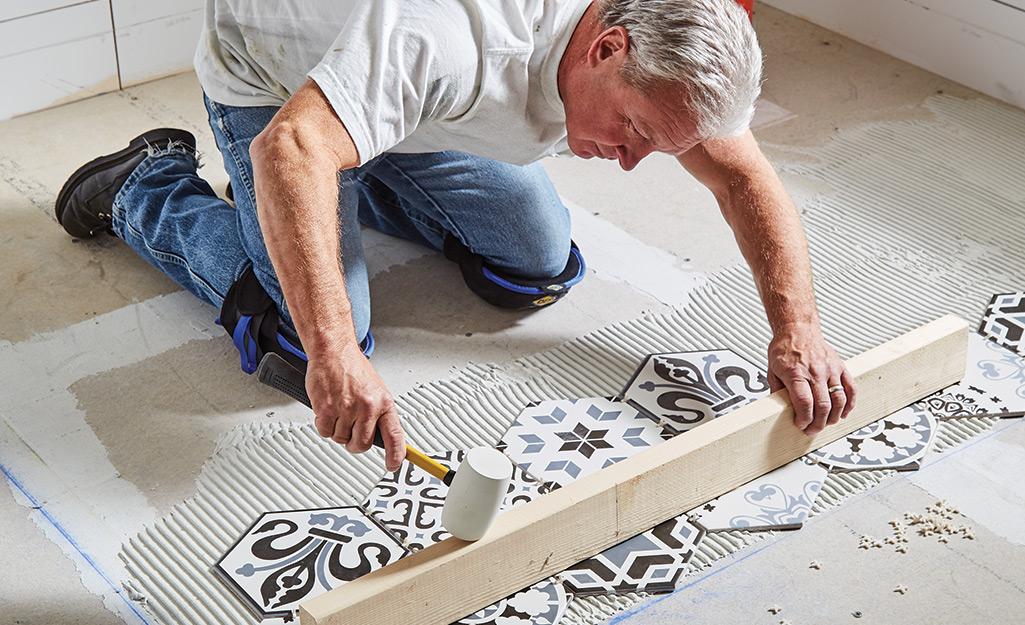
Laying Out Your Design
Before you start laying down tiles, it is important to plan out your design. Use chalk lines or spacers to mark out where each tile will go, ensuring that they are evenly spaced and aligned. This step will help you visualize the final look of your tile floor and avoid any mistakes during installation.
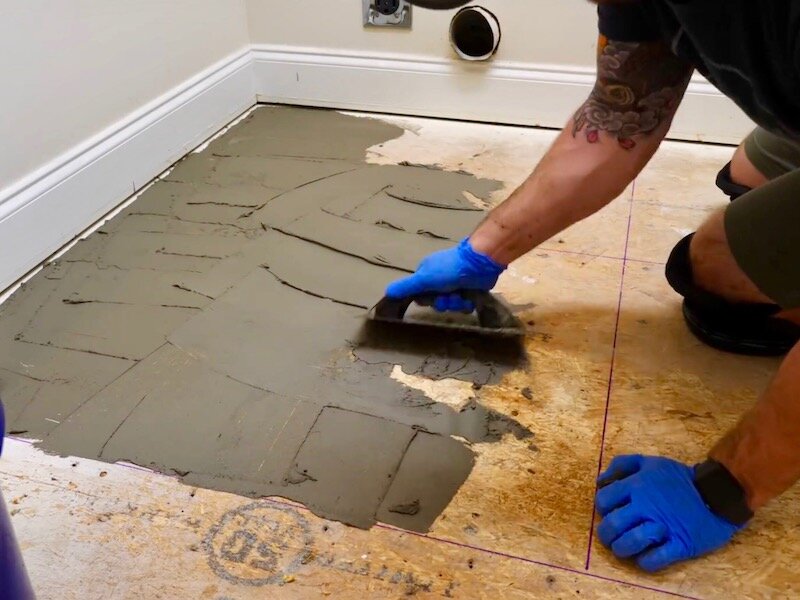
Mixing Mortar or Adhesive
Depending on the type of tile you are using, you will need either mortar or adhesive to secure them to the subfloor. Follow the manufacturer’s instructions for mixing the mortar or adhesive properly. Use a trowel to spread an even layer onto the subfloor, working in small sections at a time.
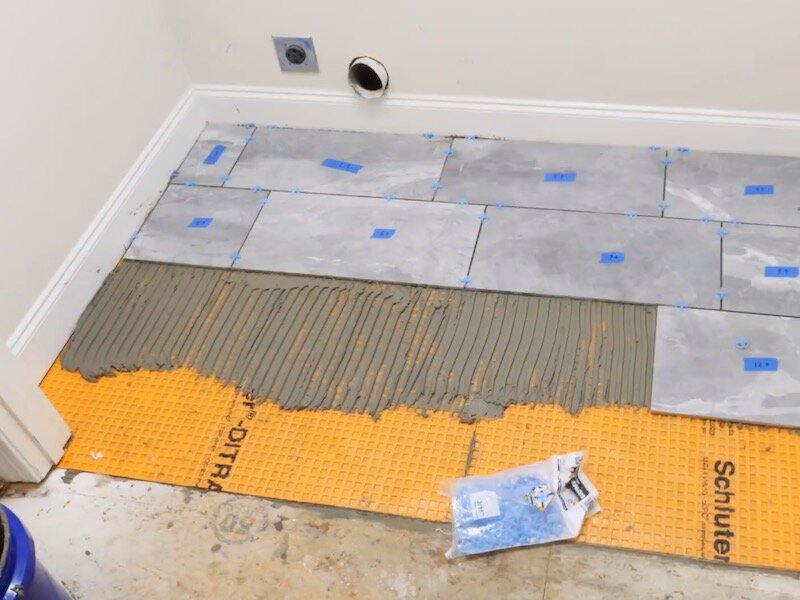
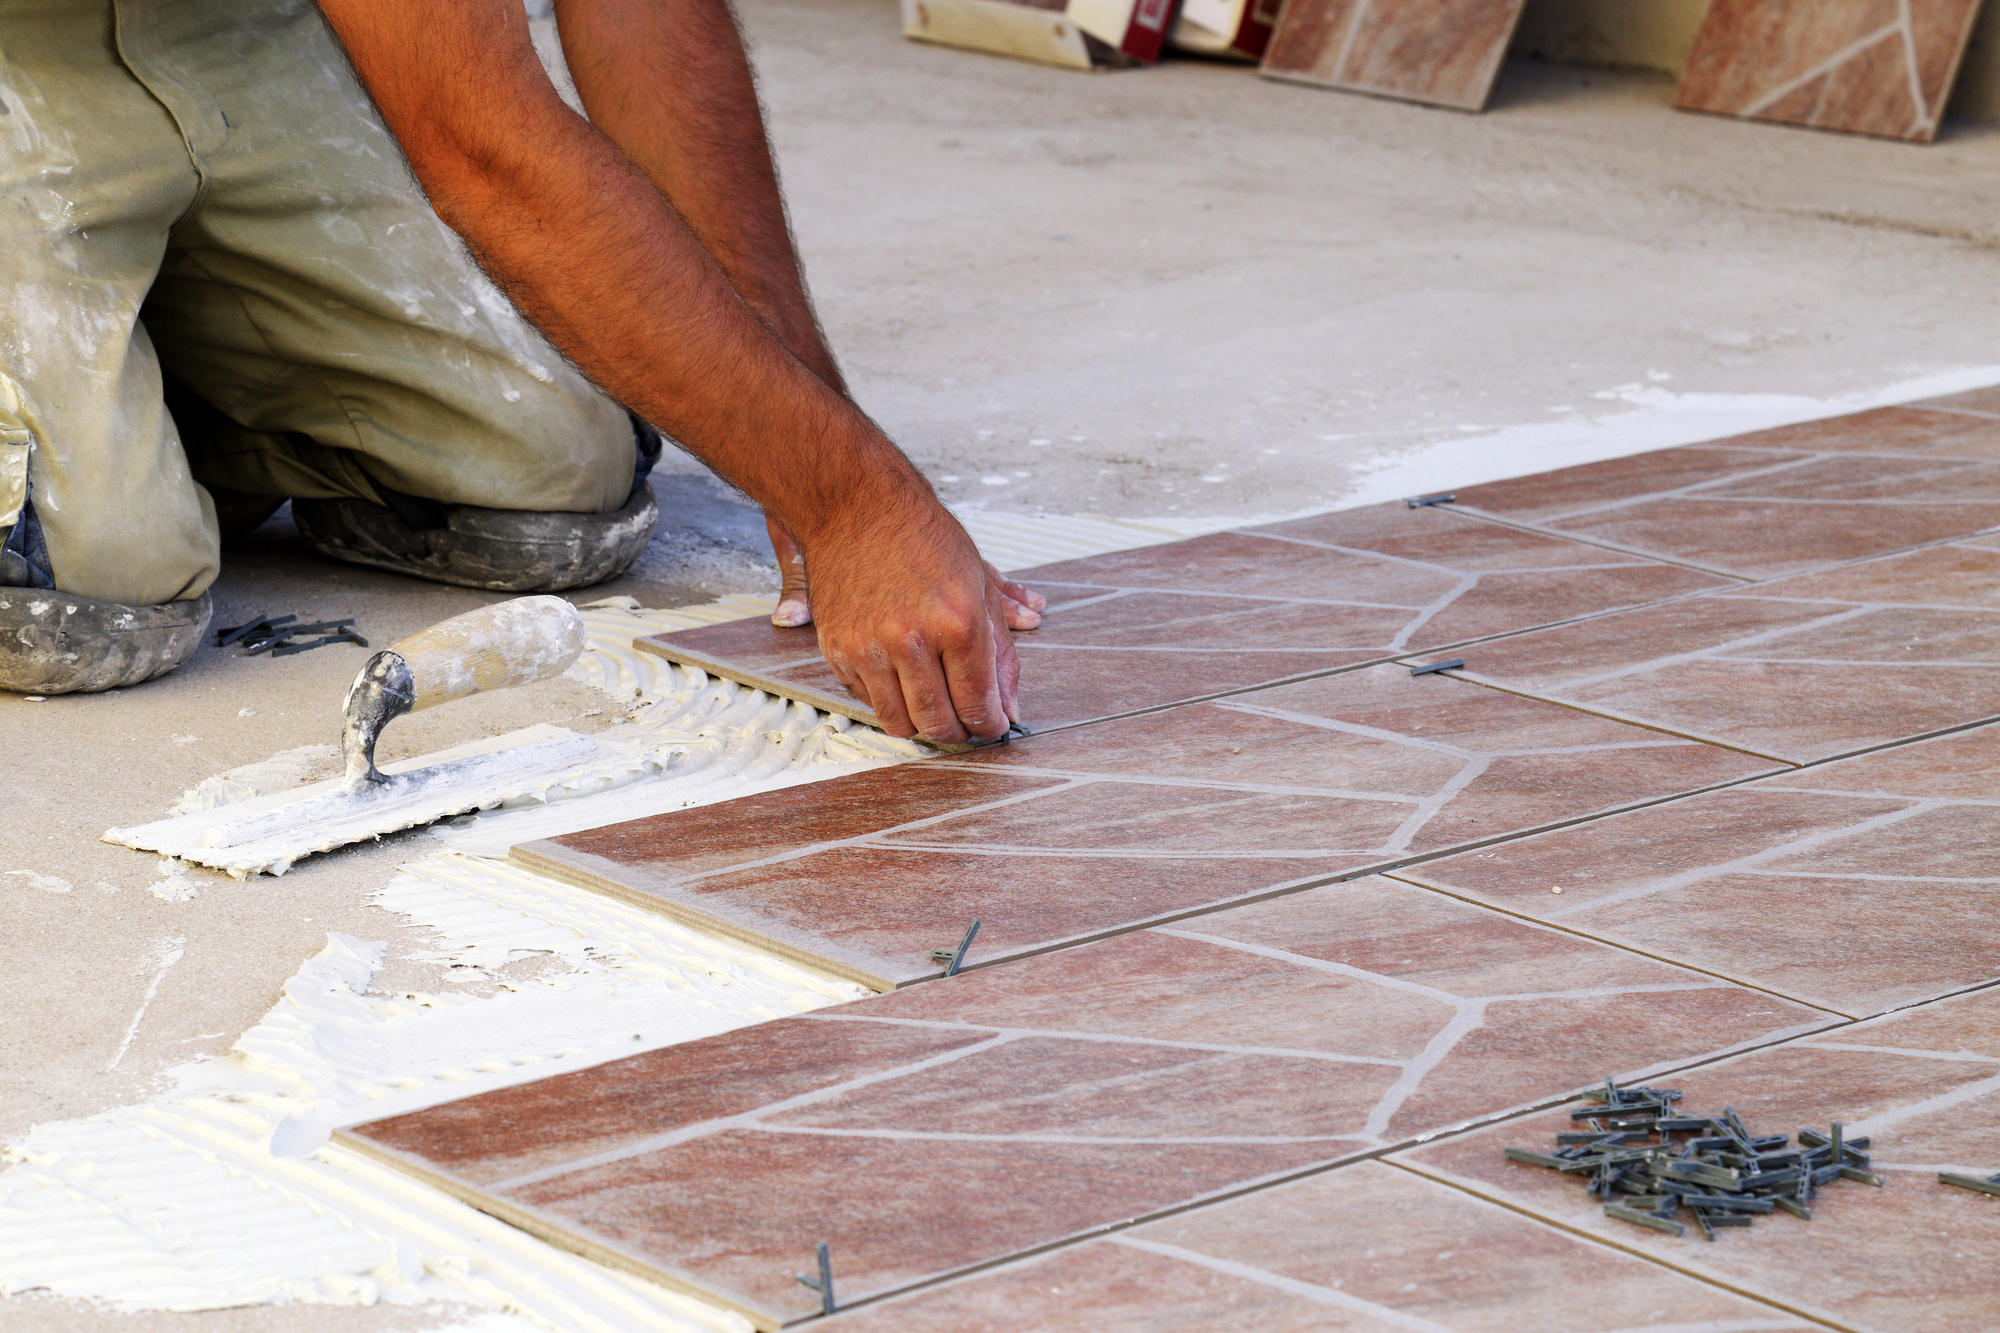
Setting the Tiles
Once you have applied mortar or adhesive to the subfloor, it’s time to start setting your tiles in place. Press each tile firmly into position, making sure they are aligned with your layout marks. Use spacers between each tile to maintain consistent spacing throughout the installation process. Continue laying down tiles until the entire floor is covered.
Grouting
After all of your tiles have been set in place and allowed to dry according to the manufacturer’s instructions, it’s time to grout the joints between them. Mix grout according to package directions and use a grout float to press it into the spaces between tiles. Wipe away excess grout with a damp sponge before it has a chance to harden.
Sealing
Once your grout has dried completely, consider applying a sealer to protect your new tile floor from staining and moisture damage. Sealers come in various finishes such as matte or glossy, so choose one that best suits your aesthetic preferences.
FAQs:
Q: Do I need special tools for installing a tile floor?
A: While basic tools such as a trowel, level, and spacers are essential for tiling, some specialized tools like a wet saw may be required for cutting tiles to fit around edges and corners.
Q: How long does it take to install a tile floor?
A: The time it takes to install a tile floor depends on factors such as the size of the room and complexity of The design. On average, it can take anywhere from a few days to a week to complete the installation process.
Q: Can I install tile over existing flooring?
A: In some cases, you may be able to install tile over existing flooring such as vinyl or laminate. However, it is important to ensure that the subfloor is in good condition and properly prepped before proceeding with the installation.
Q: How do I clean and maintain a tile floor?
A: To keep your tile floor looking its best, regularly sweep or vacuum to remove dirt and debris. For deeper cleaning, use a mild detergent and water solution or a specially formulated tile cleaner. Avoid using harsh chemicals or abrasive cleaners, as they can damage the tiles.
Q: What should I do if my tile floor gets chipped or cracked?
A: If you notice any chipped or cracked tiles on your floor, it is best to replace them as soon as possible to prevent further damage. Carefully remove the damaged tile using a chisel and hammer, then install a new tile in its place using mortar or adhesive.
By following these steps and tips, you can successfully install a beautiful and durable tile floor in your home. Remember to take your time and pay attention to detail for the best results. Additionally, it’s important to properly maintain your tile floor by regularly cleaning and sealing it as needed. With the right care and attention, your tile floor can last for many years to come, adding beauty and value to your home. If you have any further questions or concerns about installing or maintaining a tile floor, don’t hesitate to consult with a professional tile installer for guidance and assistance.