Wood, cork, bamboo, laminates or perhaps vinyl aren't the optimal flooring options for your bathroom. Decoration is usually the crucial to achieving this, and one of the most significant areas of any bathroom is using the correct flooring. Cork and bamboo can retain moisture and they are able to become thriving justification for other microorganisms and bacteria.
Here are Images about How To Prep A Bathroom Floor For Tile
How To Prep A Bathroom Floor For Tile
The theory of a high-class wood flooring in the bathroom might sound good, but it is fraught with all types of issues. This is clear as it merely has the feet of yours to attend to, as opposed to sinks, toilets as well as hot shower enclosures which have essential specifications impacting their performance and usage. You can find tiles with patterns developed specially to create very good borders.
Preparing the Bathroom Floor for Tiling – Blog – homeandawaywithlisa
Ceramic is the ideal choice of bathroom flooring because it's affordable, stylish, water proof and simple to maintain. These tiles are thought to be as one of the maximum bases as they're long lasting and not so costly. You can choose to do the bathroom tile of yours in solid colors or even go in for printed or even mosaic patterned tiles. Or you can make it simple and functional using simple colored tiles.
Images Related to How To Prep A Bathroom Floor For Tile
Prepping a Bathroom Floor for Tile JLC Online

How to Prep and Tile a Floor – At Charlotteu0027s House
How to Tile a Bathroom Floor with Wickes

How to Prep for Tile – Taping Seams – Bower Power
Prep a Tile Floor

Preparing Subfloor for Tile The Home Depot

How to Prep and Tile a Floor – At Charlotteu0027s House
How to Install Ceramic Tile Flooring in 9 Steps – This Old House
:no_upscale()/cdn.vox-cdn.com/uploads/chorus_asset/file/19496978/howto_tile_01.jpg)
How to Install Bathroom Floor Tile: Part 1 u2013 Home Repair Tutor

How to Prepare a Subfloor for Tile Installation
How to Install Cement Board on a Floor (DIY) Family Handyman

How to Prep u0026 Tile a Floor

Related articles:
- Vintage Bathroom Floor Tile Patterns
- Bathroom Floor Tile DIY
- Limestone Bathroom Floor Tiles
- Bathroom Floor Porcelain Tile
- Concrete Bathroom Floor Ideas
- White Bathroom Ceramic Tiles
- Bathroom Floor Baseboard
- Rustic Bathroom Flooring Ideas
- Bathroom Flooring Options
- Bamboo Bathroom Flooring Ideas
When it comes to renovating a bathroom, installing new tile flooring can completely transform the space. However, before you can start laying down tile, you need to properly prepare the bathroom floor. Preparing the floor correctly will ensure that your tile installation is durable and long-lasting. In this article, we will discuss how to prep a bathroom floor for tile in detail.
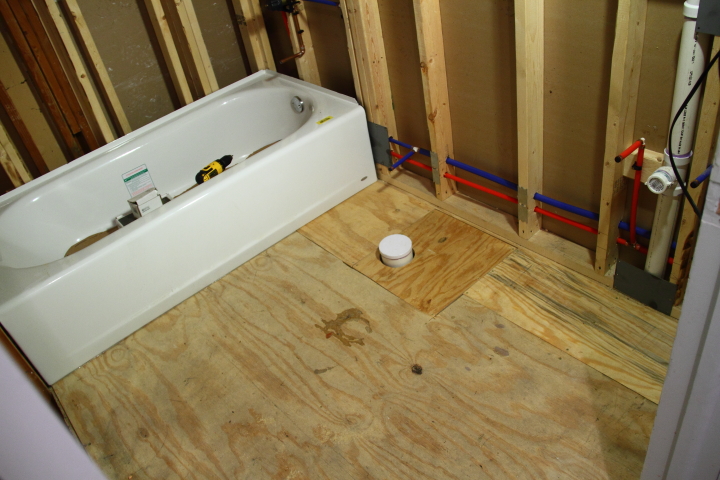
Assess the Subfloor
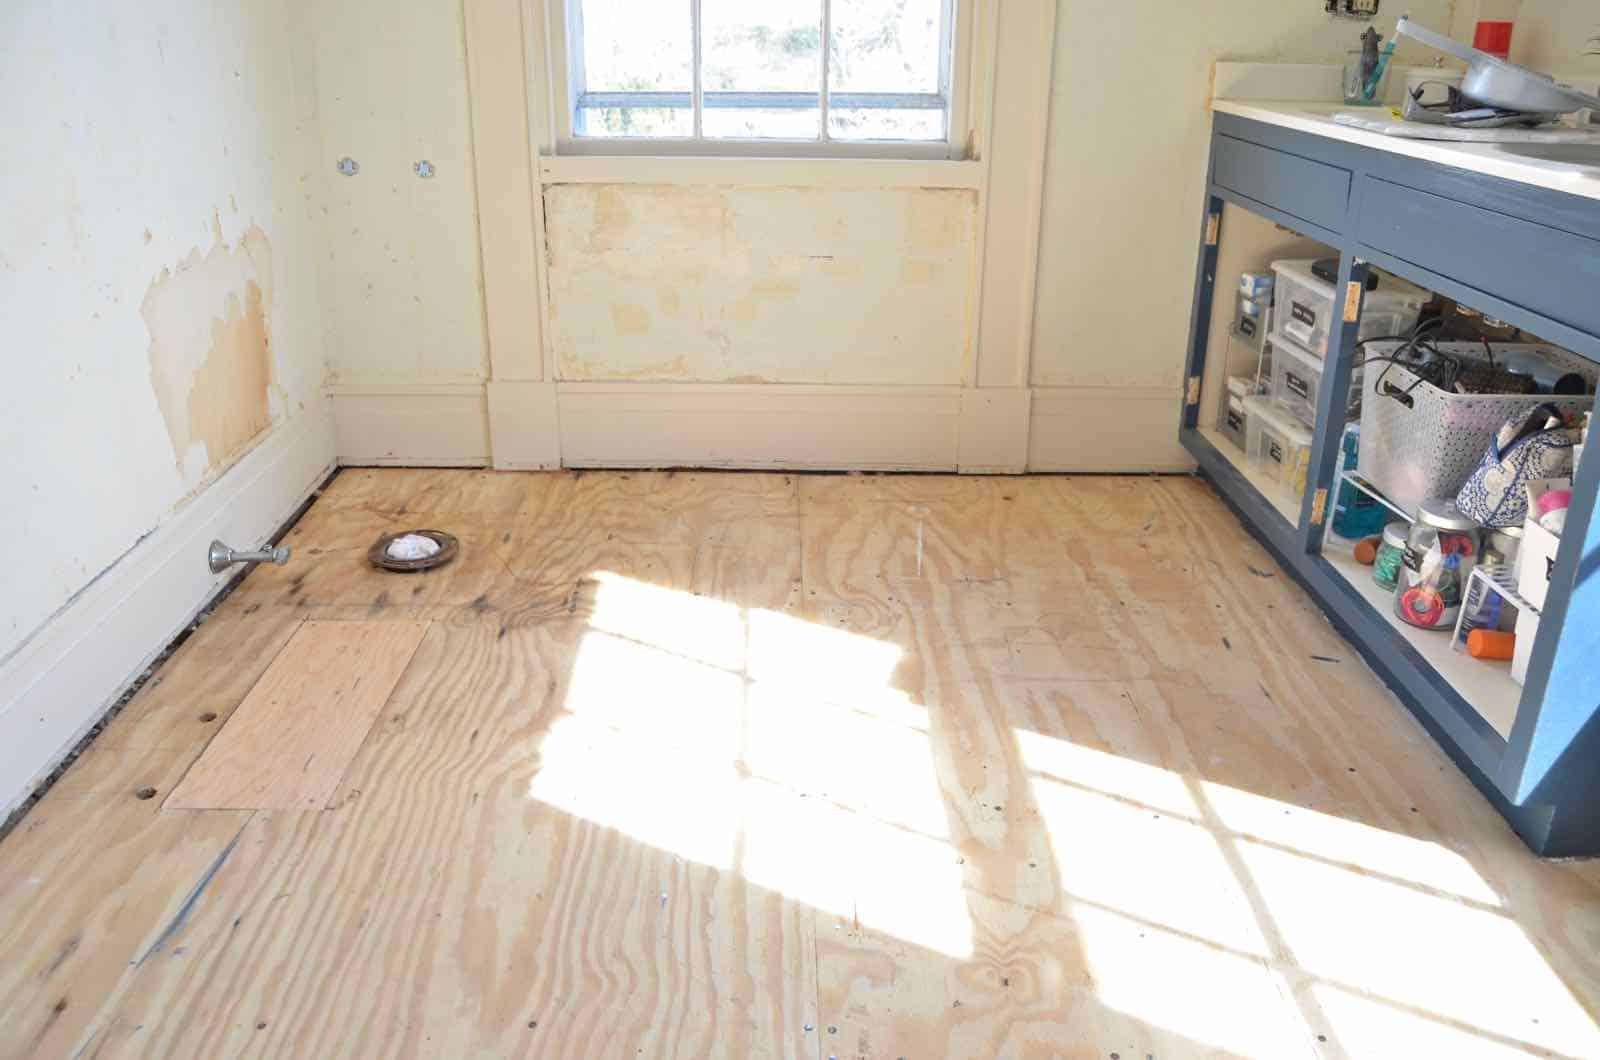
The first step in prepping a bathroom floor for tile is to assess the condition of the subfloor. The subfloor should be structurally sound, flat, and clean before you can begin installing tile. Check for any signs of water damage, rot, or mold on the subfloor. If you notice any issues, they will need to be addressed before proceeding with the tile installation.
FAQs:
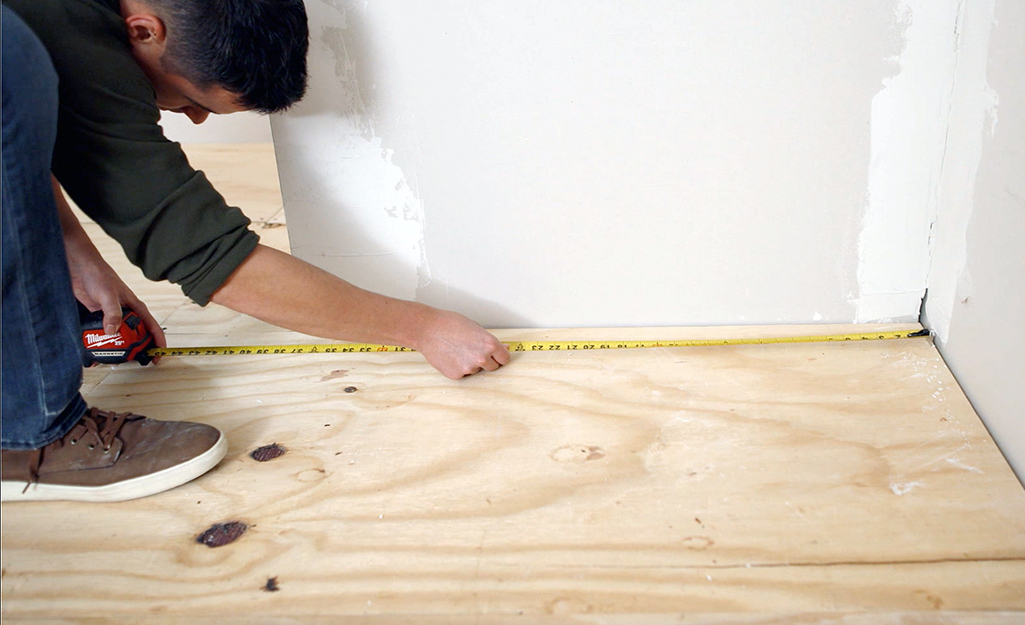
Q: How do I know if my subfloor is flat enough for tile?
A: You can use a straightedge or level to check for any dips or bumps in the subfloor. Any deviations greater than 1/8 inch over a 10-foot span should be corrected before tiling.
Remove Existing Flooring
If there is existing flooring in the bathroom, such as vinyl or laminate, it will need to be removed before tiling. Use a utility knife to cut and remove the old flooring material. Make sure to also remove any adhesive residue left behind.
FAQs:
Q: Do I need to remove the toilet before tiling the bathroom floor?
A: It is recommended to remove the toilet before tiling the bathroom floor for easier access and a cleaner finish.
Repair Subfloor Damage
After removing the existing flooring, inspect the subfloor for any damage that needs to be repaired. Replace any rotted or damaged sections of the subfloor and secure loose boards with screws.
FAQs:
Q: Can I install new tile over a damaged subfloor?
A: It is not recommended to install tile over a damaged subfloor as it can lead to unevenness and cracking in the tile over time.
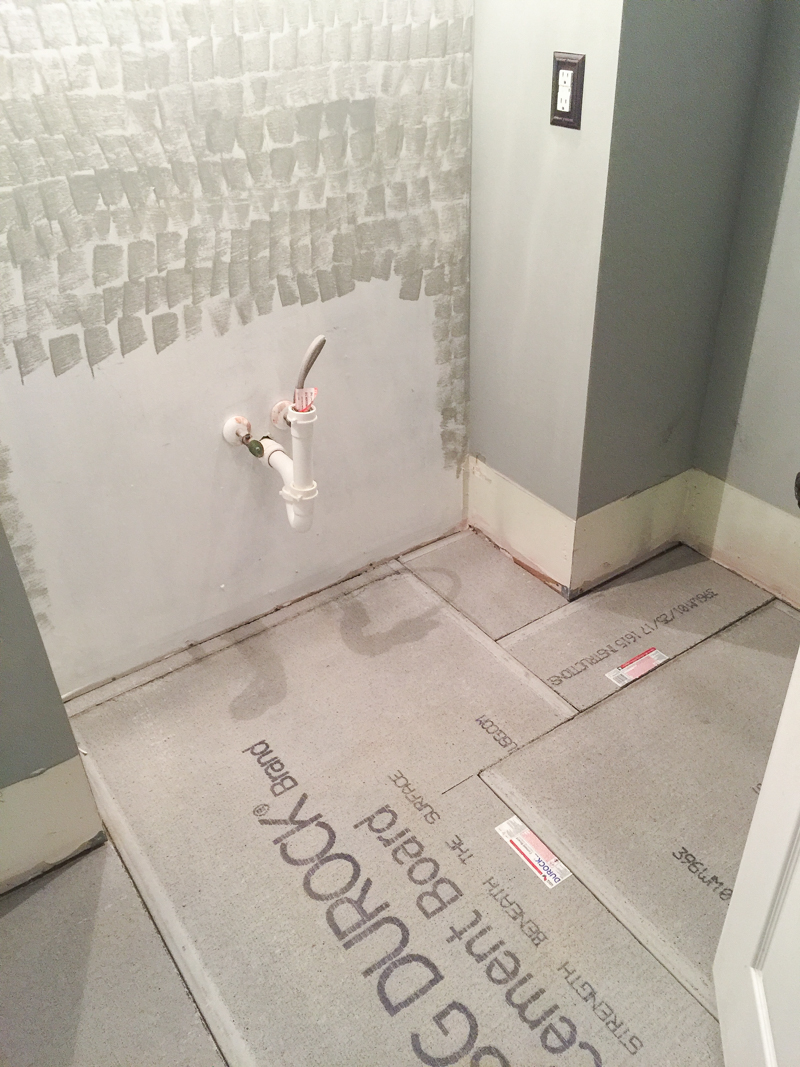
Install Cement Backer Board
To create a stable surface for tiling, install cement backer board over the subfloor. Cut the backer board to size using a utility knife and secure it to the subfloor with screws. Make sure to leave a small gap between each board for expansion.
FAQs:
Q: Do I need to tape and mud seams on cement backer board?
A: Yes, it is recommended to tape and mud seams on cement backer board to prevent moisture from seeping through.
Apply Waterproofing Membrane
Before tiling, apply a waterproofing membrane over the cement backer board to protect against moisture damage. Use a paint roller or brush to apply an even coat of waterproofing membrane according to the manufacturer’s instructions.
FAQs:
Q: Is a waterproofing membrane necessary for a bathroom floor?
A: Yes, a waterproofing membrane is essential for protecting your bathroom floor from water damage and ensuring longevity of your tile installation.
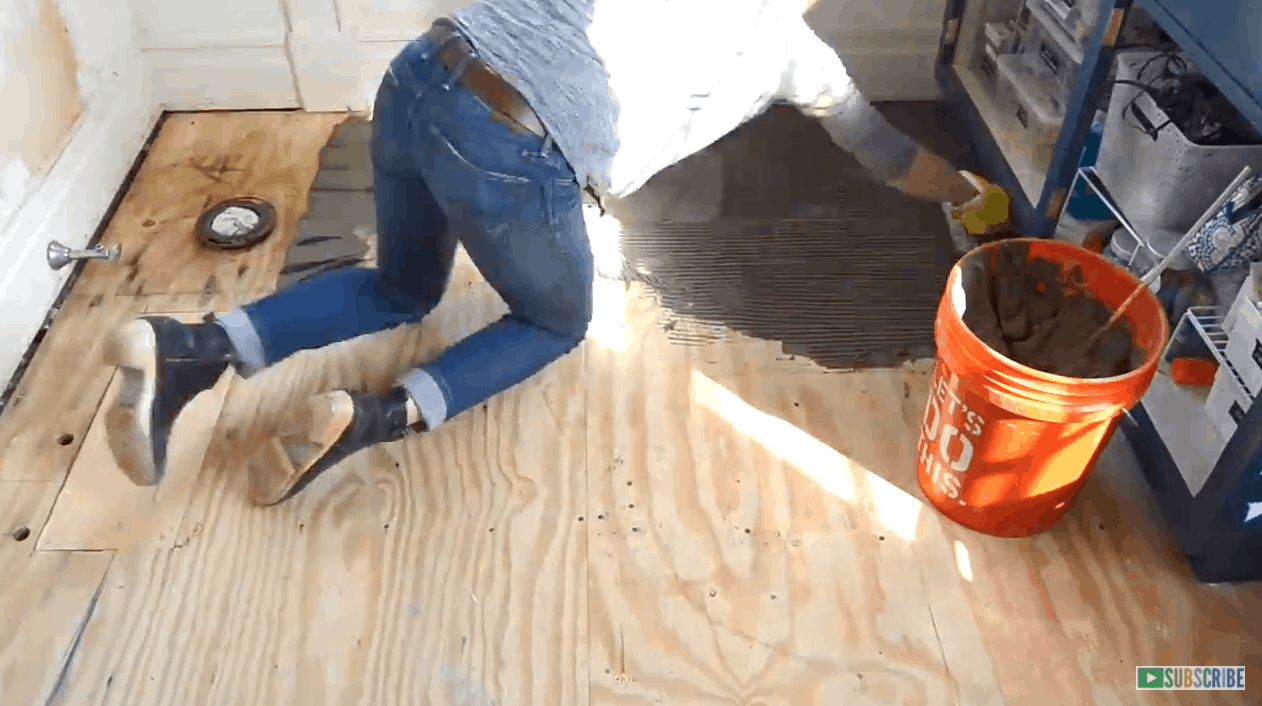
Plan Tile Layout
Once the waterproofing membrane has dried, you can begin planning your tile layout. Start by finding the center point of the room and laying out dry tiles in both directions to determine where cuts will need to be made along walls and fixtures.
FAQs:
Q: How do I ensure my tile layout is centered in the room?
A: Measure from wall to wall in multiple directions and adjust your starting point as needed to ensure an even layout.
Conclusion
Prepping a bathroom floor for Tiling is an important step in ensuring a successful and long-lasting tile installation. By following these steps, including checking for levelness, removing existing flooring, repairing subfloor damage, installing cement backer board, applying a waterproofing membrane, and planning the tile layout, you can create a solid foundation for your new bathroom floor. Remember to follow manufacturer recommendations and guidelines throughout the process to achieve the best results. If you have any questions or concerns, consult with a professional tiler or contractor for assistance. Overall, taking the time to properly prepare your bathroom floor for tiling will ensure that your new tiles will look great and last for years to come. By following these steps and addressing any issues along the way, you can create a beautiful and functional bathroom space that you can enjoy for years to come. If you have any questions or need help with any step of the process, don’t hesitate to seek guidance from a professional. Happy tiling! In conclusion, prepping a bathroom floor for tiling is crucial for a successful and long-lasting tile installation. By following the steps mentioned above, you can ensure that your new tiles will be properly installed and will stand the test of time. Remember to take your time, follow manufacturer recommendations, and seek help from professionals if needed. With proper preparation, your bathroom floor will look beautiful and serve you well for years to come. Happy tiling!