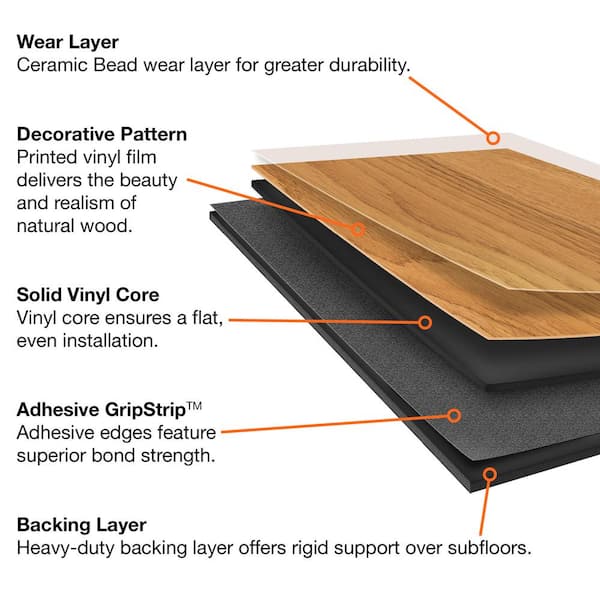
Most vinyl flooring is made of 3 to 4 layers sandwiched together to create a substance that is both durable and beautiful. The area in which the vinyl will be installed should be smooth and clean to provide a good and tight fit. Most individuals who do the own installations of theirs prefer using vinyl tiles. Additionally they come in a range of historical and geometrical patterns as well as floral styles and diamond.
Images Related to How To Install Trafficmaster Vinyl Flooring
How To Install Trafficmaster Vinyl Flooring
Resilient vinyl flooring is really versatile because it's currently made to simulate the appearance of numerous natural substrates. With a little amount of tender looking care, the sleek new floor of yours is going to be in mint condition for years to come. Your arms and hands are going to be extremely grateful you did. In this article we are going to discuss some of these items to help you decide whether they are the best choice for your home.
For more info see: https://www.thespruce.com/allure-vinyl-plank-flooring-1822666
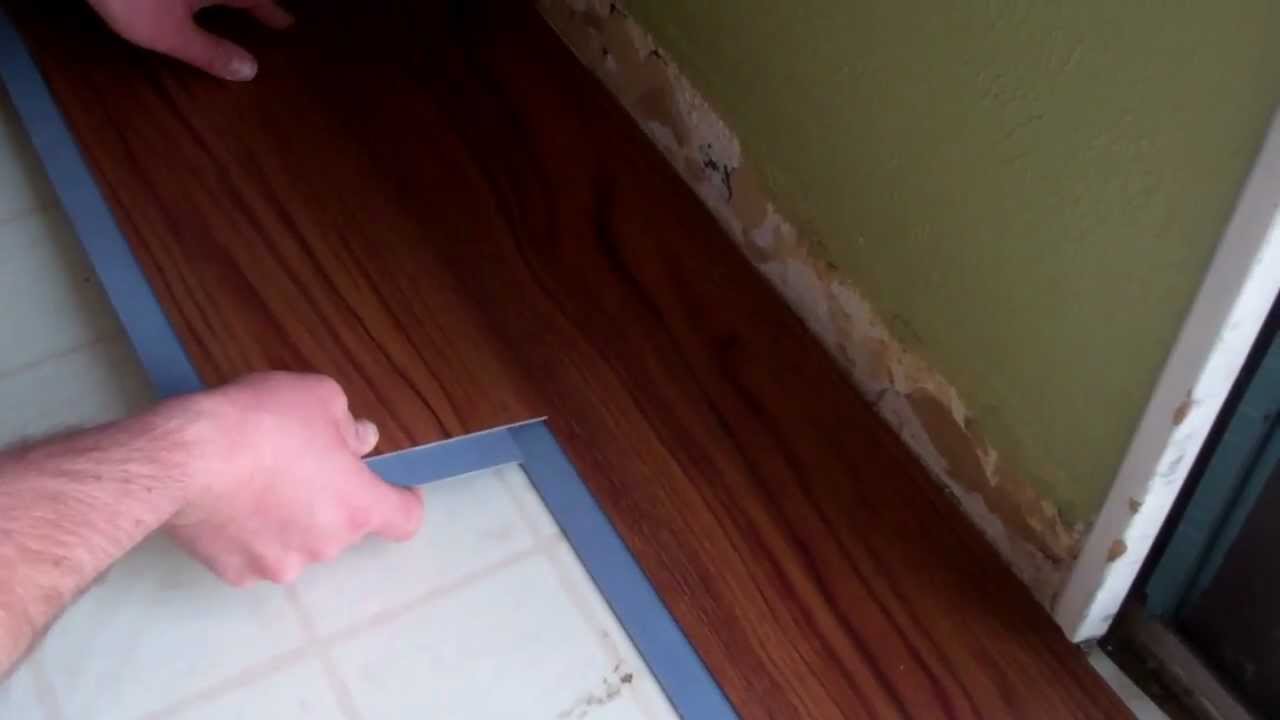
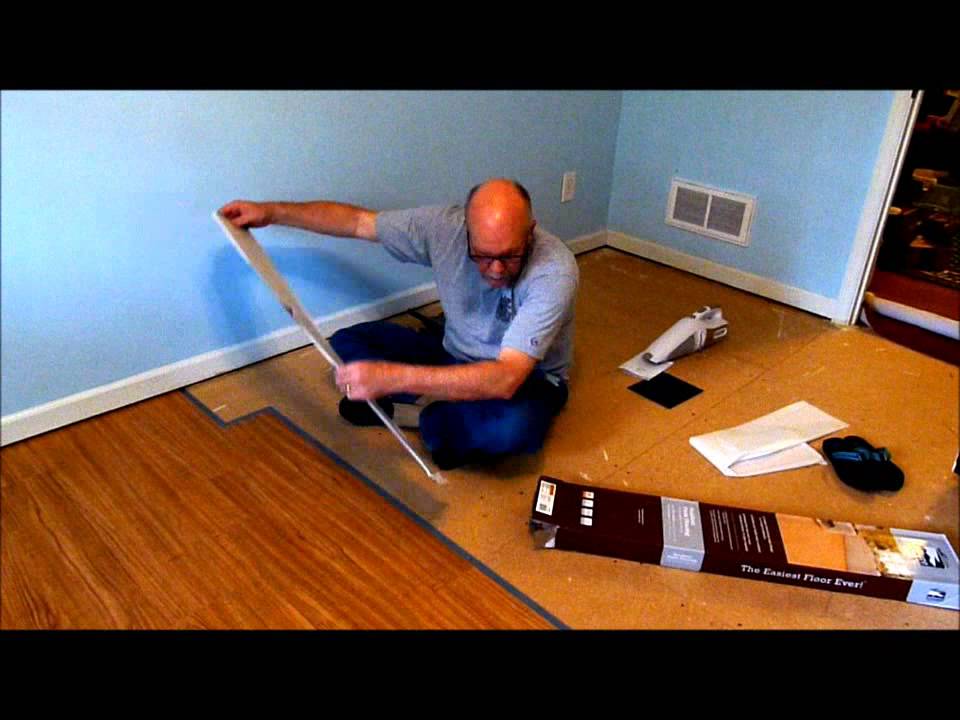
trafficMASTER Allure vinyl plank flooring installation.
You may even have a similar pattern installed in the kitchen of yours – an area where few would consider wood for due to the heavy foot traffic as well as strong probability of stains and spills. Perhaps even if you're tempted to cut on costs & simply DIY installation of the vinyl sheets/ tiles of yours, be happy to know that hiring a pro would be an obviously better choice.
TrafficMaster GripStrip FAST Installation

Installing Trafficmaster Allure In 4 Simple Steps All About Flooring

TrafficMaster Allure Gripstrip Vinyl Plank Flooring
TrafficMaster ceramica 12″ X 24″ vinyl tile floor installation.
how to install vinyl flooring TRAFFIC MASTER MOONSTONE rigid core plank DIY

TrafficMaster Pacific Pine 6 in. W x 36 in. L Luxury Vinyl Plank
Installing Allure TrafficMaster Resilient Vinyl Flooring – YouTube
How To Install Trafficmaster Laminate Flooring – KNOW IT INFO

Self-Stick Vinyl Plank flooring from Traffic Master- How To/Product Review
How to Install Allure Flooring
How to Install Luxury Vinyl Plank (Trafficmaster Allure)
Smart Home Reliefu2014 First Time Installing TrafficMASTER Allure Grip

Related articles:
- Vinyl Flooring Bathroom Tile
- Modern Vinyl Flooring
- Funky Vinyl Flooring
- Vinyl Flooring For Kitchen
- Vintage Look Vinyl Flooring
- Kitchen Vinyl Floor Tiles Ideas
- Vinyl Flooring With Wood Look
- Waterproof Vinyl Flooring
- Vinyl Flooring For Cheap
- How To Remove Vinyl Flooring
Getting new flooring for your home can be exciting, but it can also be a bit overwhelming. If you’ve chosen Trafficmaster vinyl flooring to upgrade your space, you’re making a great choice. Not only is vinyl flooring stylish and easy to clean, but it’s also relatively simple to install. Below, we’ll walk you through the steps for properly installing Trafficmaster vinyl flooring, so you can enjoy your beautiful new flooring in no time.
Step 1: Preparing Your Subfloor
Before you begin installing your Trafficmaster vinyl flooring, you need to make sure that the subfloor is prepped and ready to go. Start by inspecting the subfloor for any damage or defects—such as cracks or uneven surfaces—and make any necessary repairs. You should also remove any existing baseboard molding or trim.
Step 2: Applying Adhesive
Once the subfloor is prepped, it’s time to start applying adhesive. For most types of Trafficmaster vinyl flooring, you will need to use a pressure sensitive adhesive. Use a trowel to spread the adhesive evenly across the subfloor, then let it dry completely before proceeding.
Step 3: Installing the Vinyl Flooring
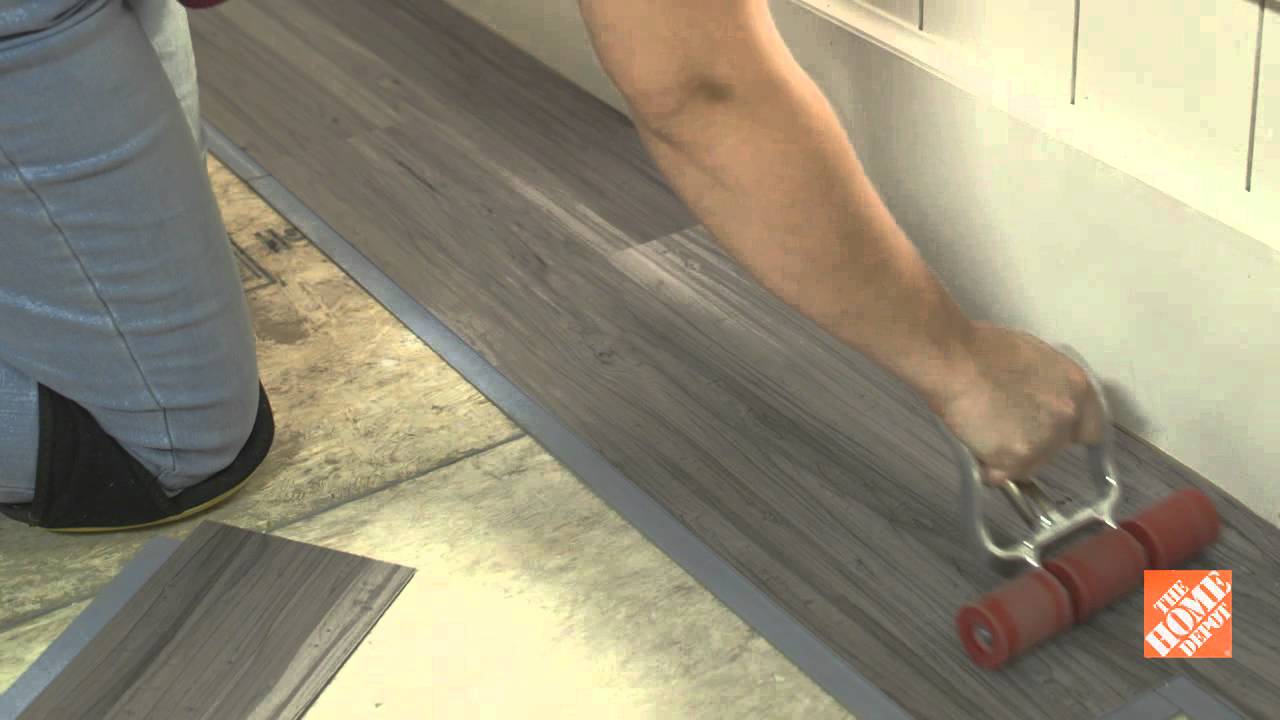
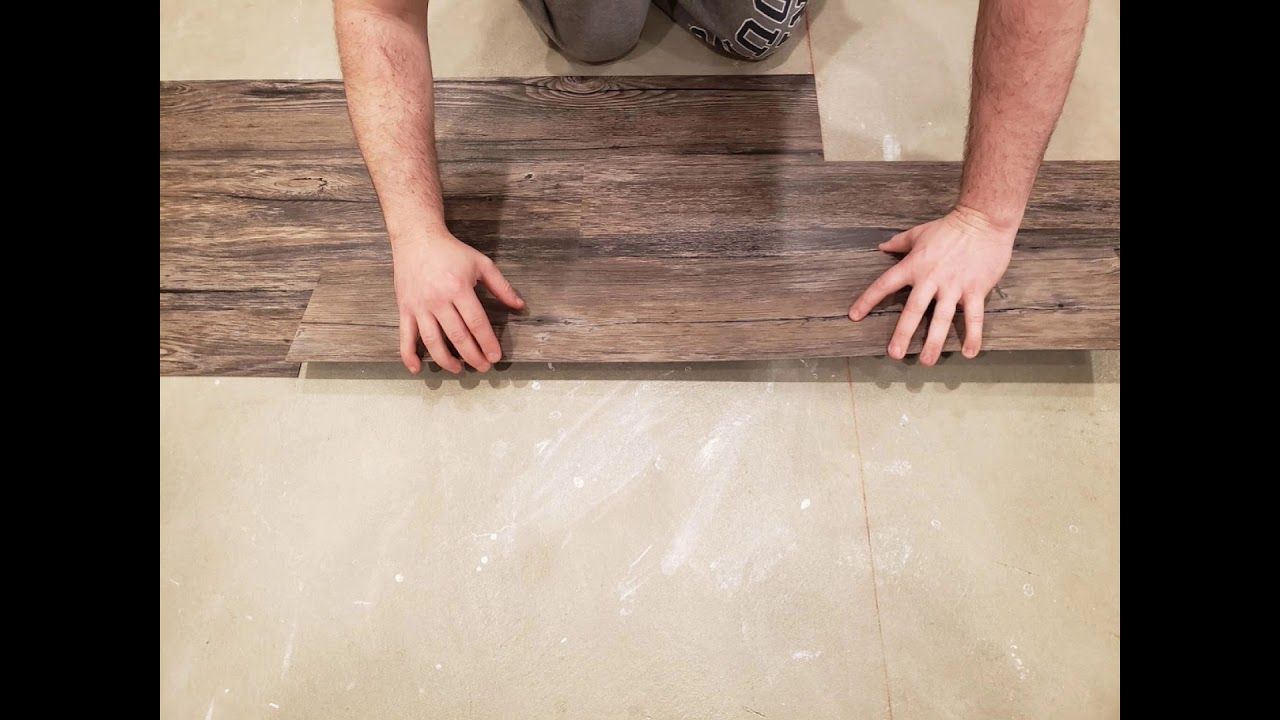
Now that the adhesive has had time to dry, you can start installing the vinyl planks or tiles. Starting in one corner of the room, carefully place the planks or tiles into the adhesive, making sure that they fit snugly next to each other. If you’re using planks, use a rubber mallet to lightly tap them into place. Continue laying down the planks until your entire floor is covered.
Step 4: Trimming and Sealing
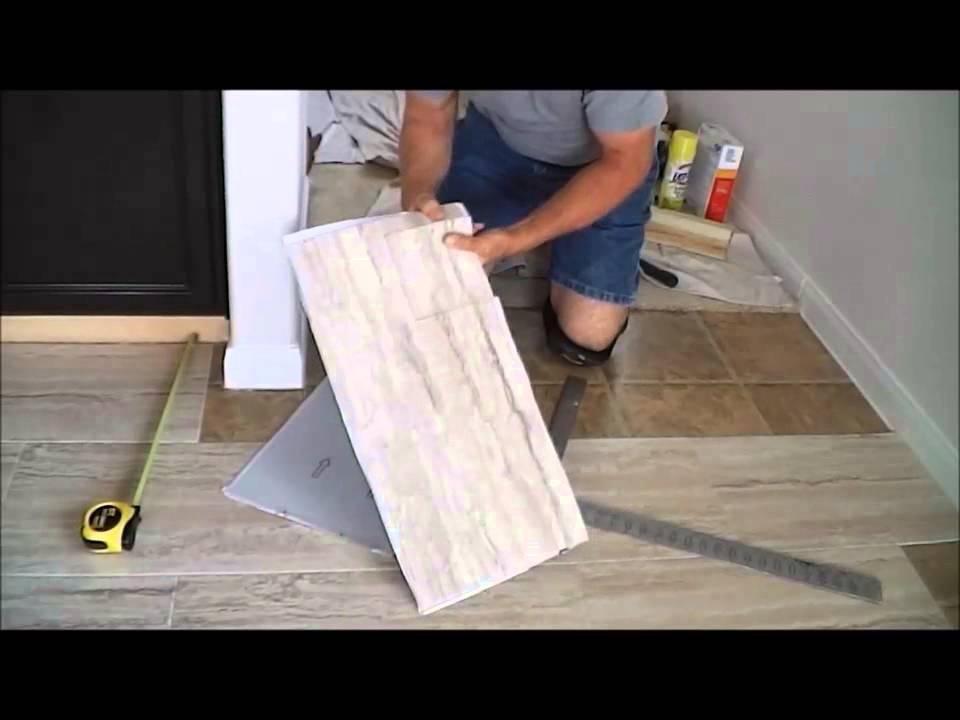
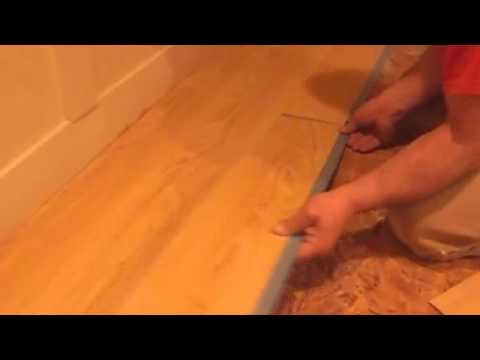
Once all of the planks are laid down in their proper place, you may need to trim some of them so that they fit against walls or other obstacles more snugly. Use a utility knife to cut each plank accordingly, then use a sealant along all of the edges of your floor in order to create an airtight seal.
Step 5: Clean Up
Once all of your trimming and sealing is complete, you can move on to cleaning up the excess adhesive and sealant that may have been left behind during installation. Use a damp rag to remove any excess materials from your subfloor, then let the area dry completely before restoring any baseboards or trim that were removed prior to installation.
Frequently Asked Questions
Q: What type of adhesive should I use for Trafficmaster vinyl flooring?
A: Most types of Trafficmaster vinyl flooring require a pressure sensitive adhesive for proper installation. Check with the manufacturer for specific recommendations regarding which type of adhesive should be used with your particular product.
Q: How long does my subfloor need to dry after applying adhesive?
A: Your subfloor needs to be completely dry before proceeding with installation, which typically takes several hours depending on climate and temperature conditions in your area. Once your subfloor is completely dry, you can begin installing your Trafficmaster vinyl flooring.
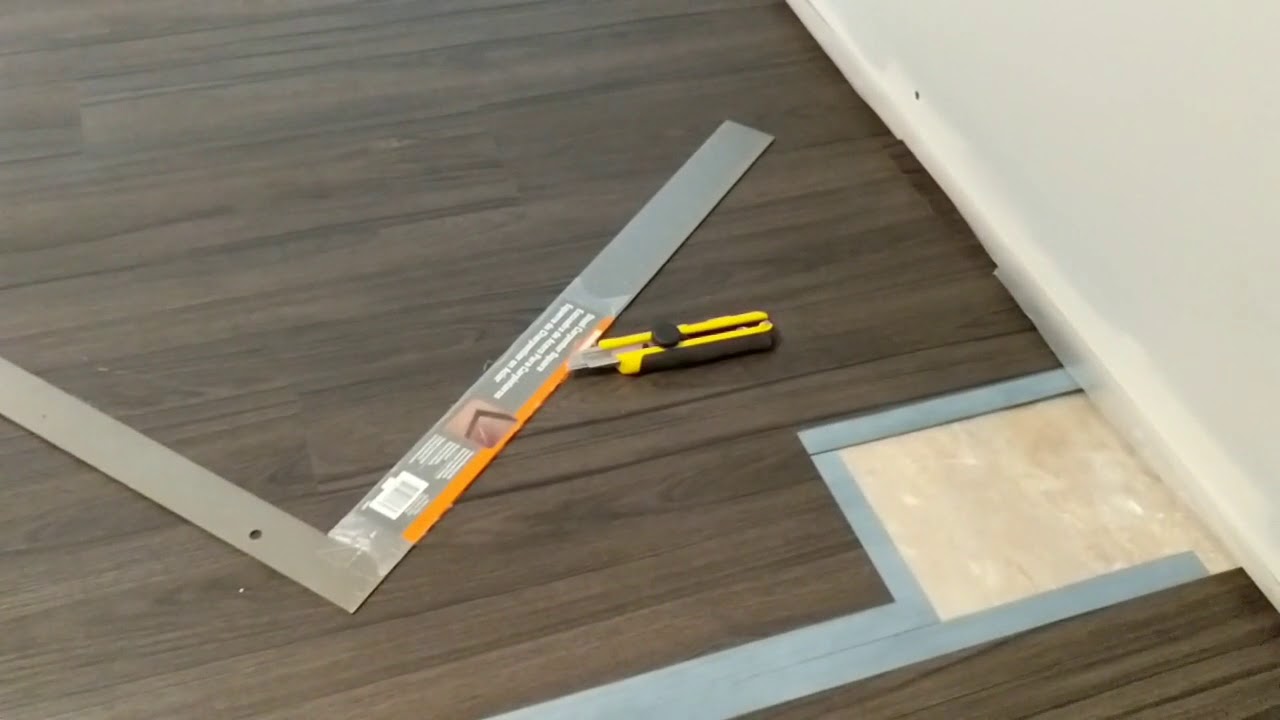
Q: Do I need special tools for installing Trafficmaster vinyl flooring?
A: You will need a few basic tools for installing Trafficmaster vinyl flooring, such as a trowel for applying adhesive and a utility knife for trimming planks or tiles as needed. You may also need a rubber mallet if you’re installing planks instead of tiles.