Vinyl kitchen flooring will not rip. As stated prior to the material is not the same as real hardwood, tile or stone. Nevertheless, you've to know that its durability is greatly dependent on the strategy you lay it out. There could be a cushioning layer on several styles. With all the moisture which comes with the territory, the water could slip through the cracks of a tile floor.
Images Related to Do It Yourself Vinyl Flooring
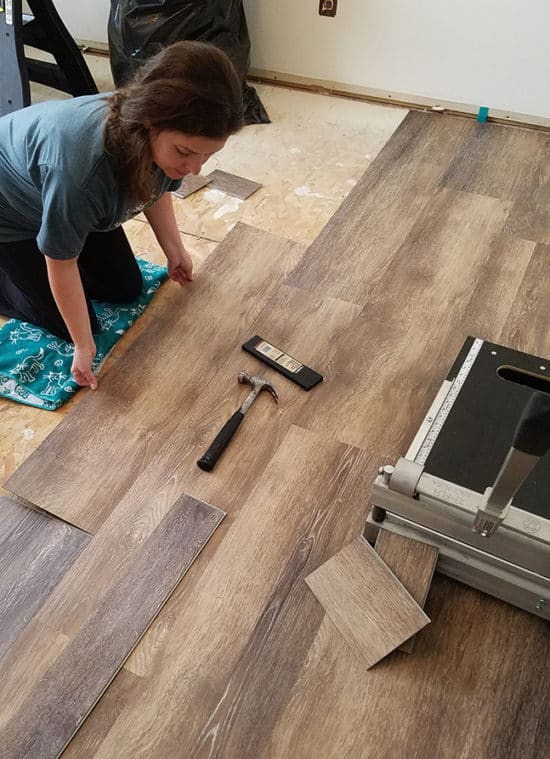
Do It Yourself Vinyl Flooring
Even a little portion of grain trapped between the subfloor and the flooring will surely take a toll on a vinyl flooring's material and will ultimately use down, rip off or tear down. Ask the friends of yours and other connections for advice on which local retailer to go to purchase affordable vinyl flooring. The second layer is a printed layer of vinyl which adheres to the base layer.
How to Install Vinyl Plank Flooring
:max_bytes(150000):strip_icc()/easy-install-plank-vinyl-flooring-1822808-06-3bb4422ca1bd49b080bfa73bce749acc.jpg)
You are able to get wood-look-alike luxury vinyl flooring or for floor the actual likeness of natural stone or perhaps floor with modern sophisticated abstract appearance. It's almost no seams, also. It is critical to wait for five days for the adhesive to set in prior to moving in quite heavy items. For a high quality floor it can really be that expensive for buy. Printed vinyl floor is best for traffic areas which are low like individual bedroom.
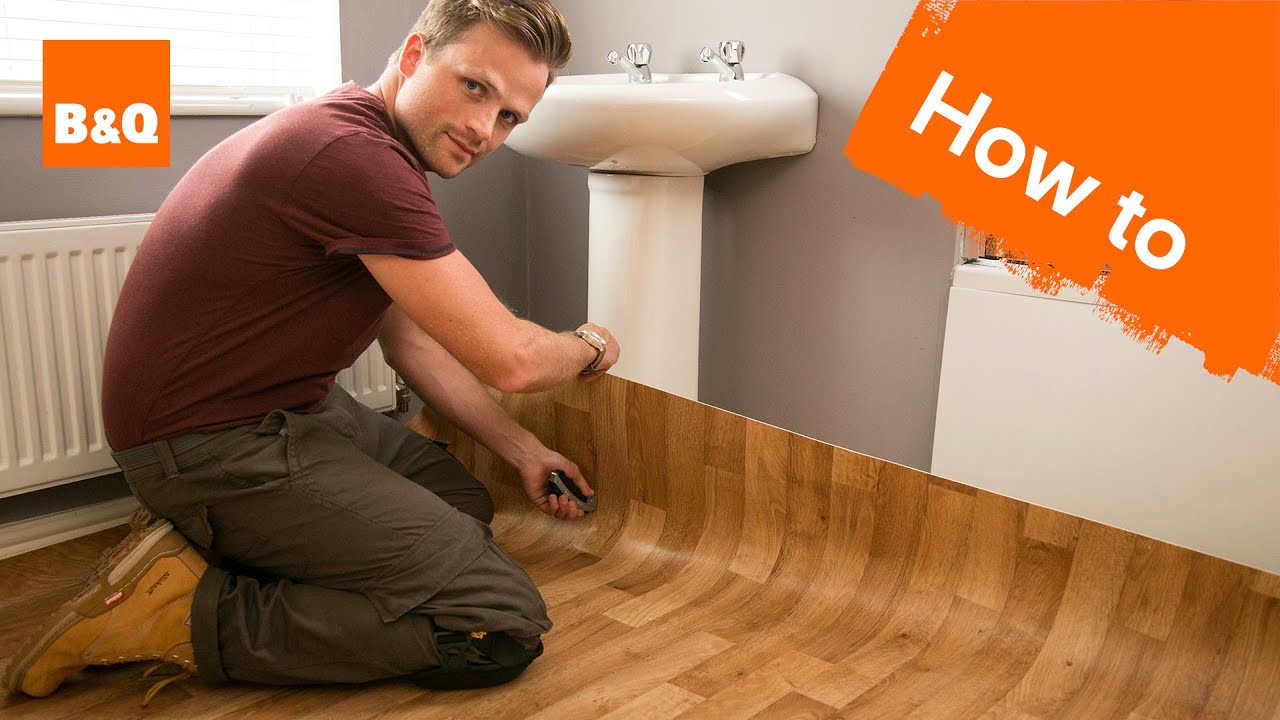
How to lay sheet vinyl flooring
Installing Vinyl Plank Flooring For Beginners – Anikau0027s DIY Life
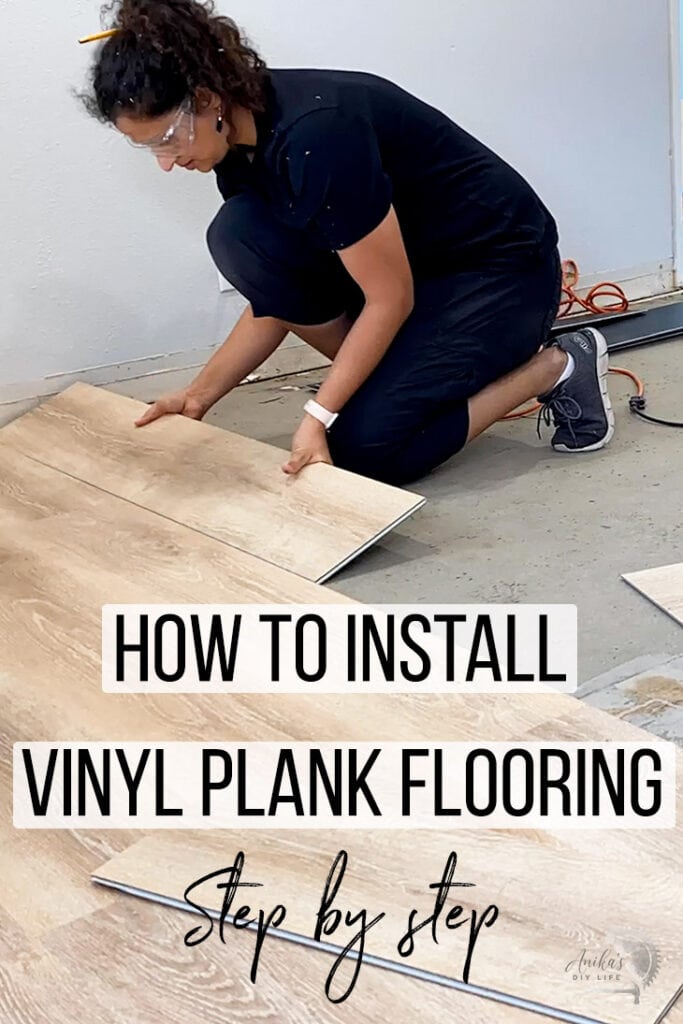
How to Install Vinyl Plank Flooring
/easy-install-plank-vinyl-flooring-1822808-10-6cfb7acfac434155a53e0ef80bfbc825.jpg)
Easiest 5 DIY Flooring Solutions: Learn to Install Flooring On
Installing Vinyl Floors – A Do It Yourself Guide – The Honeycomb Home
How to Install Vinyl Plank Flooring
/easy-install-plank-vinyl-flooring-1822808-hero-cefa2d84f781434b9e1e73a0c44e3a5c.jpg)
How to Install Vinyl Plank Flooring
10 Beginner Mistakes Installing Vinyl Plank Flooring – YouTube

How to Install Vinyl Plank Flooring
How to Install Vinyl Plank Flooring
/easy-install-plank-vinyl-flooring-1822808-05-91e4c44966a145a39ad38430e4f7cc45.jpg)
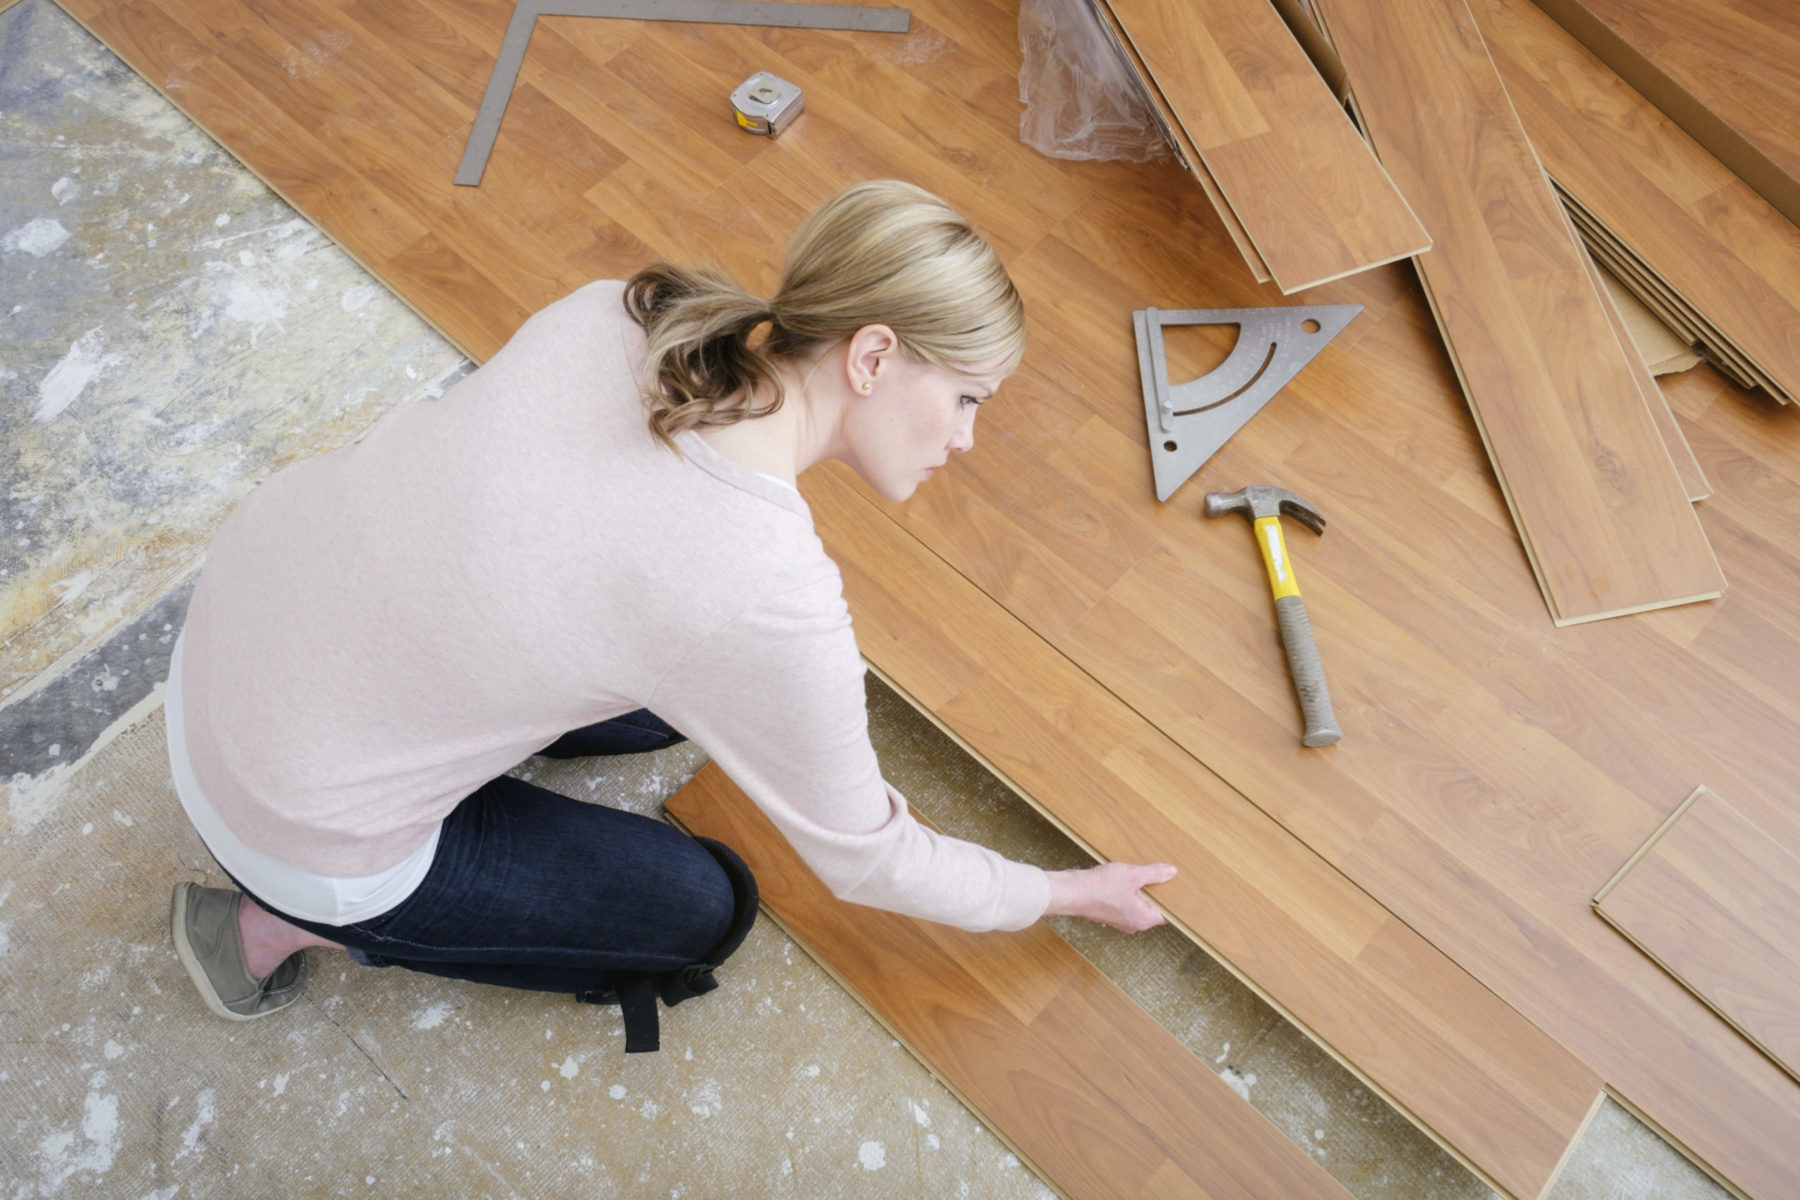
How to Install Vinyl Plank Flooring as a Beginner Home

How to Install Vinyl Plank Flooring Loweu0027s

Related articles:
- Vinyl Flooring Bathroom Tile
- Modern Vinyl Flooring
- Funky Vinyl Flooring
- Vinyl Flooring For Kitchen
- Vintage Look Vinyl Flooring
- Kitchen Vinyl Floor Tiles Ideas
- Vinyl Flooring With Wood Look
- Waterproof Vinyl Flooring
- Vinyl Flooring For Cheap
- How To Remove Vinyl Flooring
Do It Yourself Vinyl Flooring: A Comprehensive Guide
Introduction
Vinyl flooring has become increasingly popular in recent years due to its durability, affordability, and versatility. Not only is it a cost-effective option for homeowners, but it also offers a wide range of design choices to suit any style or preference. One of the major advantages of vinyl flooring is that it can be easily installed as a do-it-yourself project. In this comprehensive guide, we will walk you through the step-by-step process of installing vinyl flooring yourself, along with answering some frequently asked questions to ensure a successful DIY project.
1. Understanding Vinyl Flooring
Before diving into the installation process, let’s first understand what vinyl flooring is and its benefits. Vinyl flooring is a synthetic material made primarily from polyvinyl chloride (PVC) resin and various additives that give it its durability and flexibility. It can mimic the look of natural materials such as wood or stone, making it an attractive option for those seeking a more budget-friendly alternative.
FAQ:
Q: Is vinyl flooring suitable for all areas of my home?
A: Yes, vinyl flooring is suitable for almost any room in your home, including high-traffic areas like kitchens and bathrooms.
2. Gathering the Necessary Tools and Materials
To begin your DIY vinyl flooring project, you’ll need to gather the necessary tools and materials. Here’s a list of items you’ll require:
– Vinyl flooring planks or sheets
– Utility knife
– Measuring tape
– Straight edge or ruler
– Adhesive or double-sided tape (depending on the type of vinyl chosen)
– Trowel or roller
– Floor primer (if recommended by the manufacturer)
– Underlayment (if required)
FAQ:
Q: What is the difference between vinyl planks and vinyl sheets?
A: Vinyl planks are individual pieces that resemble hardwood flooring, while vinyl sheets come in large rolls and provide a seamless look.
3. Preparing the Subfloor
Before installing vinyl flooring, it’s crucial to prepare the subfloor properly. Begin by removing any existing flooring, such as carpet or tiles, and ensure that the subfloor is clean, dry, and level. If there are any imperfections or cracks in the subfloor, patch them up using a suitable filler and sand down any rough areas.
FAQ:
Q: Do I need to remove the baseboards before installing vinyl flooring?
A: It is recommended to remove baseboards to achieve a more professional finish. However, if you prefer not to remove them, you can install quarter-round molding later to cover the expansion gap.
4. Installing Underlayment (if required)
Depending on the type of vinyl flooring you choose, an underlayment may be necessary. An underlayment provides additional cushioning, insulation, and noise reduction. If your vinyl flooring requires an underlayment, carefully follow the manufacturer’s instructions for installation.
FAQ:
Q: Can I skip using an underlayment?
A: While some vinyl flooring products do not require an underlayment, it is generally recommended to use one to improve comfort and longevity.
5. Measuring and Cutting Vinyl Flooring
Accurate measurements are crucial for a successful vinyl flooring installation. Start by measuring the length and width of the room, taking into account any nooks or corners that may require special attention. Use a straight edge or ruler to mark your measurements on the backside of the vinyl flooring planks or sheets.
FAQ:
Q: How much extra Vinyl flooring should I purchase for waste and cutting mistakes?
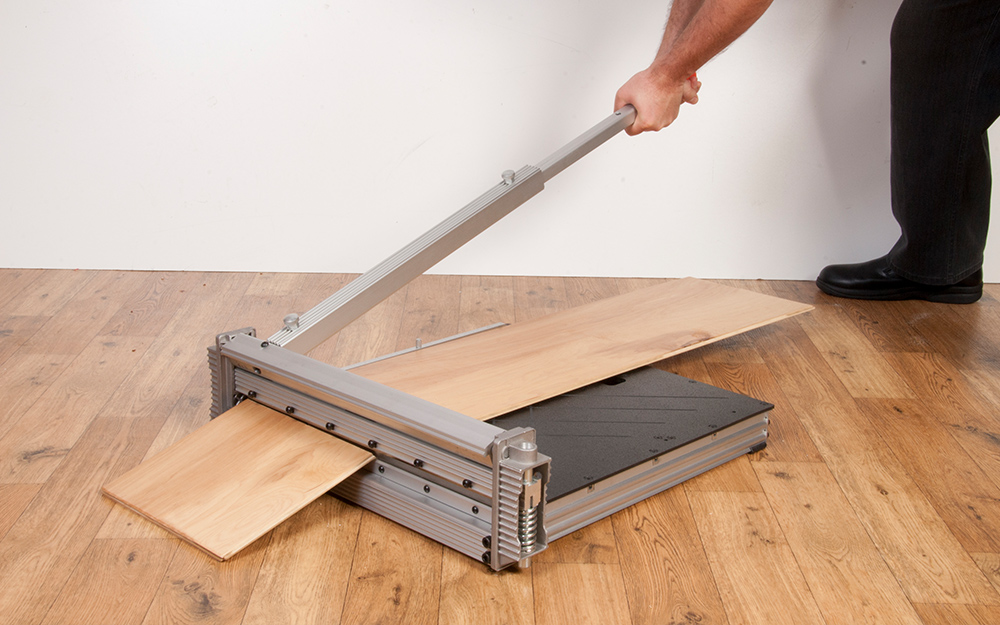
A: It is generally recommended to purchase an extra 5-10% of vinyl flooring to account for waste and cutting mistakes. This ensures that you have enough material to complete the installation without running out. Q: How do I cut vinyl flooring planks or sheets?
A: To cut vinyl flooring, use a utility knife or a vinyl cutter. Score the plank or sheet along the marked line and then bend it to snap it apart. Alternatively, you can use a straight edge as a guide and cut along it with a utility knife.
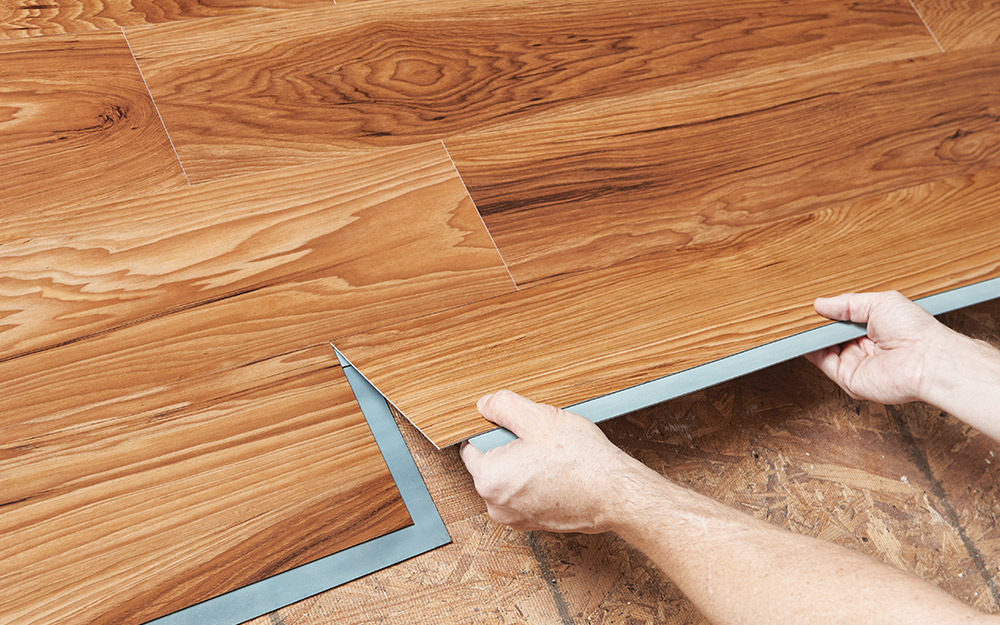
6. Applying Adhesive or Double-Sided Tape
Depending on the type of vinyl flooring you have chosen, you will either need to apply adhesive or use double-sided tape. Follow the manufacturer’s instructions for applying the adhesive or tape evenly on the subfloor. Make sure to work in small sections to prevent the adhesive from drying out before laying the vinyl flooring.
FAQ:
Q: How long does the adhesive take to dry?
A: The drying time for adhesive varies depending on the product and environmental conditions. It is best to refer to the manufacturer’s instructions for specific drying times.
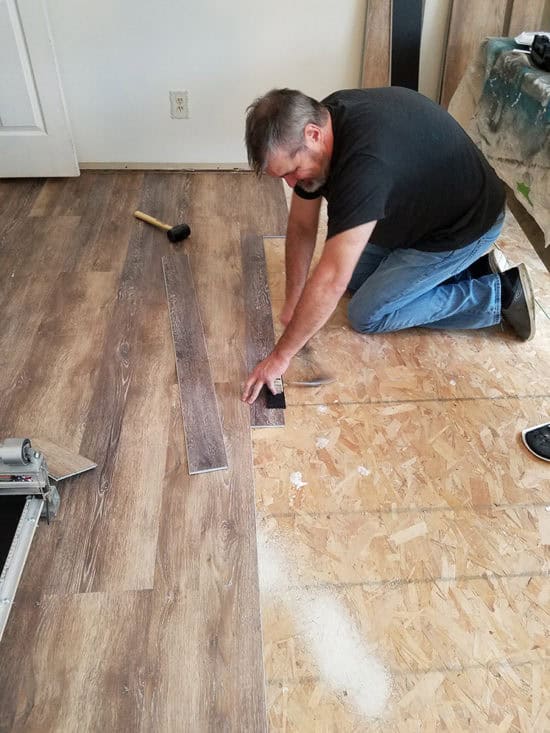
7. Installing Vinyl Flooring
Once the adhesive or tape is applied, carefully lay the vinyl flooring planks or sheets onto the subfloor, starting at one end of the room. Press down firmly to ensure proper adhesion and use a trowel or roller to remove any air bubbles and create a smooth surface.
FAQ:
Q: Can I install vinyl flooring over existing tiles?
A: Yes, in most cases, you can install vinyl flooring over existing tiles as long as they are clean, level, and well-adhered. However, it is recommended to check with the manufacturer’s guidelines for compatibility.
Q: Can I install vinyl flooring over concrete?
A: Yes, vinyl flooring can be installed over concrete as long as the concrete is clean, dry, and level. It may be necessary to use a moisture barrier or primer before installing the vinyl flooring.