Tiles are easier to put in though the protection provided to concrete can be achieved by painting as well. Creating your own tile pattern and publishing a complement floor tile allows you to decorate the floor in the own way of yours. They're durable and long lasting – and this is exactly why ceramic tile flooring has been used in bathrooms and kitchens with good results.
Images Related to How To Install Tile Floor Video
How To Install Tile Floor Video
You can in addition cut the tile while you're placing it, but then you have to be sure you haven't laid down the mortar until finally you've made the required cuts. Eliminate all nails and rubble and look at the subfloor closely for symptoms of rot, damaged pimples and warped boards. Styles cover anything from lively to subdued; textures differ from classically sleek to antiqued markings.
How To Install Luxury Vinyl Tile

You can do the mosaic snapshot on your own by putting together parts of floor tiles together or you are able to get the pre-arranged mosaic flooring and also lay the sheet on the flooring. The first task is taking up the old floor covering, whatever it may be. The intersection of the two lines of the plus is actually the facility of the floor space; it is here that you must begin your ceramic tile flooring installation.
How To Lay Floor Tiles RONA

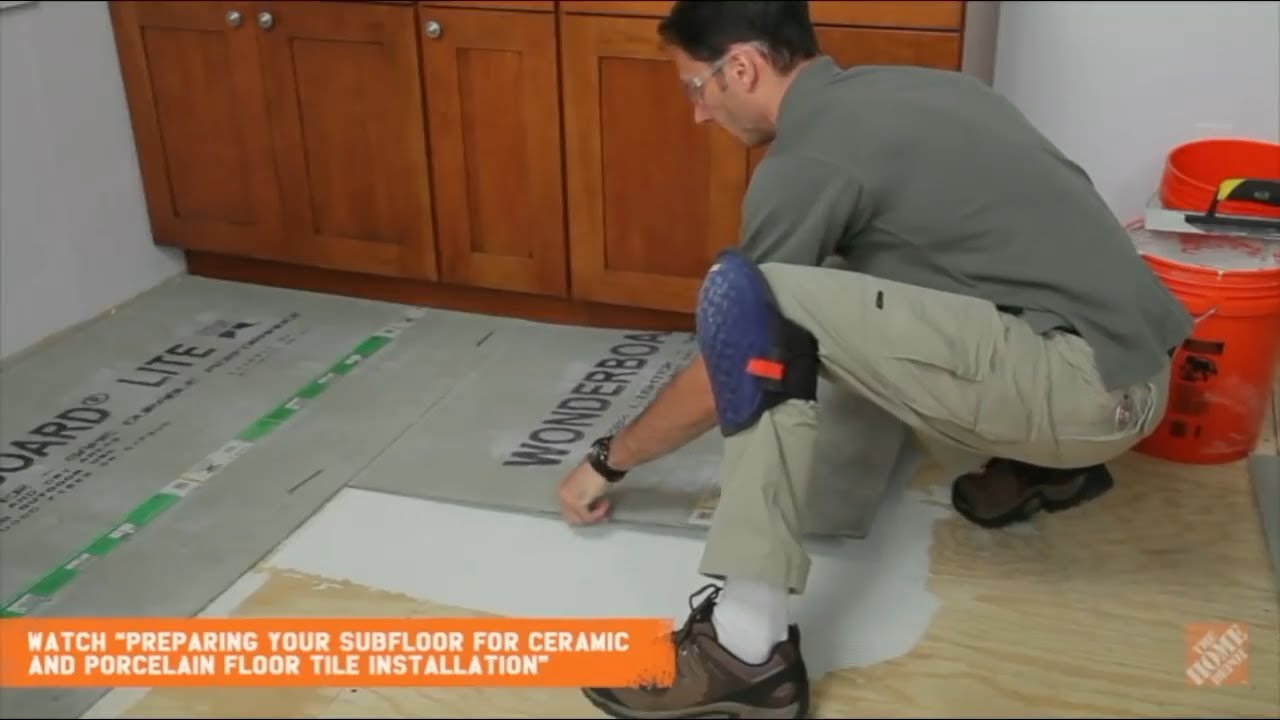
Tile Floor Installation: How to Prepare and Lay Tile The Home

Installing a Large-format Tile Floor – Part Two – Tiling a large-format floor
How To Tile a Bathroom Floor
How to Tile a Kitchen Floor Part 1 The Home Depot

How to Install Ceramic Tile

TILE A FLOOR — Easy Installation Guide for Beginners – YouTube
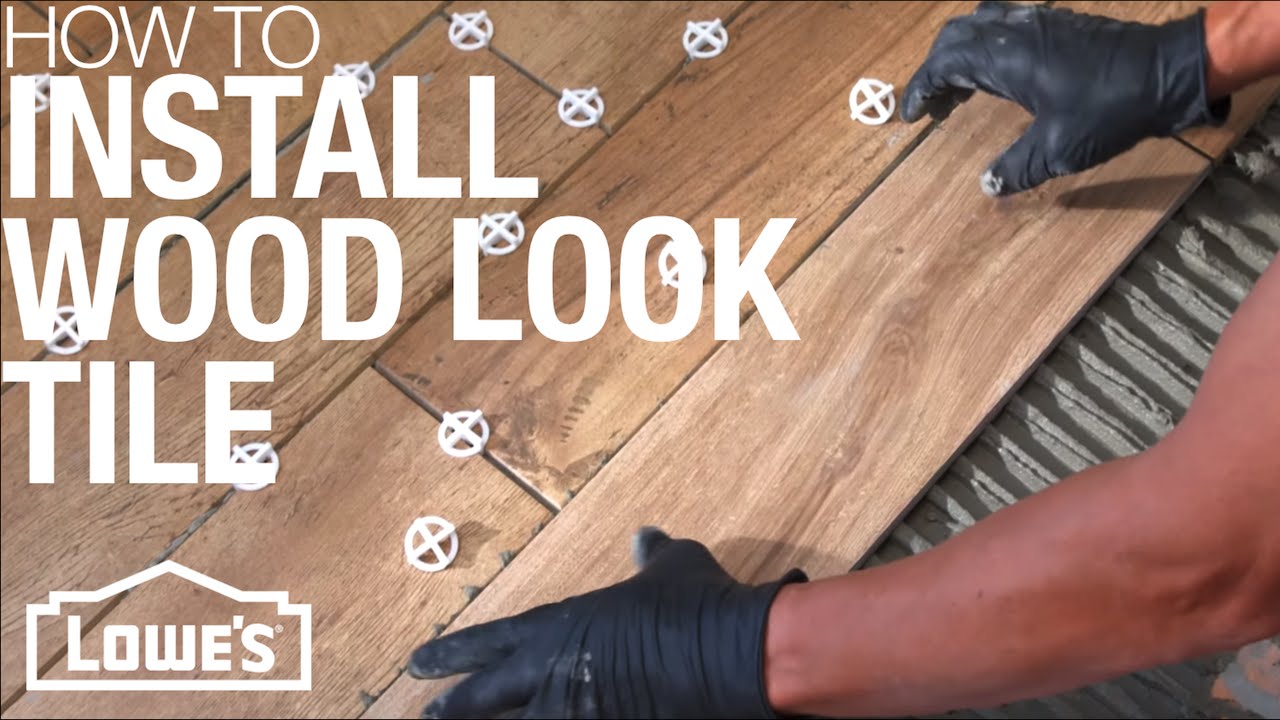
How To Install Wood Look Tile
Installing Your Peel-and-Stick Vinyl Tile Floor

How to install tile in a basement washroom floor on concrete like a pro! Start to finish

How to Install Ceramic Tile Flooring in 9 Steps – This Old House
:no_upscale()/cdn.vox-cdn.com/uploads/chorus_asset/file/19497064/howto_tile_12.jpg)
Tile Floor Installation: How to Prepare and Lay Tile The Home Depot
Related articles:
- Vintage Bathroom Floor Tile Patterns
- Bathroom Floor Tile DIY
- Limestone Bathroom Floor Tiles
- Bathroom Floor Porcelain Tile
- Concrete Bathroom Floor Ideas
- White Bathroom Ceramic Tiles
- Bathroom Floor Baseboard
- Rustic Bathroom Flooring Ideas
- Bathroom Flooring Options
- Bamboo Bathroom Flooring Ideas
Installing a tile floor can be daunting, but with the right preparation and guidance, it can be a straightforward process. With the help of this step-by-step guide, you can learn how to install tile floor video and complete your project with confidence.
Step 1: Prepare the Floor
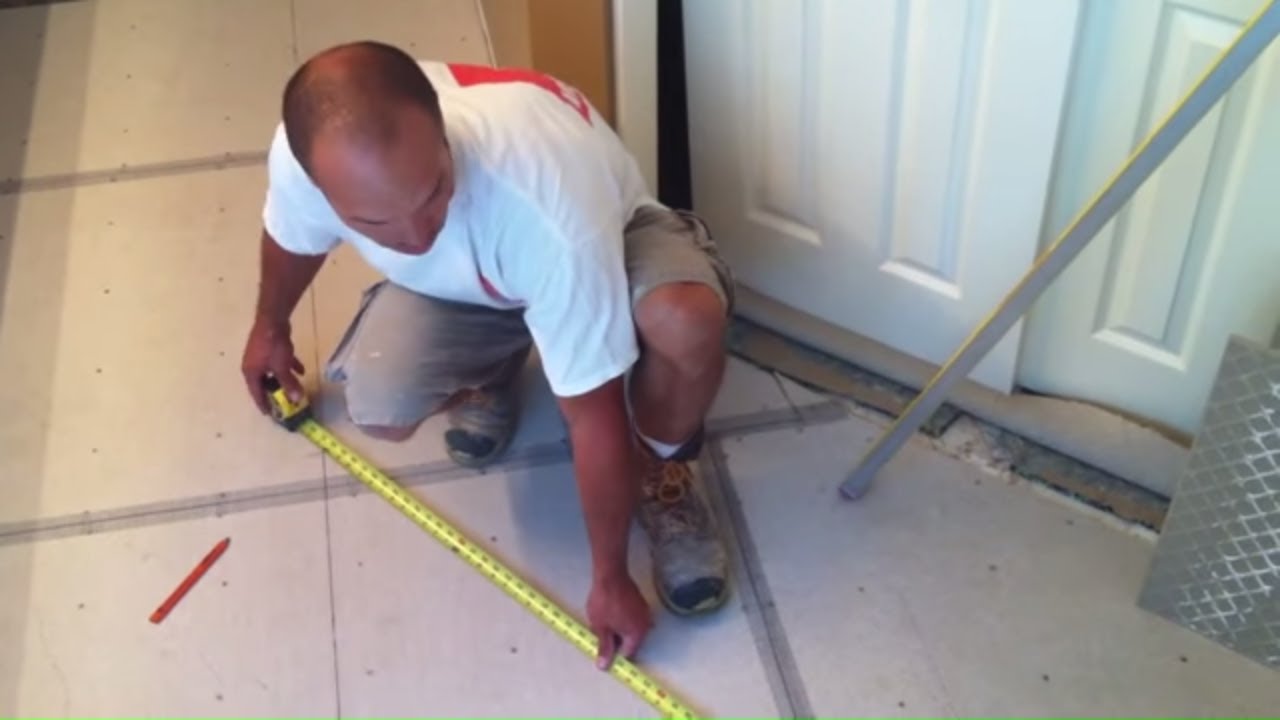
Before you begin tiling, you’ll need to make sure the subfloor is level and free of debris. Sweep the area thoroughly with a broom to remove any dust, dirt, or other particles. If necessary, use a level to check the floor for evenness. If needed, you can use self-leveling compound to create a level foundation.
Step 2: Dry Lay the Tiles
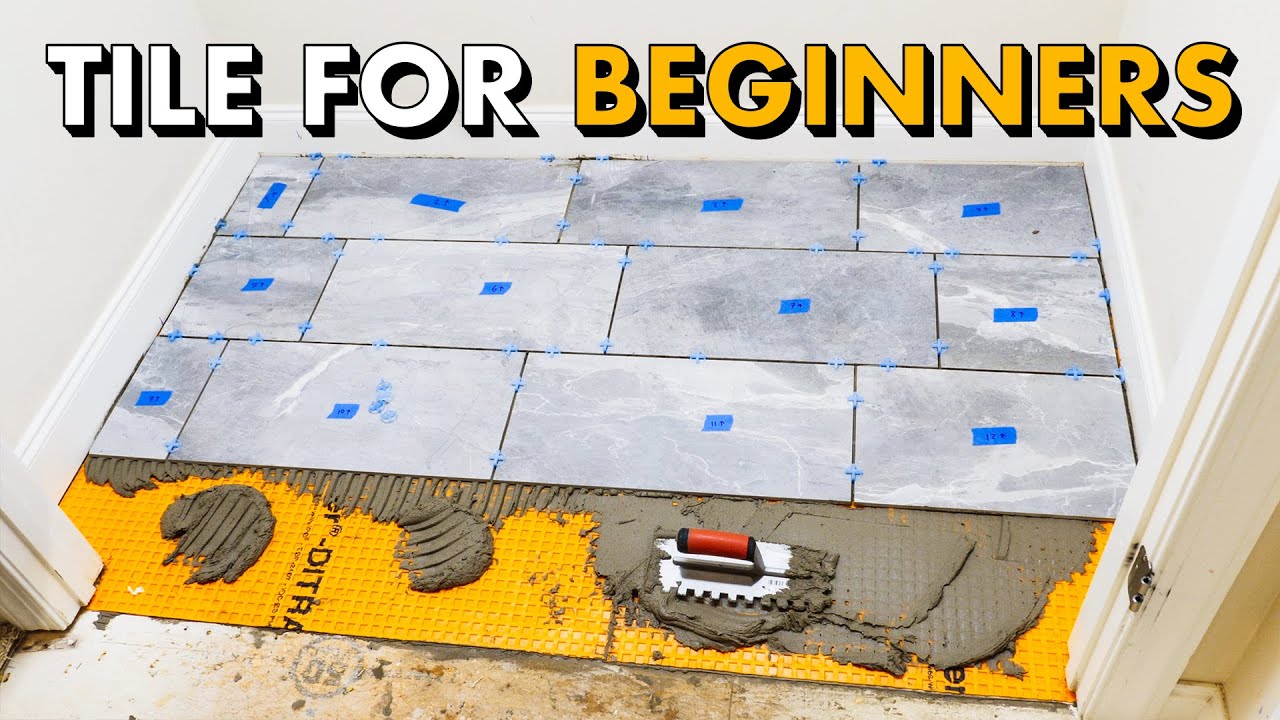
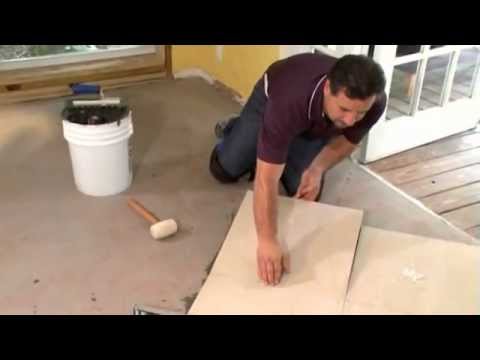
Once the floor is ready, start laying out the tiles in the desired pattern. Place them on the subfloor without using any mortar or adhesive to make sure they fit correctly. This allows you to adjust the layout if needed before you begin installing the tiles.
Step 3: Spread Adhesive
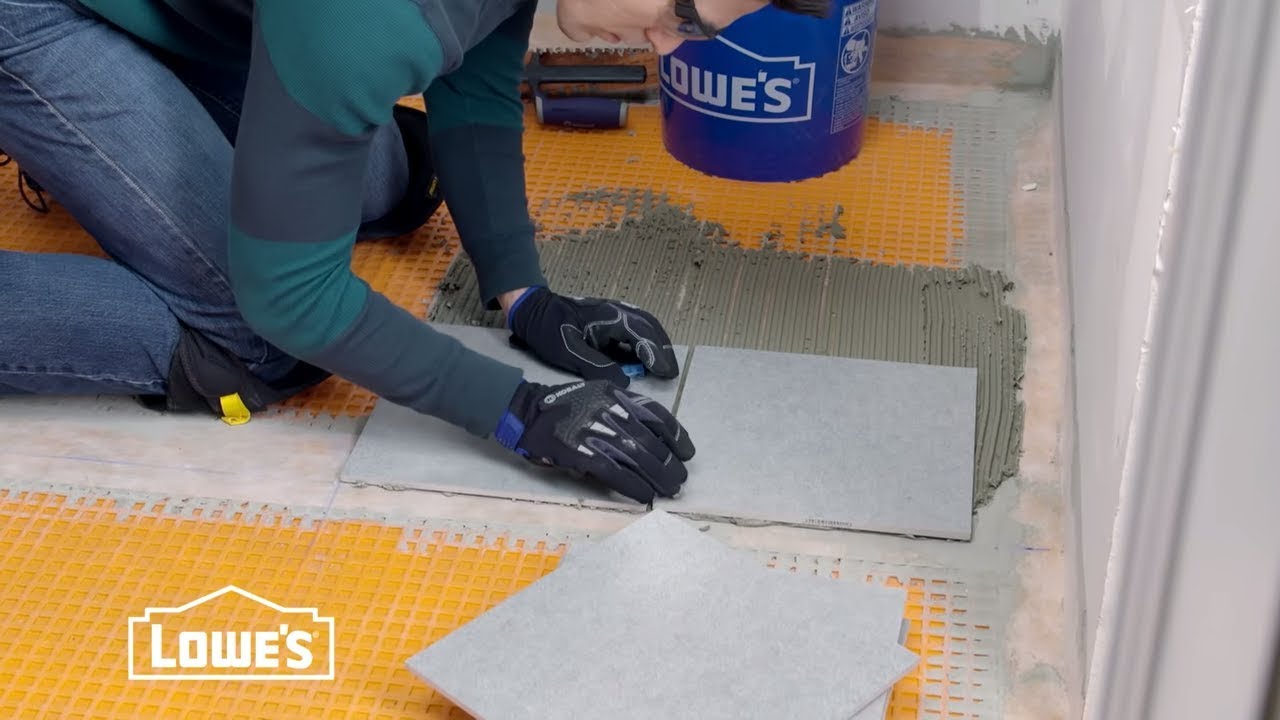
When you’re satisfied with the layout, it’s time to spread adhesive onto the subfloor. Use a notched trowel to ensure that the adhesive is evenly applied over the entire area. Make sure to spread enough adhesive so that it covers all of the tiles and extends slightly beyond their edges.
Step 4: Place Tiles
Working from one corner of the room, start placing your tiles on top of the adhesive. Make sure each tile is fully seated against its neighbors and also against all walls. Use spacers between each tile for a consistent grout line size.
Step 5: Cut Tiles as Needed
As you continue tiling, you may need to cut tiles along walls or around corners. Use a wet saw or manual tile cutter to make straight cuts. For curved cuts or circles, use a tile hole saw or a jigsaw with a diamond blade.
Step 6: Allow Adhesive to Set
After all of your tiles are in place, allow the adhesive to set completely before moving on to grouting. This usually takes 24 hours or longer depending on temperature and humidity levels in your area. You should also avoid walking on tiled areas during this time as well.
Step 7: Apply Grout
Once your adhesive has set, use a rubber float and grout in your desired color to fill in the spaces between tiles. Make sure to press firmly and remove any excess grout from surfaces of tiles as you go along. Allow grout to partially dry before removing excess residue from tile surfaces with a damp sponge or cloth.
Step 8: Seal Grout Lines
Finally, seal your grout lines with a quality sealant for added protection against moisture and staining. Choose an appropriate sealant for your type of tile and follow manufacturer instructions for best results. For extra protection against water damage, consider applying an additional waterproofing membrane over your finished tile floor.
FAQs About Installing Tile Floors
Q: What type of tools do I need to install tile floors?
A: You’ll need a level, a notched trowel, spacers, a wet saw or manual tile cutter, a jigsaw with diamond blade (if needed), grout and sealant (in desired colors), and a rubber float and sponge/cloth for cleaning up excess grout residue (optional).
Q: How long does it take to install a tile floor?
A: It depends on the size of your project and your experience level. Generally speaking, it usually takes at least one full day for prep work and installation of an average-sized room (100 square feet). It may take additional time for larger projects or for more complicated designs such as mosaics.
Q: How much does it cost to install tile floors?
A: The cost of installing tile floors will vary based on several factors such as type of material used and complexity of design. Generally speaking, most projects range from $2-$8 per square foot (materials