With the best floor, the basement of yours may be the first space in the home of yours you think of instead of one of the previous. Upgrading this ugly concrete not merely makes the room more inviting for you and your family, it could also boost the resale value of the home of yours significantly. While some floors are appropriate for underneath grade installation, others aren't.
Here are Images about How To Finish A Concrete Basement Floor
How To Finish A Concrete Basement Floor

Like every additional space in your home, compare and contrast the options of yours when you're looking for basement flooring. It is going to last long to a number of years and keeps the neat appearance. An extremely popular choice when applying business carpet tiles is using two or perhaps 3 colors to make contemporary designs or checkerboard.
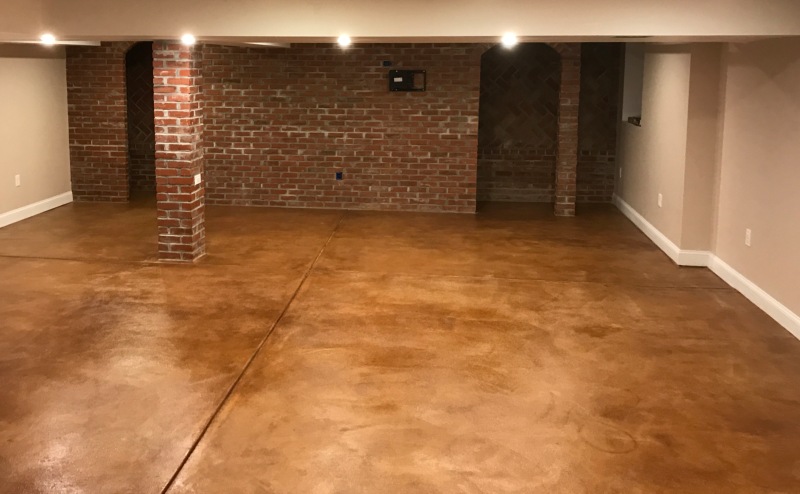
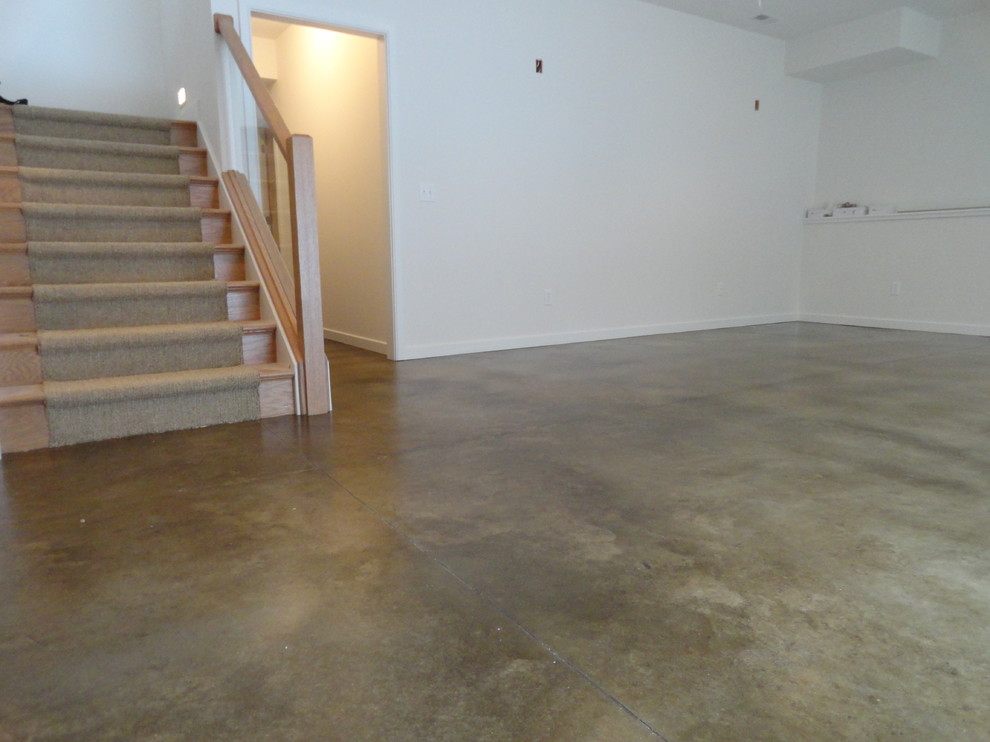
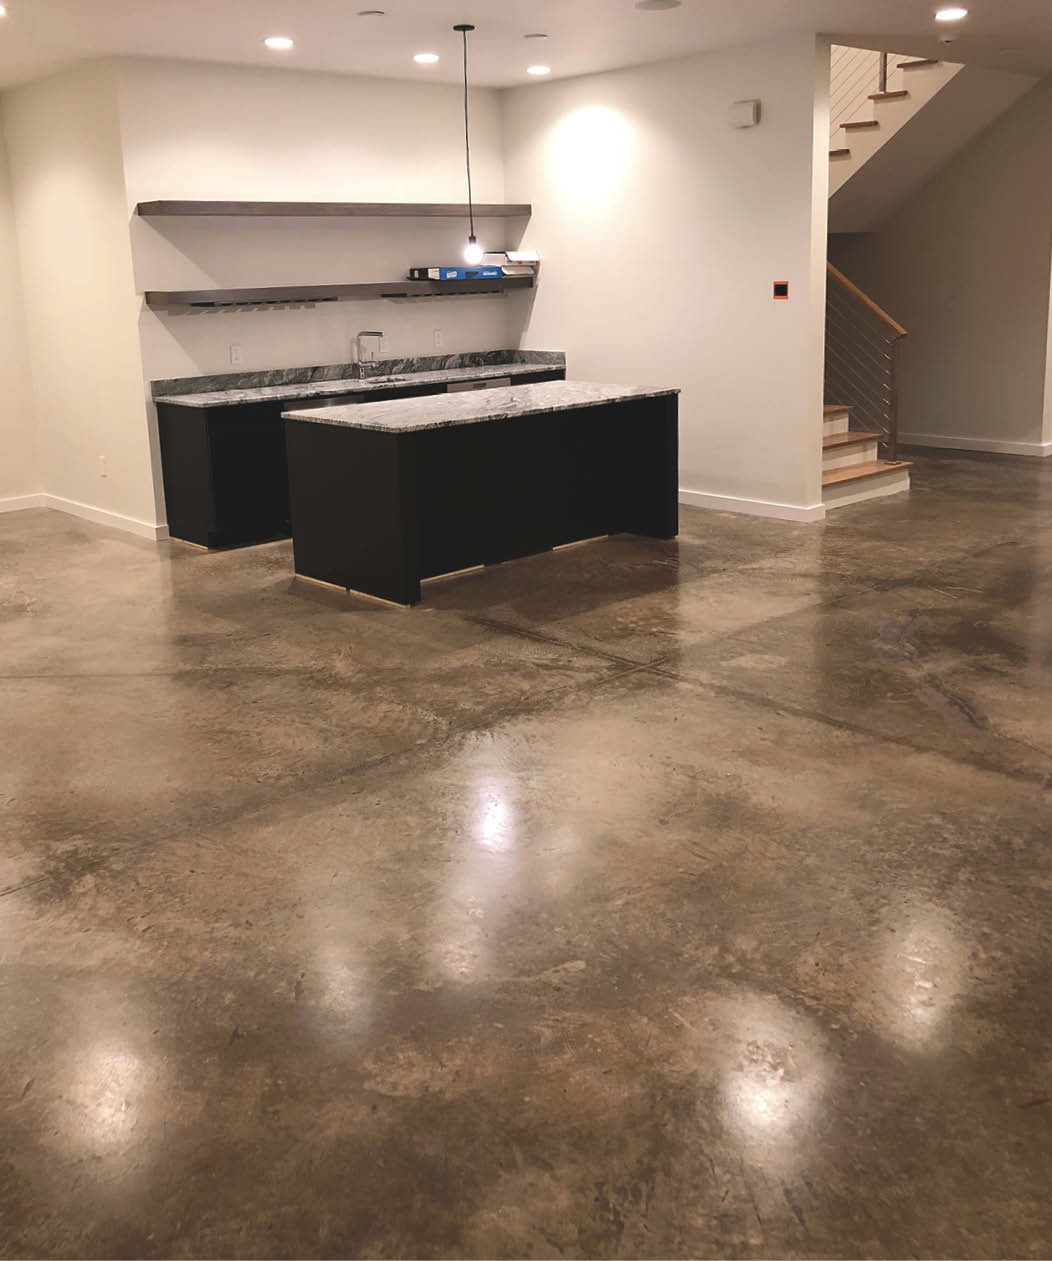
A Guide to Stained Concrete Basement Floors
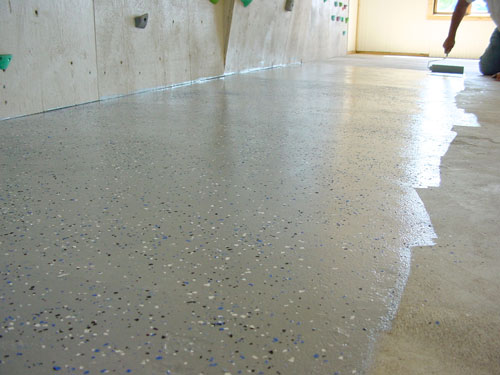
Exactly why is basement floor waterproofing so frequently overlooked, when in case it was done once the basement was built, there would be fewer problems with seepage and flooding? Basements tend to be thought of as just locations for storage with walls and floors concrete where you can put old toys, other things and tools. Vinyl or even acrylic chips are mixed in with the covering to supply a non-slippery surface.
Images Related to How To Finish A Concrete Basement Floor
My most expensive basement finishing MISTAKE and exactly how you

MARBLELIFE® BASEMENT
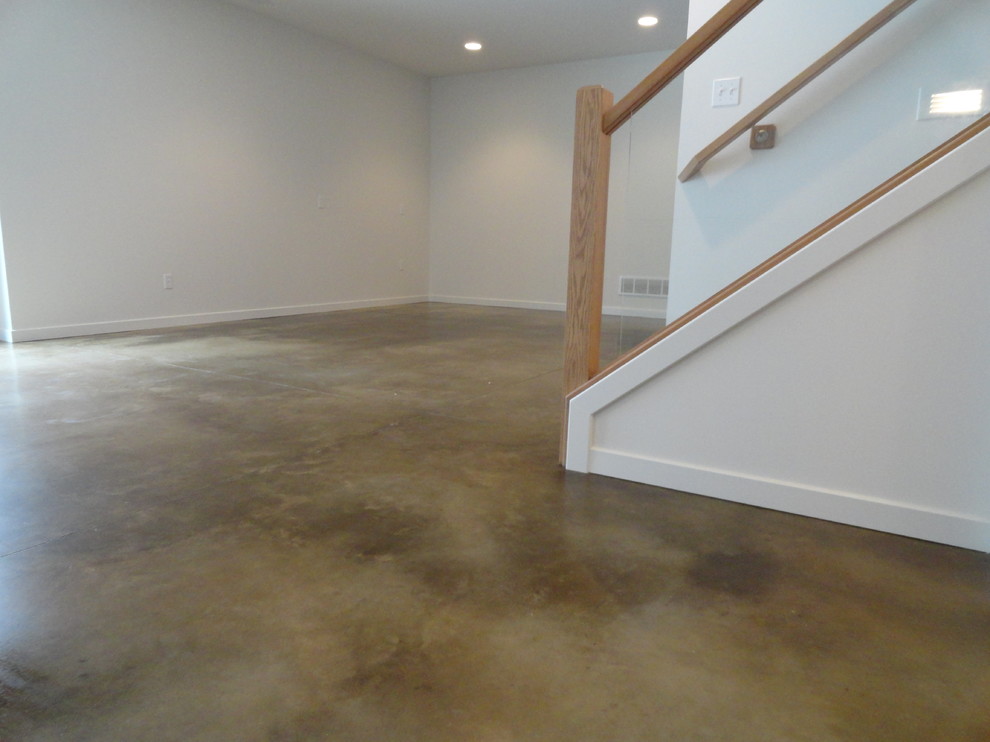
Stained Concrete Basement Floor – Modern – Indianapolis – by
Decorative Concrete Basement Floor Osage Beach, MO Acid Stained w/ Epoxy Finish

15 DIY Basement Flooring Ideas – Affordable DIY Flooring Options
Concrete Basement Floor Benefits u0026 Options – Concrete Network

Ask Steve Maxwell How to fix Concrete Floor Cracks with Epoxy Paint
How To Stain Concrete Floors: Comprehensive Step-By-Step DIY Guide

Stained Concrete Basement Floor – Modern – Indianapolis – by
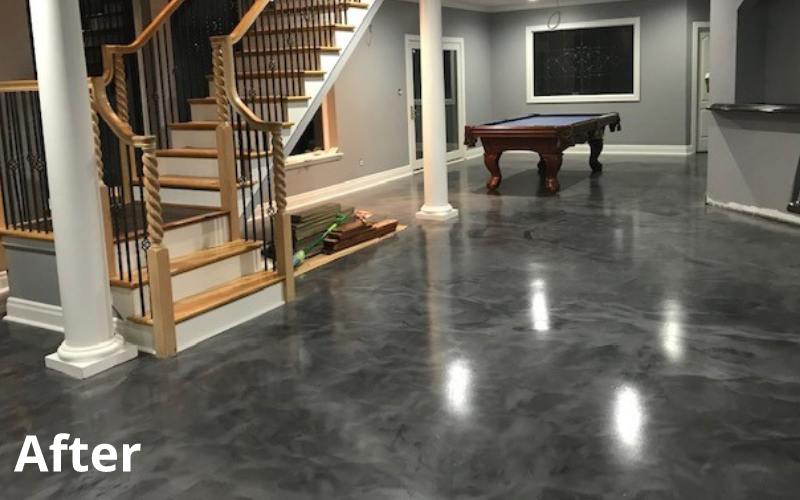
Epoxy Basement Floor: Bringing Life to a Hitherto Forgotten Dingy Room

Alternative Finishes for Interior Concrete Floors – Concrete Decor
Polished Concrete – Resurfacing – Epoxy Finishes Omaha NE

Related articles:
- Stained Concrete Basement Floor
- Finishing Basement Floor
- Refinish Concrete Basement Floor
- Best Flooring For Basement
- Basement Gym Flooring Ideas
- Laminate Flooring In Basement
- Basement Concrete Floor Sweating
- Basement Floor Finishing Ideas
- Painting Unfinished Basement Floor
- Unique Basement Flooring
Title: How to Expertly Finish a Concrete Basement Floor: A Comprehensive Guide
Introduction:
Finishing your concrete basement floor not only enhances the overall aesthetic appeal of your space but also adds durability and functionality. Whether you’re looking to transform it into a cozy living area, a home gym, or a recreational room, this article will guide you through the step-by-step process of achieving a flawless finish. From prepping the surface to applying the finishing touches, we’ll cover everything you need to know.
I. Preparing the Concrete Basement Floor:
Before embarking on the finishing journey, it’s crucial to thoroughly prepare the concrete basement floor for optimal results.
a. Cleaning and Repairing:
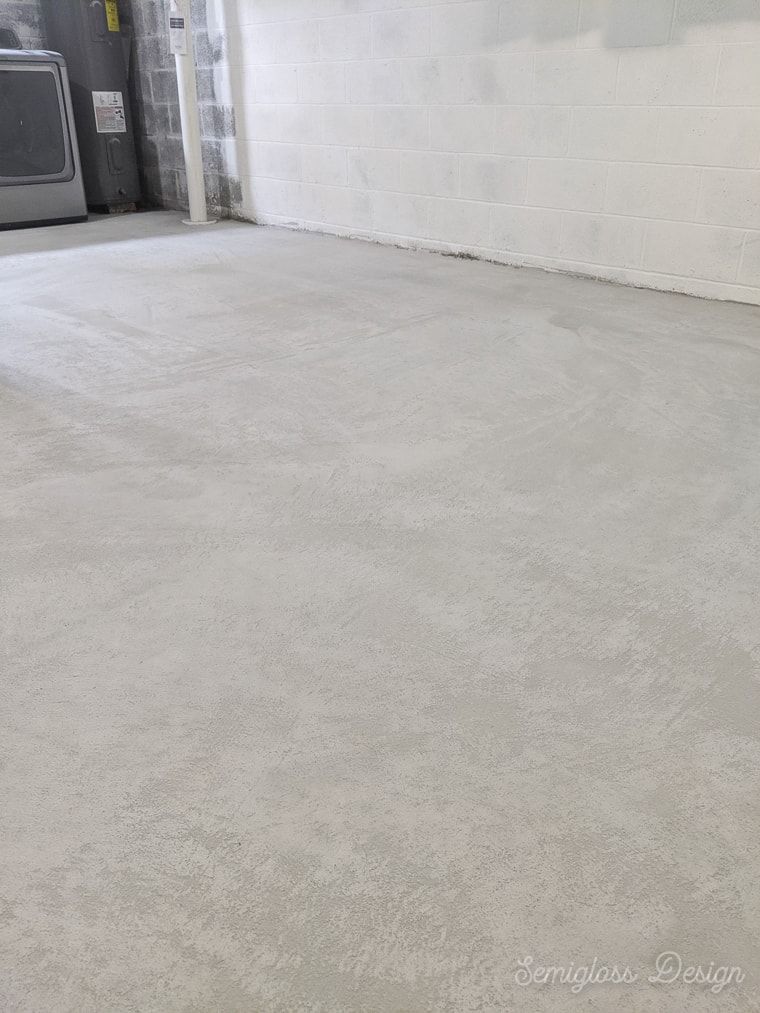
Start by clearing out any debris, loose materials, or existing flooring. Sweep the entire area and use a shop vacuum to remove any remaining dust or dirt. Inspect the floor for cracks, chips, or uneven patches. Fill in these imperfections using an appropriate concrete repair compound and level them with a trowel.
FAQ: Can I apply a finish directly over an old basement floor?
Answer: It is recommended to remove any existing finishes or adhesives before starting the finishing process. This ensures better adhesion and longevity of your new finish.
b. Moisture Testing:
Conducting a moisture test is crucial to prevent future issues such as mold growth or flooring damages. Tape a plastic sheet securely onto different areas of the floor and leave it undisturbed for 24 hours. If condensation appears under the plastic, you may need to address moisture concerns before proceeding further.
FAQ: How can I address excessive moisture in my basement?
Answer: To mitigate high moisture levels, consider installing a vapor barrier or applying specialized waterproofing products designed for basement floors. Consulting a professional may be beneficial in determining the most suitable solution for your specific situation.
II. Applying Subfloor Insulation:
While not mandatory, insulating your basement floor can significantly improve insulation, energy efficiency, and overall comfort. Follow these steps to install subfloor insulation effectively.
a. Choose the Insulation Material:
Opt for a rigid foam insulation board with high R-value and moisture resistance. Measure and cut the boards to fit the dimensions of your basement floor, leaving a small gap around the perimeter for expansion.
b. Install the Insulation:
Lay the insulation boards directly onto the clean and prepared concrete floor. Ensure a snug fit by aligning the edges tightly together. Use adhesive or specialized fasteners to secure the boards in place.
c. Seal the Gaps:
To maintain air-tightness and further enhance thermal performance, seal any gaps or joints using spray foam insulation or an appropriate sealant.
FAQ: Is subfloor insulation necessary if my basement is already heated?
Answer: While heated basements may not require subfloor insulation for warmth, it still offers benefits such as reducing heat loss to the ground and providing soundproofing qualities. Additionally, insulating your basement floor can prevent condensation buildup and enhance comfort.
III. Applying a Concrete Moisture Barrier:
To protect your finished floor from moisture seepage, applying a moisture barrier is essential. Follow these steps to ensure proper installation.
a. Select a Moisture Barrier:
Choose a high-quality concrete moisture barrier product that suits your specific needs—consider factors such as thickness, compatibility with adhesives, and its ability to resist water vapor transmission.
b. Prepare the Surface:
Ensure the concrete floor is clean, dry, and free from debris before proceeding With the moisture barrier installation. Sweep or vacuum the floor thoroughly to remove any dirt or dust particles.
c. Apply the Moisture Barrier:
Using a roller or brush, apply the moisture barrier product evenly onto the entire surface of the concrete floor. Follow the manufacturer’s instructions regarding application thickness and drying time.
d. Allow for Drying Time:
After applying the moisture barrier, allow sufficient drying time as specified by the manufacturer before proceeding with further flooring installation.
FAQ: Can I skip applying a concrete moisture barrier if my basement doesn’t have water issues?
Answer: It is still recommended to apply a concrete moisture barrier as a precautionary measure, even if your basement doesn’t currently have water issues. This will help protect your finished floor from any potential future moisture problems, such as leaks or condensation.
IV. Installing the Finished Floor:
Once you have completed all necessary preparations and installations, you can proceed with installing your desired finished floor material. Follow these general steps for a successful installation.
a. Acclimate the Flooring Material:
Allow the flooring material to acclimate to the basement’s temperature and humidity levels for the recommended period specified by the manufacturer.
b. Follow Manufacturer’s Instructions:
Carefully read and follow the manufacturer’s instructions regarding installation techniques, adhesive application, and any specific requirements for your chosen flooring material.
c. Begin Installation:
Start laying the flooring material from one corner of the basement, working towards the opposite end. Ensure proper alignment and use spacers, if necessary, to maintain consistent spacing between the flooring and walls.
d. Complete Installation:
Continue installing the flooring material, following the manufacturer’s recommended method until you reach the final row. Trim any excess material to fit, leaving a small gap around the perimeter for expansion. E. Finishing Touches:
Once the flooring is fully installed, remove any spacers and clean up any excess adhesive or debris. Install baseboards or trim to cover the gaps around the perimeter, leaving room for expansion. Finally, allow the finished floor to fully cure and dry according to the manufacturer’s instructions before placing furniture or heavy objects on it. Overall, the instructions provide a clear and logical sequence for applying a moisture barrier and installing a finished floor in a basement. The steps are detailed and include important considerations such as acclimating the flooring material and leaving room for expansion.
The use of bullet points and spacing makes the instructions easy to read and follow. However, there are some formatting issues with excessive line breaks between paragraphs that could be cleaned up for better readability.
Including a frequently asked question (FAQ) section is helpful, as it addresses a common concern and provides useful information. The answer given explains the importance of using a moisture barrier even if there are no current water issues in the basement.
In terms of improvement, it would be beneficial to include specific recommendations for the type of moisture barrier product to use and provide more details on how to properly apply it. Additionally, including specific instructions or tips for handling different types of finished flooring materials would enhance the completeness of the guide.