But you might be on a budget or perhaps a passionate DIY enthusiast as well as wish wish to setup the tiles yourself, therefore take a look at this step by phase guide to ceramic tile for the floor flooring installation. For constant washing, damp mopping does the technique. Price of garage tile flooring is able to add up, that is among the drawbacks inflicted on our method. It can instantly change the appearance of any floor.
Images Related to Do It Yourself Tile Flooring Installation
Do It Yourself Tile Flooring Installation
/cdn.vox-cdn.com/uploads/chorus_asset/file/19497064/howto_tile_12.jpg)
Exposure to website traffic and moisture could easily bring about the accumulation of dirt and grime. However, if your home is in places that the house of yours may be ready to accept rain – or moisture – subsequently ceramic tiles would be a great idea as they are a lot better at resisting moisture and temperature changes than any other sort of flooring.
Installing Tile Floor for the First Time // How To Lay Tile Floor
Tiled floors in kitchens, places and food processing facilities commonly feature high concentrations of germ as well as bacteria buildup. Since they're thicker than traditional tiles and equipped to withstand traffic that is heavy, they might be much less prone to cracking than a vulnerable, thinner tile. They're able to generate the effect of having drinking water on your floors that is oh so remarkable.
How to Install Ceramic Tile Flooring in 9 Steps – This Old House
/cdn.vox-cdn.com/uploads/chorus_asset/file/19497110/howto_tile_07.jpg)
DIY Tiling u2013 Is it Worth it? Networx

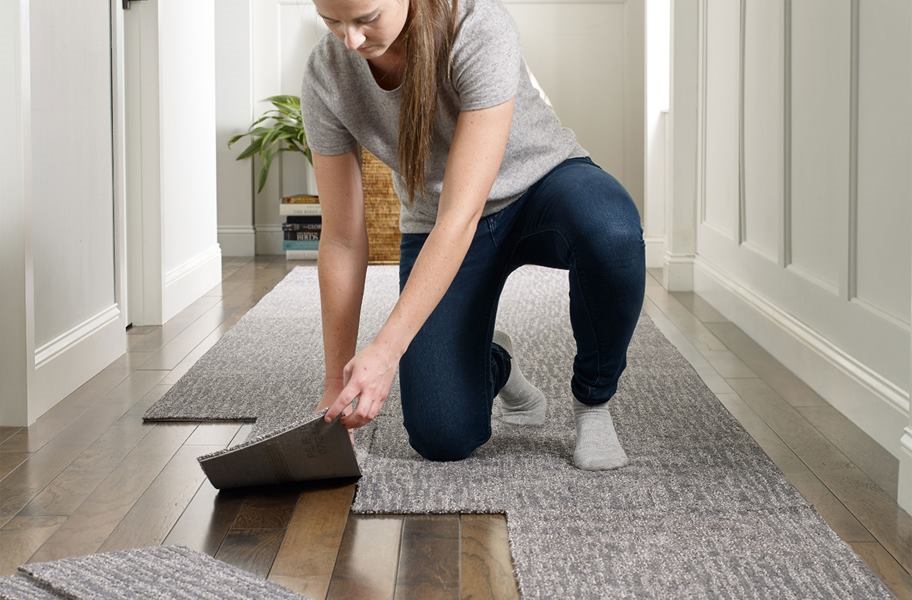
Easiest 5 DIY Flooring Solutions: Learn to Install Flooring On
Installing TILE FLOOR for the FIRST TIME 🛠 How To Lay Tile Floor

How to Install a Tile Floor
How to Lay Tile: Install a Ceramic Tile Floor In the Bathroom (DIY)

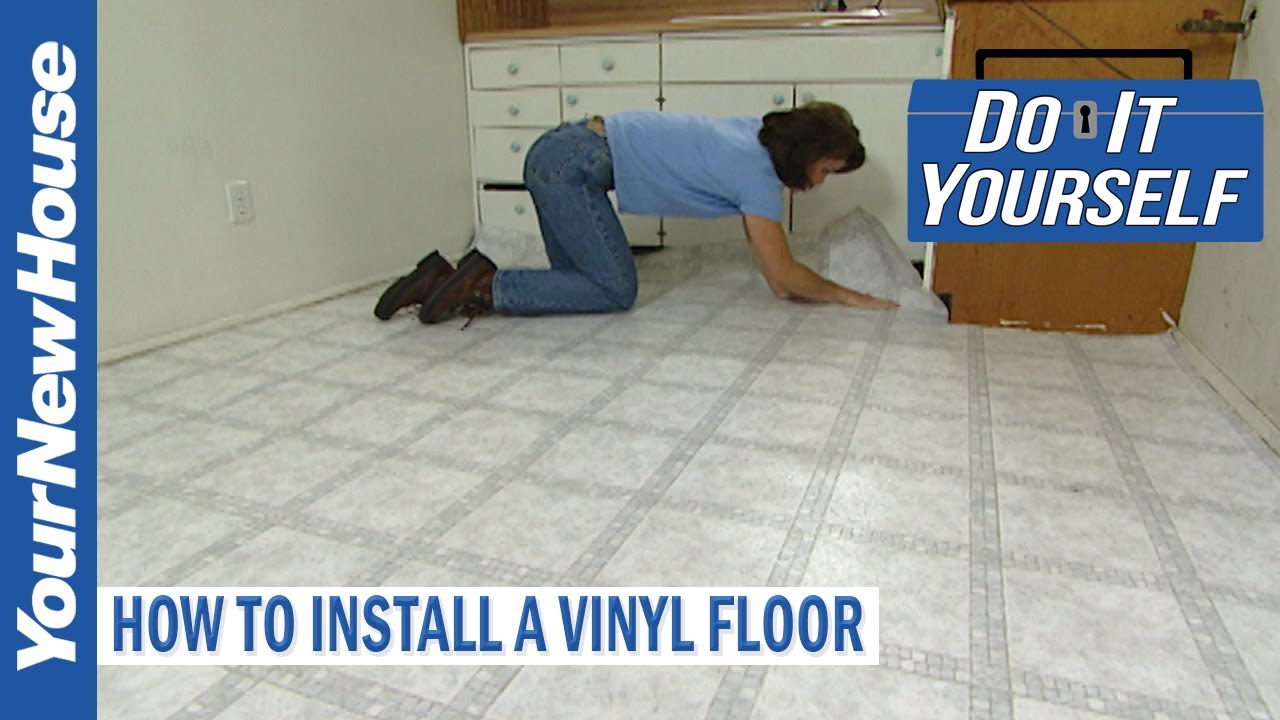
How to Install a Vinyl Floor – Do It Yourself
How to Lay Tile: DIY Floor Tile Installation Loweu0027s
Is Laying Tile Difficult? Hereu0027s What to Know
/how-hard-is-it-to-lay-tile-1822606-hero-f968495a39804d2f82df3e00d9f2b6f6.jpg)
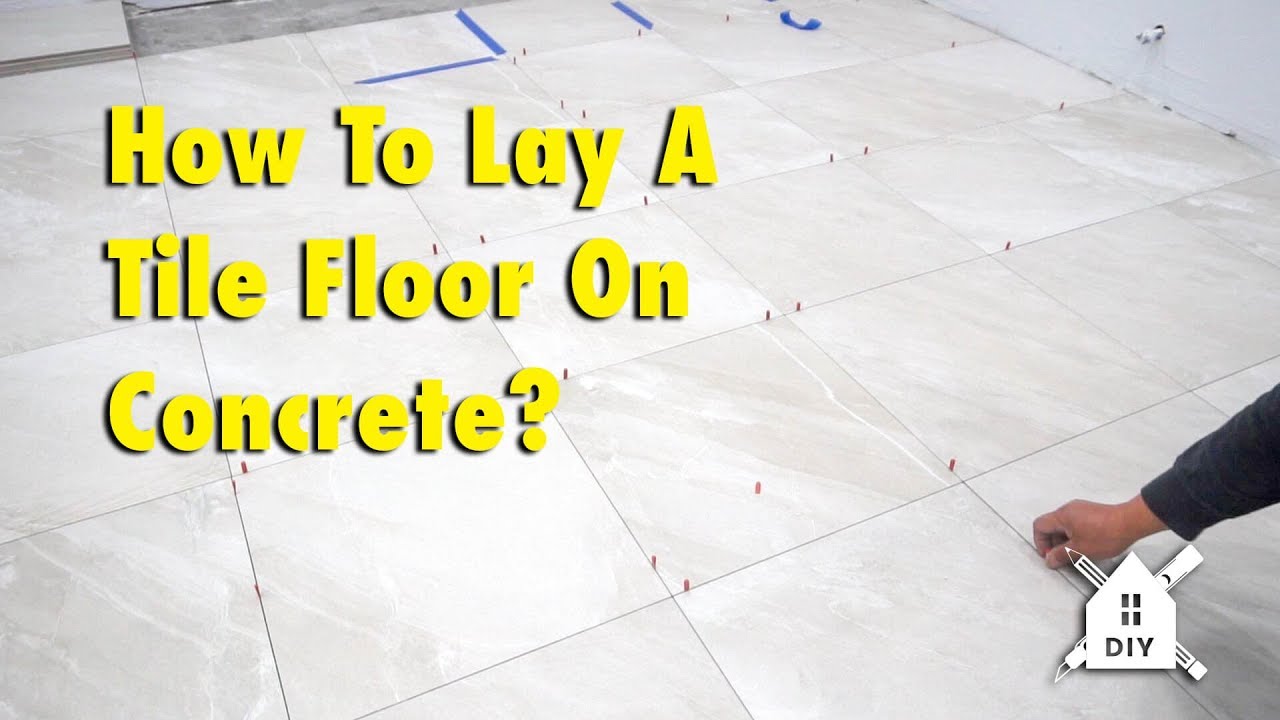
How To Lay A Tile Floor On Concrete #DIY #Homeimprovement
DIY Guide: How to Install Tile Flooring u2013 The Good Guys
Installing Tile Floor for the First Time // How To Lay Tile Floor
Related articles:
- Vintage Bathroom Floor Tile Patterns
- Bathroom Floor Tile DIY
- Limestone Bathroom Floor Tiles
- Bathroom Floor Porcelain Tile
- Concrete Bathroom Floor Ideas
- White Bathroom Ceramic Tiles
- Bathroom Floor Baseboard
- Rustic Bathroom Flooring Ideas
- Bathroom Flooring Options
- Bamboo Bathroom Flooring Ideas
DIY Tile Flooring Installation: A Comprehensive Guide
Installing a tile floor is a big job that requires a lot of time, money, and effort, but it can be done by anyone if they have the right tools and know-how. In this comprehensive guide, we’ll go over everything you need to know about DIY tile flooring installation so you can get the job done right.
Types of Tile Flooring
When it comes to tile flooring, there are many different types to choose from. The most common types are ceramic, porcelain, and natural stone tiles. Each type has its own advantages and disadvantages, so it’s important to consider all the options before making a decision.
Ceramic Tiles: Ceramic tiles are the most affordable option and are available in a wide variety of colors and styles. They’re also easy to install and maintain, making them ideal for DIYers. The downside is that they’re prone to staining and cracking over time.
Porcelain Tiles: Porcelain tiles are more expensive than ceramic tiles but they’re also more durable and resistant to staining and cracking. They come in a wide range of colors and styles, but they require a bit more skill to install properly.
Natural Stone Tiles: Natural stone tiles are the most expensive option but they look beautiful and can last for decades with proper care. They’re also very easy to install and maintain, making them a great choice for DIYers. The downside is that natural stone tiles can be quite heavy, so make sure you have help when installing them.
Tools Needed for Tile Flooring Installation
Before you begin your tile flooring installation project, make sure you have all the necessary tools on hand. You’ll need a trowel with notches of various sizes, a wet saw with diamond blades, grout floats, spacers, measuring tape, chalk line or laser leveler, protective eye wear and gloves, adhesive or mortar mix depending on type of tile being installed as well as grout sealer and grout cleaner for maintenance purposes.
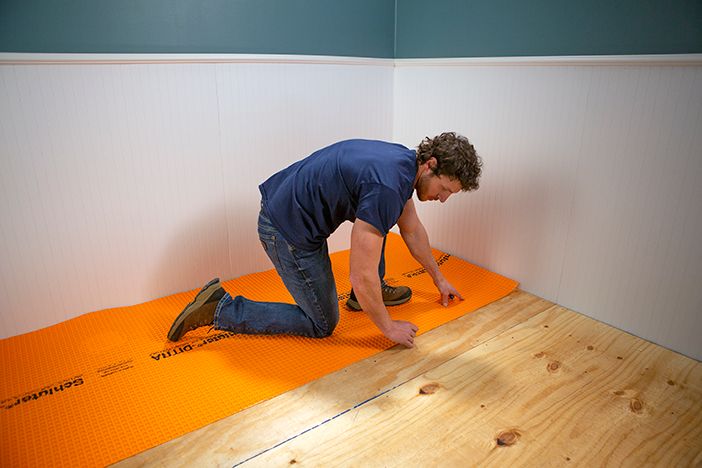
Preparing the Floor
Before installing tile flooring it’s important to prepare the subfloor by cleaning it thoroughly removing any existing debris or dirt that may interfere with proper adhesion of your new tiles. It’s also important to check for any cracks or damaged areas that will need to be repaired prior to installation. Additionally double check any existing subfloor for moisture levels or dryness as this could affect the longevity of your tile flooring installation project if not taken into account before beginning your project.
Installing Tile Flooring
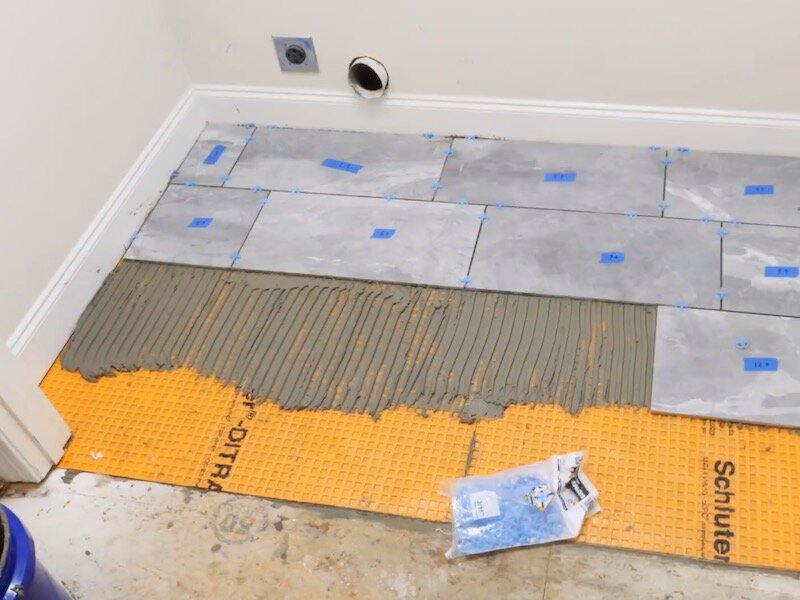
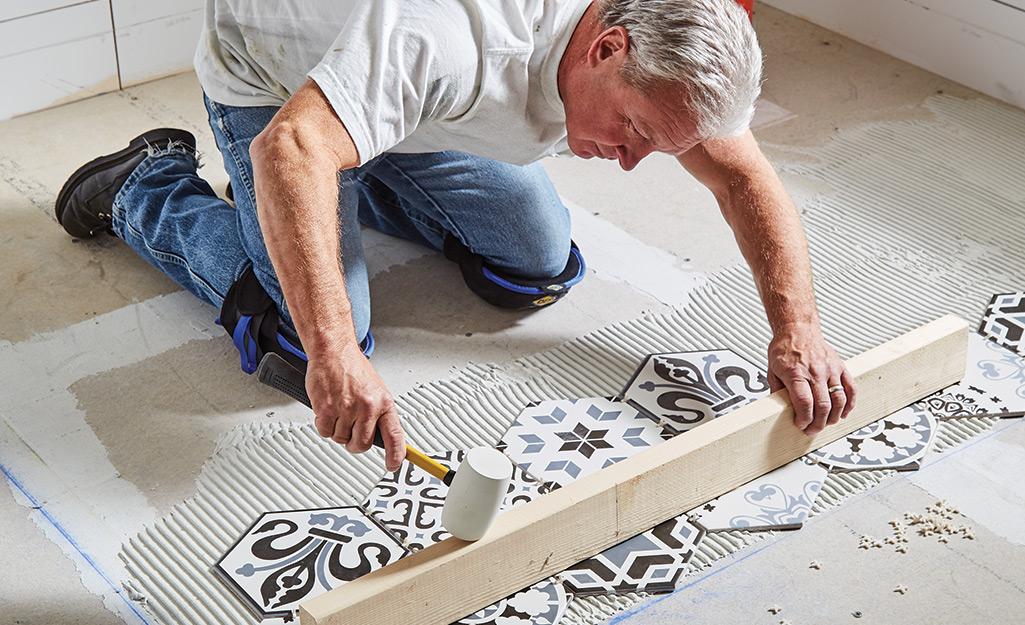
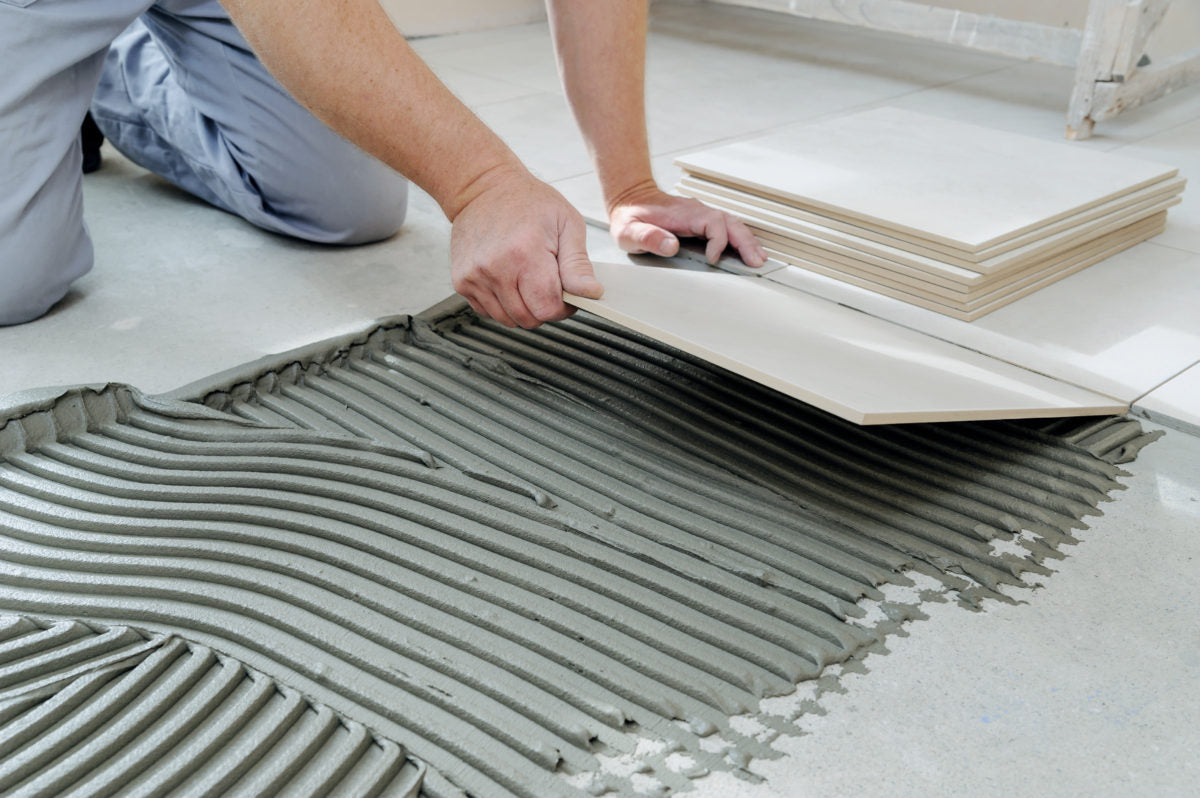
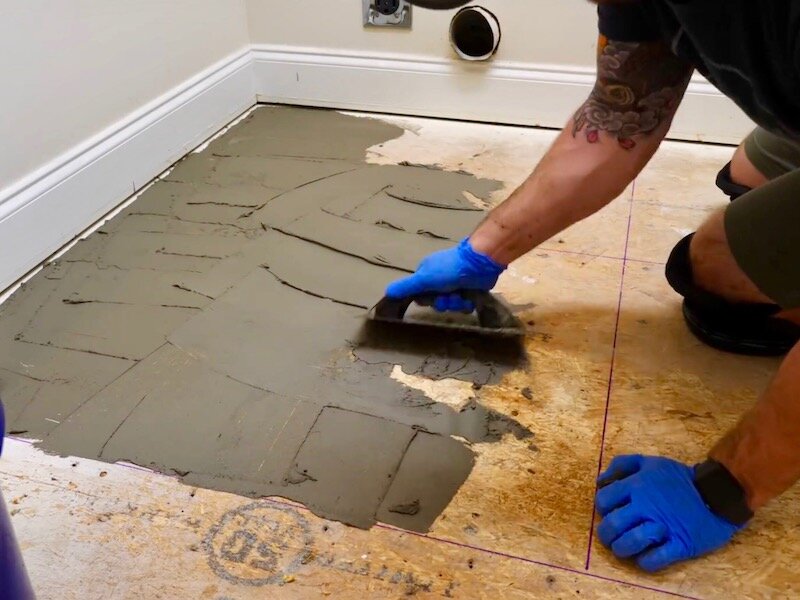
Once you’ve gathered your tools and prepped your subfloor, you can begin installing the tile flooring itself. Start by laying out all your tiles in the pattern you want before applying any adhesive or mortar mix in order to ensure accuracy during installation process as well as an even layout once completed. Once fully laid out carefully apply your adhesive or mortar mix evenly across entire area using either trowel or putty knife depending on thickness desired before laying each individual tile onto adhesive/mortar mix with slight pressure ensuring even coverage across each area being tiled as well as absence of air bubbles between tiles themselves. For best results use spacer wedges between each tile which Will ensure uniform grout lines in the finished product. Once all tiles are laid out and adhesive/mortar mix has dried, it’s time to apply grout. Apply a thin layer of grout across entire area ensuring even coverage as well as absence of air bubbles or lumps before using damp sponge to clean up any excess grout. Allow grout to dry for 24 hours before applying sealer or cleaner for maintenance purposes.
When installing tile flooring, it’s important to have the right tools and materials on hand. Tools that you will need include a trowel with notches of various sizes, a wet saw with diamond blades, grout floats, spacers, measuring tape, chalk line or laser leveler, protective eye wear and gloves, adhesive or mortar mix depending on the type of tile being installed as well as grout sealer and grout cleaner for maintenance purposes. Additionally, it is important to prepare the subfloor by cleaning it thoroughly and removing any existing debris or dirt that may interfere with proper adhesion of your new tiles. Additionally check for any cracks or damaged areas that will need to be repaired prior to installation. Once the subfloor is prepared, you can begin laying out all your tiles in the pattern you want before applying any adhesive or mortar mix in order to ensure accuracy during installation process as well as an even layout once completed. Carefully apply your adhesive or mortar mix evenly across entire area using either trowel or putty knife depending on thickness desired before laying each individual tile onto adhesive/mortar mix with slight pressure ensuring even coverage across each area being tiled as well as absence of air bubbles between tiles themselves. For best results use spacer wedges between each tile which Will ensure uniform grout lines in the finished product. Once all tiles are laid out and adhesive/mortar mix has dried, apply a thin layer of grout across entire area ensuring even coverage as well as absence of air bubbles or lumps before using damp sponge to clean up any excess grout. Allow grout to dry for 24 hours before applying sealer or cleaner for maintenance purposes.
What tools are needed for DIY tile flooring installation?
1. Floor Tiles2. Power Tile Cutter
3. Hammer
4. Notched Trowel
5. Tile Spacers
6. Grout Float
7. Sponge
8. Bucket
9. Sealant
10. Grout