You can opt for one kind of tile when you would like flooring that is durable and beautiful. Glass tiles are widely available in the market with numerous colors and styles along with textures. Work with a scraper at a forty five % angle to push the grout down. One reason behind this particular versatility is the fact that tiles come in a wide variety of colors and sizes.
Images Related to Ceramic Tile Flooring Pictures
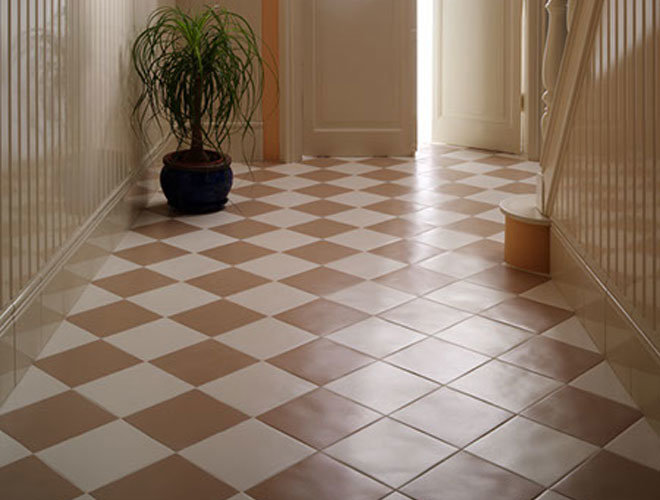
Ceramic Tile Flooring Pictures
/ceramic-flooring-pros-and-cons-1314687_0462-cce4f8f3b3774038bce7bdcc37485aa4.jpg)
When installing ceramic floor tile on vinyl, experts would recommend rough sanding, or scarifying, the vinyl floors surface first so the tiling mortar of yours has very good hold to set on. Make sure you have proper instruction for safety reasons. Proof of this is often discovered with the remains of Ancient Greece and Rome, where mosaic tile flooring may be seen. And patient enough to smooth mortar uniformly, yet with grooves.
Ceramic Tile Flooring Review: Pros and Cons – Kitchen Infinity
Along with the choices out there, you are going to find tile flooring that may be fitted in any area of the home of yours. You're now ready to grout. Setting up a tile flooring is not extremely tough but does call for some patience as well as preparation. A lot of individuals wax them in order to keep them even more protected. Porcelain and ceramic tiles are usually used in bathrooms and kitchens.
Porcelain Tile vs. Ceramic Tile Comparison Guide
/porcelain-tile-vs-ceramic-tile-1822583_hero-83338b9dbf96484fbf81538ea0bbe2df.jpg)
11 Properties of Ceramic Tile Flooring for use in Buildings – The

Pros u0026 Cons of Ceramic Kitchen Tile Ceramic Kitchen Floor

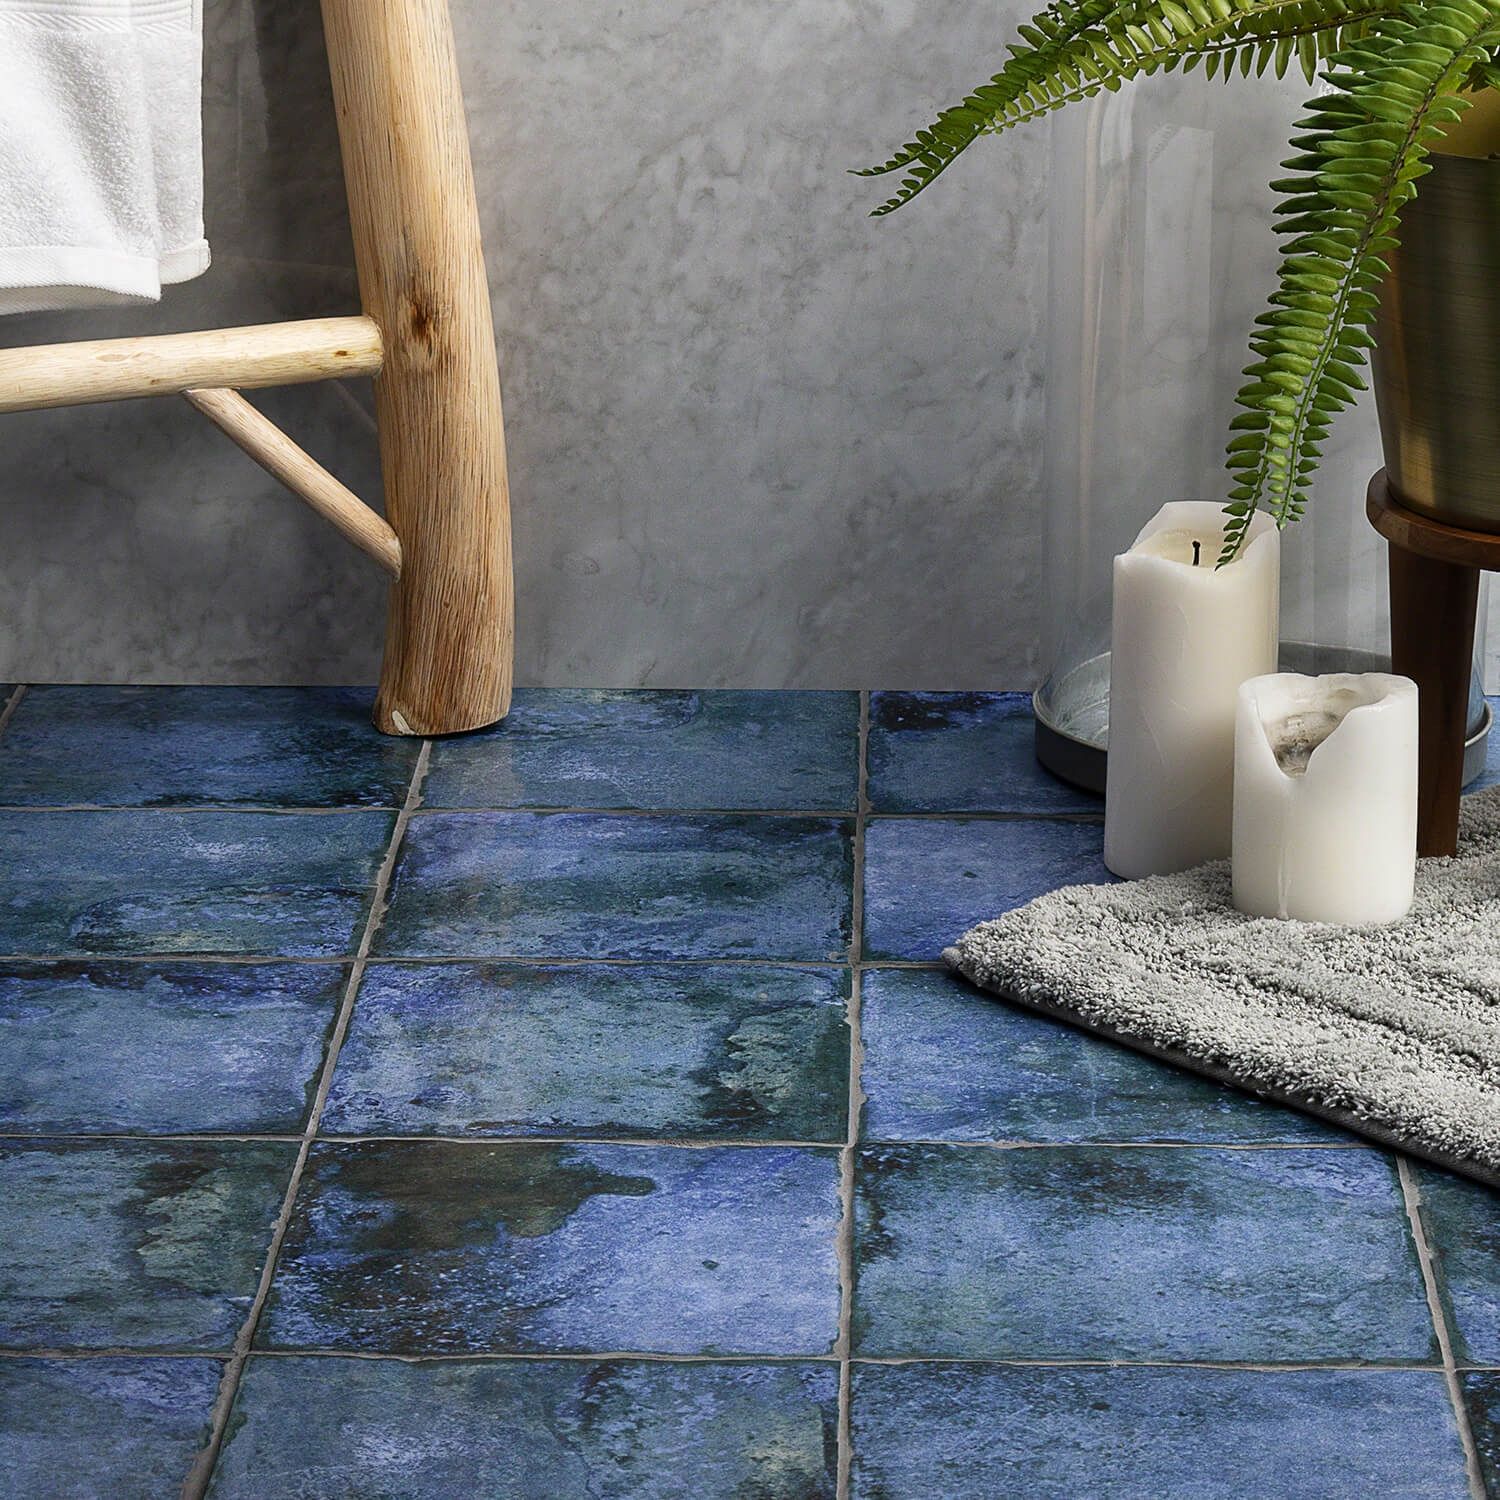
Angela Harris Dunmore Blu 8×8 Matte Blue Ceramic Floor Tile
Shop Ceramic Floor Tile Tile Outlets of America

What Is Ceramic Tile? Flooring America
![]()
5 Ceramic Tiles that Are Tough Enough to Use as Flooring

How to Install Ceramic Tile on a Tile Floor
Floor tiles – Over 1,000 models for your home Porcelanosa
What Is Ceramic Tile? Flooring America
Complete Guide: How to Install Ceramic Floor Tiles u2013 Rubi Blog USA
Ceramic Tile Flooring (Everyday Low Prices) Floor u0026 Decor
Related articles:
- Vintage Bathroom Floor Tile Patterns
- Bathroom Floor Tile DIY
- Limestone Bathroom Floor Tiles
- Bathroom Floor Porcelain Tile
- Concrete Bathroom Floor Ideas
- White Bathroom Ceramic Tiles
- Bathroom Floor Baseboard
- Rustic Bathroom Flooring Ideas
- Bathroom Flooring Options
- Bamboo Bathroom Flooring Ideas
Ceramic Tile Flooring Pictures: Adding Beauty and Durability to Your Space
Introduction:
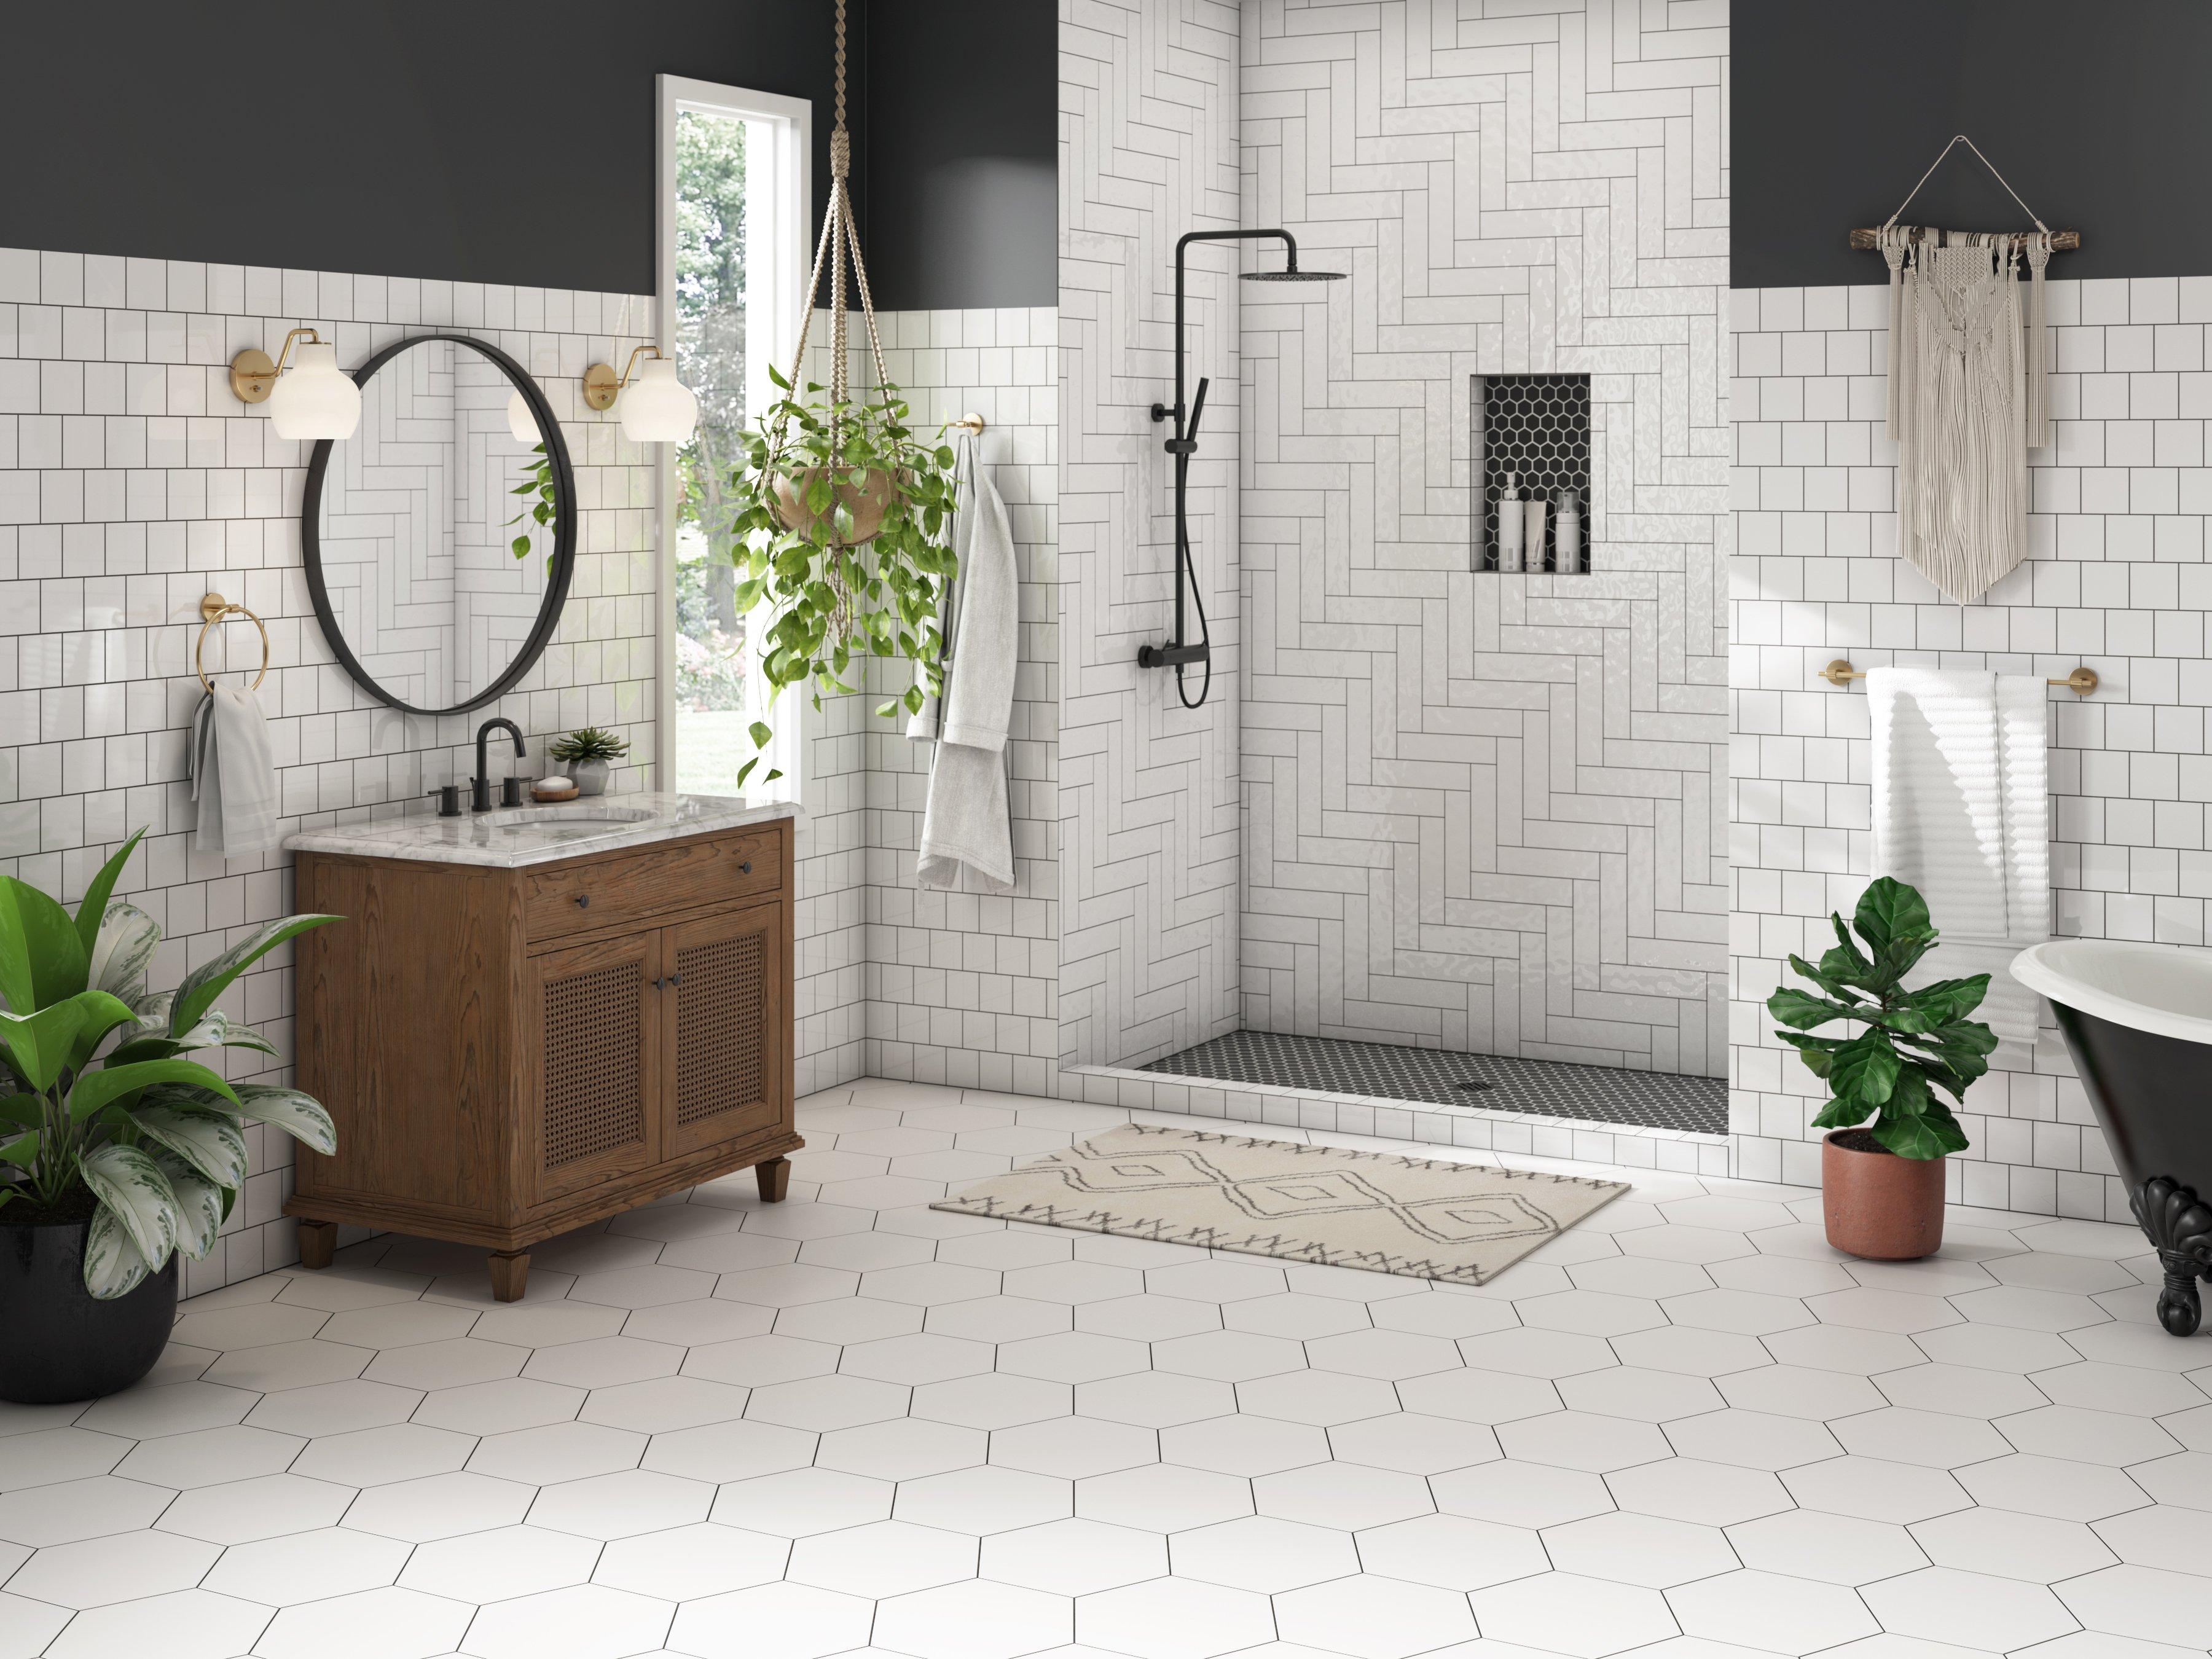
When it comes to flooring options, ceramic tiles have always been a popular choice for homeowners. Not only do they add a touch of elegance and sophistication to any space, but they also offer durability and easy maintenance. To help you visualize the beauty and versatility of ceramic tile flooring, we have curated a collection of stunning ceramic tile flooring pictures. In this article, we will delve into the various sub-headings that cover the benefits, types, installation process, maintenance tips, and frequently asked questions about ceramic tile flooring.
Benefits of Ceramic Tile Flooring:
Ceramic tile flooring offers a multitude of advantages that make it an ideal choice for any room in your home. From its durability to its design versatility, here are some key benefits:
1. Durability:
Ceramic tiles are known for their exceptional durability. They are resistant to scratches, stains, and wear, making them perfect for high-traffic areas such as kitchens and bathrooms. With proper care, ceramic tile flooring can last for decades without losing its shine.
2. Design Versatility:
One of the most appealing aspects of ceramic tile flooring is its design versatility. With an extensive range of colors, patterns, and textures available in the market, you can create a unique look that complements your personal style and the overall aesthetic of your home.
3. Water Resistance:
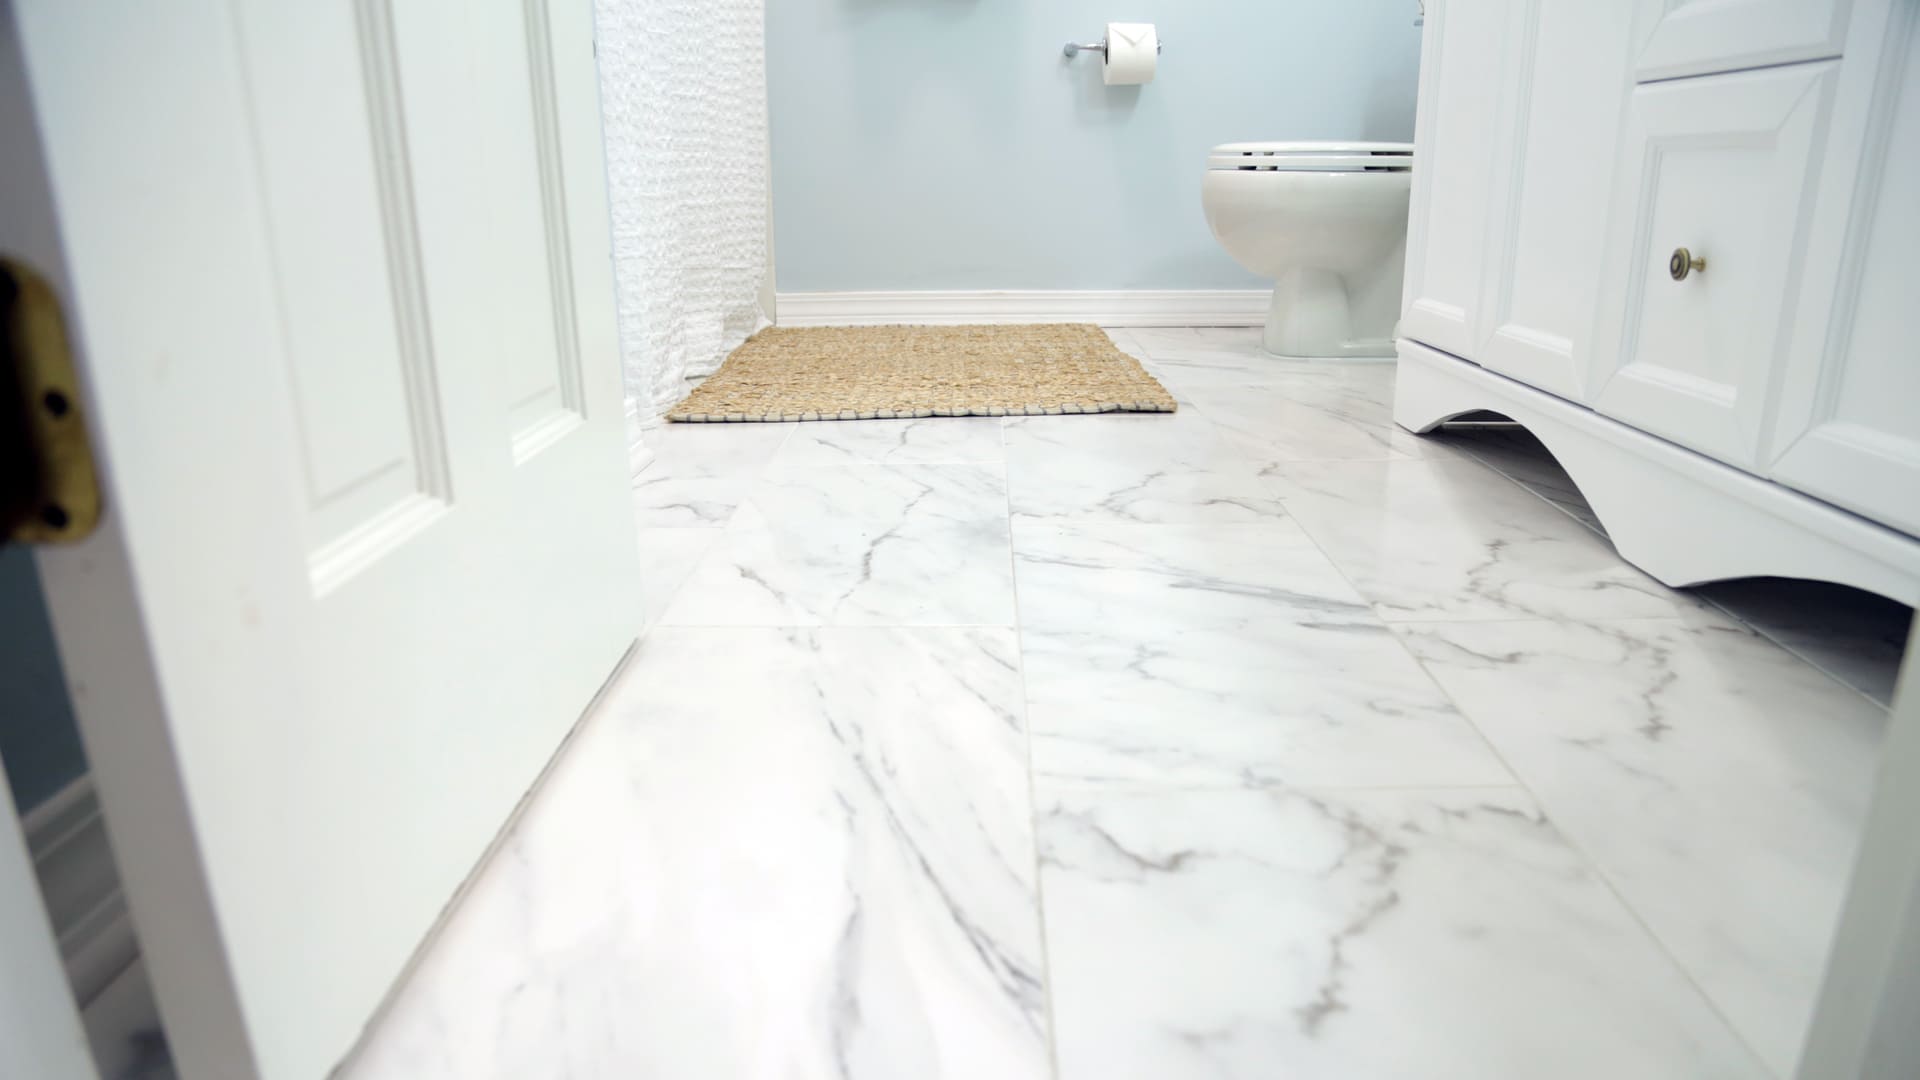
Ceramic tiles are inherently water-resistant, which makes them an excellent choice for areas prone to moisture such as bathrooms and laundry rooms. Their low porosity prevents water absorption, reducing the risk of mold and mildew growth.
4. Easy Maintenance:
Maintaining ceramic tile flooring is a breeze compared to other flooring options. Regular sweeping or vacuuming coupled with occasional mopping using a mild detergent will keep your tiles looking pristine and shiny.
Types of Ceramic Tile Flooring:
Ceramic tile flooring comes in various types, each with its own distinct characteristics. Let’s take a closer look at the most popular types of ceramic tiles:
1. Porcelain Tiles:
Porcelain tiles are a type of ceramic tile that is made from refined clay and other minerals. They are fired at higher temperatures, resulting in a denser and more durable tile. Porcelain tiles come in a wide range of colors, sizes, and finishes, making them suitable for both indoor and outdoor applications.
2. Glazed Ceramic Tiles:
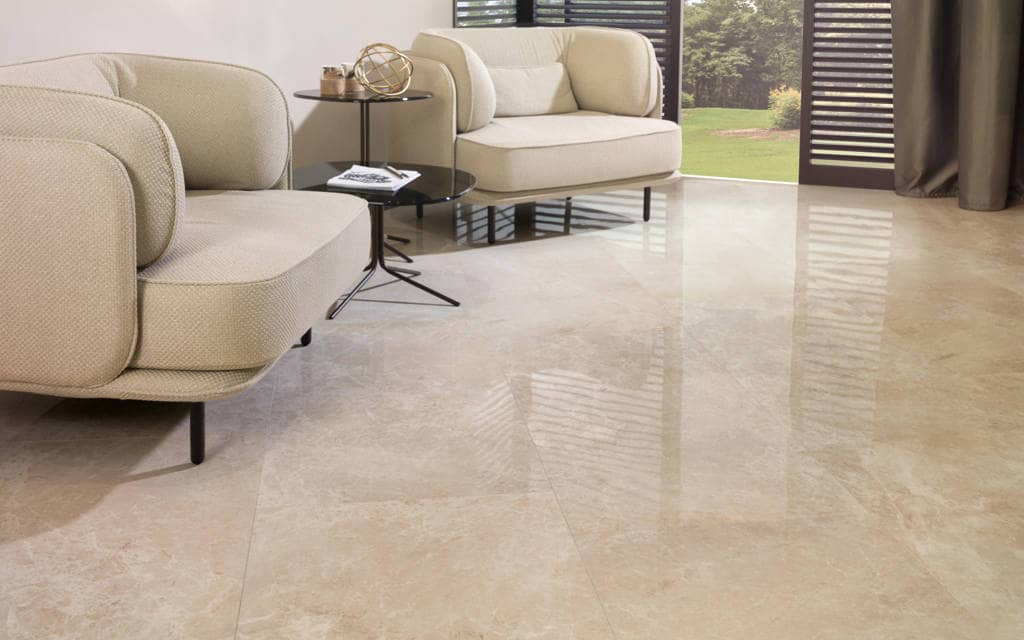
Glazed ceramic tiles have a protective layer of liquid glass applied to their surface during the manufacturing process. This glaze adds an attractive sheen to the tiles and makes them resistant to stains, scratches, and fading. These tiles are available in various finishes such as matte, glossy, or textured.
3. Terracotta Tiles:
Terracotta tiles are made from natural clay and are known for their warm tones and rustic charm. They add a touch of Mediterranean or Spanish influence to any space. While they require regular sealing to maintain their durability, terracotta tiles offer a unique and timeless look.
4. Mosaic Tiles:
Mosaic tiles are small individual pieces that come together to form intricate patterns or designs. They can be made from various materials, including ceramic, glass, or natural stone. Mosaic tiles offer endless possibilities for creating eye-catching focal points or decorative accents in your flooring.
Installation Process:
Proper installation is crucial to ensure the longevity and functionality of your ceramic tile flooring. Here is a step-by-step guide to the installation process:
1. Surface Preparation : Before installing ceramic tile flooring, it is important to prepare the surface properly. This includes removing any existing flooring, cleaning the subfloor, and repairing any cracks or uneven areas. The subfloor should be clean, dry, and level for a successful installation.
2. Layout: Plan out the layout of your tiles before starting the installation. This will help ensure that the tiles are evenly spaced and aligned. Use spacers to maintain consistent gaps between the tiles.
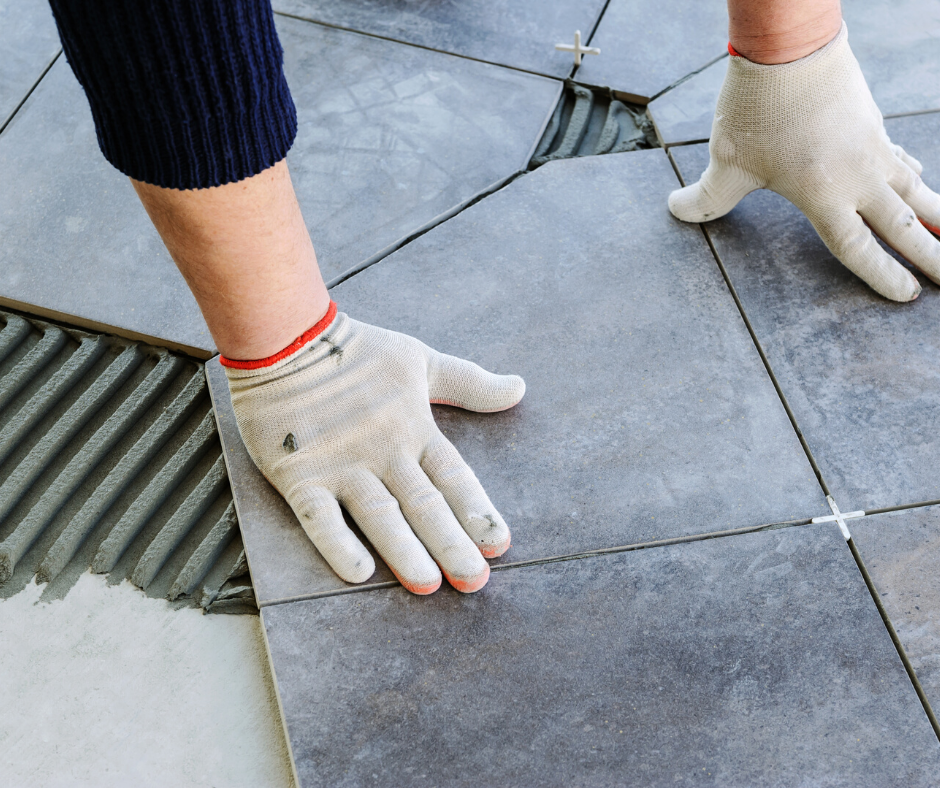
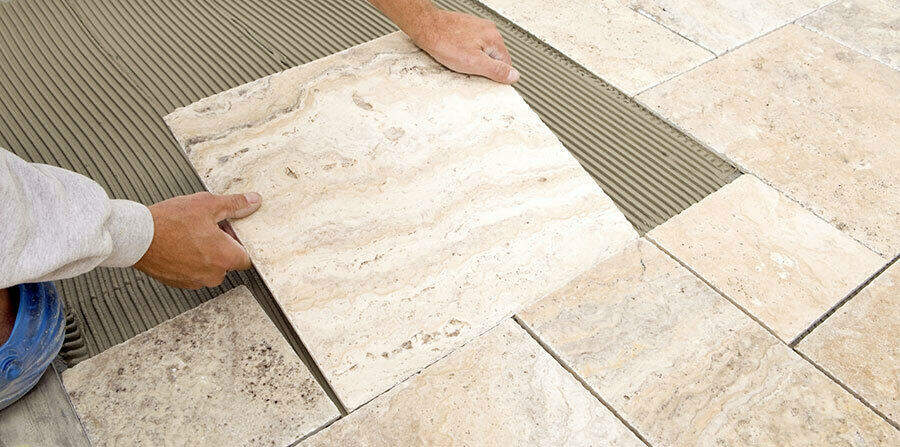
3. Adhesive Application: Apply a thin layer of tile adhesive or mortar to the subfloor using a trowel. Work in small sections to prevent the adhesive from drying before you can lay the tiles.
4. Tile Installation: Place each tile firmly into the adhesive, pressing down to ensure proper adhesion. Use a rubber mallet or a wooden block to gently tap each tile into place and level them with each other.
5. Grouting: Once all the tiles are installed and the adhesive has dried, it’s time to grout the joints between the tiles. Mix grout according to the manufacturer’s instructions and use a grout float to apply it evenly in between the tiles.
6. Cleaning and Sealing: After grouting, clean off any excess grout from the tiles using a damp sponge or cloth. Allow the grout to dry completely before applying a sealant to protect your ceramic tile flooring from stains and moisture.
It is important to follow these steps carefully and consult professional installers if needed for a successful installation of ceramic tile flooring. The installation process outlined above is a general guide and may vary depending on the specific type of ceramic tile flooring being installed. It is always recommended to refer to the manufacturer’s instructions for the particular product being used.
Additionally, it is important to note that ceramic tile flooring can be a complex and time-consuming process, especially for larger areas or intricate patterns. It may be beneficial to hire a professional installer with experience in ceramic tile flooring to ensure a high-quality and long-lasting installation.
Overall, ceramic tile flooring offers numerous benefits such as durability, versatility, and easy maintenance. With proper installation and regular care, ceramic tile flooring can enhance the aesthetic appeal and functionality of any space. 1. Prepare the surface by removing existing flooring, cleaning the subfloor, and repairing any cracks or uneven areas.
2. Plan out the layout of your tiles before starting the installation to ensure even spacing and alignment.
3. Apply a thin layer of tile adhesive or mortar to the subfloor using a trowel, working in small sections to prevent drying.
4. Place each tile firmly into the adhesive, pressing down to ensure proper adhesion. Use a rubber mallet or wooden block to level the tiles with each other.
5. Once all tiles are installed and adhesive has dried, grout the joints between the tiles using a grout float and following manufacturer’s instructions.
6. Clean off excess grout from tiles using a damp sponge or cloth after grouting. Allow grout to dry completely before applying a sealant.
7. Consult professional installers if needed and refer to manufacturer’s instructions for specific product being used.
8. Consider hiring a professional installer for larger areas or intricate patterns for a high-quality and long-lasting installation.
Ceramic tile flooring offers durability, versatility, and easy maintenance when properly installed and cared for.