With advancements and innovations in home design as well as expanding ingenuity and style, tile flooring suggestions now go past the bathroom as well as the kitchen. You can get tile flooring in colors that are solid also, but in a bigger variety of textures as well as colors.
Images Related to Ceramic Tile Floor Preparation
Ceramic Tile Floor Preparation
/can-you-tile-over-vinyl-floor-1822596_FINAL_NEW-b4003c12b3ce48b382e80c57fb340b03.png)
Also, carpeting absorbs high temperature and helps make the room feel warmer. You can mix as well as match the tile with other kinds of flooring to accent the floor and create the effort of interest of the space. Have some sandpaper handy for smoothing out there cut edges. You must assess the length as well as breadth of the section of floor you're planning to tile and furthermore, the length and breadth of each tile.
How to Install Ceramic Tile Flooring in 9 Steps – This Old House
:no_upscale()/cdn.vox-cdn.com/uploads/chorus_asset/file/19496978/howto_tile_01.jpg)
Porcelain can be used to copy the finish or maybe overall look of some other types including bricks and stone so for numerous interior designers, it is an incredibly flexible content in phrases of design. Later or sooner you will come to spots where tiles must be cut. With tiles having so many different textures, colors & designs, the possibilities can also be endless for tile flooring suggestions.
How to Install Ceramic Tile Flooring in 9 Steps – This Old House
/cdn.vox-cdn.com/uploads/chorus_asset/file/19497064/howto_tile_12.jpg)
How to Prepare a Vinyl Floor for Ceramic Tile
/can-you-tile-over-vinyl-floor-1822596_FINAL_NEW-b4003c12b3ce48b382e80c57fb340b03.png)
Subfloor for Tile Installation: Everything You Need to Know
How To Float And Prepare Floor For Tile Installation

Installing Large-Format Ceramic Tile: Understanding Prep, Products
Best Way to Prep Your Floor for Tile Installation u2013 The Good Guys

Preparing Subfloor for Tile The Home Depot

Prep a Subfloor for Tile – Fine Homebuilding

How to Prepare a Subfloor for Tile Installation
How Clean Does the Floor Need to Be for Tile Installation? Floor

Prepare and Install a Tile Floor HGTV
Complete Guide: How to Install Ceramic Floor Tiles u2013 Rubi Blog USA
Related articles:
- Vintage Bathroom Floor Tile Patterns
- Bathroom Floor Tile DIY
- Limestone Bathroom Floor Tiles
- Bathroom Floor Porcelain Tile
- Concrete Bathroom Floor Ideas
- White Bathroom Ceramic Tiles
- Bathroom Floor Baseboard
- Rustic Bathroom Flooring Ideas
- Bathroom Flooring Options
- Bamboo Bathroom Flooring Ideas
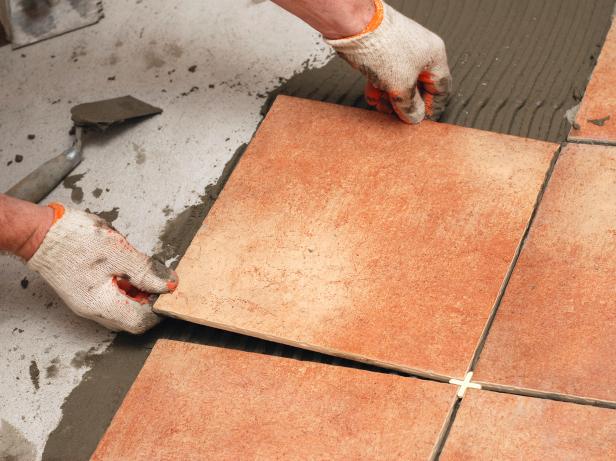
When it comes to installing a ceramic tile floor, preparation is key. Properly preparing the floor before you start laying the tiles is essential for achieving a long-lasting, beautiful result. In this article, we’ll discuss the best practices for ceramic tile floor preparation, so you get the most out of your project.
Subfloor Preparation
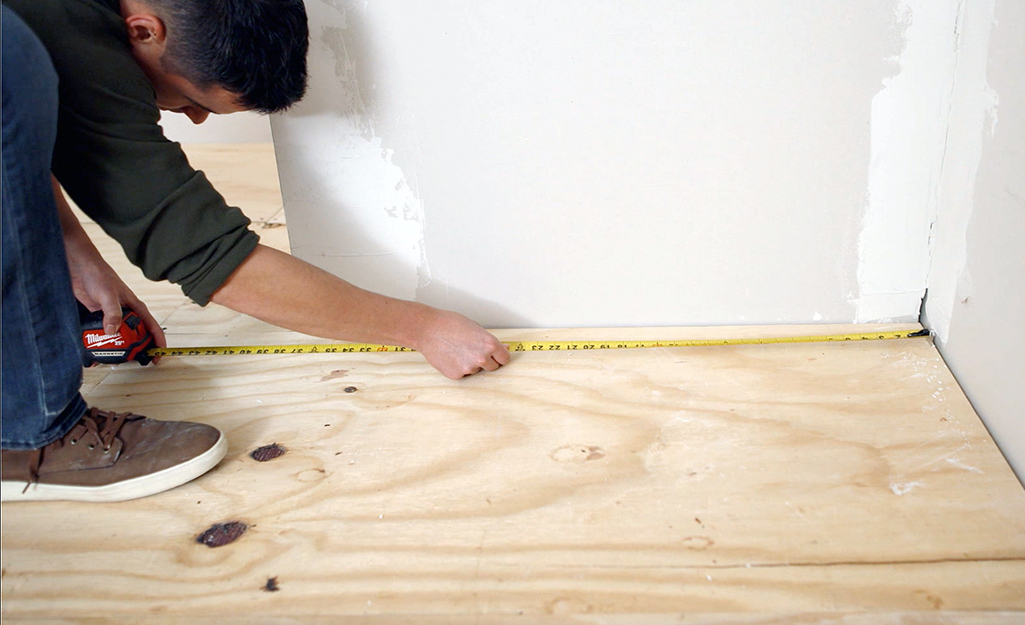
The first step in ceramic tile floor preparation is to properly prepare the subfloor. The subfloor should be completely level and free of any dust, dirt or debris. If there are any irregularities on the subfloor, you should use a self-leveling compound to fill in any dips or humps. Once the subfloor is prepared, you can move on to laying the tile.
Underlayment Installation
The next step in ceramic tile floor preparation is to install an underlayment layer. This layer is designed to act as a moisture barrier and provide additional cushioning for your tiles. Depending on your type of tile, you may need to use a specific type of underlayment material such as cement board or fiber-reinforced plastic sheeting. Be sure to follow all manufacturer instructions when installing the underlayment.
Tile Selection
Once you have your subfloor prepared and your underlayment installed, it’s time to select your tile. Ceramic tile comes in a variety of colors, styles and sizes, so it’s important to choose the right tile for your project. You’ll also want to be sure to buy enough tile for your project – it’s easy to underestimate how much you’ll need!
Grout Selection
After selecting your tiles, the next step in ceramic tile floor preparation is to choose a grout color that complements your tiles. Grout comes in a variety of colors and finishes, so take some time to explore all of your options before making a selection. Choose a grout that will enhance the look of your tiles without overpowering them.
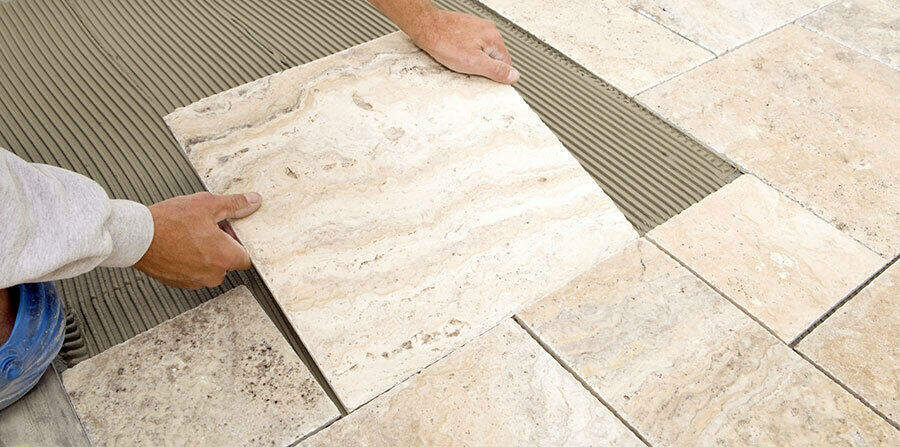
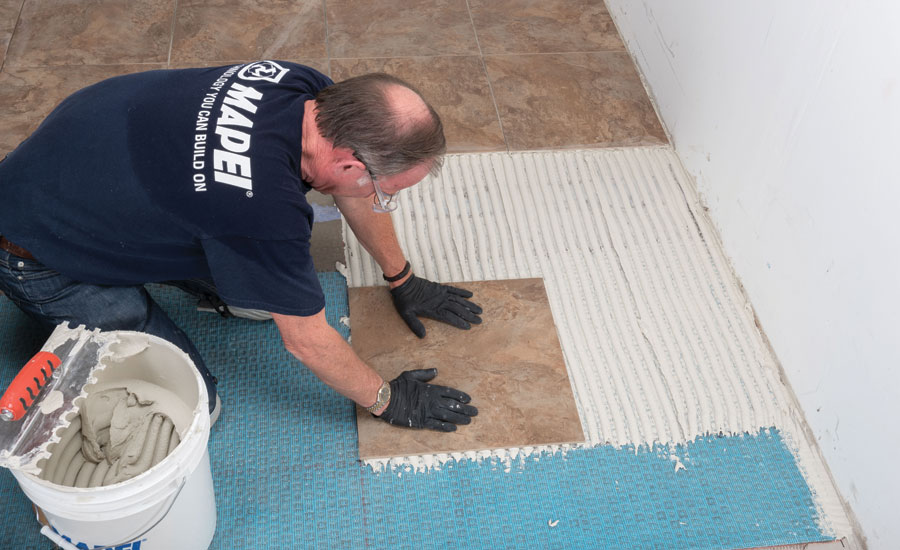
Installation Process
Once you have all of your materials ready, it’s time to start laying the tiles. Start by spreading a thin layer of thinset mortar on the floor and then carefully lay the tiles in place. Make sure all of the tiles are level and even with one another, as any gaps or uneven tiles can cause problems down the line. Once all of the tiles are laid, let them set overnight before applying grout between them.
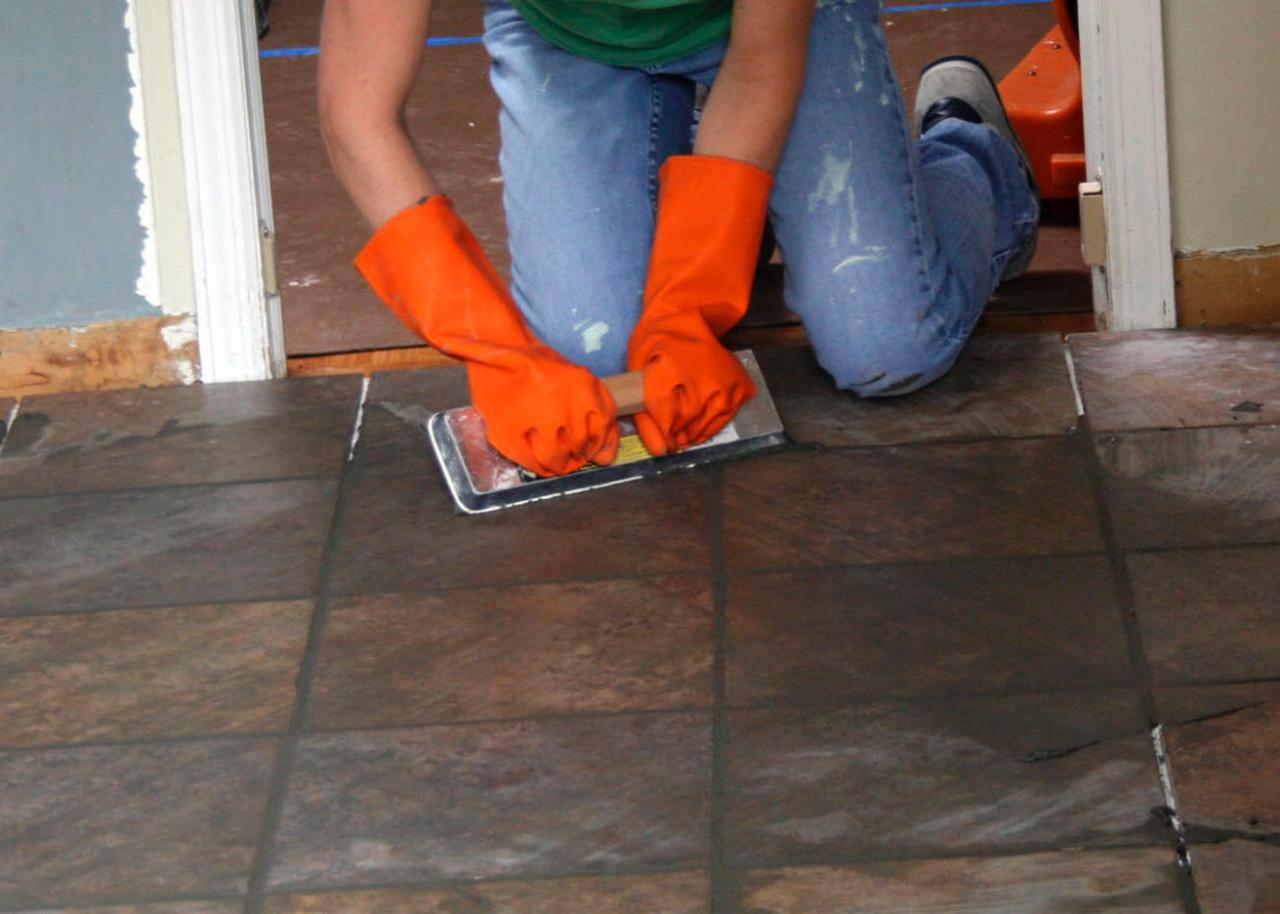
Grouting
The final step in ceramic tile floor preparation is grouting. Spread a thin layer of grout over all of the tiles and then use a grout float to press it into place. Work quickly and be sure to remove any excess grout before it dries completely. Once all of the grout has dried, buff it with a damp cloth and then let it cure for 24 hours before walking on the surface.
FAQs
Q: What type of underlayment should I use for ceramic tile floors?
A: The type of underlayment required for ceramic tile floors depends on what type of tile you’re using. Generally speaking, cement board or fiber-reinforced plastic sheeting are both good options for most types of ceramic tiles. Consult with a professional before making a selection if you’re unsure which type is best for your project.
Q: How do I know how much tile I need for my project?
A: It’s always best to buy more than you think you’ll need when it comes to tiling projects – it’s easy to underestimate how much material you’ll need! Measure out the area you plan on tiling and then add 10-15% extra when purchasing your tile in case you need more than you initially planned on using.
Q: How long do I have to wait before walking on my newly tiled floor?
A: After grouting your newly tiled floor, it’s important to let it cure for at least 24 hours before walking on it or putting furniture back in place. This will ensure that your grout has had enough time to completely set up and won’t be damaged