Vinyl Kitchen flooring is the perfect alternative for kids. This also requires motivation as well as time more to set up. A lot of people prefer to focus the money of theirs on furniture or perhaps paintings to upgrade the style in the home of theirs. Nevertheless, if installation is not created by professionals, the errors below may occur. Vinyl floors installation actually requires the skills of a pro.
Images Related to Vinyl Floor Tiles Homebase
Vinyl Floor Tiles Homebase
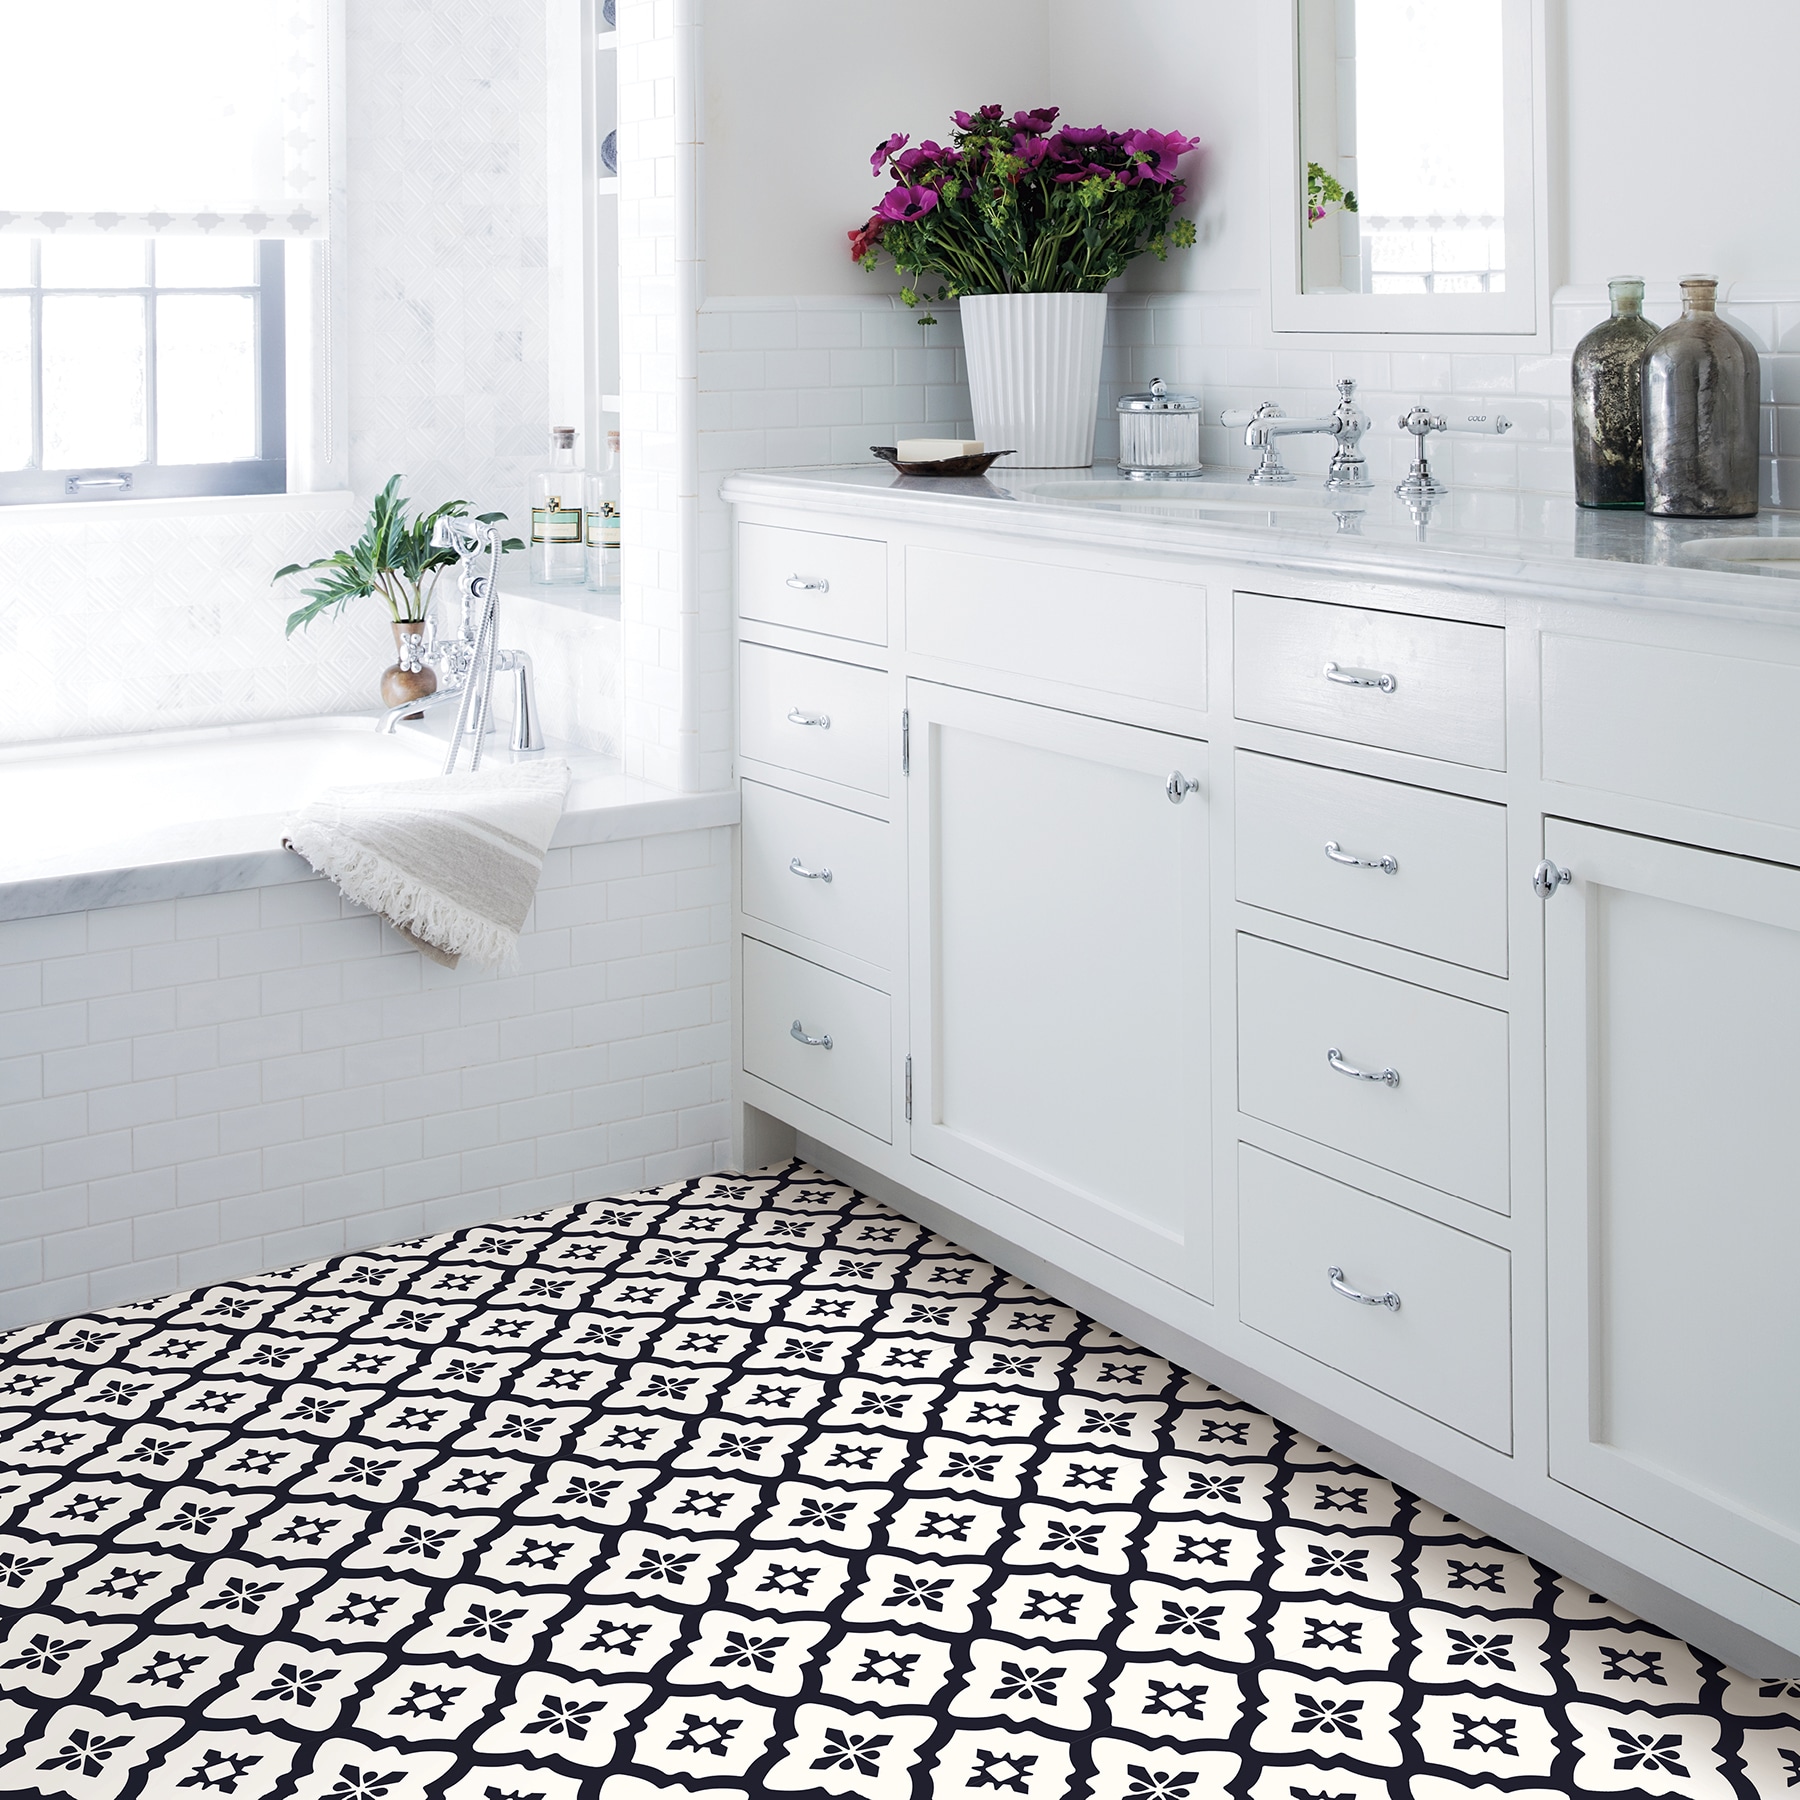
Vinyl kitchen flooring is long-lasting, economical, practical, and beautiful. Vinyl flooring is available in two forms. Once the new floor of yours is cut, inserted as well as fixed, bear in mind a few tips to keep it shipshape. Although you have a doormat to keep off the dirt that comes out of the outside, a few dust can still are able to get inside and accumulate in the flooring of yours.
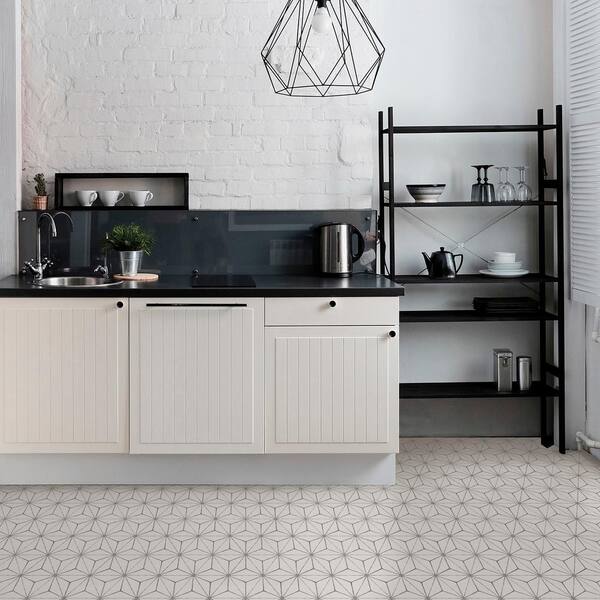
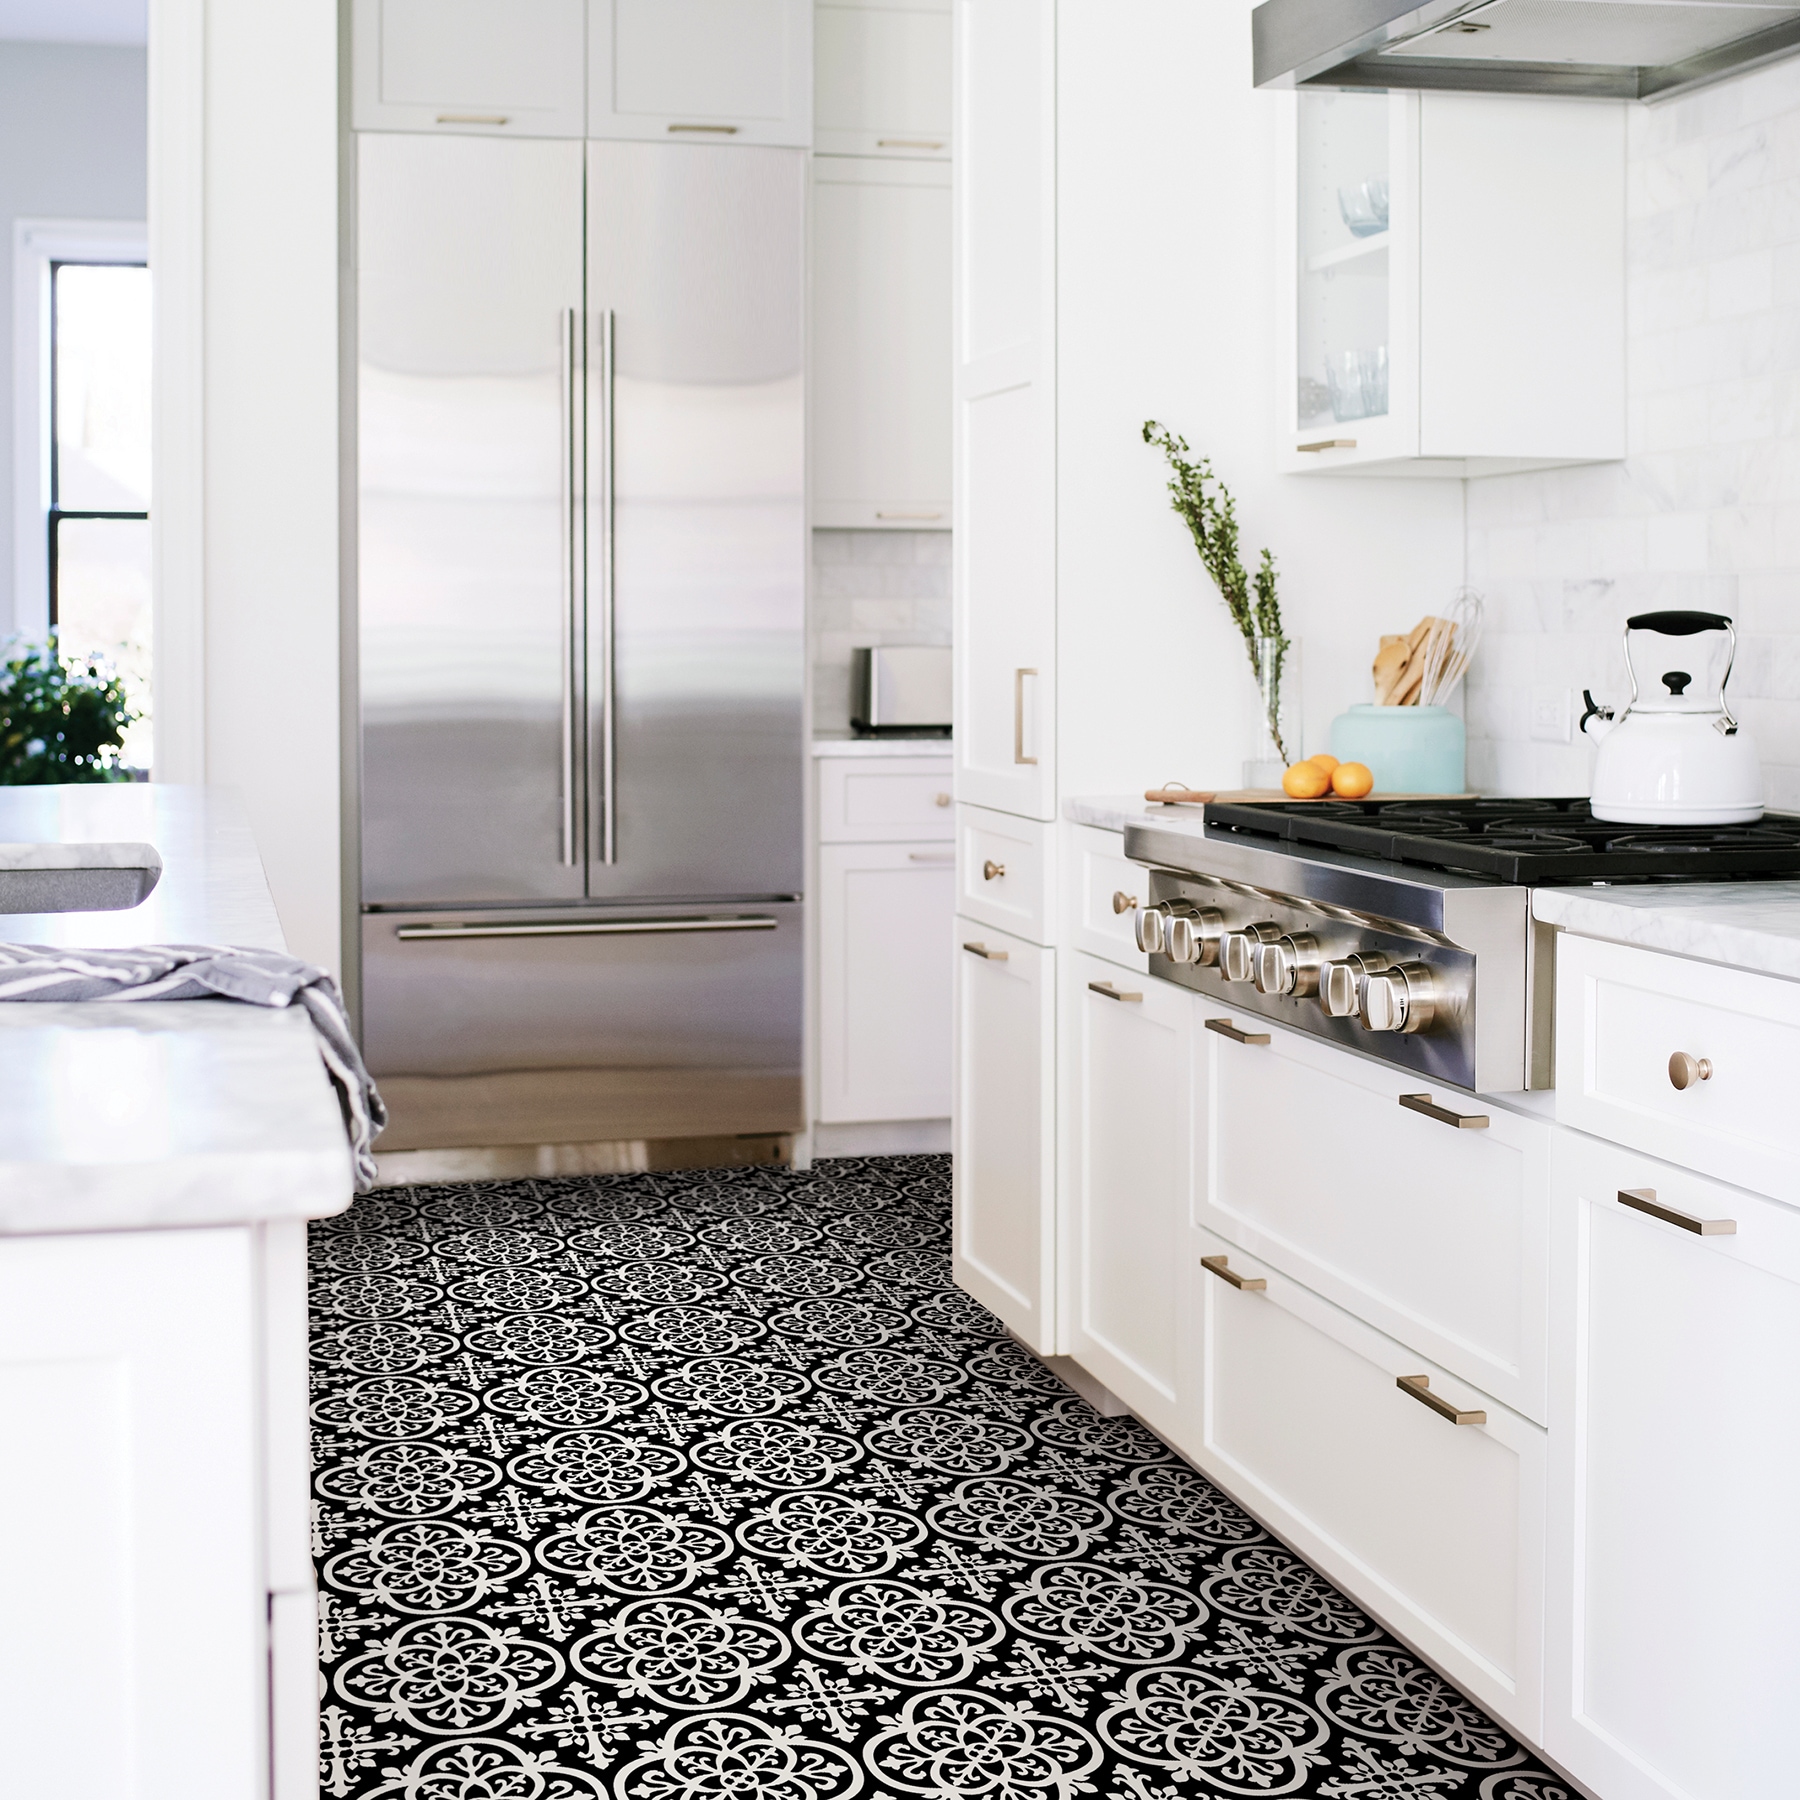
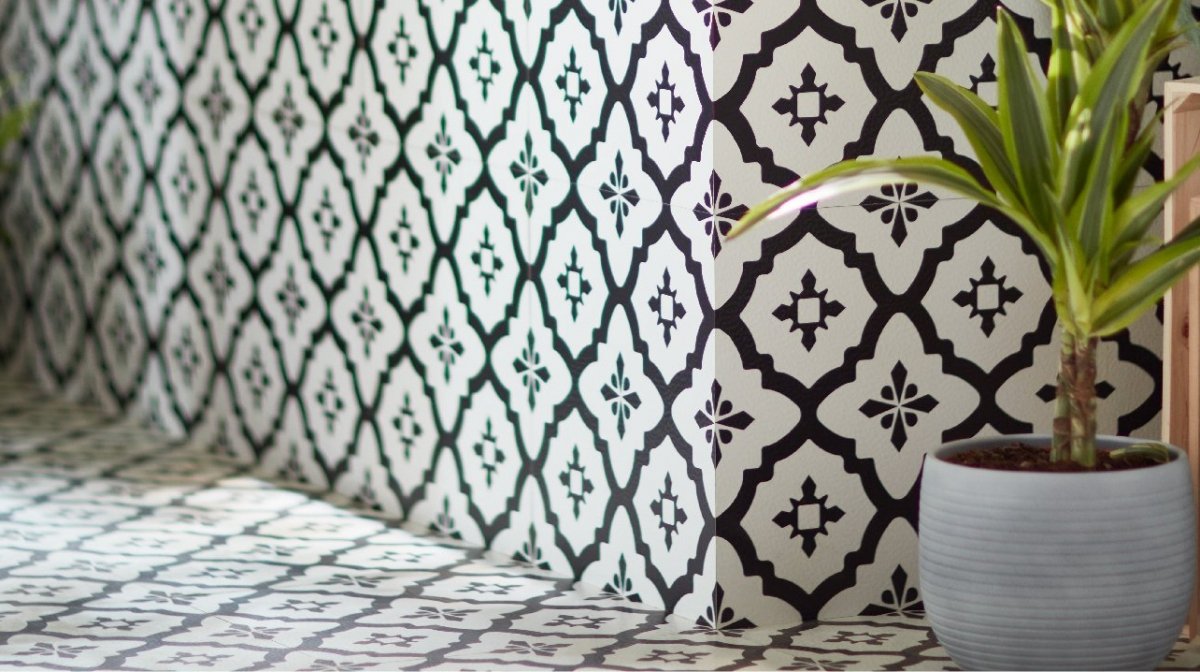
FloorPops 12 in. x 12 in. White Kikko Peel and Stick Vinyl Floor
The drawback to vinyl is, although it has huge plus points, it also has got the main flaw that every one flooring has; it is not invincible. However, certain aromatic hydrocarbons can soften the tiles to some degree. Vinyl by nature is extremely vulnerable to imperfections that may be present in the sub floor where you lay it on. After installation plays an immensely important part. These are in tile and sheet forms.
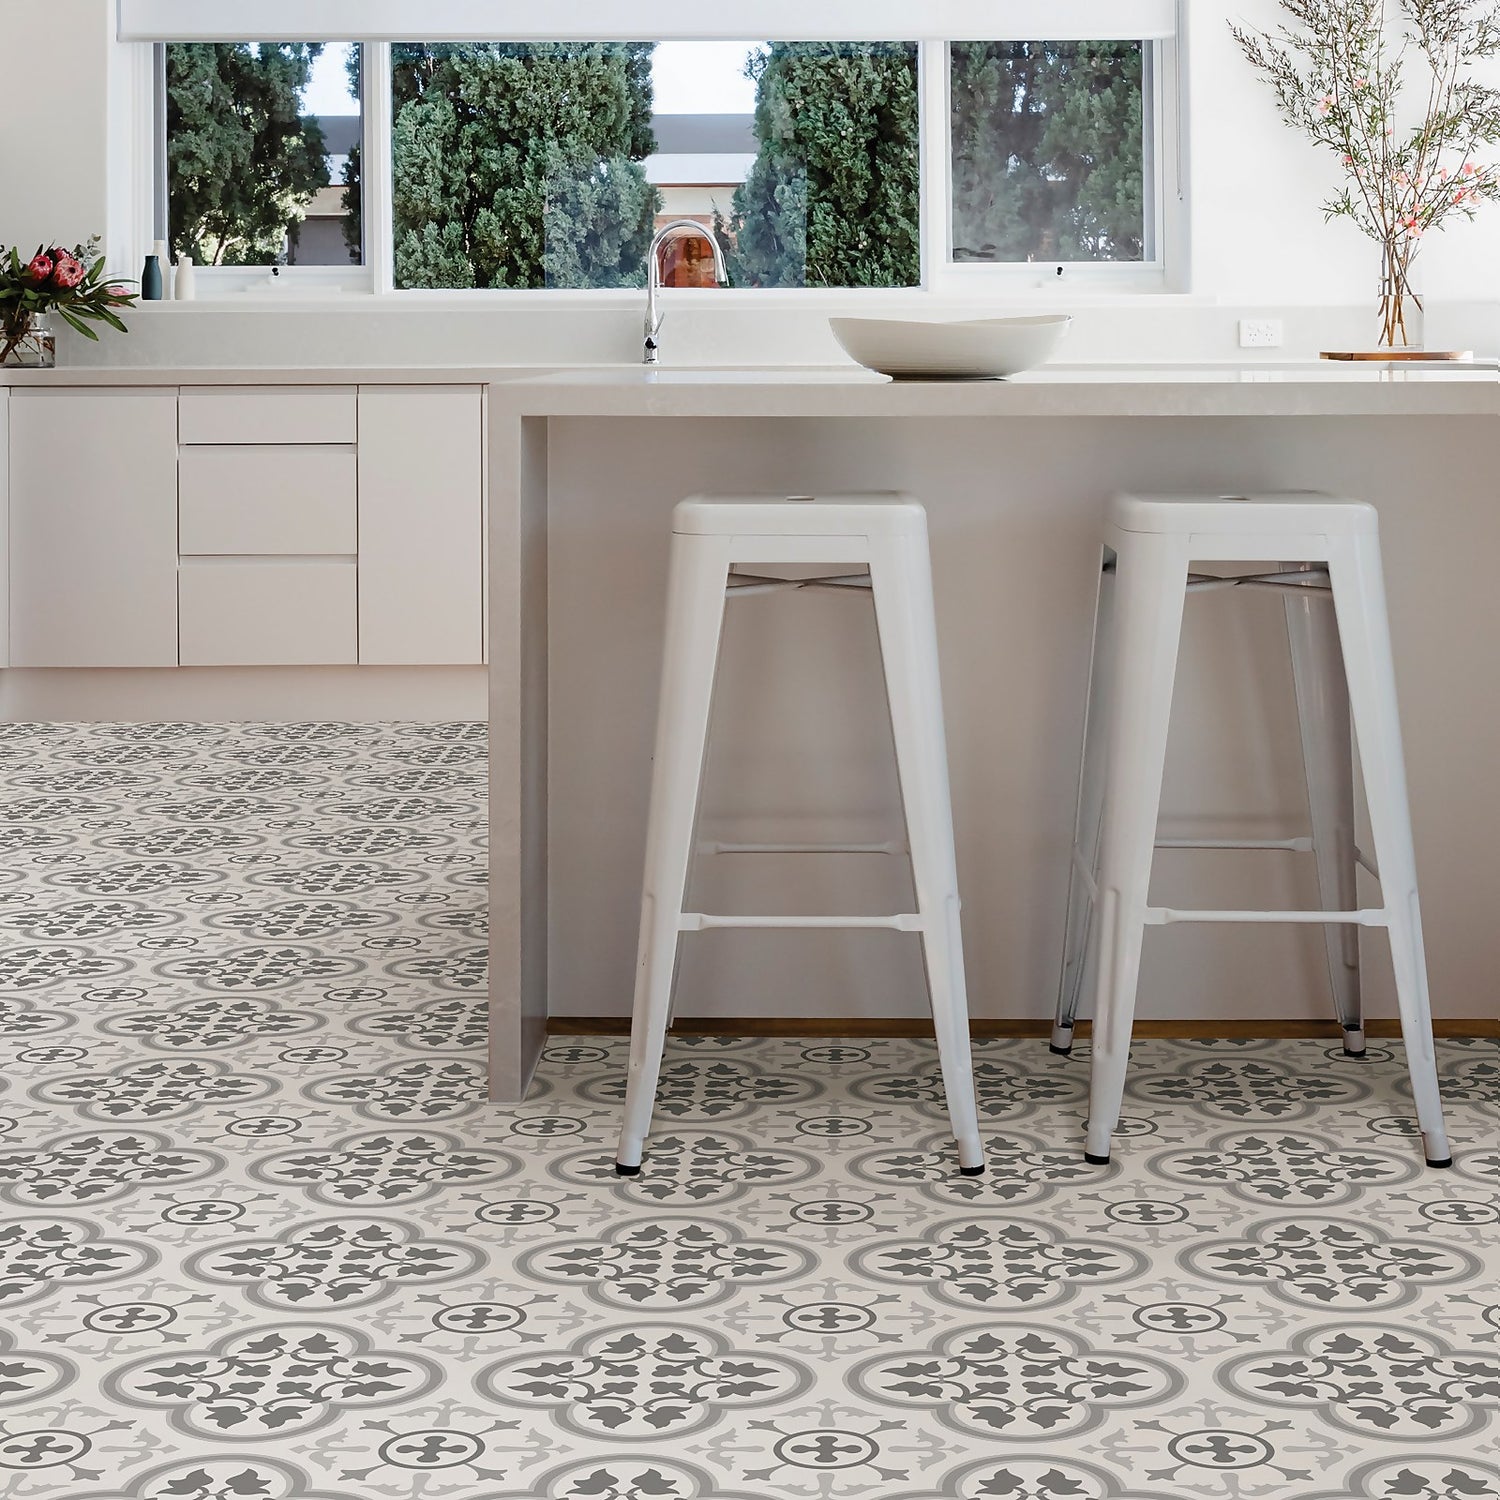
FloorPops Peel and Stick Floor Tiles – Remy
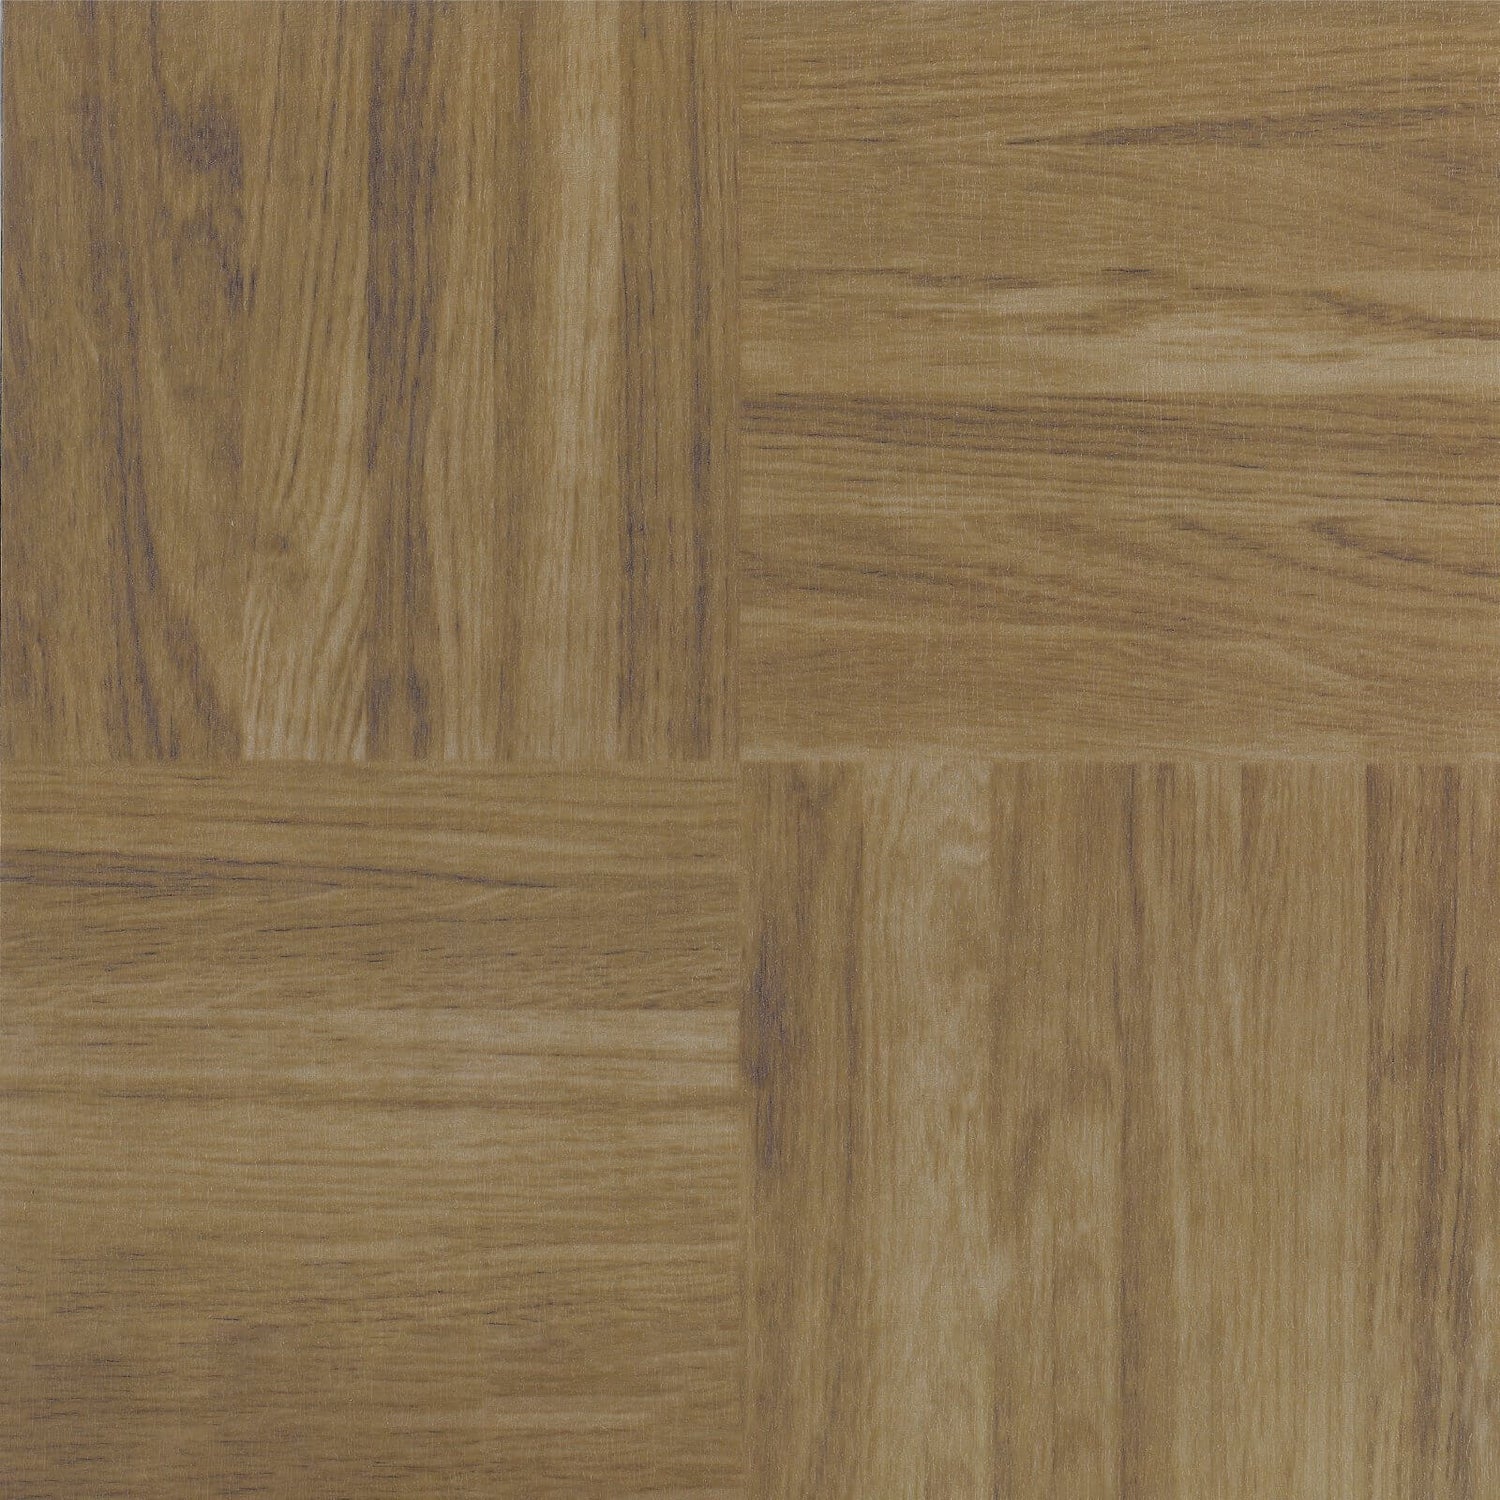
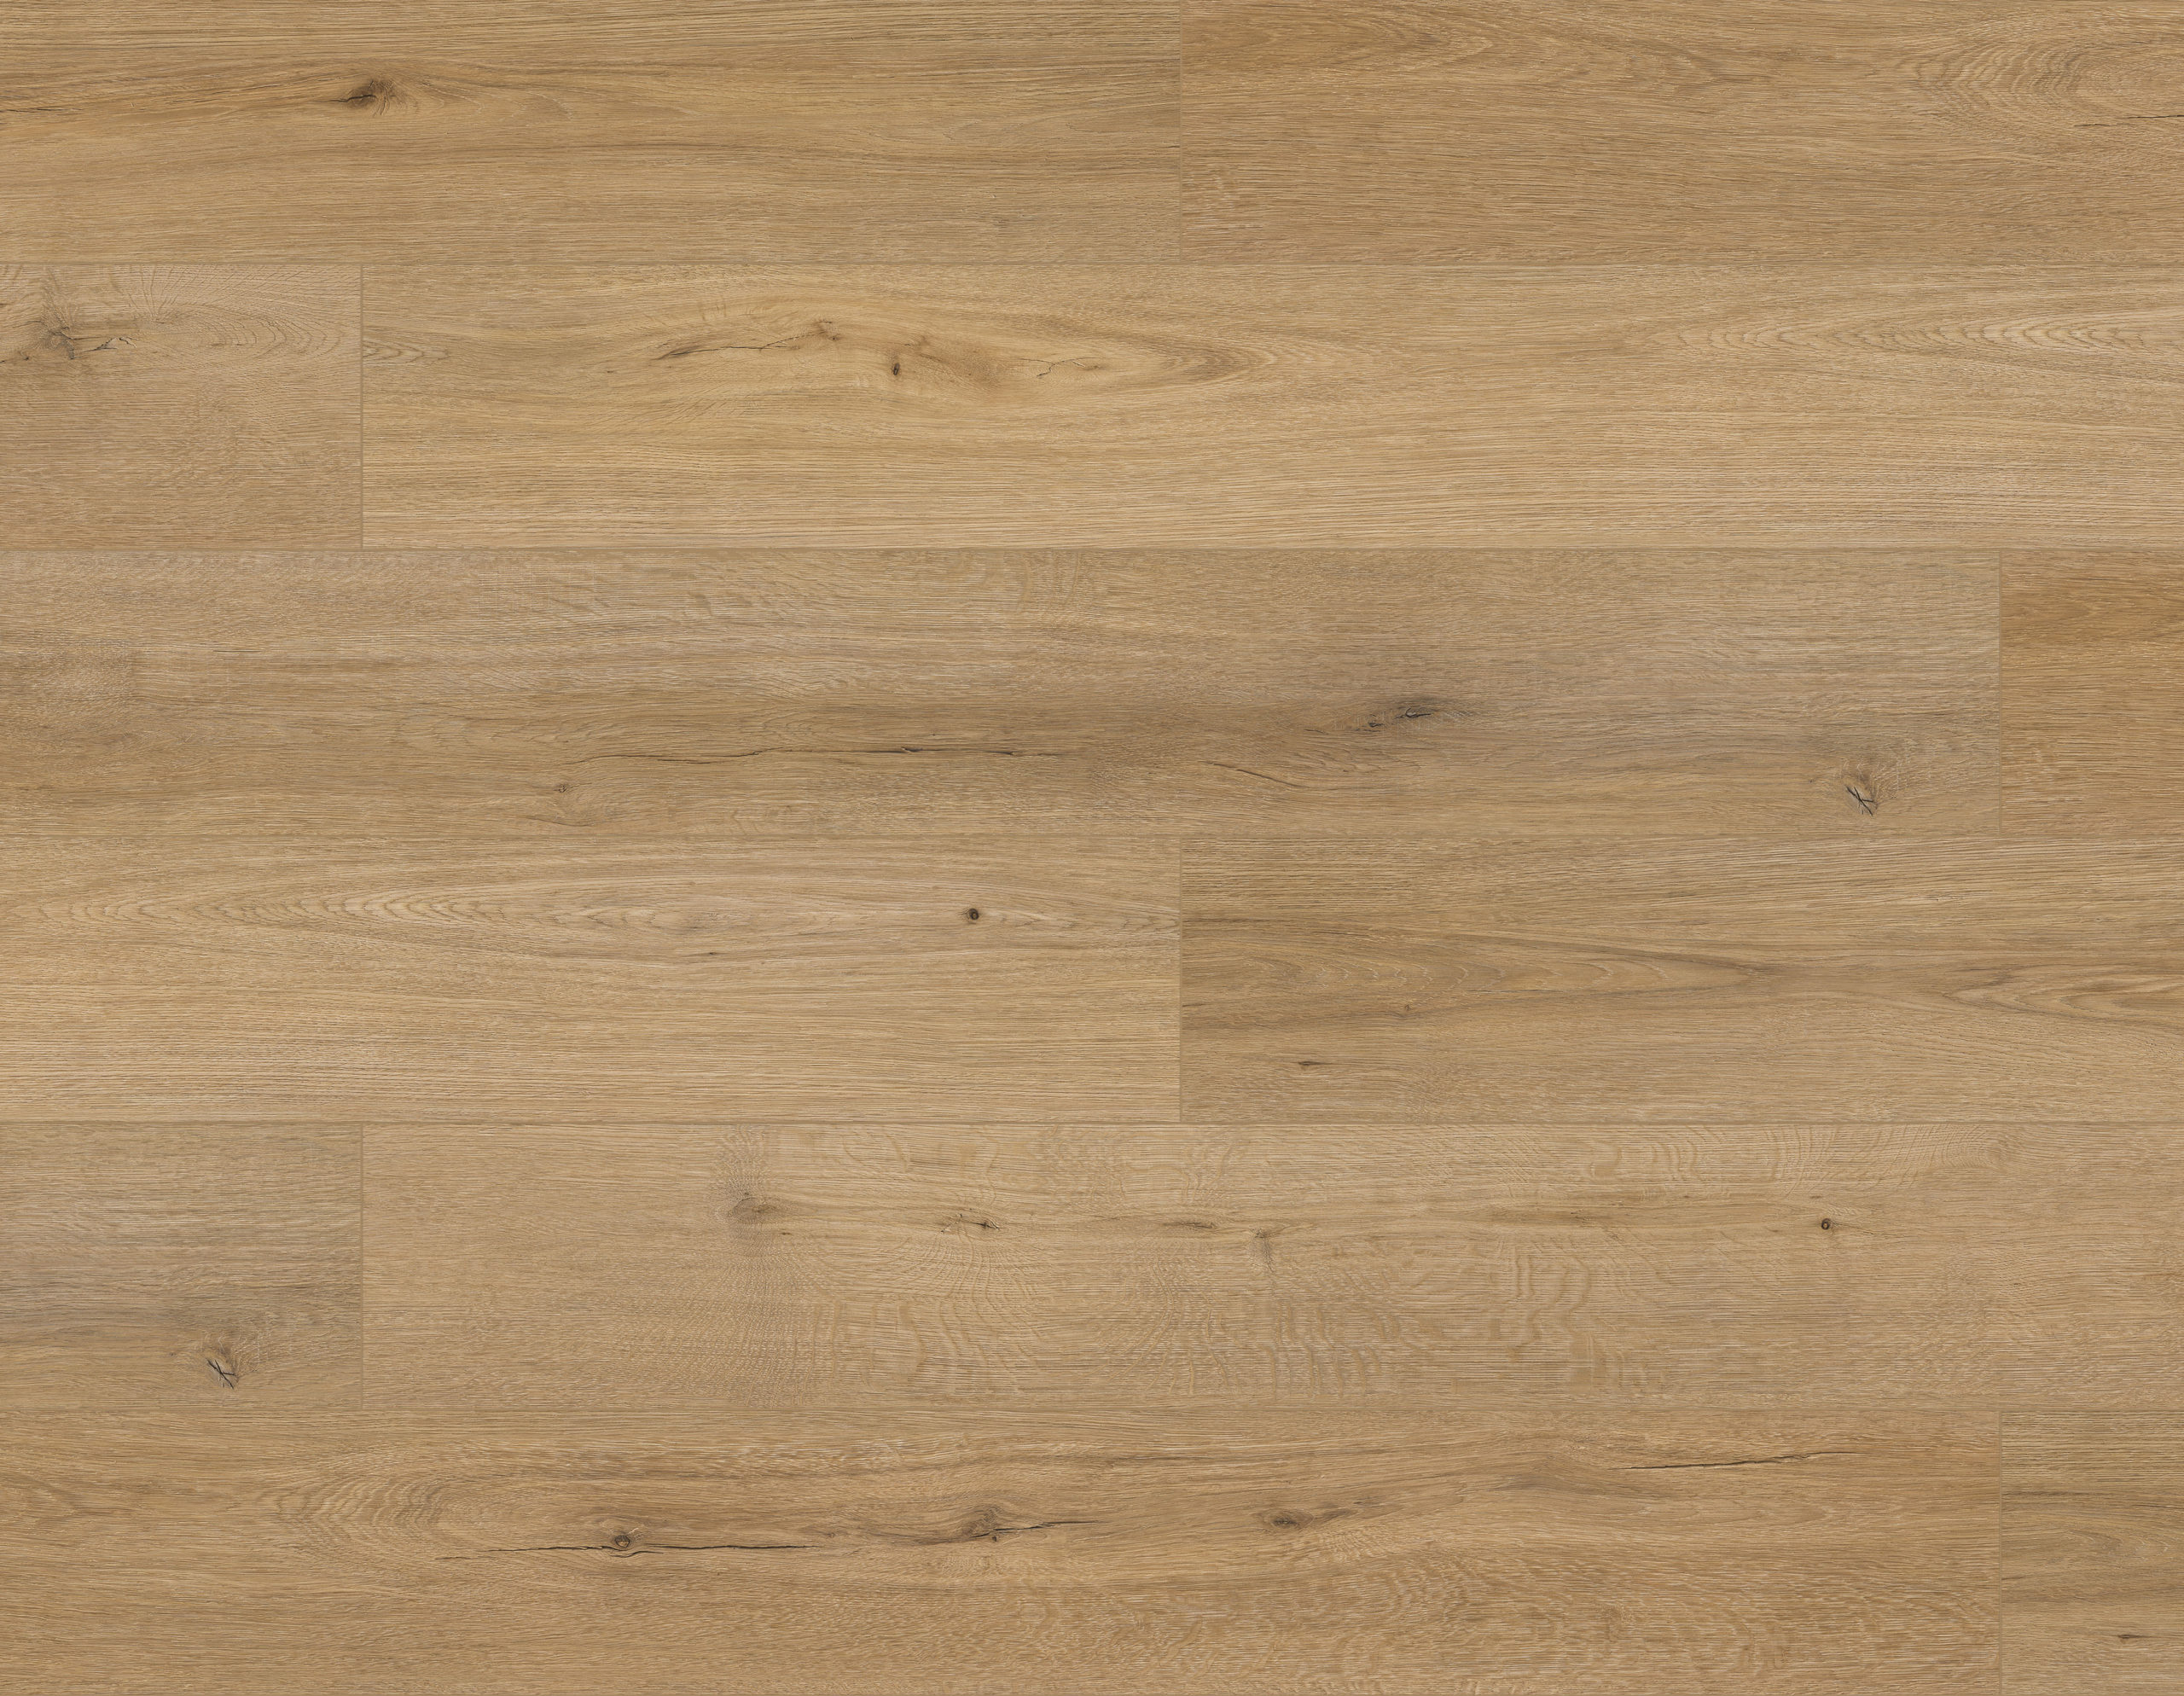
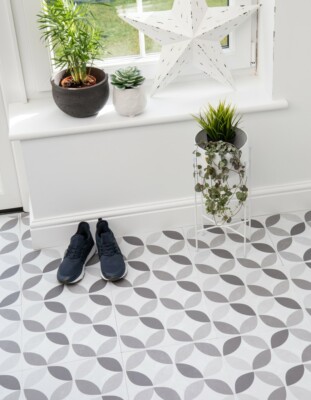
Cross Wood Vinyl Floor Tiles
Home Base Natural Cascade Luxury Vinyl A High Style Flooring
Black Vinyl Tile at Lowes.com
How to Install Vinyl Floor Tiles Vinyl Floor Tiles Homebase
4 Seasons Porcelain Wall u0026 Floor Tile – 330 x 330mm – 1sqm Pack

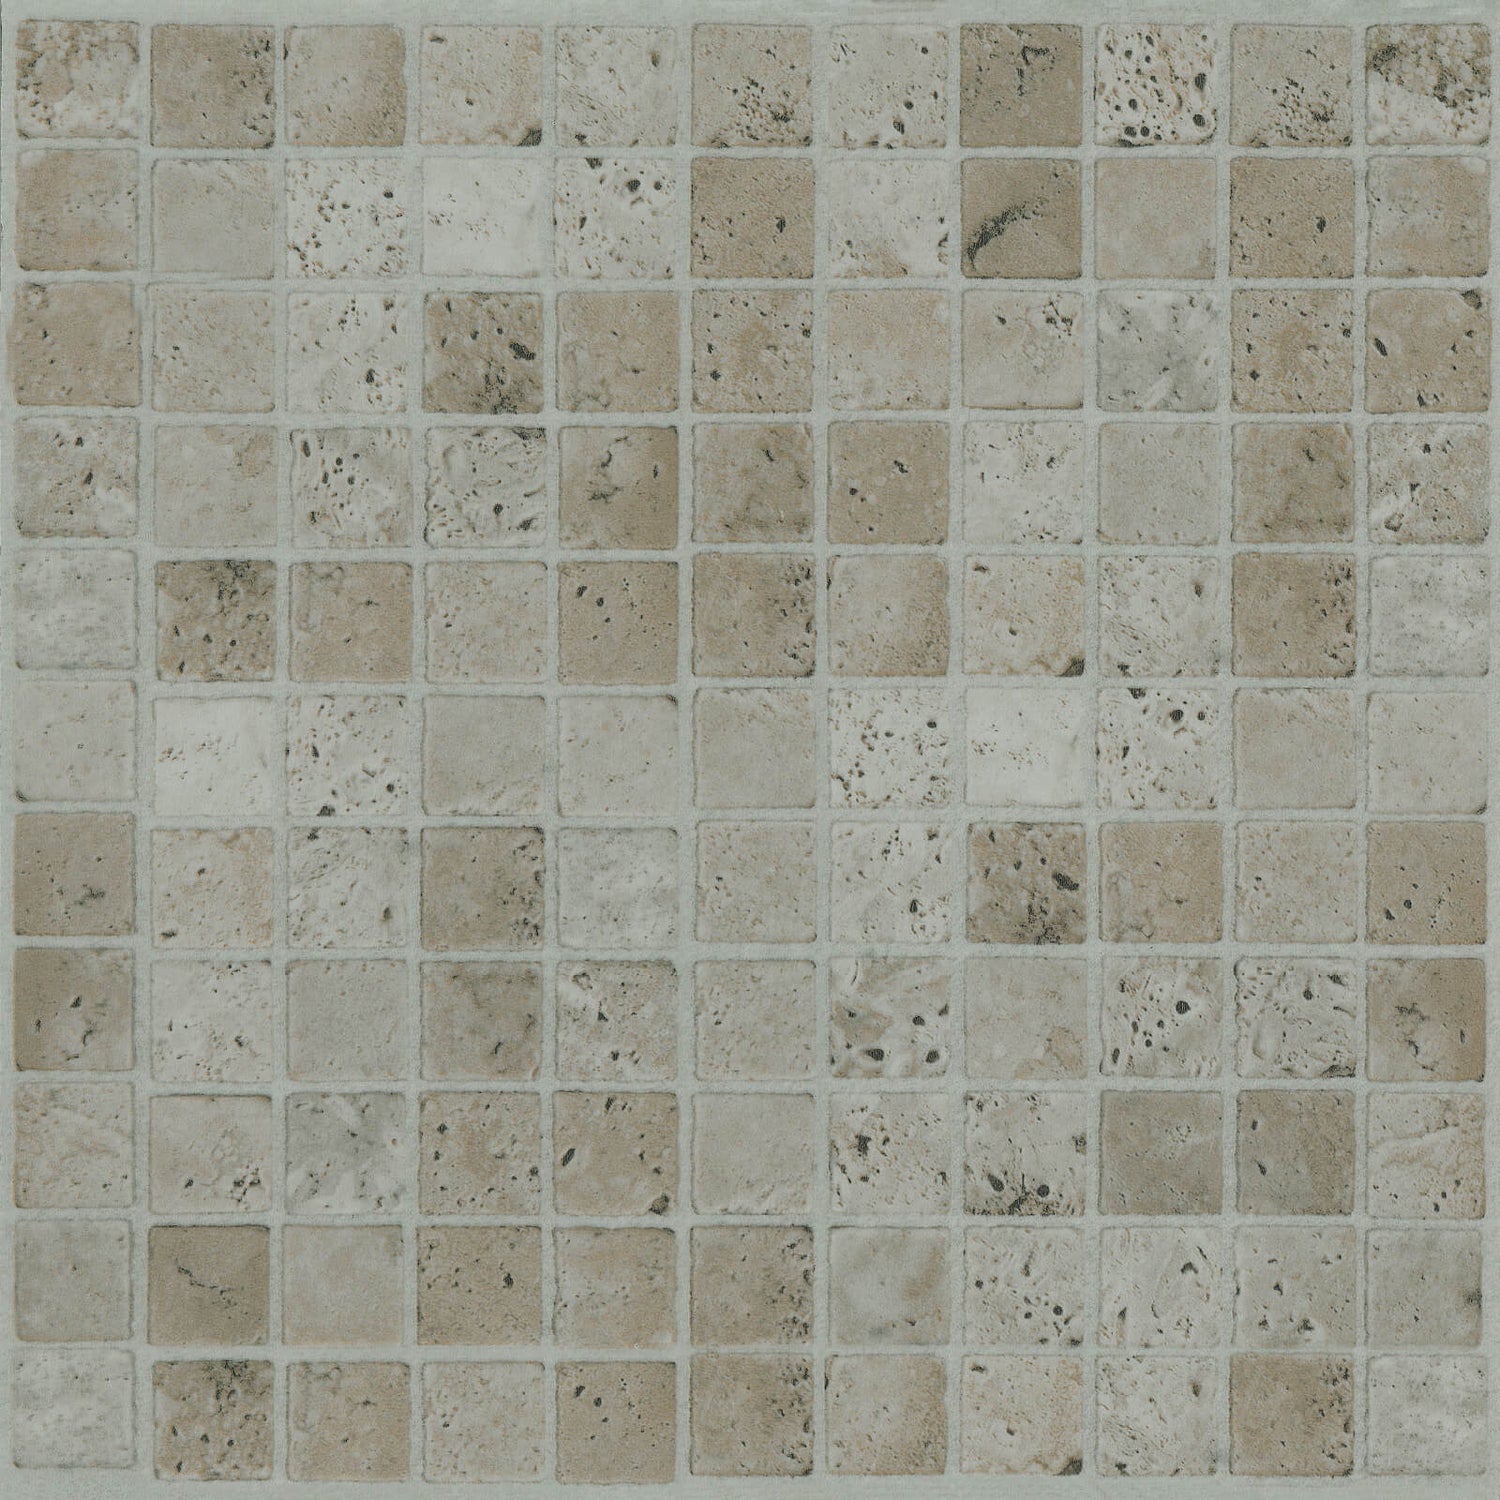
Cream Mosaic Vinyl Floor Tiles Homebase
Atterly Wall/Floor Tile 450 x 450mm Blue at Homebase.co.uk Tiled

FloorPops Peel and Stick Self Adhesive Floor Tiles – Sienna

11 TILES 1 SQUARE METER GEOMETRIC GREY DC FLOOR SELF ADHESIVE VINYL FLOOR TILES eBay
Beautiful Laura Ashley dove grey tiles from Homebase Gray

Made in China Grey Marble Porcelain Homebase Floor Tile – China

Related articles:
- Vinyl Flooring Bathroom Tile
- Modern Vinyl Flooring
- Funky Vinyl Flooring
- Vinyl Flooring For Kitchen
- Vintage Look Vinyl Flooring
- Kitchen Vinyl Floor Tiles Ideas
- Vinyl Flooring With Wood Look
- Waterproof Vinyl Flooring
- Vinyl Flooring For Cheap
- How To Remove Vinyl Flooring
Vinyl Floor Tiles Homebase: A Stylish and Affordable Flooring Option for Your Home
Introduction:
When it comes to flooring options, vinyl floor tiles are gaining immense popularity among homeowners. They offer a perfect combination of style, durability, and affordability. Homebase, a leading home improvement retailer, offers a wide range of vinyl floor tiles that cater to various design preferences and budgets. In this article, we will delve into the world of vinyl floor tiles Homebase and explore the benefits, installation process, maintenance tips, frequently asked questions, and more.
Benefits of Vinyl Floor Tiles:
1. Versatility:
Vinyl floor tiles from Homebase come in a diverse range of designs and patterns. Whether you prefer the classic look of wood or the modern appeal of stone or tile, there is a vinyl floor tile option for every taste. You can choose from a variety of colors, textures, and finishes to complement your existing decor or create a whole new aesthetic.
2. Durability:
One of the primary advantages of vinyl floor tiles is their exceptional durability. The wear layer on these tiles provides resistance against scratches, stains, and dents, making them an ideal choice for high-traffic areas such as kitchens and hallways. Vinyl floor tiles from Homebase are also water-resistant, making them suitable for bathrooms and other moisture-prone spaces.
3. Easy Installation:
Installing vinyl floor tiles from Homebase is a breeze due to their user-friendly design. Most options feature a click-lock system that allows for easy DIY installation without the need for adhesives or professional help. This not only saves time but also reduces installation costs significantly.
4. Low Maintenance:
Vinyl floor tiles require minimal maintenance compared to other flooring options. Regular sweeping or vacuuming is sufficient to keep them clean and free from debris. Additionally, occasional mopping with a mild detergent solution helps maintain their shine and luster.
Installation Process:
Installing vinyl floor tiles from Homebase is a straightforward process that can be done by homeowners with basic DIY skills. Here is a step-by-step guide to help you through the installation:
1. Prepare the Subfloor:
Ensure that the subfloor is clean, dry, and level. Remove any existing flooring material and repair any imperfections on the surface.
2. Acclimate the Tiles:
Allow the vinyl floor tiles to acclimate to the room’s temperature and humidity for at least 48 hours before installation. This prevents expansion or contraction issues after installation.
3. Plan the Layout:
Measure the room and plan the layout of the tiles accordingly. Start from the center of the room and work your way towards the walls. This ensures a balanced and aesthetically pleasing look.
4. Install Underlayment (if required):
Depending on your subfloor type, you may need to install an underlayment before laying the vinyl floor tiles. Follow manufacturer instructions for proper installation.
5. Install the Tiles:
Begin by laying the first tile in one corner of the room, using spacers to maintain consistent spacing between tiles. Continue adding tiles row by row, ensuring they are securely locked together.
6. Cut Tiles to Fit:
Use a utility knife or vinyl tile cutter to trim tiles that need to fit around corners or edges. Take accurate measurements before making any cuts to avoid wastage.
7. Finishing Touches:
Once all tiles are laid, remove spacers and install baseboards or trim to cover any gaps along the edges of the room.
Maintaining Vinyl Floor Tiles:
Vinyl Floor tiles from Homebase are low maintenance and easy to clean. Here are some tips for maintaining vinyl floor tiles:
1. Regular Cleaning: Sweep or vacuum the floor regularly to remove dirt and debris. This prevents scratches and keeps the floor looking clean.
2. Mopping: Occasionally, mop the floor with a mild detergent solution. Avoid using harsh chemicals or abrasive cleaners, as they can damage the surface of the tiles.
3. Spills and Stains: Clean up spills immediately to prevent staining. Use a damp cloth or mop to wipe away the spill, and then dry the area thoroughly.
4. Protecting the Surface: Place mats or rugs in high-traffic areas or under furniture to protect the floor from scratches and wear.
5. Avoid Sharp Objects: Do not drag heavy furniture or sharp objects across the floor, as they can cause scratches or tears in the vinyl.
6. Avoid Excessive Moisture: While vinyl floor tiles are water-resistant, it is still important to avoid excessive moisture. Wipe up any spills or standing water immediately to prevent damage.
7. Furniture Pads: Attach felt pads to the bottom of furniture legs to prevent scratches when moving furniture.
8. Avoid High Heat: Vinyl floor tiles can be sensitive to high heat, so avoid placing hot pans or appliances directly on the surface.
By following these maintenance tips, you can keep your vinyl floor tiles looking great for years to come. To measure the room and plan the layout of the tiles, follow these steps:
1. Start by measuring the length and width of the room using a tape measure. Write down these measurements.
2. Find the center point of the room by dividing both the length and width measurements in half. Mark this point on the floor.
3. Use a chalk line or straight edge to draw a line from the center point to each wall, creating a cross shape on the floor.
4. Measure the size of your vinyl floor tiles. Take into account any grout lines or spacing required between tiles.
5. Starting from the center point, lay out your tiles along the chalk lines, working your way towards the walls. Place spacers between each tile to ensure consistent spacing.
6. Make any necessary adjustments to ensure that you don’t end up with small, narrow tiles along the edges of the room. You may need to cut some tiles to fit properly.
7. Once you are satisfied with the layout, begin installing the tiles starting from one corner of the room and working your way outwards.
8. Use an adhesive recommended by the manufacturer to secure each tile in place. Press down firmly to ensure they are securely locked together.
9. As you install each row of tiles, periodically check for levelness using a level tool or straight edge.
10. Continue laying tiles until you reach the walls or any obstacles such as cabinets or fixtures.
11. If necessary, use a utility knife or vinyl tile cutter to trim tiles that need to fit around corners or edges. Take accurate measurements before making any cuts to avoid wastage.
12. Once all tiles are laid, remove spacers and clean up any adhesive residue from the surface of the tiles.
13. Install baseboards or trim along the edges of the room to cover any gaps and give a finished look.
By following these steps, you can effectively measure your room and plan the layout of your vinyl floor tiles for a balanced and aesthetically pleasing result. Additionally, it is important to regularly clean your vinyl floor tiles to maintain their appearance:
1. Sweep or vacuum the floor to remove any loose dirt or debris.
2. Use a damp mop with a mild detergent to clean the tiles. Avoid using abrasive cleaners or scrub brushes that can damage the surface.
3. Rinse the floor with clean water to remove any soap residue.
4. Dry the floor thoroughly with a clean towel or mop to prevent water damage.
5. For stubborn stains, you can use a vinyl floor cleaner or a mixture of vinegar and water. Test any cleaning solution in a small, inconspicuous area first to ensure it does not cause discoloration.
6. Avoid using excessive water when cleaning as it can seep into the seams and edges of the tiles, causing them to lift or warp.
By following these maintenance and cleaning tips, you can keep your vinyl floor tiles looking great and extend their lifespan.