With vinyl you are able to get the look of hardwood, yet not stress about splashes of water from the tub destroying it. Usually, resilient flooring and vinyl flooring are two interchangeable terms. You may check the area phone directory of yours for lists of shops which sell vinyl flooring at discounted or regular price. This particular blend lets you keep the floor devoid of germs.
Images Related to Vinyl Floor Tile Underlayment
Vinyl Floor Tile Underlayment

Vinyl flooring can work considerably towards enhancing the home decor of yours. Besides its affordability, vinyl comes in styles which are different and of different makes rendering it the right option even in places where it is likely to be slippery. If installed incorrectly, a fairly permanent mark will be noticeable. And you'll save lots of time as well. All you've to do is sweep the floor and also mop it sooner or later.
Underlayment for Vinyl Flooring: Your Total Guide FlooringStores
To generate cutting the vinyl better, you may as well invest a couple of more dollars by leasing a vinyl tile cutter instead of making do with the older razor knife of yours. This's mainly due to its durability, its inexpensive and it's ease of maintenance. Luxury vinyl flooring is all of the rage now – whether for homes, offices or shops. Vinyl flooring is furthermore increasingly popular because it is value that is good for money.
Best Underlayment for Vinyl Flooring – Floor Techie

Do you Need Underlayment for Vinyl Flooring? – LevelFinish
10 Best Underlayments for Vinyl Plank Flooring In 2022
Vinyl Flooring with Attached Underlayment (Pros u0026 Cons
How to Lay a Vinyl Tile Floor – This Old House
/cdn.vox-cdn.com/uploads/chorus_image/image/65891755/howto_vinylfloor_05.0.jpg)
Underlayment Buyeru0027s Guide
Do I need flooring underlayment? How to decide which underlayment
QuietWalk Luxury Vinyl – Recycled Flooring Underlayment for Luxury
![]()
How to Prepare a Vinyl Floor for Ceramic Tile
/can-you-tile-over-vinyl-floor-1822596_FINAL_NEW-b4003c12b3ce48b382e80c57fb340b03.png)
For Use with Vinyl Plank Flooring Underlayment at Lowes.com
MP Global Products SoundBuffer – 3 ft. x 66.7 ft. x 3/64 in

Vinyl Flooring Underlayment BuildDirect® Learning CenterLearning
Related articles:
- Vinyl Flooring Bathroom Tile
- Modern Vinyl Flooring
- Funky Vinyl Flooring
- Vinyl Flooring For Kitchen
- Vintage Look Vinyl Flooring
- Kitchen Vinyl Floor Tiles Ideas
- Vinyl Flooring With Wood Look
- Waterproof Vinyl Flooring
- Vinyl Flooring For Cheap
- How To Remove Vinyl Flooring
Vinyl Floor Tile Underlayment: Enhancing the Durability and Comfort of Your Flooring
Introduction:
When it comes to renovating or installing new flooring, vinyl floor tiles have become an increasingly popular choice. Offering durability, affordability, and a wide range of design options, vinyl floor tiles are perfect for both residential and commercial spaces. However, to ensure that your vinyl flooring remains in top condition for years to come, it is essential to invest in a high-quality underlayment. In this article, we will delve into the importance of vinyl floor tile underlayment and explore its benefits, installation process, and frequently asked questions.
I. Understanding Vinyl Floor Tile Underlayment:
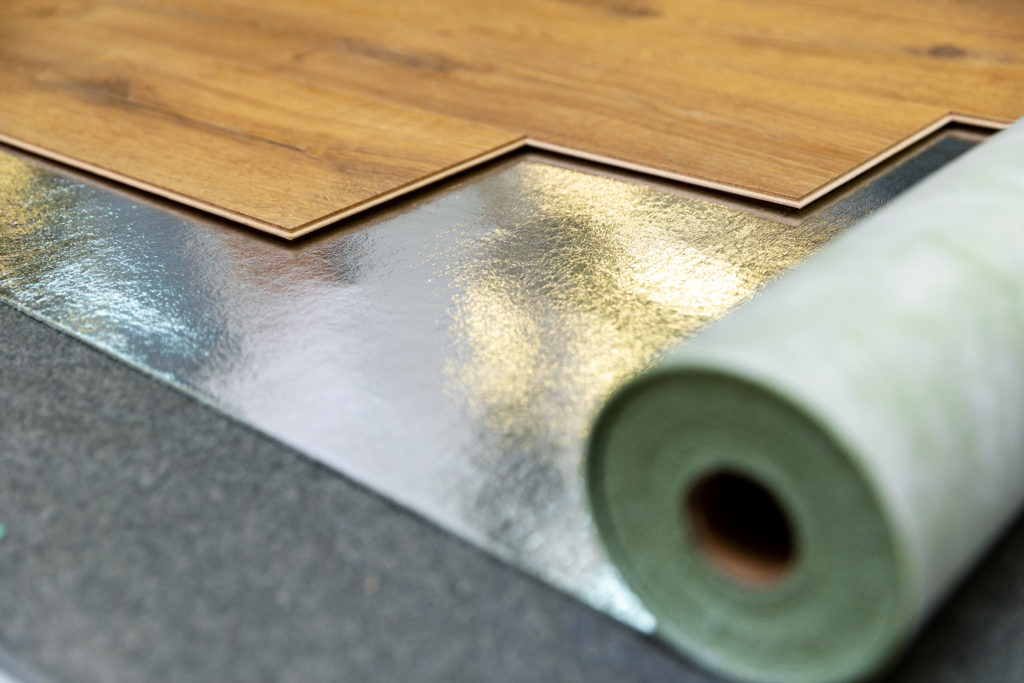
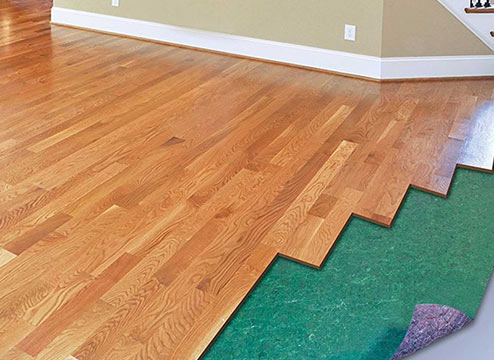
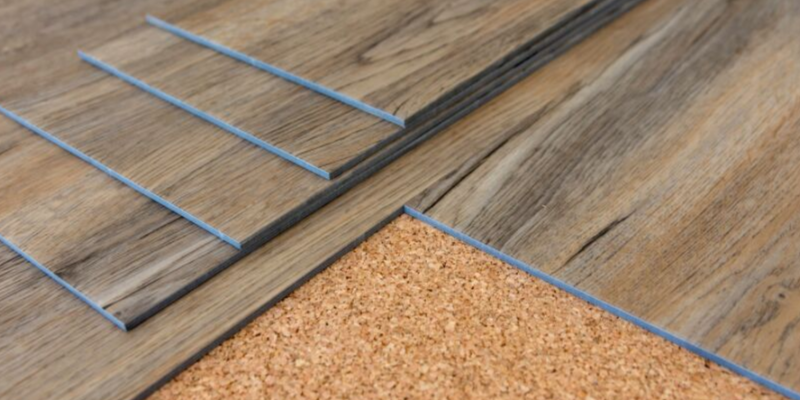
Vinyl floor tile underlayment refers to a thin layer of material that is installed between the subfloor and the vinyl flooring. It acts as a cushioning layer, providing additional support, sound insulation, moisture resistance, and thermal insulation. Underlayment helps to minimize imperfections in the subfloor while enhancing the overall comfort and longevity of your vinyl flooring.
II. Benefits of Vinyl Floor Tile Underlayment:
1. Enhanced Durability:
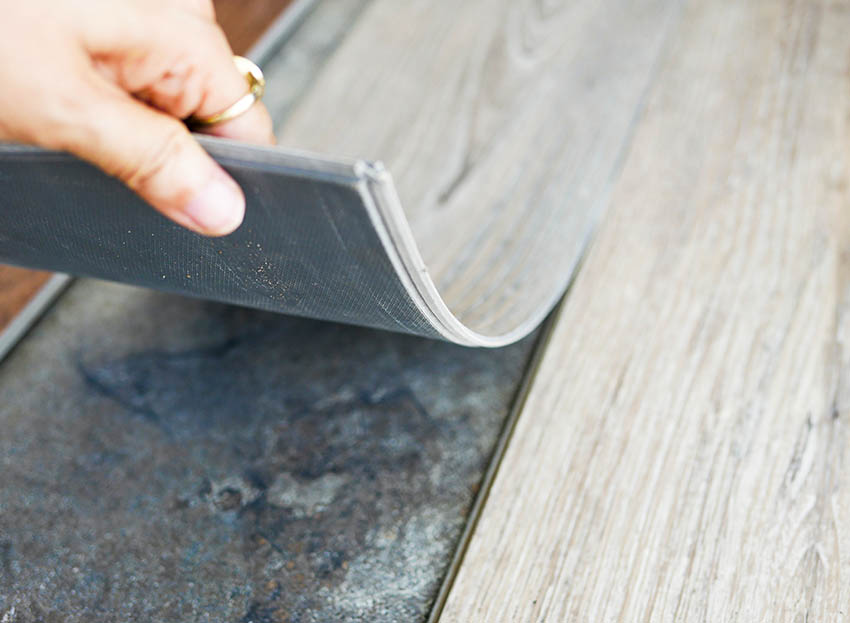
One of the primary benefits of using underlayment beneath your vinyl floor tiles is improved durability. The underlayment acts as a protective barrier, preventing direct contact between the subfloor and the vinyl flooring. This reduces wear and tear caused by foot traffic and impact, ensuring that your floor remains intact for an extended period.
2. Sound Insulation:
Vinyl flooring can produce unwanted noise when walked upon due to its hard surface. However, with the installation of underlayment specifically designed for sound insulation purposes, you can significantly reduce these noises. Underlayment absorbs impact sounds and reduces their transmission through the floor structure, providing you with a quieter environment.
3. Moisture Resistance:
Moisture can be detrimental to any type of flooring material if not properly addressed. Vinyl floor tile underlayment often includes a moisture barrier that helps to prevent the ingress of water vapor from the subfloor. This added layer of protection safeguards your vinyl flooring against potential damage caused by moisture, such as warping, mold, or mildew growth.
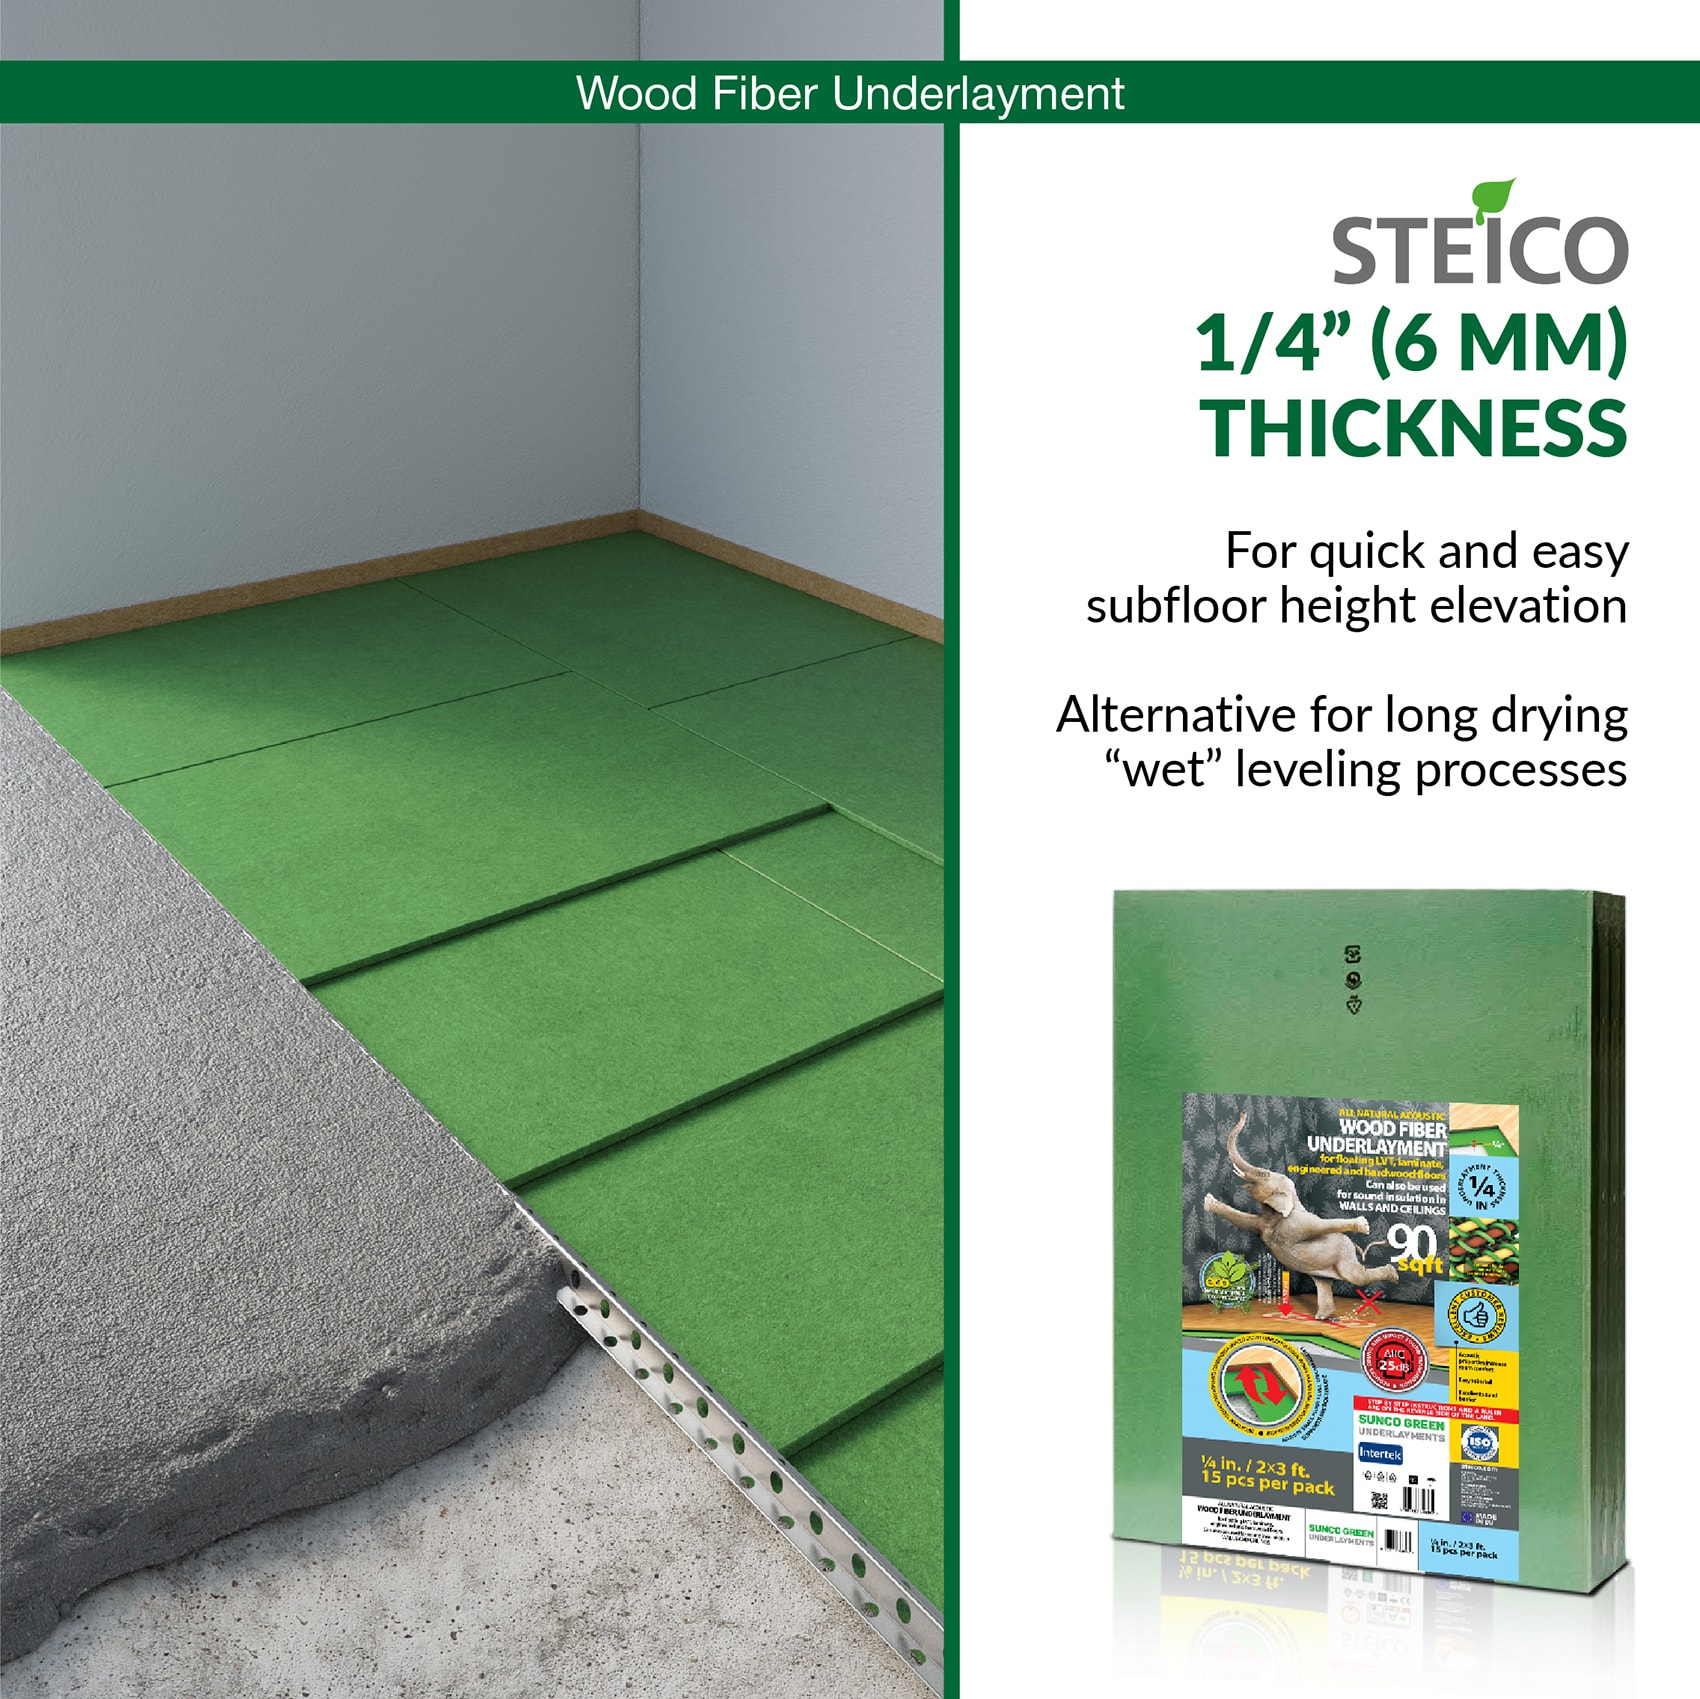
4. Thermal Insulation:
Vinyl flooring tends to be cold underfoot, especially during colder seasons. Underlayment with thermal insulation properties can help to regulate the temperature and provide warmth to your flooring. This added comfort is particularly beneficial in areas where you spend a significant amount of time standing or walking barefoot.
III. Installation Process of Vinyl Floor Tile Underlayment:
1. Prepare the Subfloor:
Before installing vinyl floor tile underlayment, it is crucial to ensure that the subfloor is clean, dry, and level. Remove any debris or dirt and repair any cracks or imperfections present on the surface.
2. Measure and Cut the Underlayment:
Using a measuring tape, measure the dimensions of your room and cut the underlayment accordingly. It is important to leave a small gap between the underlayment and walls to allow for expansion.
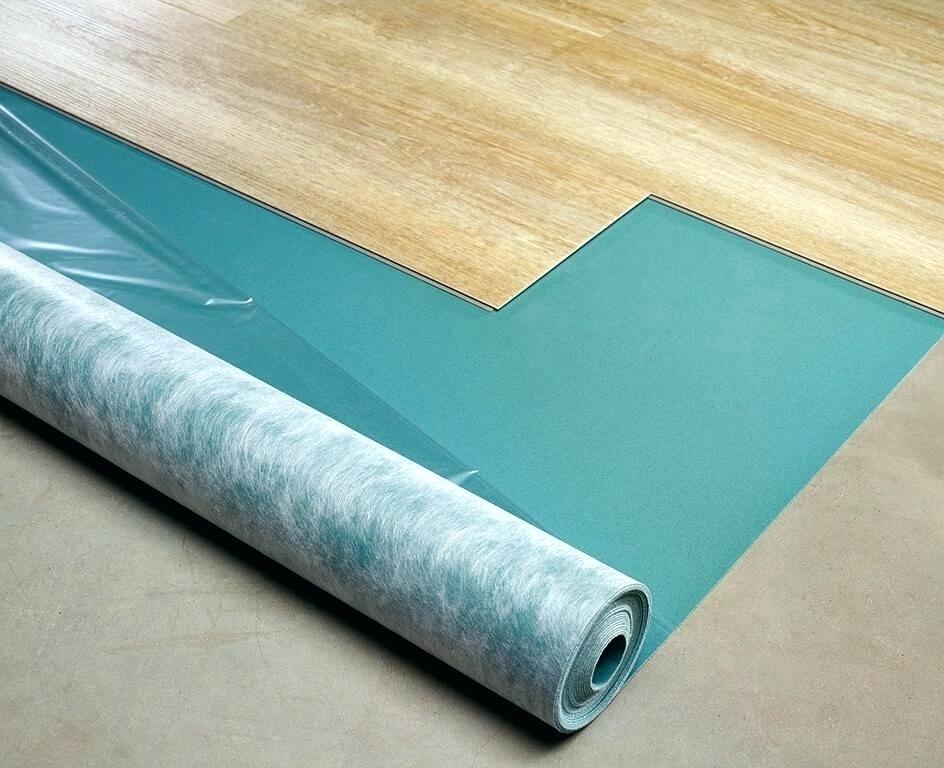
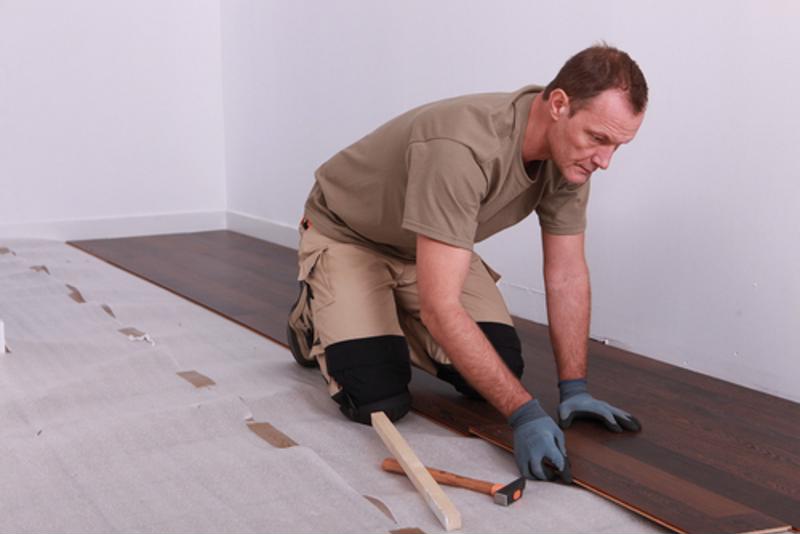
3. Lay Down the Underlayment:
Start by laying down the first sheet of underlayment along one wall, ensuring that it aligns with the edge of the subfloor. Continue placing subsequent sheets side by side, slightly overlapping them at the seams. Secure each sheet to the subfloor using adhesive or staples as recommended by the manufacturer.
4. Trim Excess Underlayment:
Once all sheets are installed, trim any excess underlayment That extends beyond the edges of the room using a utility knife or scissors. Make sure to leave a small gap between the underlayment and walls to allow for expansion.
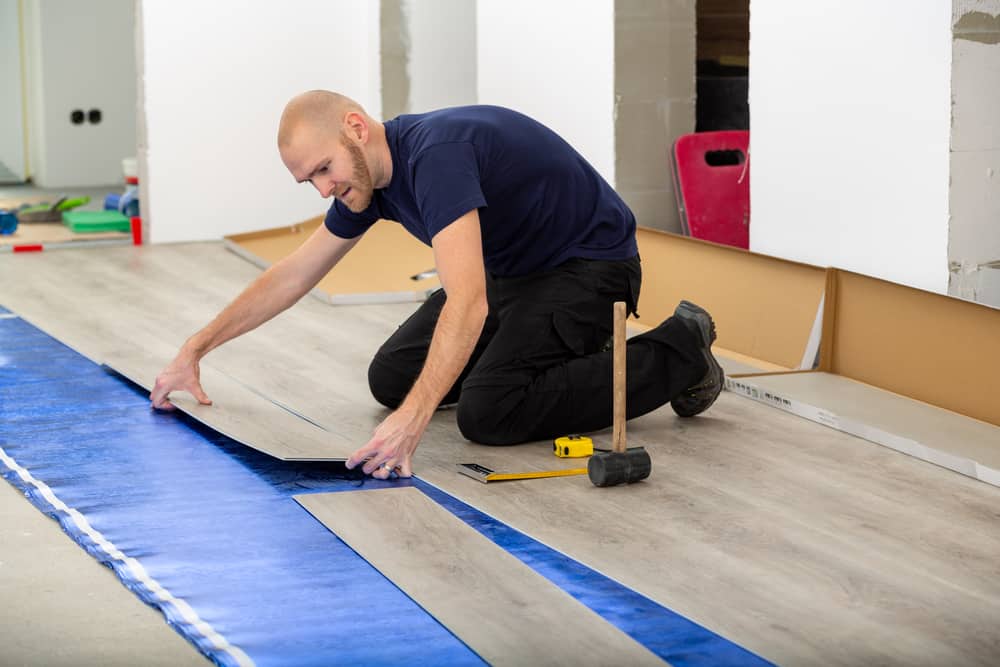
5. Install Vinyl Flooring:
After the underlayment is in place, you can proceed with installing your vinyl floor tiles. Follow the manufacturer’s instructions for proper installation techniques, including adhesive application and tile placement.
6. Finishing Touches:
Once the vinyl flooring is installed, make sure to trim any excess material and install baseboards or molding to cover the edges of the floor and create a finished look.
Overall, vinyl floor tile underlayment provides enhanced durability, sound insulation, moisture resistance, and thermal insulation benefits. Following the proper installation process ensures that your underlayment effectively serves its purpose and prolongs the lifespan of your vinyl flooring. Vinyl floor tile underlayment is a crucial component in the installation process of vinyl flooring. It offers several benefits that enhance the durability and lifespan of your flooring. This article discusses the importance of underlayment and provides a step-by-step guide on how to install it.
One of the main benefits of vinyl floor tile underlayment is its ability to provide sound insulation. It helps to reduce noise transmission between floors, making your living space quieter and more comfortable. This is particularly beneficial in multi-level buildings or areas where noise reduction is important.
Additionally, underlayment acts as a moisture barrier, preventing water vapor from seeping into your vinyl flooring. This protection safeguards against potential damage caused by moisture, such as warping, mold, or mildew growth. It is crucial to ensure that your subfloor is clean, dry, and level before installing the underlayment to maximize its effectiveness.
Another advantage of using underlayment is its thermal insulation properties. Vinyl flooring tends to be cold underfoot, especially during colder seasons. Underlayment with thermal insulation properties helps regulate the temperature and provides warmth to your flooring, adding comfort to areas where you spend a significant amount of time standing or walking barefoot.
Now let’s move on to the installation process of vinyl floor tile underlayment.
1. Prepare the Subfloor: Before installing underlayment, it is important to ensure that the subfloor is clean, dry, and level. Remove any debris or dirt and repair any cracks or imperfections present on the surface.
2. Measure and Cut the Underlayment: Using a measuring tape, measure the dimensions of your room and cut the underlayment accordingly. Leave a small gap between the underlayment and walls to allow for expansion.
3. Lay Down the Underlayment: Start by laying down the first sheet of underlayment along one wall, ensuring that it aligns with the edge of the subfloor. Continue placing subsequent sheets side by side, slightly overlapping them at the seams. Secure each sheet to the subfloor using adhesive or staples recommended by the manufacturer.
4. Trim Excess Underlayment: Once all sheets are installed, trim any excess underlayment that extends beyond the edges of the room using a utility knife or scissors. Leave a small gap between the underlayment and walls to allow for expansion.
5. Install Vinyl Flooring: After the underlayment is in place, you can proceed with installing your vinyl floor tiles. Follow the manufacturer’s instructions for proper installation techniques, including adhesive application and tile placement.
6. Finishing Touches: Once the vinyl flooring is installed, trim any excess material and install baseboards or molding to cover the edges of the floor and create a finished look.
In conclusion, vinyl floor tile underlayment provides enhanced durability, sound insulation, moisture resistance, and thermal insulation benefits. By following the proper installation process, you can ensure that your underlayment effectively serves its purpose and prolongs the lifespan of your vinyl flooring.