Revamp your home’s look with a stylish and durable flooring option. Transform your space in just a few simple steps with vinyl floor tile installation.
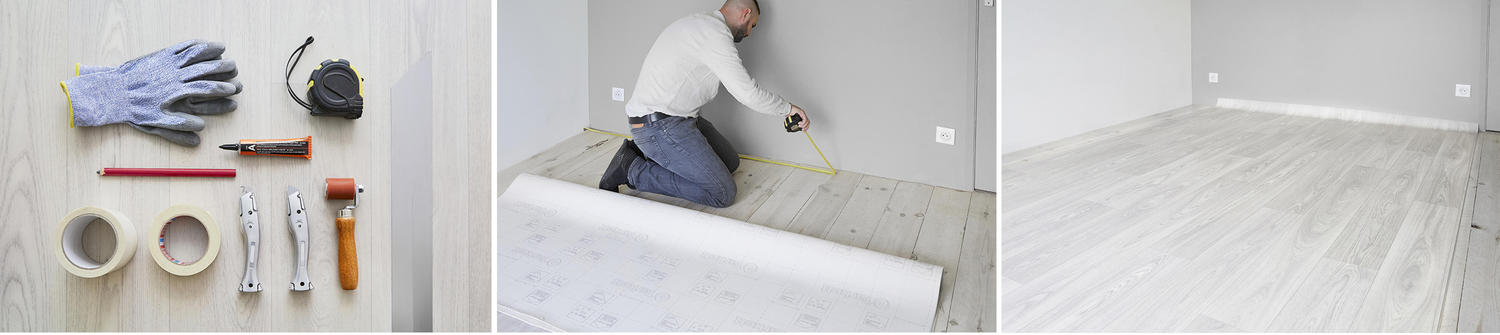
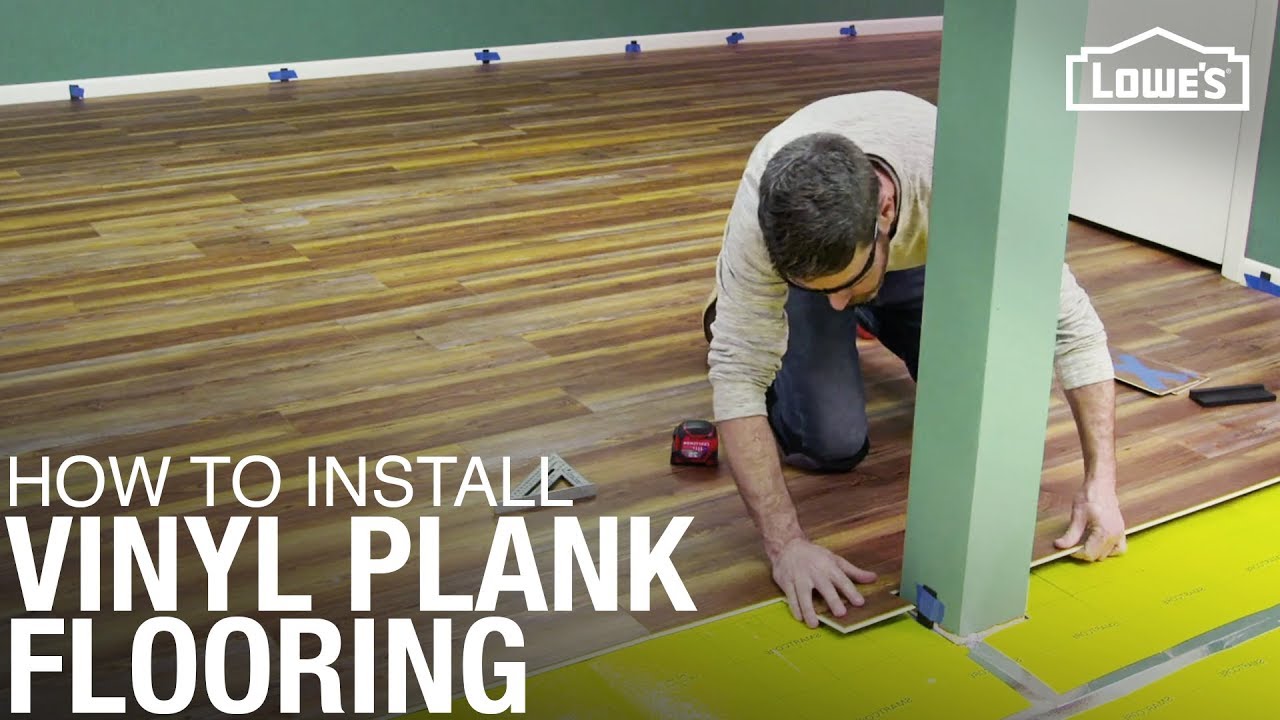
Start by accurately measuring the area you’re looking to tile. Knowing the correct amount of material needed can save you time and money. Once the measurements are complete, prepare the surface by ensuring its level, dry, and free from debris. If there’s any presence of moisture, take care of it before laying the tiles.
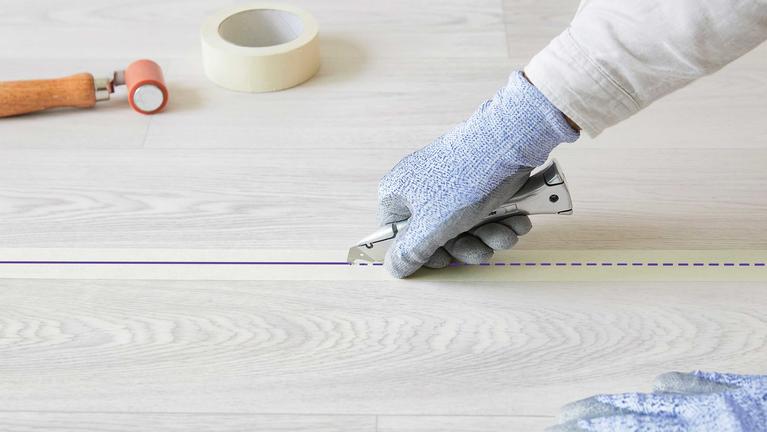
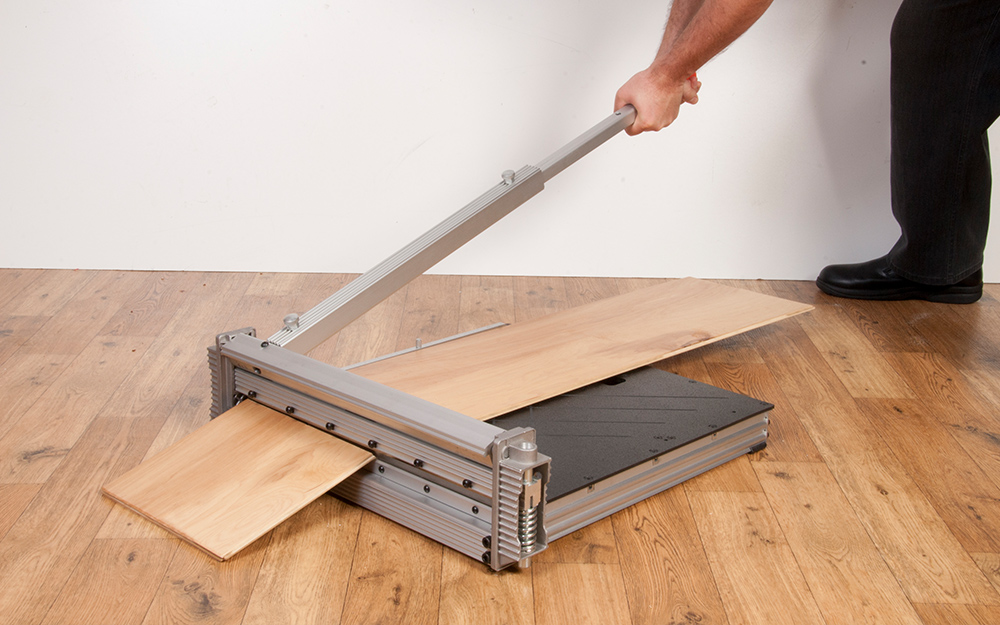
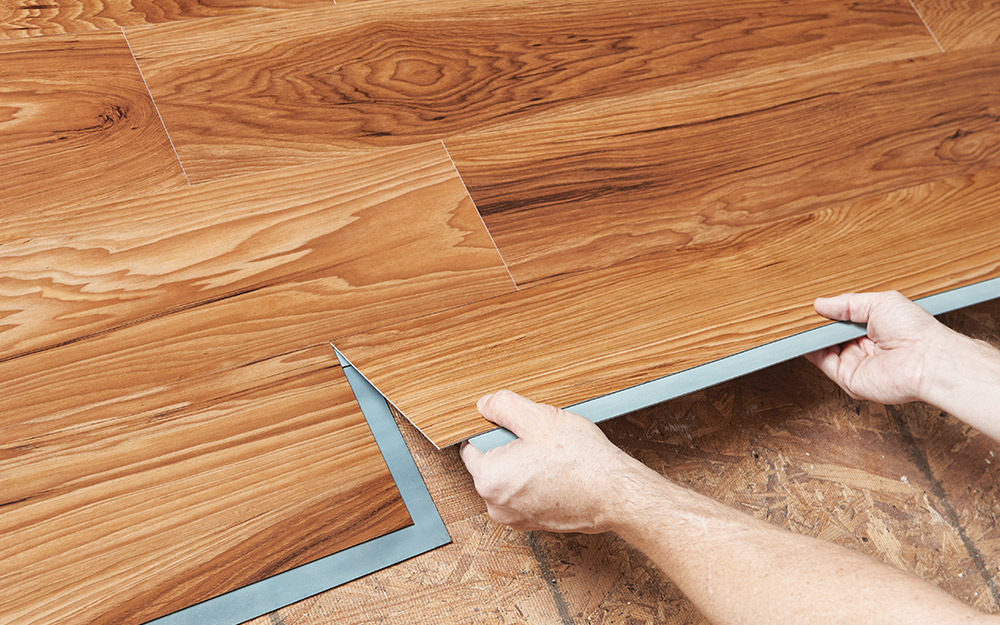
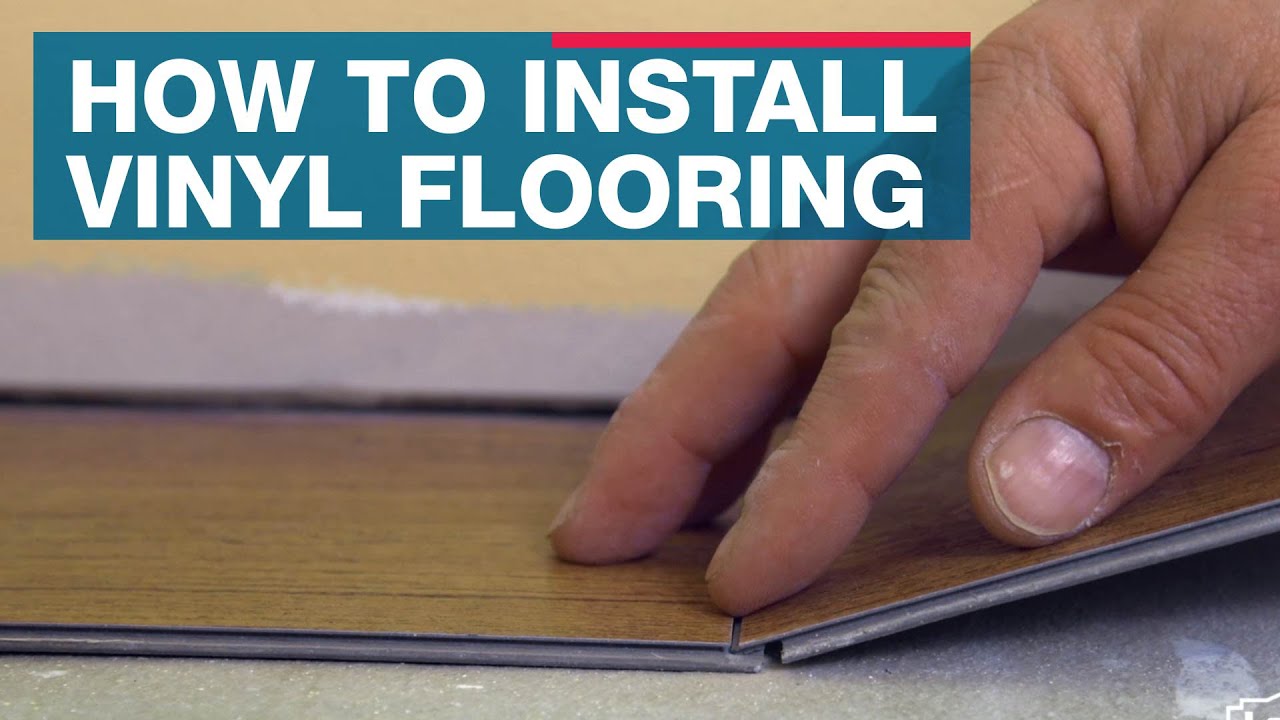
Get creative and lay out the tiles in your desired pattern, using a chalk line to mark the center of each tile for even placement. Ensure a snug fit with no gaps by trimming any excess tile material with a utility knife, if needed.
Apply adhesive evenly to the back of each tile and press it firmly into place, holding it for several seconds. To guarantee secure adhesion, use a rubber mallet or roller.
Allow the tiles to sit undisturbed for 24 hours before you walk on them or place the furniture. In no time, you’ll have a stunning new floor in your home!
Vinyl Floor Tile Installation Instructions
How to lay Vinyl flooring sheets, tiles and planks Tarkett
Luxury Vinyl Tile Installation

How to Install Vinyl Plank Flooring
How to Install Vinyl Plank Flooring
STAINMASTER® Locking Luxury Vinyl Floor Installation

Rigid Core Installation Guide Waterproof vinyl plank flooring

How to lay Vinyl flooring sheets, tiles and planks Tarkett
How to Install Vinyl Plank Flooring
/easy-install-plank-vinyl-flooring-1822808-07-9e82b716c3e94264b4a6084e174e9aeb.jpg)
How to Install Vinyl Plank Flooring
:max_bytes(150000):strip_icc()/easy-install-plank-vinyl-flooring-1822808-06-3bb4422ca1bd49b080bfa73bce749acc.jpg)
Click Lock Vinyl Flooring Installation Instructions Vinyl

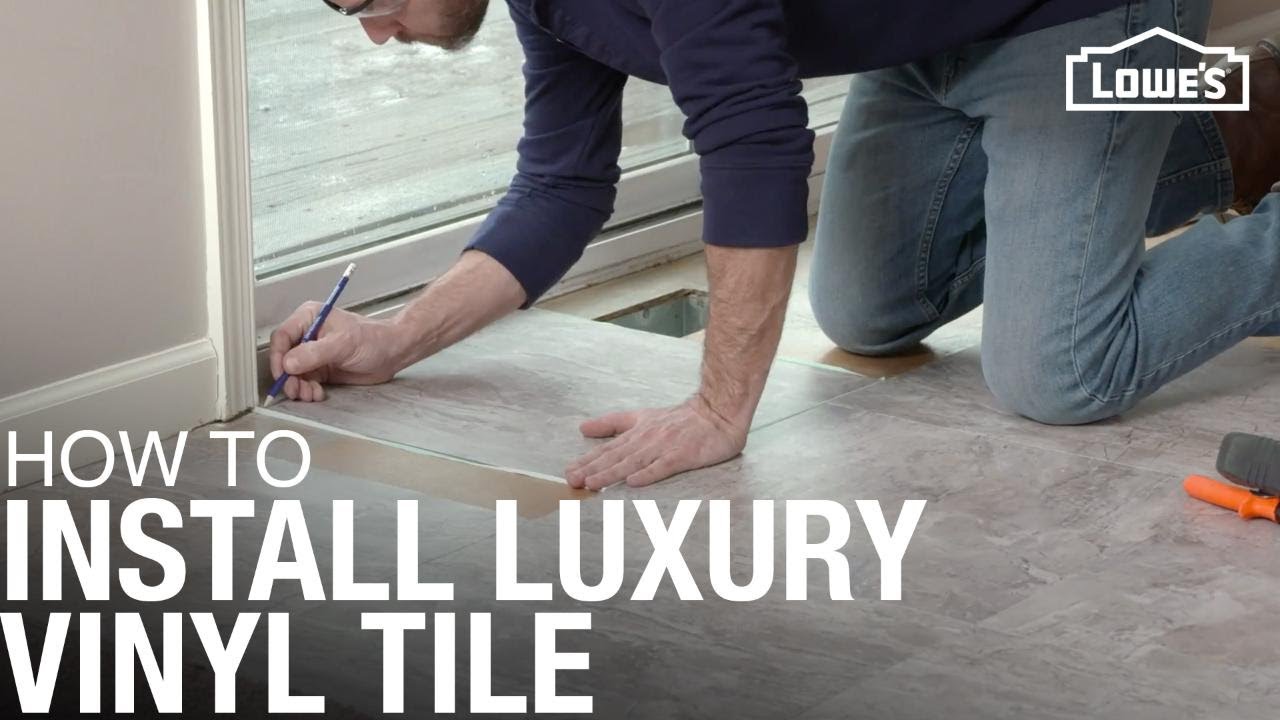
How to Install Vinyl Plank Flooring Loweu0027s
Vinyl Tile Installation

How To Install Waterproof Vinyl Plank Flooring DIY Flooring Installation
Related articles: