Immediately after 1 day or perhaps so, look to determine if any moisture accumulated under the plastic sheet. However, when it comes to picking a flooring covering for basements, the decision of yours is usually a well informed or perhaps pricey one. It is a great deal of space that's usually out of the way.
Here are Images about Rubber Floor Tiles For Basement
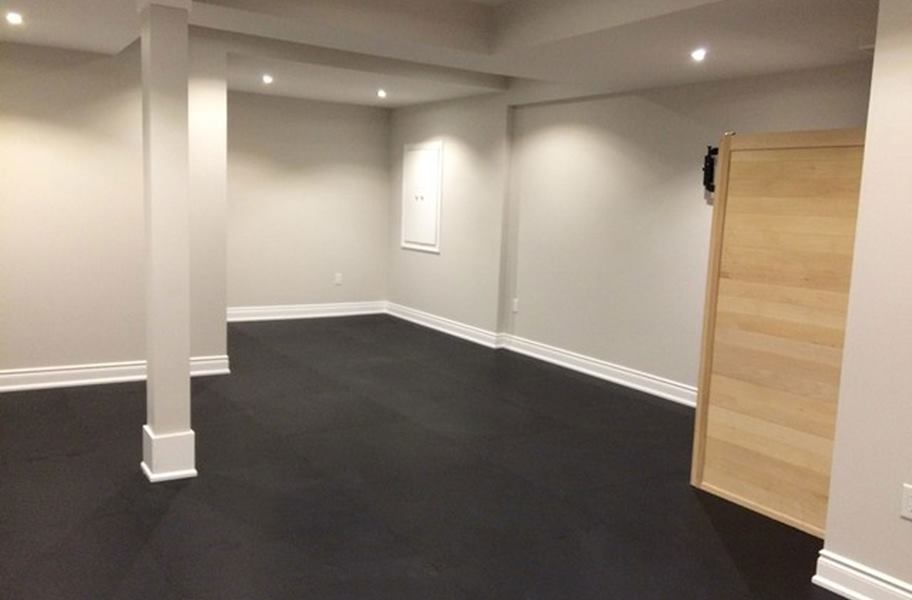
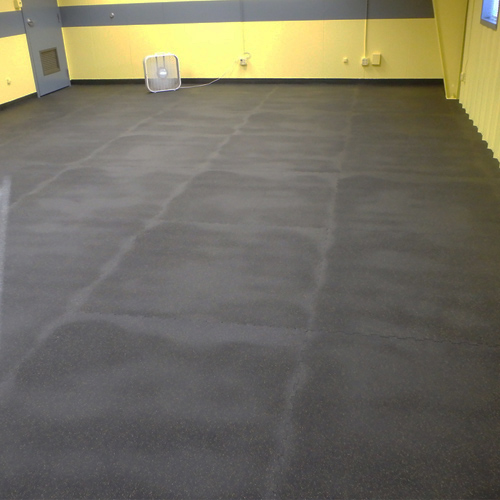
Rubber Floor Tiles For Basement

If you're solid to the decision of yours of remodeling your basement to something habitable, the next move is to check the basement for harm. Basements can be used for storage, additional rooms, as a room for entertaining, or even most of the above! However, basements also pose the own issues of theirs. The vast bulk of homes have cement downstairs room flooring.
The Best Basement Flooring Options – Flooring Inc
You have hardwood in the kitchen, dining area and living area, tile for the floor in the bathtubs as well as carpet in the bedrooms. Another essential consideration when it comes to basement flooring is if who's performing the floors work: you or even a hired specialized? If it is you, remember that tiles & stained basement floor normally takes much more work to haul and install.
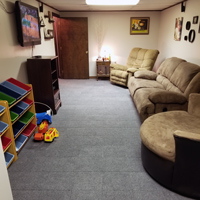
Images Related to Rubber Floor Tiles For Basement
Basement Floor u0026 Tiles: Interlocking Rubber, Carpet u0026 Foam
9 Basement Flooring Ideas for Your Home – Bob Vila

6mm Energy Rubber Tiles
Carpet Tiles Modular Squares 5/8 Inch x 1×1 Ft.
What is the Best Flooring For Basement u2013 Rubber, Vinyl or Laminate?

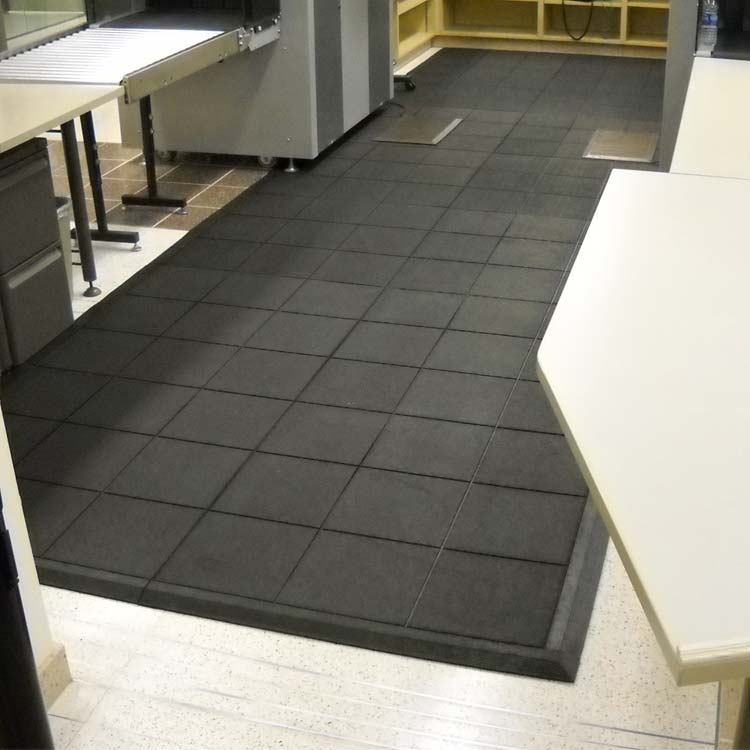
Gym 3/4 Inch Rubber Interlocking 4×6 Ft Center Tile Black
4 Recommended Basement Flooring Options – Flooring

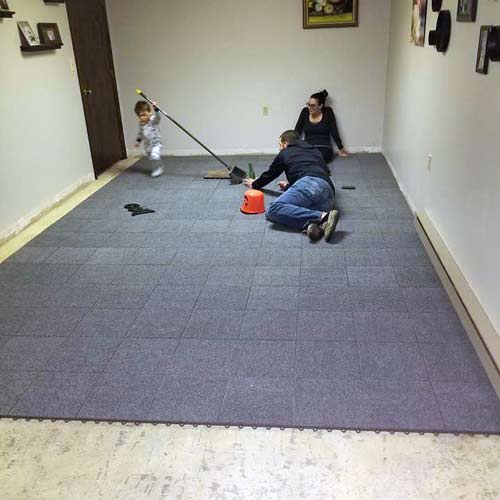
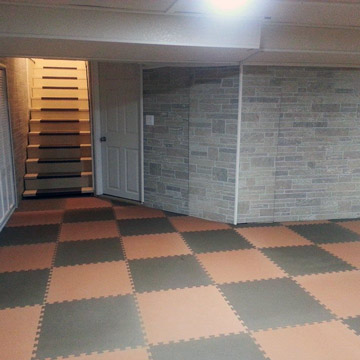
Revolution” Interlocking Flooring Tiles
Rubber Flooring For Basement u2013 redboth.com Rubber flooring

Rubber Flooring for Basements vs. Foam and Plastic Tiles: Best Options
Rubber Flooring For Concrete Basement Carpet tiles for basement

Rubber Flooring for Basements Will Breathe New Life into Any Cellar
Related articles:
- Stained Concrete Basement Floor
- Finishing Basement Floor
- Refinish Concrete Basement Floor
- Best Flooring For Basement
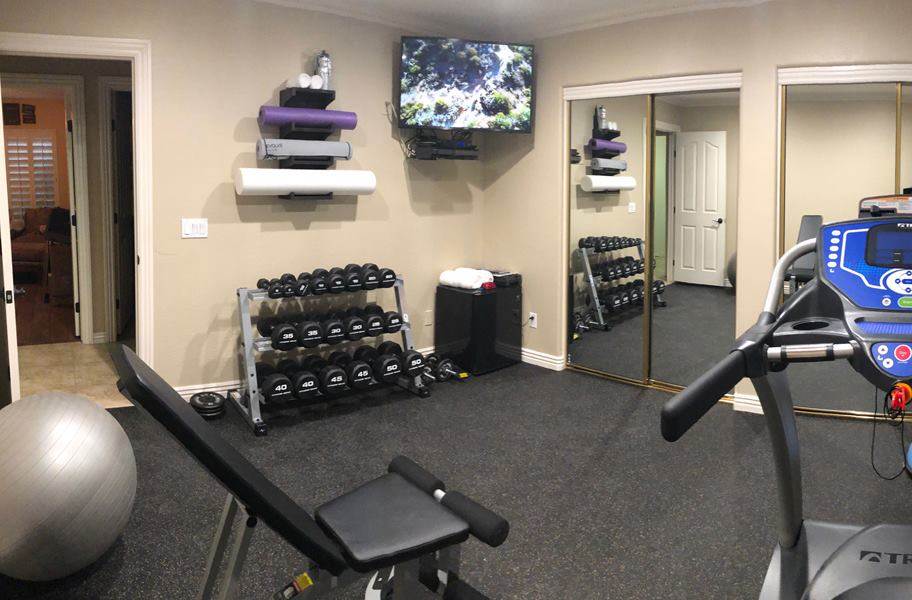
- Basement Gym Flooring Ideas
- Laminate Flooring In Basement
- Basement Concrete Floor Sweating
- Basement Floor Finishing Ideas
- Painting Unfinished Basement Floor
- Unique Basement Flooring
Rubber Floor Tiles For Basement: A Practical Solution for a Versatile Space
Introduction:
When it comes to basement flooring options, homeowners are often faced with the challenge of finding a material that is not only durable and moisture-resistant but also aesthetically pleasing. Rubber floor tiles have emerged as an excellent choice for basements, offering a practical solution that ticks all the boxes. In this article, we will delve into the world of rubber floor tiles for basements, exploring their benefits, installation process, maintenance requirements, and frequently asked questions.
Benefits of Rubber Floor Tiles for Basements:
1. Durability:
One of the primary reasons why rubber floor tiles have gained popularity in basements is their exceptional durability. Designed to withstand heavy foot traffic and resist wear and tear, these tiles are built to last. They can easily endure the pressure of moving furniture or appliances without showing signs of damage. Additionally, rubber floor tiles are resistant to scratches, dents, and stains, making them an ideal choice for high-traffic areas like basements.
2. Moisture Resistance:
Basements are notorious for their dampness and susceptibility to moisture-related issues such as mold and mildew growth. Rubber floor tiles offer a practical solution by providing excellent moisture resistance properties. Unlike other flooring materials such as carpet or hardwood, rubber tiles do not absorb water or develop mold when exposed to moisture. This makes them an ideal choice for basements prone to occasional flooding or high humidity levels.
3. Impact Resistance:
Basements often serve as multi-purpose spaces where families gather for recreational activities or children play freely. Rubber floor tiles excel in impact resistance, providing a cushioned surface that absorbs shocks and reduces the risk of injuries from accidental falls. The elasticity of rubber ensures a comfortable underfoot experience while simultaneously reducing noise transmission from footsteps or dropped objects.
4. Easy Installation:
Rubber floor tiles are known for their straightforward installation process, making them an attractive option for homeowners seeking a DIY project. These tiles come in interlocking or adhesive-back options, allowing for a hassle-free installation that requires minimal tools. Interlocking rubber tiles simply snap together, eliminating the need for adhesives or special skills. For adhesive-backed tiles, applying a suitable adhesive to the subfloor ensures a secure and long-lasting bond.
5. Versatility in Design:
Gone are the days when rubber floor tiles were limited to monotonous black or gray options. Nowadays, these tiles are available in a wide range of colors, patterns, and textures, allowing homeowners to unleash their creativity and personalize their basement space. Whether you prefer a vibrant and playful look or a more classic and sophisticated aesthetic, rubber floor tiles offer endless design possibilities.
Installation Process of Rubber Floor Tiles for Basements:
1. Preparing the Subfloor:
Before installing rubber floor tiles, it is crucial to ensure that the subfloor is clean, dry, and level. Remove any existing flooring material and thoroughly clean the surface to remove dirt or debris. If necessary, use a leveling compound to even out any uneven areas.
2. Measuring and Planning:
Measure the dimensions of your basement accurately to calculate the number of rubber floor tiles required for the project. It is advisable to purchase extra tiles to account for any cutting errors or future replacements.
3. Acclimation:
Allow the rubber floor tiles to acclimate to the room’s temperature and humidity levels by leaving them in the basement for at least 24 hours before installation.
4. Installation Method:
Depending on whether you Choose interlocking or adhesive-backed rubber floor tiles, the installation process will vary slightly. Here are the steps for each method:
For Interlocking Rubber Floor Tiles:
1. Start by laying the first tile in one corner of the room. Place the tile with the interlocking tabs facing towards the adjacent wall.
2. Continue adding tiles, interlocking them together as you go. Use a rubber mallet or a block of wood and a hammer to ensure a tight fit between tiles.
3. If necessary, cut tiles to fit around edges or obstacles using a utility knife or a rubber tile cutter.
4. Once all the full tiles are installed, measure and cut any partial tiles needed to fill in gaps at the edges of the room.
5. To finish the installation, install edge ramps or transition strips along the perimeter of the room to create a smooth transition between the rubber floor and other flooring materials.
For Adhesive-Backed Rubber Floor Tiles:
1. Start by applying an appropriate adhesive to the subfloor using a trowel or roller, following the manufacturer’s instructions.
2. Place the first tile in one corner of the room, pressing it firmly into the adhesive.
3. Continue adding tiles, aligning them tightly together and pressing them into the adhesive.
4. If necessary, cut tiles to fit around edges or obstacles using a utility knife or a rubber tile cutter.
5. Once all the full tiles are installed, measure and cut any partial tiles needed to fill in gaps at the edges of the room.
6. Allow the adhesive to dry completely before walking on or placing heavy objects on the floor.
Overall, the installation of rubber floor tiles for basements is a relatively simple process that can be done by homeowners with basic DIY skills. However, if you are unsure or prefer professional assistance, it is always recommended to hire a qualified installer. 7. Maintenance and Care:
Regularly clean the rubber floor tiles using a mild detergent and water solution. Avoid using harsh chemicals or abrasive cleaners that can damage the surface of the tiles. Sweep or vacuum the floor regularly to remove dirt and debris.
8. Inspect for Damage:
Periodically inspect the rubber floor tiles for any signs of damage, such as cracks, tears, or loose edges. Replace any damaged tiles immediately to prevent further issues.
9. Protect from Moisture:
To prevent moisture from seeping through the basement floor, consider installing a moisture barrier or subfloor before laying the rubber tiles. This will help protect the tiles from water damage and extend their lifespan.
10. Consider Underlayment:
If you want to enhance the comfort and insulation of your basement floor, consider adding an underlayment beneath the rubber floor tiles. This will provide additional cushioning and help regulate temperature.
11. Enjoy Your New Basement Flooring:
Once the installation is complete and the maintenance steps are followed, you can enjoy your new rubber floor in your basement. Not only will it provide a durable and comfortable surface, but it can also add style and functionality to your space.
Remember to consult with the manufacturer’s guidelines for specific instructions on installation and care for your specific brand of rubber floor tiles.