When there is moisture seeping up from the basement floor of yours, you must call an expert to take care of the problem – that will likely entail the installation of a vapor guard – well before at any time installing your floor. Not only does the usage of many colors (contrasting colors available do ) that is great give the basement a trendy look, although it hides the seams in which the carpet flooring come together.
Here are Images about Leveling Concrete Floor With Thinset
Leveling Concrete Floor With Thinset
As you would want to make the living space as comfortable and alluring as possible, the cold, hard cement floor which basement floorings are typically made of is not a choice! Blank concrete is often tough, and doesn't result in designing a warm and welcoming space. This's an important part of the situation with regards to basement waterproofing.
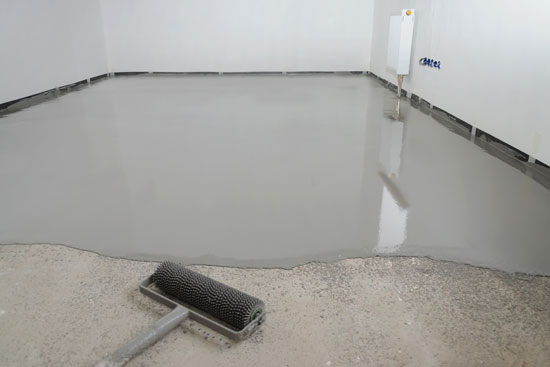
Self-Leveling Concrete Can Save Both Time and Money – Concrete Decor

If perhaps you encounter the issue, it would be a good option to call a plumber to help you find the cause of the problem and secure it repaired right away. Planning is a very important part of developing your basement and what it is key purpose will be. The fact of furniture, perhaps a bar as well as a media center and you have a terrific entertainment area.
Images Related to Leveling Concrete Floor With Thinset
A Trade Prou0027s Guide to Thinset vs. Self-Leveling
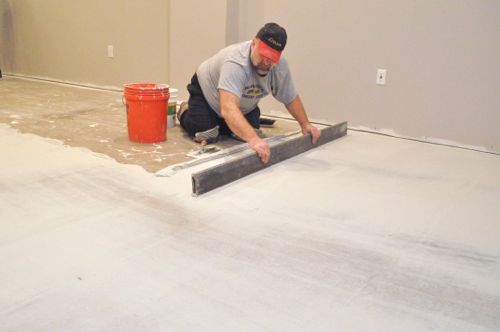
18 Tips for working with Self-Leveling Underlayment
Self-Leveling Concrete: Preparing for Installation [Tips]
A Trade Prou0027s Guide to Thinset vs. Self-Leveling

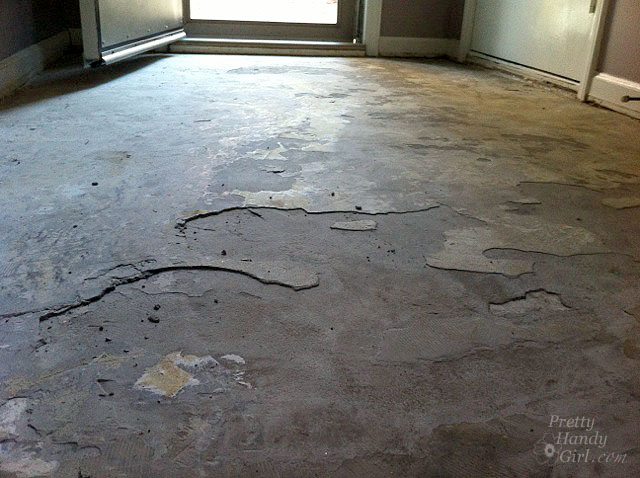
How to Patch and Level a Concrete Subfloor – Pretty Handy Girl
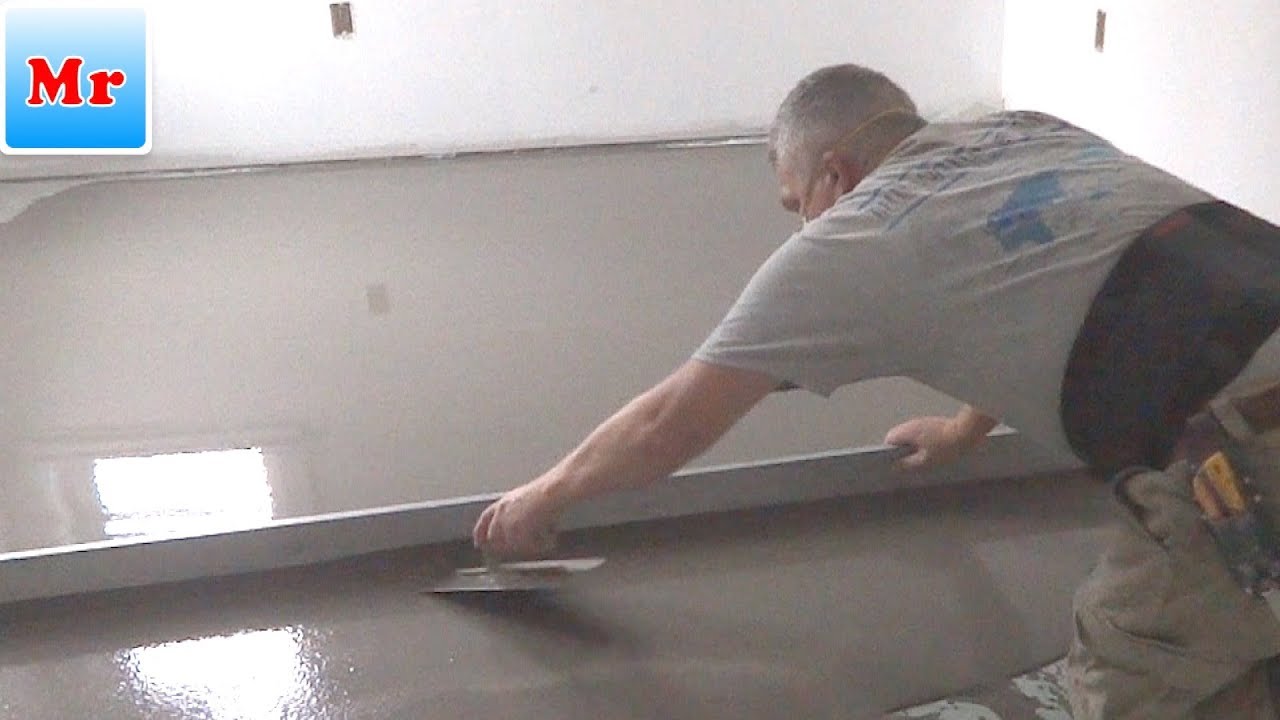
How to Make a Floor Leveling with Concrete Self Leveling Compound MrYoucandoityourself
How to Self Level Bathroom Floors Part 2Adding Leveler Over Concrete — by Home Repair Tutor

How to Level a Subfloor Before Laying Tile
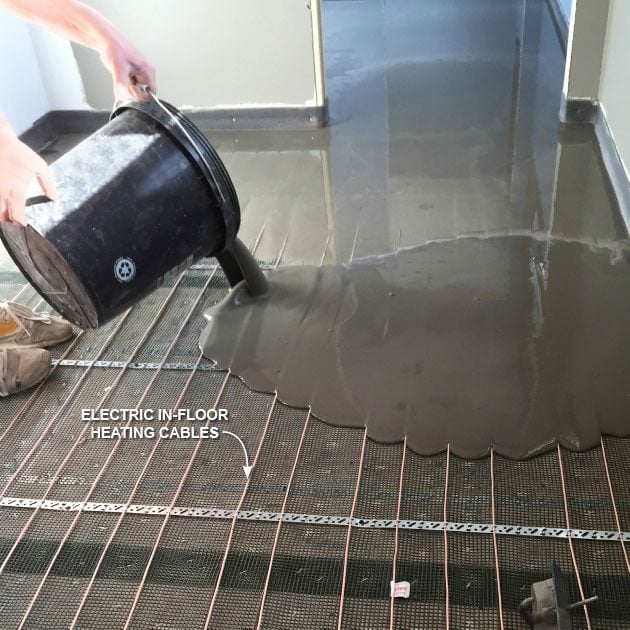
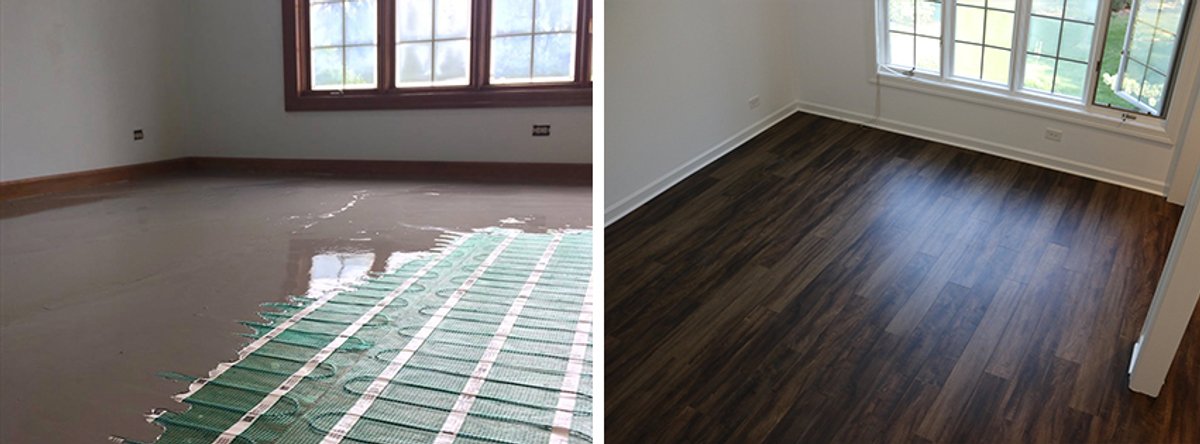
Thinset vs. Self-Leveling when Installing Radiant Floor Heating
Technical Focus: Achieving a flat floor for tile and stone

How to Level a Subfloor Before Laying Tile
How to Level a Floor
Related articles:
- Stained Concrete Basement Floor
- Finishing Basement Floor
- Refinish Concrete Basement Floor
- Best Flooring For Basement
- Basement Gym Flooring Ideas
- Laminate Flooring In Basement
- Basement Concrete Floor Sweating
- Basement Floor Finishing Ideas
- Painting Unfinished Basement Floor
- Unique Basement Flooring
Are you looking for a cost-effective way to level out your concrete floors? Thinset is an ideal solution for this task. With its simple application process and low-cost materials, thinset can help you achieve the perfect level floor in no time. Here’s a step-by-step guide to help you get the job done right.
What Is Thinset?
Thinset is a cement-based adhesive that is used in wall and floor tiling projects. It is made up of sand, cement, and other additives that create a strong bond between tiles and the substrate. It is also known as mortar or tile mastic.
Tools and Materials Needed
To complete the job, you will need the following tools and materials:
• Thinset
• Mixing bucket
• Trowel
• Level
• Ruler or measuring tape
• Spatula
• Chalk line
• Hammer
• Nails
• Wood boards
• Plywood (optional)
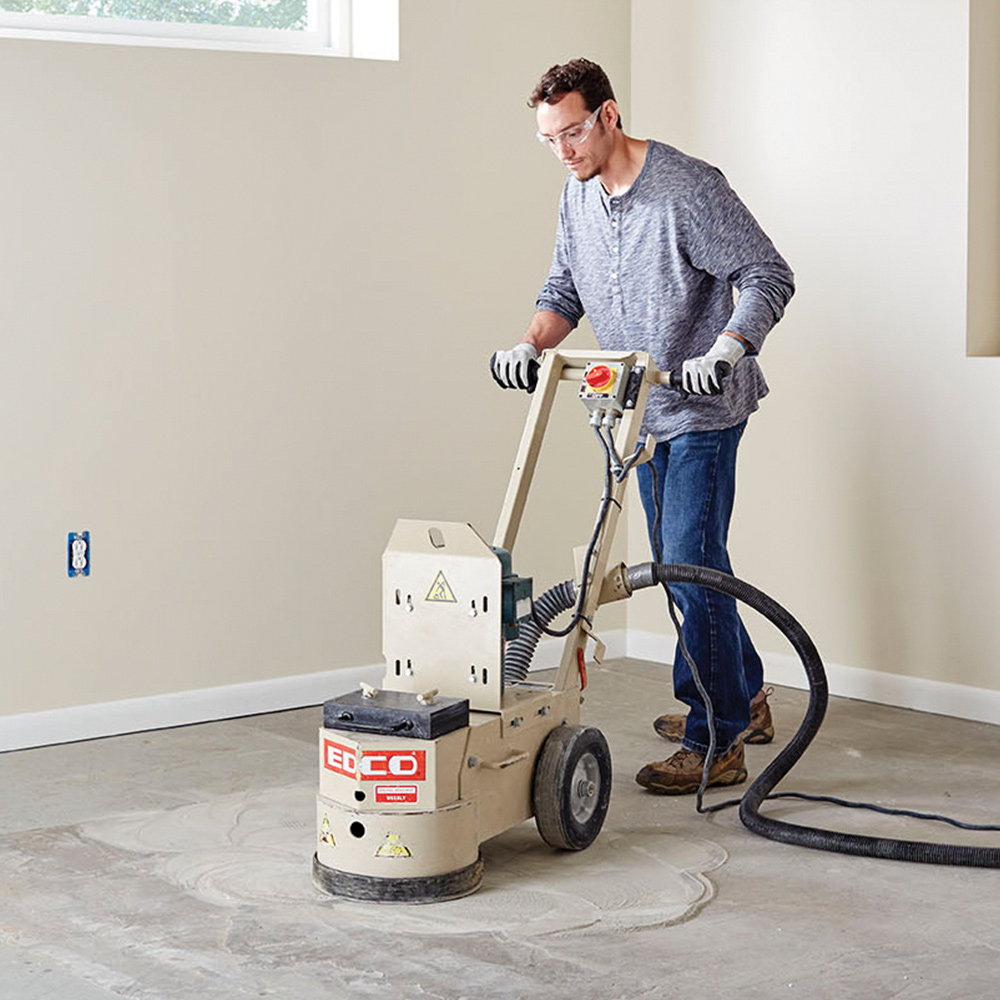
Step 1: Preparing the Floor
Before you begin, it is important to prepare the floor by cleaning it and removing any dirt or debris. Then, use a chalk line to mark off the area that needs to be leveled. Make sure that the lines are straight and that they are parallel to each other.
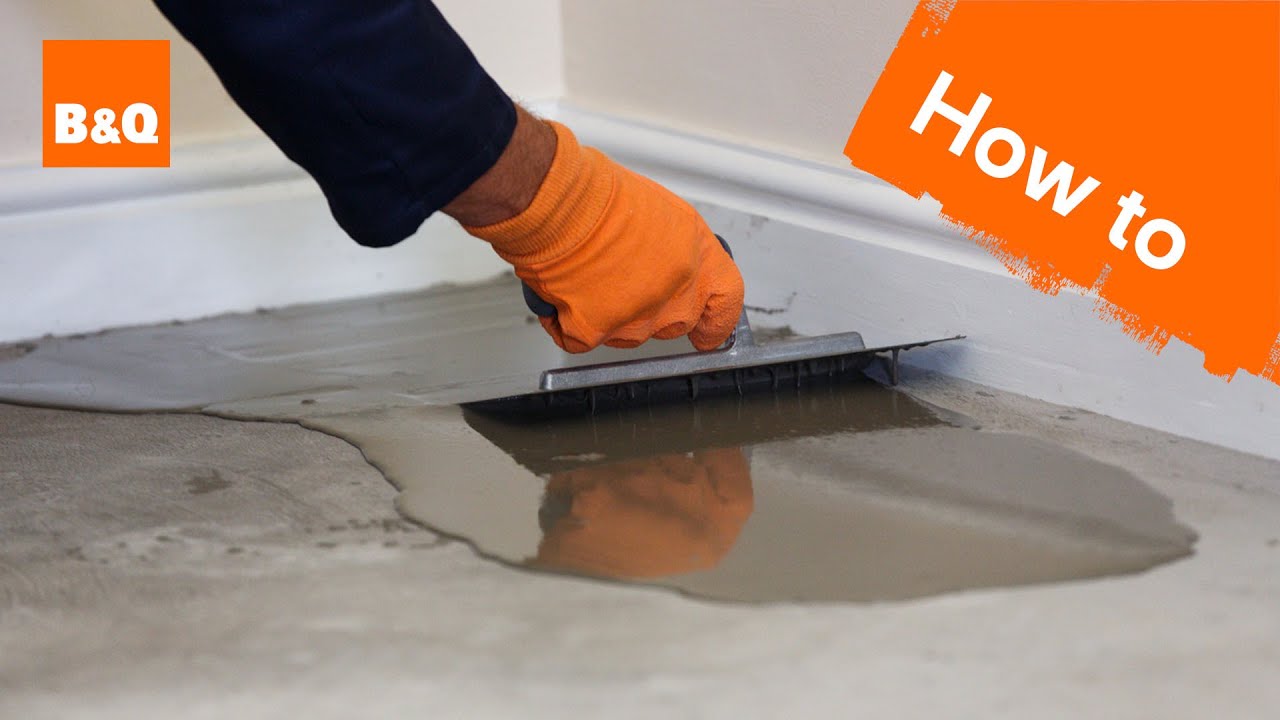
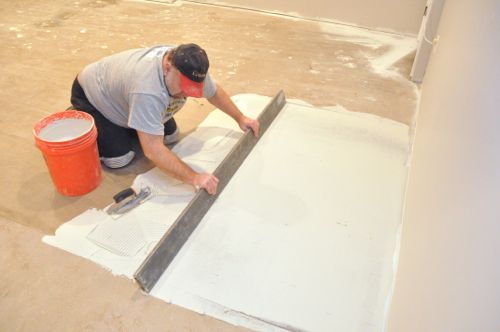
Step 2: Applying the Thinset
To apply the thinset, mix it according to the instructions on the package. Then, use a trowel to spread it onto the floor in thin layers. Make sure that you are applying it evenly across the area.
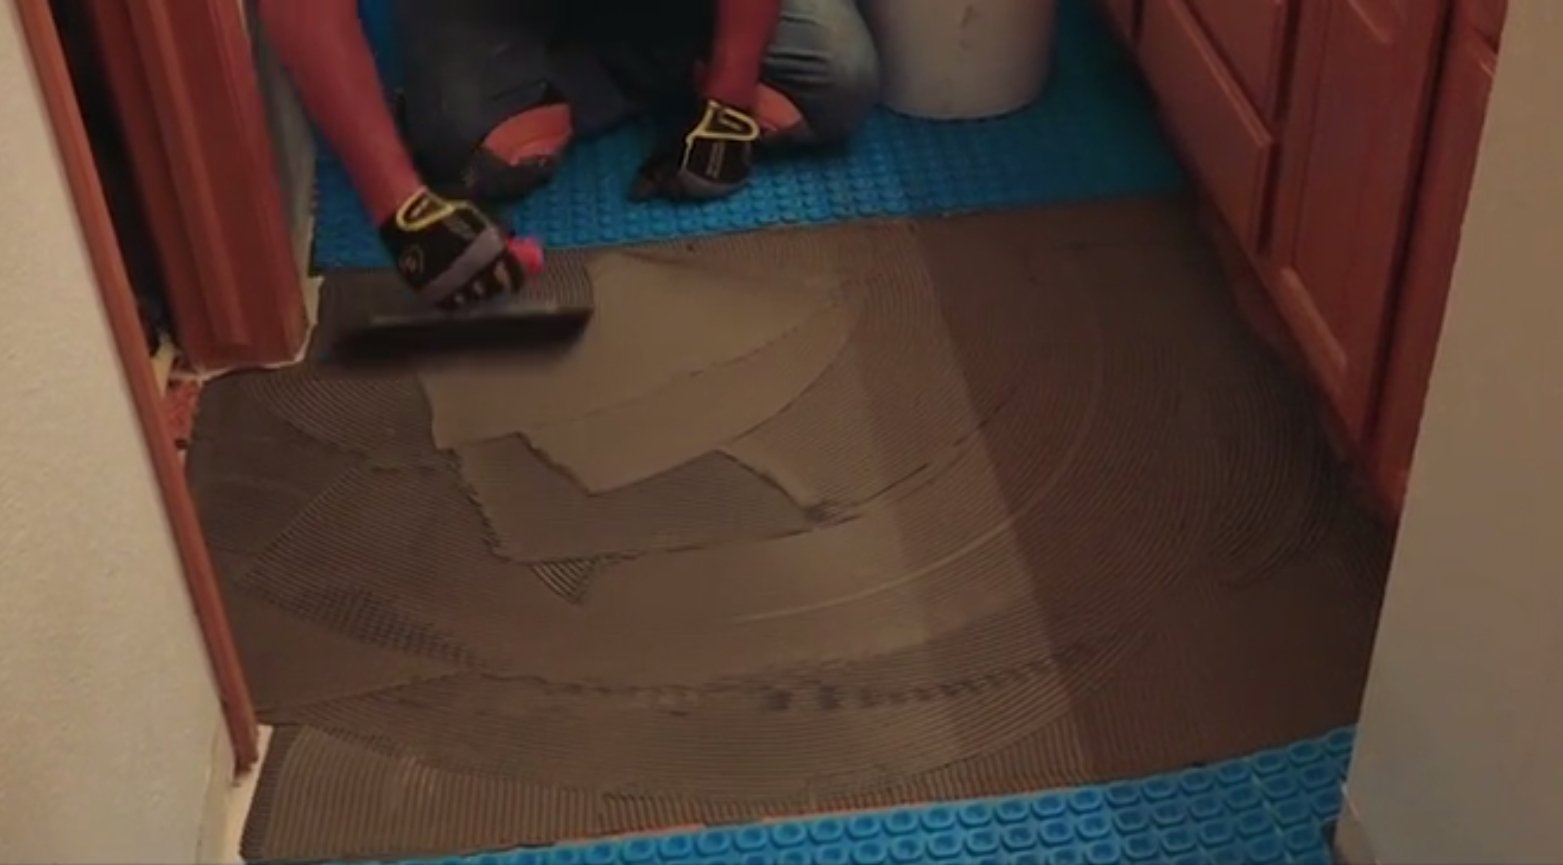
Step 3: Leveling the Floor
Once you have applied the thinset, use a level to check for any irregularities in the surface. If there are any dips or high spots, use a spatula or trowel to even them out.
Step 4: Securing the Wood Boards
Once you have achieved an even surface, it is time to secure the wood boards in place. To do this, nail them into place along the chalk lines that you marked earlier. Make sure that they are firmly secured and that they are level with each other. You can also use plywood if desired.
Step 5: Finishing Touches
Once everything is in place, you can add any finishing touches such as trim or baseboards. When everything is finished, your concrete floor should be perfectly level and ready for whatever project you have planned!
Conclusion
Leveling your concrete floor with thinset is an easy and cost-effective solution for achieving a perfectly level surface without having to hire professionals. With just a few simple steps and some basic tools, you can get the job done right in no time!