Cleaning your vinyl is truly easy. Though it appears lavish, vinyl is cost which is low. A high-quality vinyl sheet/tile can factually last as much as thirty years. So vinyl flooring is your answer if you are searching for something that is extremely durable to be used on the floor of the house of yours. Aside from the savings you love when you've them laid out, you additionally cut costs because a vinyl flooring is long-lasting and durable.
Images Related to Laying Floating Vinyl Flooring
Laying Floating Vinyl Flooring

Vinyl seems to be an extremely popular choice of flooring at the moment. You can get colors that are various, patterns, and also textures according to the tastes of yours. No importance to put difficult chemical substances for it being dirt free. It also requires hardly any to keep it and keep it looking new. Trend of using vinyl floor is growing day by day.
Installing Vinyl Plank Flooring – How To FixThisBuildThat
They're able to help you to move and put the vinyl sheets or maybe tiles in their right positions. They can give you as the buyer a wide range of products in their vinyl flooring range. When choosing for vinyl floors consider type, cost, and installation of vinyl. This's to avoid marks and compressions. Are you fed up with your dreary and stained flooring? Vinyl flooring is a fantastic option for replacing your existing flooring.
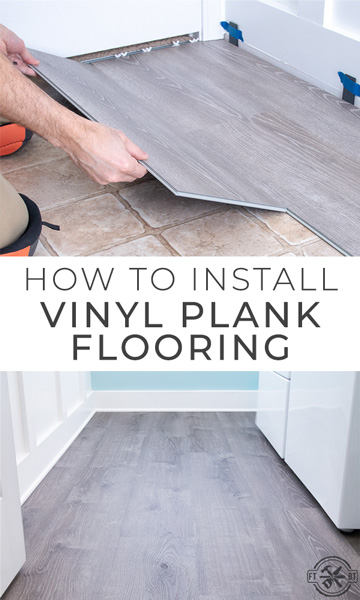
How to Install Vinyl Plank Flooring
/easy-install-plank-vinyl-flooring-1822808-06-3bb4422ca1bd49b080bfa73bce749acc.jpg)
How to Install Vinyl Plank Flooring as a Beginner Home

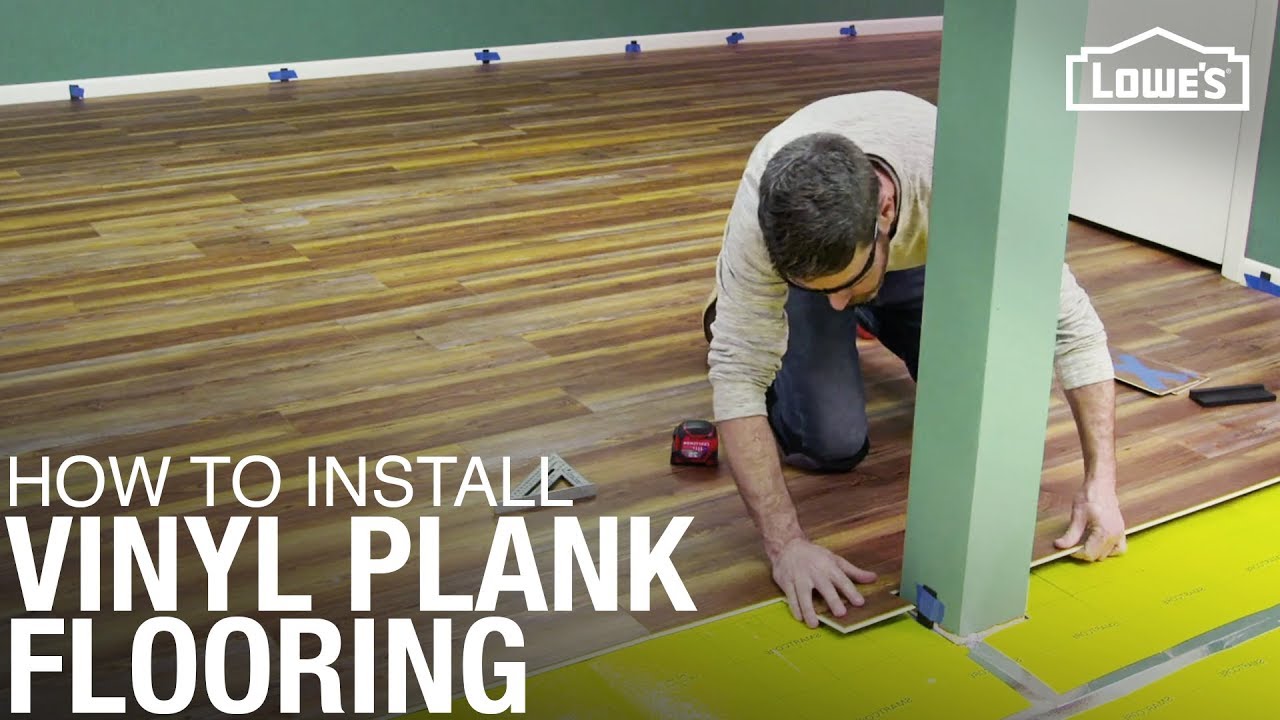
How to Install Vinyl Plank Flooring Loweu0027s
How to Install Vinyl Plank Flooring
How to Install Vinyl Plank Flooring Loweu0027s

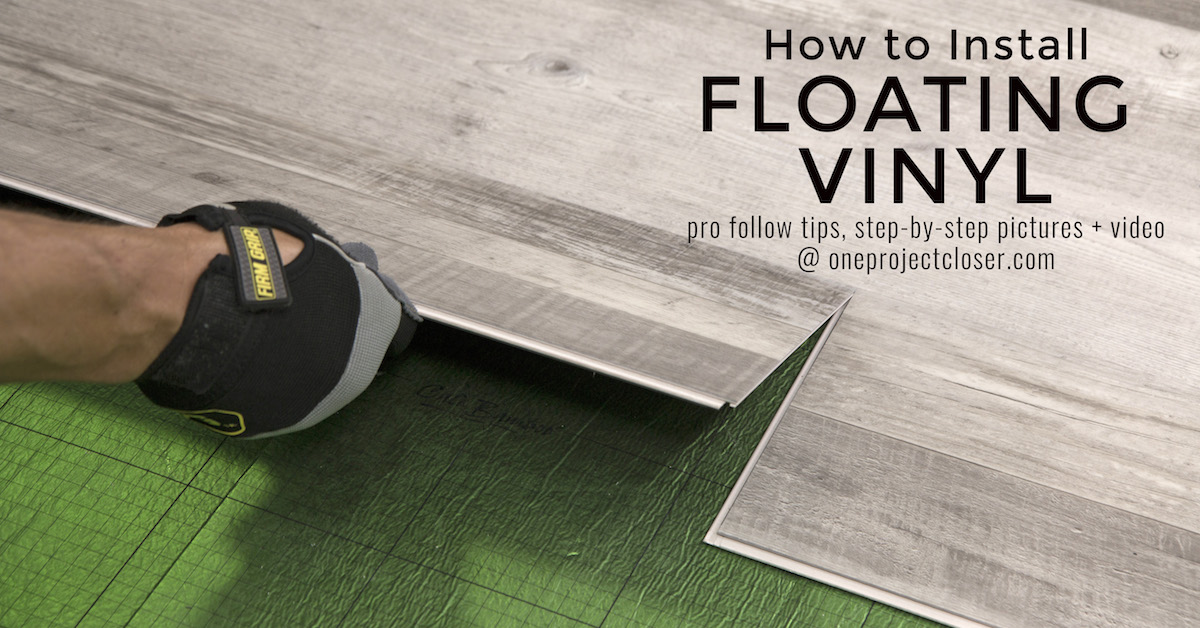
How to Install Floating Vinyl Flooring
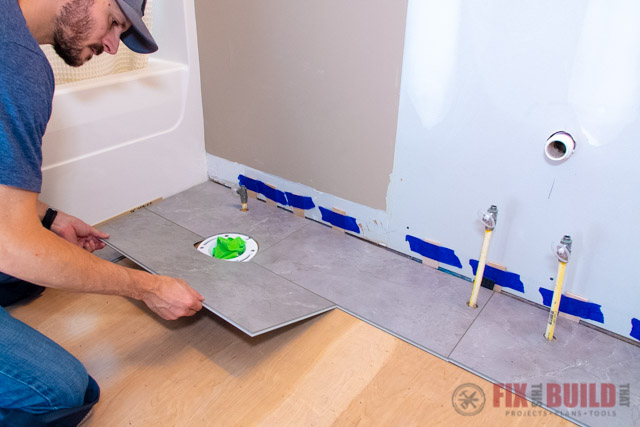
How to Install Vinyl Plank Flooring in a Bathroom FixThisBuildThat
How to Install Vinyl Plank Flooring
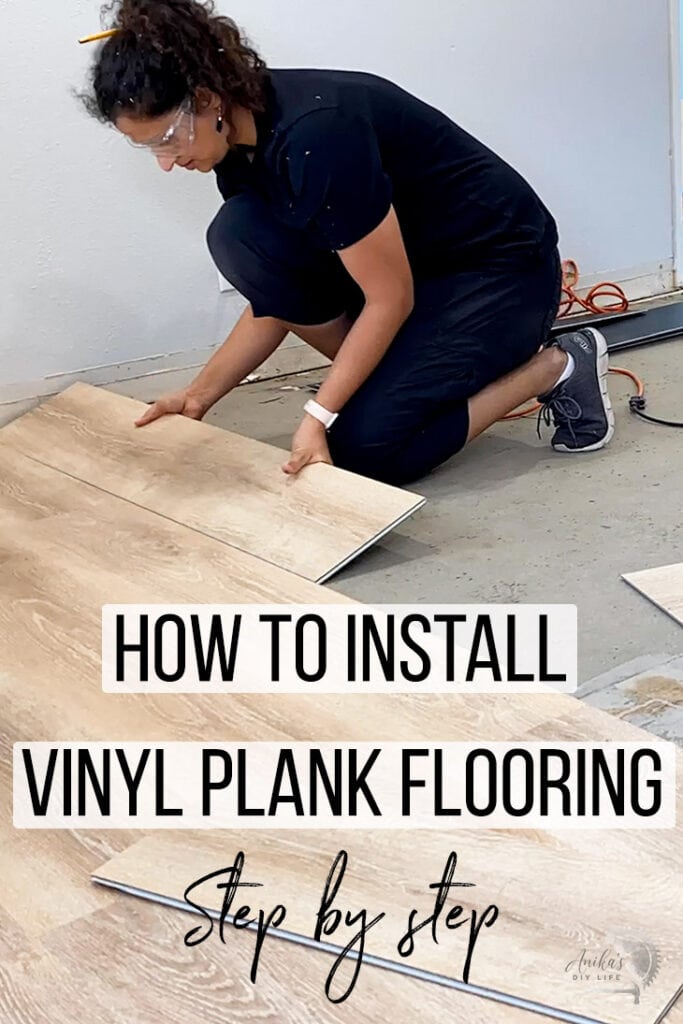
Installing Vinyl Plank Flooring For Beginners – Anikau0027s DIY Life
How To Install Waterproof Vinyl Plank Flooring DIY Flooring Installation
Vinyl Plank Flooring Problems (During and After Install) – Ready

10 Beginner Mistakes Installing Vinyl Plank Flooring

Related articles:
- Vinyl Flooring Bathroom Tile
- Modern Vinyl Flooring
- Funky Vinyl Flooring
- Vinyl Flooring For Kitchen
- Vintage Look Vinyl Flooring
- Kitchen Vinyl Floor Tiles Ideas
- Vinyl Flooring With Wood Look
- Waterproof Vinyl Flooring
- Vinyl Flooring For Cheap
- How To Remove Vinyl Flooring
Floating vinyl flooring is a popular choice for homeowners looking for a durable, low-maintenance, and stylish flooring option. This type of flooring is easy to install, cost-effective, and comes in a variety of different colors and patterns that can be used to match any décor. With this guide, you can learn how to lay floating vinyl flooring like a pro.
What You Need
Before you begin installing your floating vinyl flooring, you will need a few tools:
• Tape measure
• Pencil
• Jigsaw or sharp utility knife
• Chalk line
• Underlayment
• Hammer and nails
• Flooring glue or adhesive
• Spacers
• Vinyl flooring planks
• Foam padding (optional)
Preparing the Room
Before you start laying the floating vinyl flooring, it’s important to prepare the room. Remove any existing flooring, furniture, and other items from the room. Then clean the subfloor with a broom and vacuum and check for any irregularities such as large holes or cracks that need to be filled.
Installing the Underlayment
Underlayment provides an extra layer of cushion between the subfloor and the vinyl planks, as well as helps reduce noise. Start by measuring the room and cutting pieces of underlayment to size. Secure each piece with a hammer and nails. Be sure to leave a gap of at least 1/4” between each piece of underlayment.
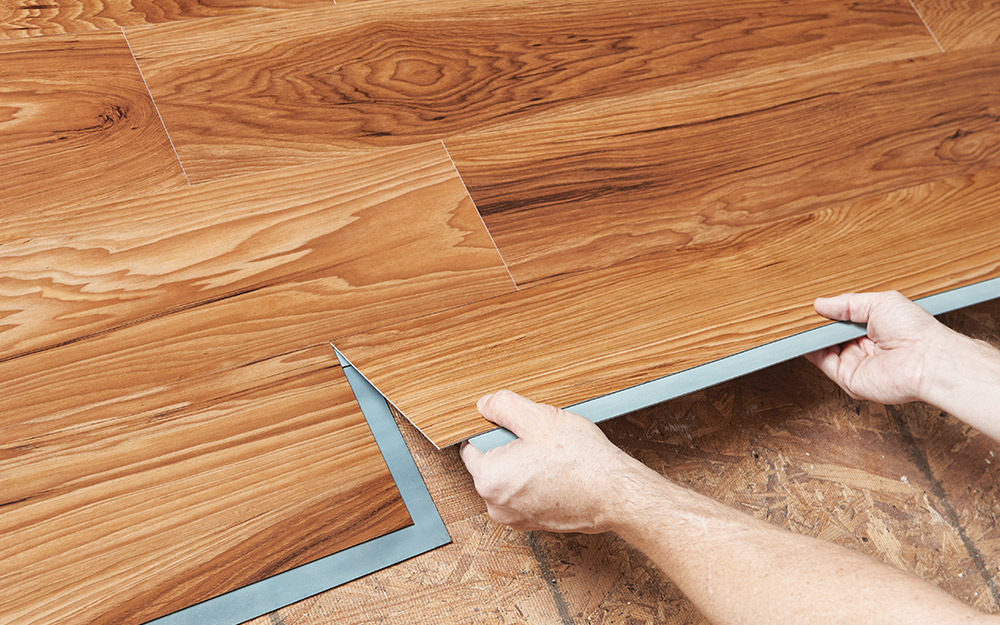
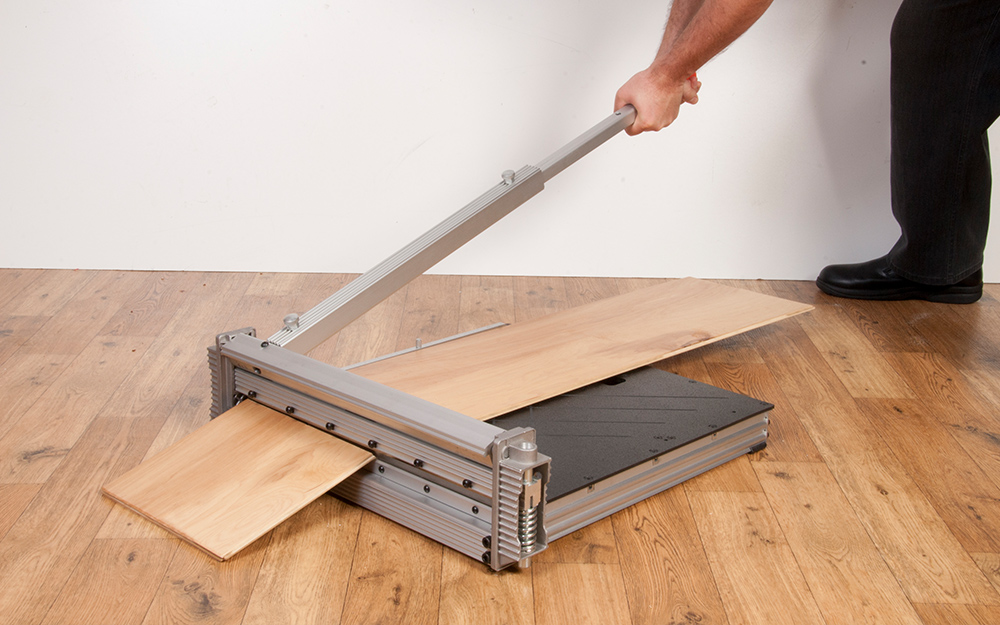
Cutting the Planks
Once the underlayment is installed, you can begin laying the vinyl planks. Start in one corner of the room and measure the length of the wall to determine how many planks you will need. Then use a jigsaw or sharp utility knife to cut each plank accordingly. You may also want to lay out all your planks on the floor to ensure that everything will fit properly before starting to glue them down.
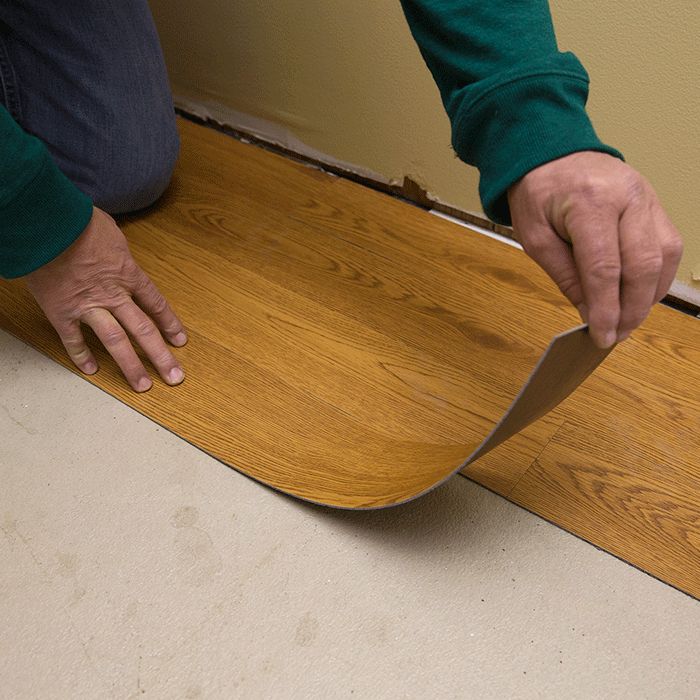
Laying the Planks
Now it’s time to start laying your vinyl planks. Begin in one corner of the room and spread adhesive on the back of the first plank. Secure it into place by pressing down firmly with your hands. Make sure that each plank is evenly spaced with a spacer or two, then move onto the next plank until you reach the end of the wall. If you need to cut additional planks, use the same method as above. Continue this process until all planks are laid in place.
Finishing Touches
Once all your vinyl planks are installed, you can add any finishing touches desired. Foam padding can be added for extra cushion if desired. You may also want to add baseboards or trim around your new floating vinyl floor for a more polished look.
Conclusion
Laying floating vinyl flooring is an easy and cost-effective way to update any room in your home in no time at all! With this comprehensive guide, you can learn how to properly lay your own floating vinyl floor like a pro in no time!