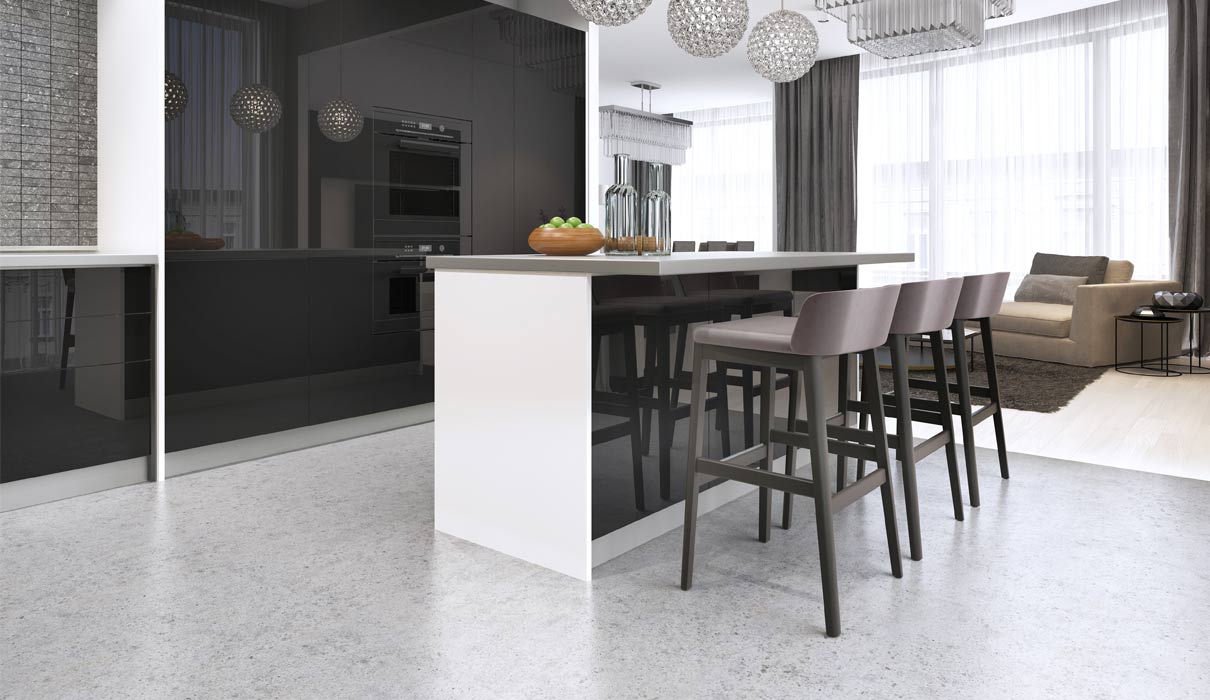
Ceramic flooring is commonly used in homes and kitchens. These locations need to have flooring that is tough, easy to clean, and passes the test of your time. However when you are signing up for a home remodeling project, you easily discover the amount of thought as well as care has to go into making choices about this essential element of the cooking space of yours.
Here are Images about Kitchen Floor Tiling Tips
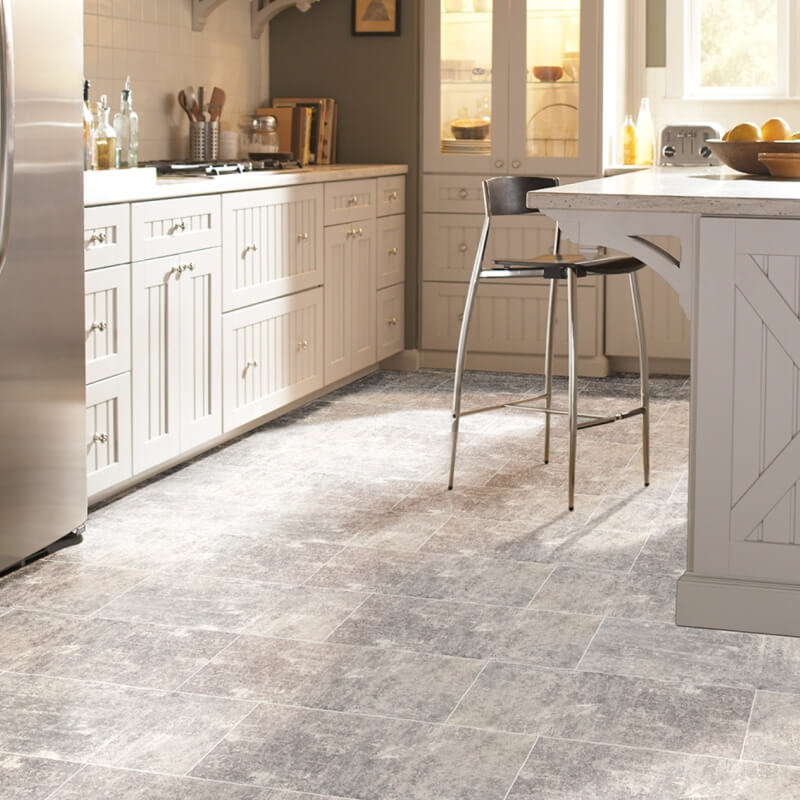
Kitchen Floor Tiling Tips

Wood retains heat better compared to vinyl and ceramic, and it is long lasting adequate to last for many years, however, it's susceptible and expensive to the consequences of soaking like contracting and expanding. Laminate flooring are the following class of kitchen flooring we are going to look at. Not only do they look wonderful, but they are durable and easy to clean, which makes them the perfect flooring option for those busy kitchens.
The Complete Guide to Kitchen Floor Tile Why Tile®

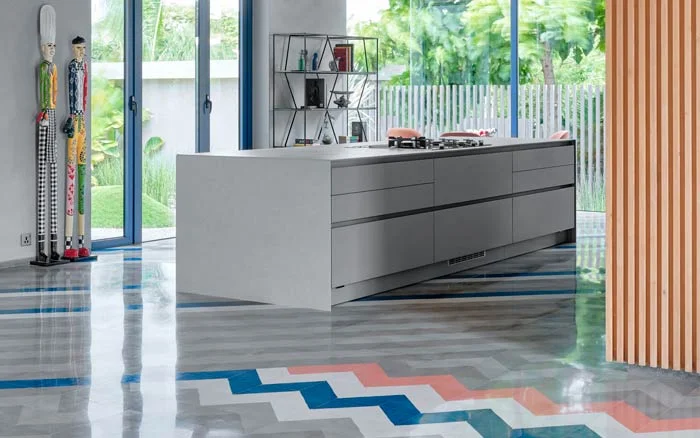
Cork kitchen floors is a floating floors and are usually placed on any style of sub floor with a hard surface as wood, vinyl or even ceramic and concrete. You will find several types of kitchen area floor available however, you've to be cautious on which kitchen floor style suits the requirements of yours best, and still fits the spending budget of yours.
Images Related to Kitchen Floor Tiling Tips
Kitchen floor tile ideas u2013 10 ways to make flooring the focal point

The Complete Guide for Kitchen Floor Tile, Ideas, Trends 2020 WST
Top Kitchen Floor Tile Designs for 2021

Kitchen Flooring That Will Endure the Test of Time
10 Best Kitchen Floor Tile Ideas u0026 Pictures – Kitchen Tile Design

Kitchen Flooring Materials and Ideas – This Old House
/cdn.vox-cdn.com/uploads/chorus_image/image/66592835/May_June2019_sleek_pulls.0.jpg)
Improve Any Room With These 15 Easy Ceramic Floor Tile Ideas Why

10 Most Common Mistakes When Laying Floor Tiles (And How to Avoid
Professional Tips for Choosing Kitchen Floor Tiles – Nu0026M Restoration

Kitchen floor tile ideas u2013 10 ways to make flooring the focal point

Kitchen Floor Tile Design Ideas u0026 Tips Beautiful Homes
Natural Stone Tile or Porcelain Lookalike? Weu0027ll Help You Decide
Related articles:
- Stained Concrete Basement Floor
- Finishing Basement Floor
- Refinish Concrete Basement Floor
- Best Flooring For Basement
- Basement Gym Flooring Ideas
- Laminate Flooring In Basement
- Basement Concrete Floor Sweating
- Basement Floor Finishing Ideas
- Painting Unfinished Basement Floor
- Unique Basement Flooring
Kitchen Floor Tiling Tips: Creating a Stunning and Practical Space
Introduction:
The kitchen is the heart of any home, and when it comes to designing this essential space, choosing the right flooring is crucial. Kitchen floor tiling not only adds beauty and style to your culinary hub but also ensures durability and easy maintenance. However, tiling a kitchen floor can be a daunting task if you’re not prepared. In this article, we will provide you with comprehensive tips on kitchen floor tiling, covering everything from material selection to installation techniques. So let’s dive in!
1. Material Selection:
When it comes to kitchen floor tiling, selecting the right material is paramount. There are several options available in the market, each with its own unique characteristics and benefits. Here are some popular choices:
a) Ceramic Tiles:
Ceramic tiles are one of the most common choices for kitchen floors due to their affordability, durability, and versatility. They come in various designs, sizes, and finishes, allowing you to create a personalized look for your kitchen. Ceramic tiles are resistant to stains, water, and heat, making them ideal for high-traffic areas.
FAQ: Can ceramic tiles be used in kitchens with underfloor heating?
Answer: Yes! Ceramic tiles are compatible with underfloor heating systems as they conduct heat effectively without warping or cracking.
b) Porcelain Tiles:
Porcelain tiles are similar to ceramic tiles but are denser and more durable. They have a lower water absorption rate, making them highly resistant to spills and stains. Porcelain tiles come in a wide range of styles, including marble and wood-look designs, giving you endless possibilities for creating a sophisticated kitchen ambiance.
FAQ: Are porcelain tiles slippery when wet?
Answer: Not necessarily. Porcelain tiles can be glazed or textured to enhance slip resistance. It’s important to choose textured or matte finishes for kitchen floors to minimize slipping risks.
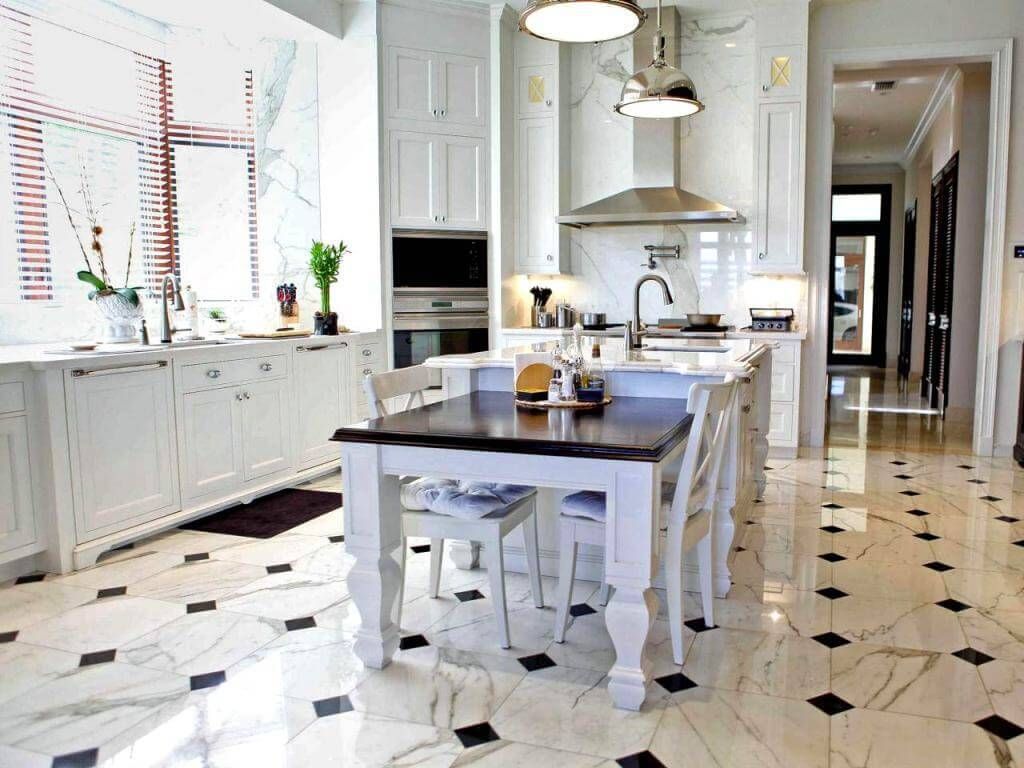
c) Natural Stone Tiles:
For those seeking an elegant and timeless look, natural stone tiles are an excellent choice. Options such as marble, granite, and slate offer unique patterns and textures that add a touch of luxury to your kitchen. However, it’s essential to remember that natural stone requires regular sealing to protect against stains and moisture.
FAQ: Can I install natural stone tiles in a kitchen with heavy foot traffic?
Answer: Yes, you can! Natural stone tiles are highly durable and can withstand heavy foot traffic. However, it’s crucial to choose a stone type that is known for its durability, such as granite or slate.
2. Preparing the Subfloor:
Before starting the tiling process, it’s vital to ensure that your subfloor is properly prepared. Here are the steps to follow:
a) Clean and Level the Subfloor:
Remove any existing flooring materials and thoroughly clean the subfloor to ensure a smooth surface. Use a leveling compound if necessary to eliminate any unevenness.
b) Apply Waterproofing Membrane:
To protect your kitchen floor from potential water damage, apply a waterproofing membrane over the subfloor. This layer acts as a barrier between the tiles and the subfloor, preventing moisture penetration.
FAQ: Do I need to waterproof my kitchen floor even if it’s not exposed to direct water sources?
Answer: Yes! Kitchens are prone to spills and splashes, which can seep into the subfloor over time. Applying a waterproofing membrane ensures long-term protection against moisture-related issues.
c) Allow Sufficient Drying Time:
After applying the waterproofing membrane, allow sufficient drying time according to the manufacturer’s instructions. This will ensure that the membrane is fully cured and ready for tile installation.
FAQ: How long does the waterproofing membrane take to dry?
Answer: The drying time can vary depending on the specific product used. It’s best to refer to the manufacturer’s instructions for accurate drying time guidelines.
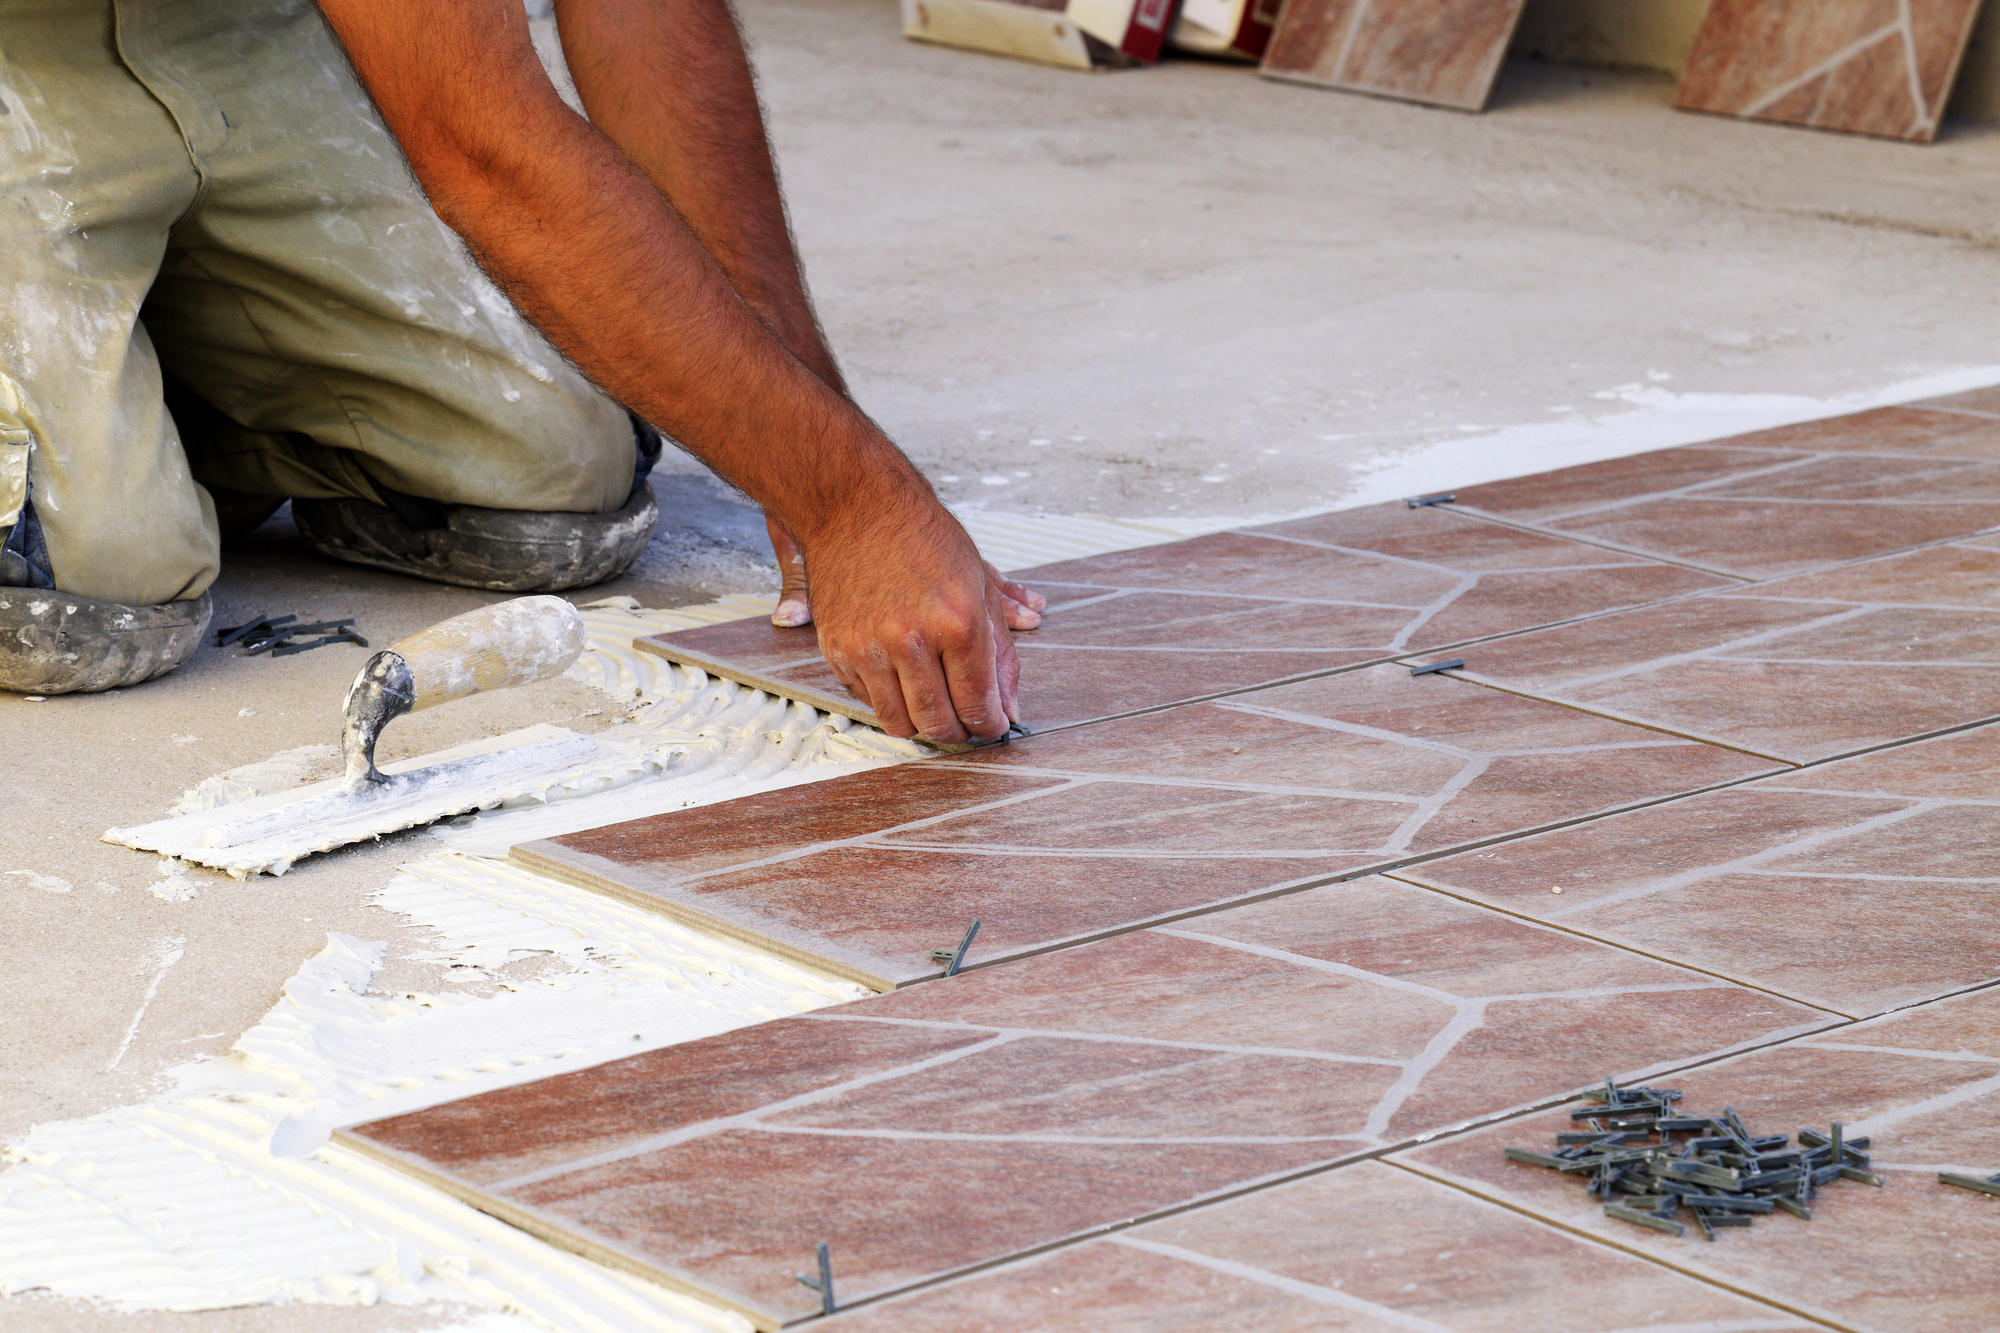
3. Installing the Tiles:
Once your subfloor is prepared, you can start installing the tiles. Here are the steps to follow:
a) Plan the Layout:
Before starting, plan the layout of your tiles to ensure a visually appealing design. Measure your kitchen floor and use spacers or tile layout tools to create straight lines and even spacing between tiles.
b) Apply Tile Adhesive:
Using a notched trowel, apply tile adhesive evenly on a small section of the subfloor. Make sure to work in manageable sections.
c) Place and Press Tiles:
Carefully place each tile onto the adhesive, pressing firmly to ensure proper adhesion. Use a rubber mallet or a wooden block wrapped in a cloth to gently tap each tile into place.
d) Continue with the Remaining Tiles:
Repeat the process of applying adhesive and placing tiles section by section until the entire kitchen floor is covered.
e) Allow Sufficient Drying Time:
After installing all the tiles, allow sufficient drying time for the adhesive to set. This can typically take 24-48 hours, but again, it’s best to refer to the adhesive manufacturer’s instructions for accurate drying time guidelines.
4. Grouting and Sealing:
Once the tiles are firmly in place, you can proceed with grouting and sealing. Here are the steps to follow:
a) Prepare the Grout Mixture:
Follow the manufacturer’s instructions to prepare the grout mixture. Mix it to a smooth consistency, making sure there are no lumps.
b) Apply Grout:
Using a grout float, apply the grout mixture diagonally across the tiles, ensuring that all the gaps between tiles are filled. Remove any excess grout from the tile surfaces using a damp sponge or cloth.
c) Allow Grout to Set:
Let the grout set for the recommended time specified by the manufacturer. This usually takes around 15-30 minutes.
d) Clean Excess Grout:
After the grout has set, use a clean, damp sponge or cloth to gently wipe away any haze or residue from the tile surfaces.
e) Apply Sealer:
To protect your kitchen floor from stains and moisture, apply a suitable tile sealer according to the manufacturer’s instructions. Allow sufficient drying time before using your newly tiled kitchen floor.
FAQ: How often should I reseal my kitchen floor?
Answer: The frequency of resealing depends on various factors such as foot traffic and exposure to spills. As a general guideline, it’s recommended to reseal your kitchen floor every 1-3 years. However, always refer to the specific sealer manufacturer’s instructions for the best guidance. The specific sealer manufacturer’s instructions will provide the most accurate guidance on how often to reseal your kitchen floor. However, as a general guideline, it is recommended to reseal your kitchen floor every 1-3 years. Factors such as foot traffic and exposure to spills can affect the frequency of resealing. It is important to monitor the condition of your floor and reseal as needed to maintain its appearance and protect it from stains and moisture. The specific sealer manufacturer’s instructions will provide the most accurate guidance on how often to reseal your kitchen floor. However, as a general guideline, it is recommended to reseal your kitchen floor every 1-3 years. Factors such as foot traffic and exposure to spills can affect the frequency of resealing. It is important to monitor the condition of your floor and reseal as needed to maintain its appearance and protect it from stains and moisture.