By doing the appropriate decision today you can guarantee that a good kitchen floor is going to keep its beauty and keep going a lifetime. Kitchen flooring is utilized to highlight the counters, cabinetry, and gadgets. For many individuals the kitchen flooring is definitely the heart of the home of theirs and as such plays a crucial role in the interior layout of the home.
Here are Images about Kitchen Floor Stick On Tiles
Kitchen Floor Stick On Tiles
Bamboo kitchen flooring has some of the same features of hardwood floor when it comes to durability. Mom's went within there to cook food and next serve it in the dining region. With durability, stains, standing up comfort, etc. However kitchen flooring must manage to take common wear and tear such as heavy traffic and spills. This kind of original and beautiful hardwood would last for a really long time with proper care.
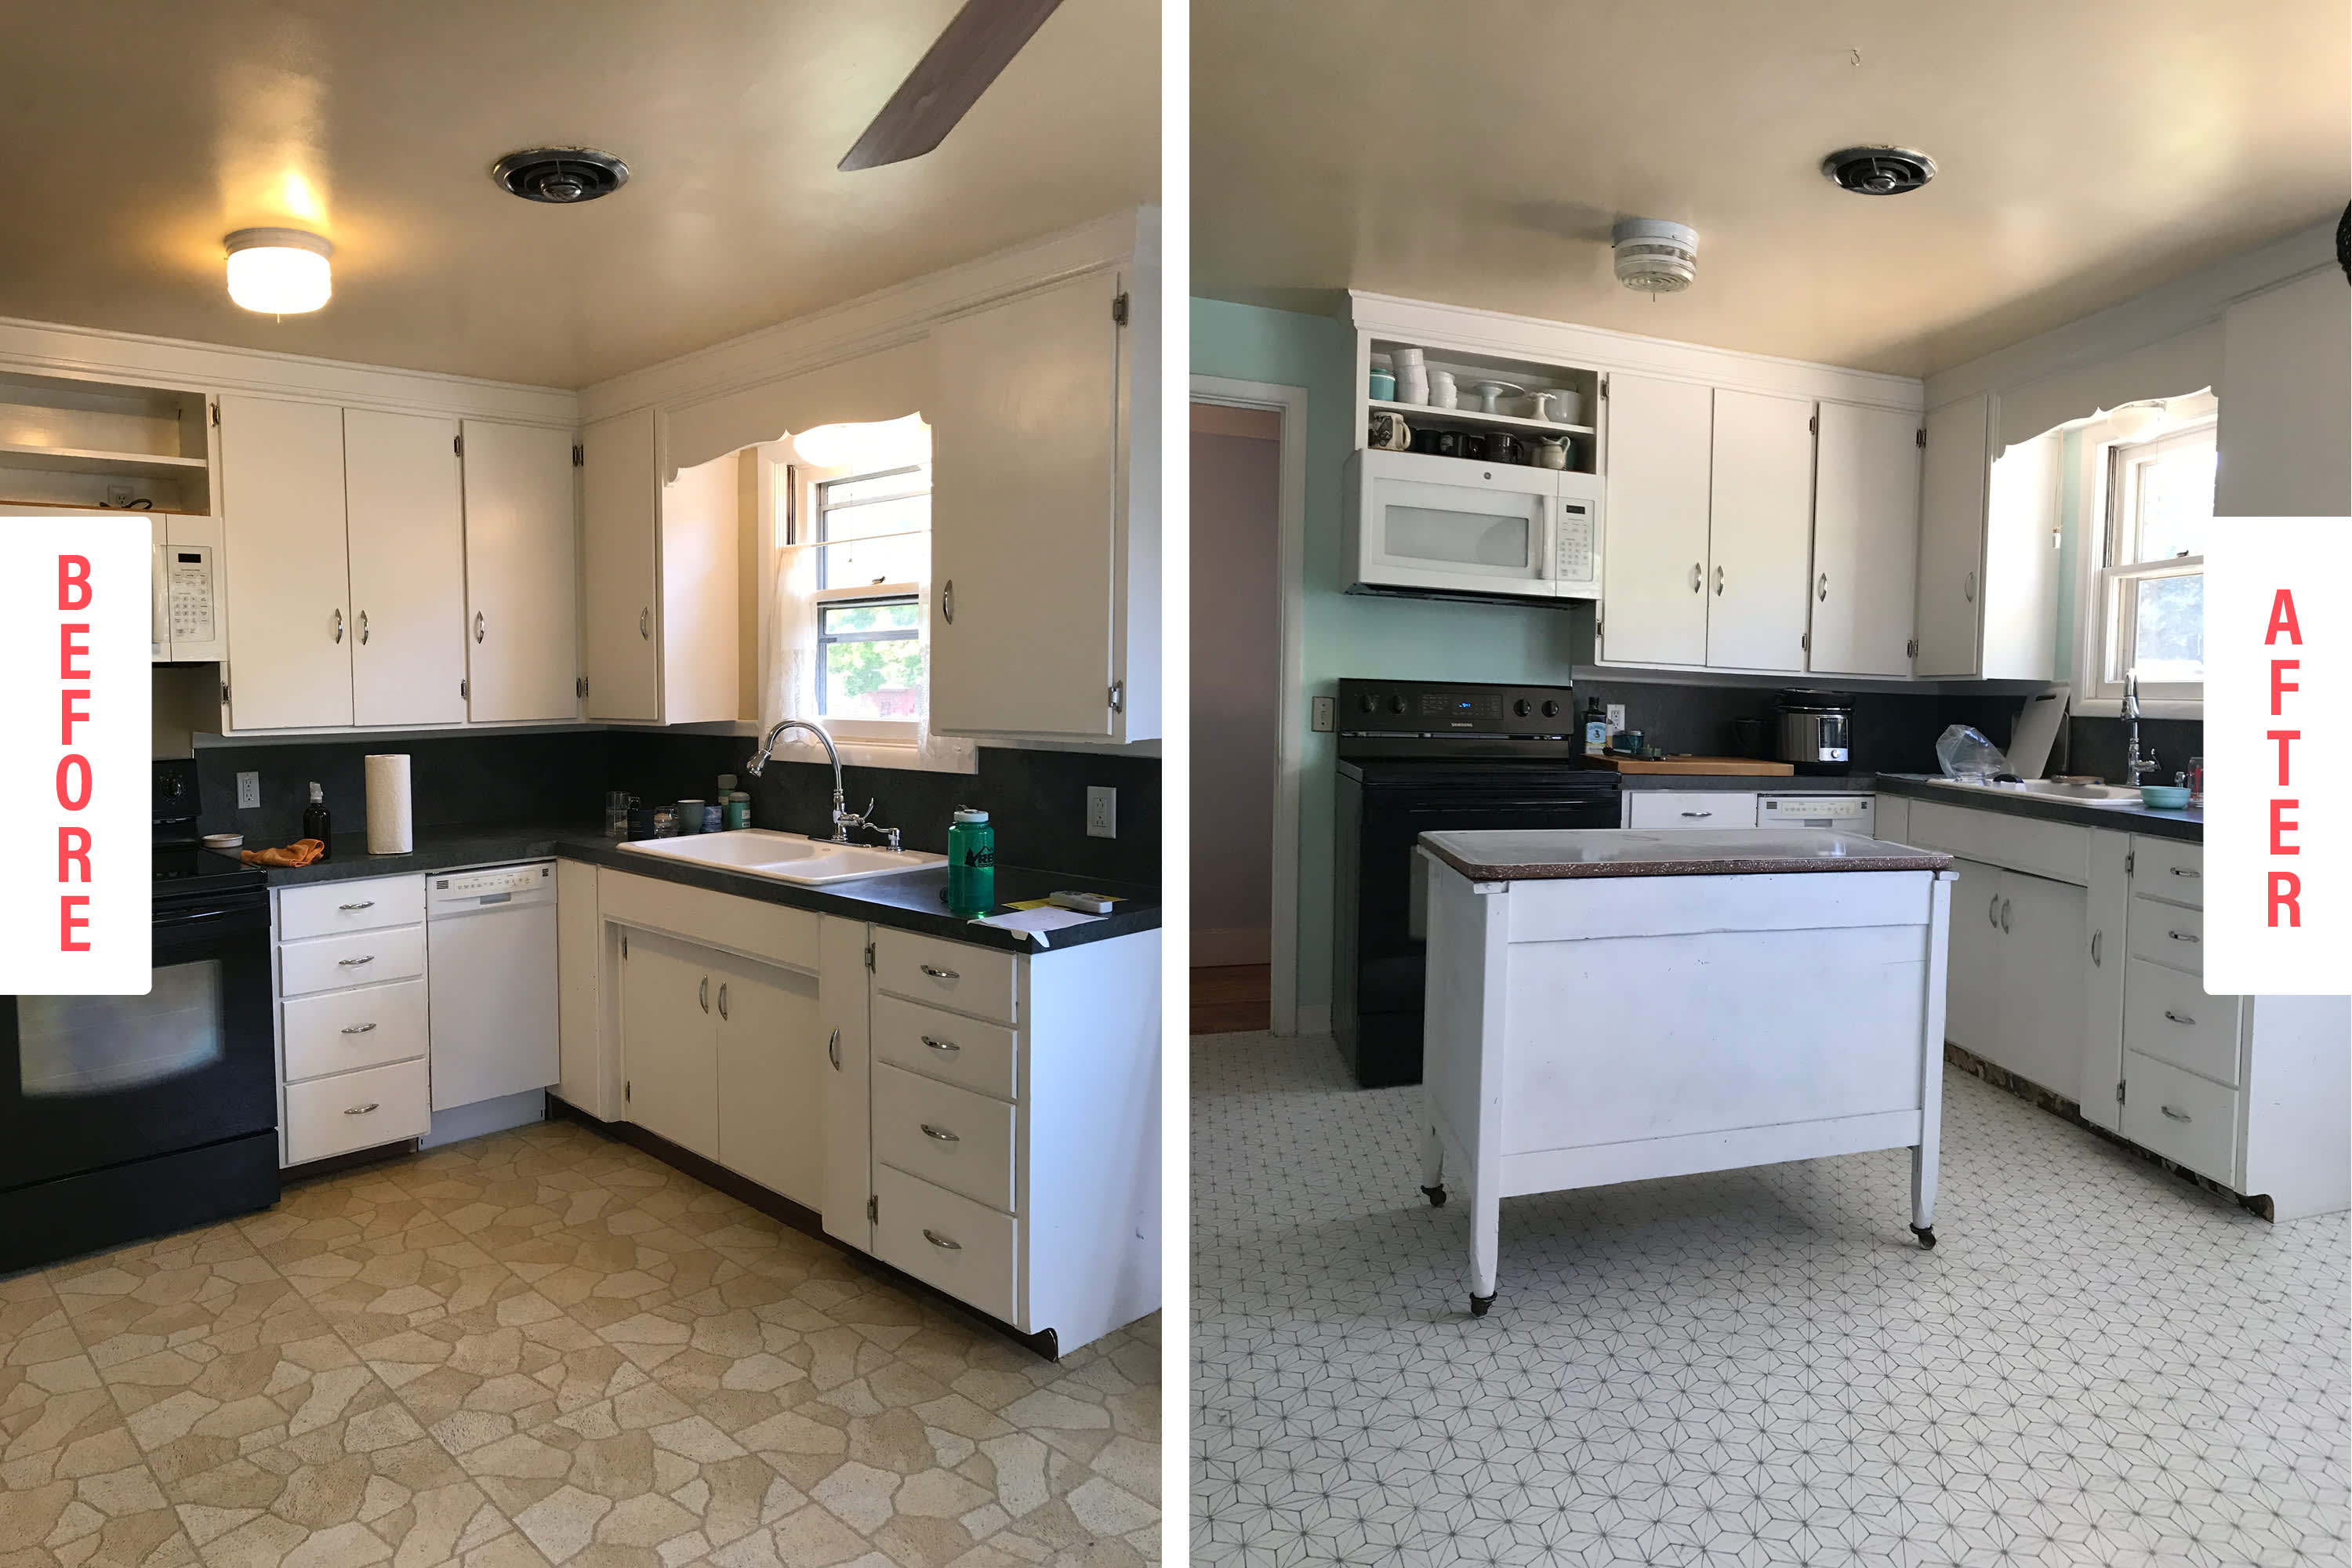
The Low Down on my Peel and Stick Kitchen Floors
Tiled flooring is common, due to the reality that it comes in a range of various materials. If your kitchen area experiences high traffic and you can afford to safeguard against regular spills, stone room floor tiles are your greatest choice, followed by ceramic as well as porcelain. Today's choices are generally unpolluted friendly.
Images Related to Kitchen Floor Stick On Tiles
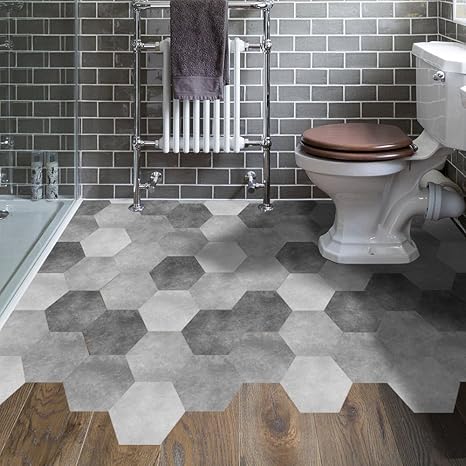
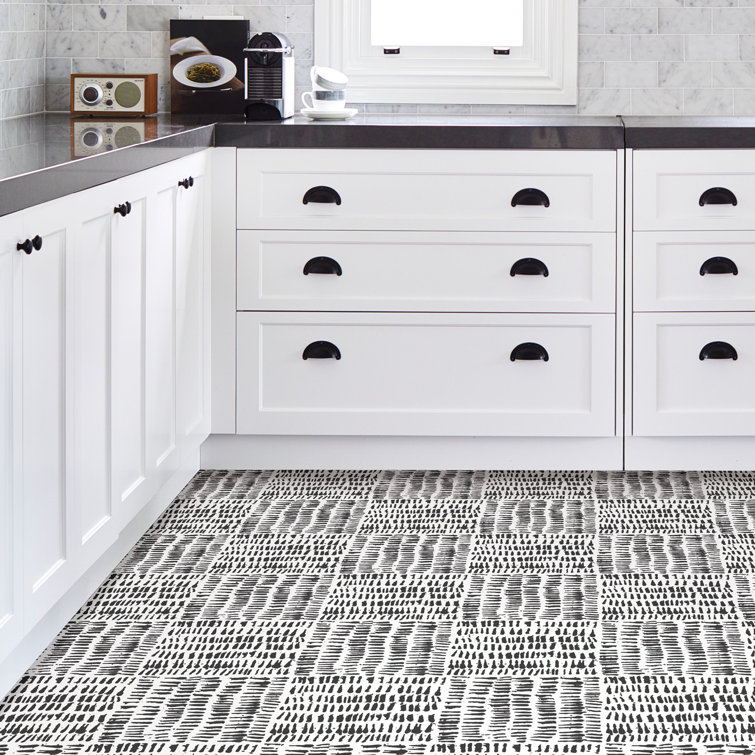
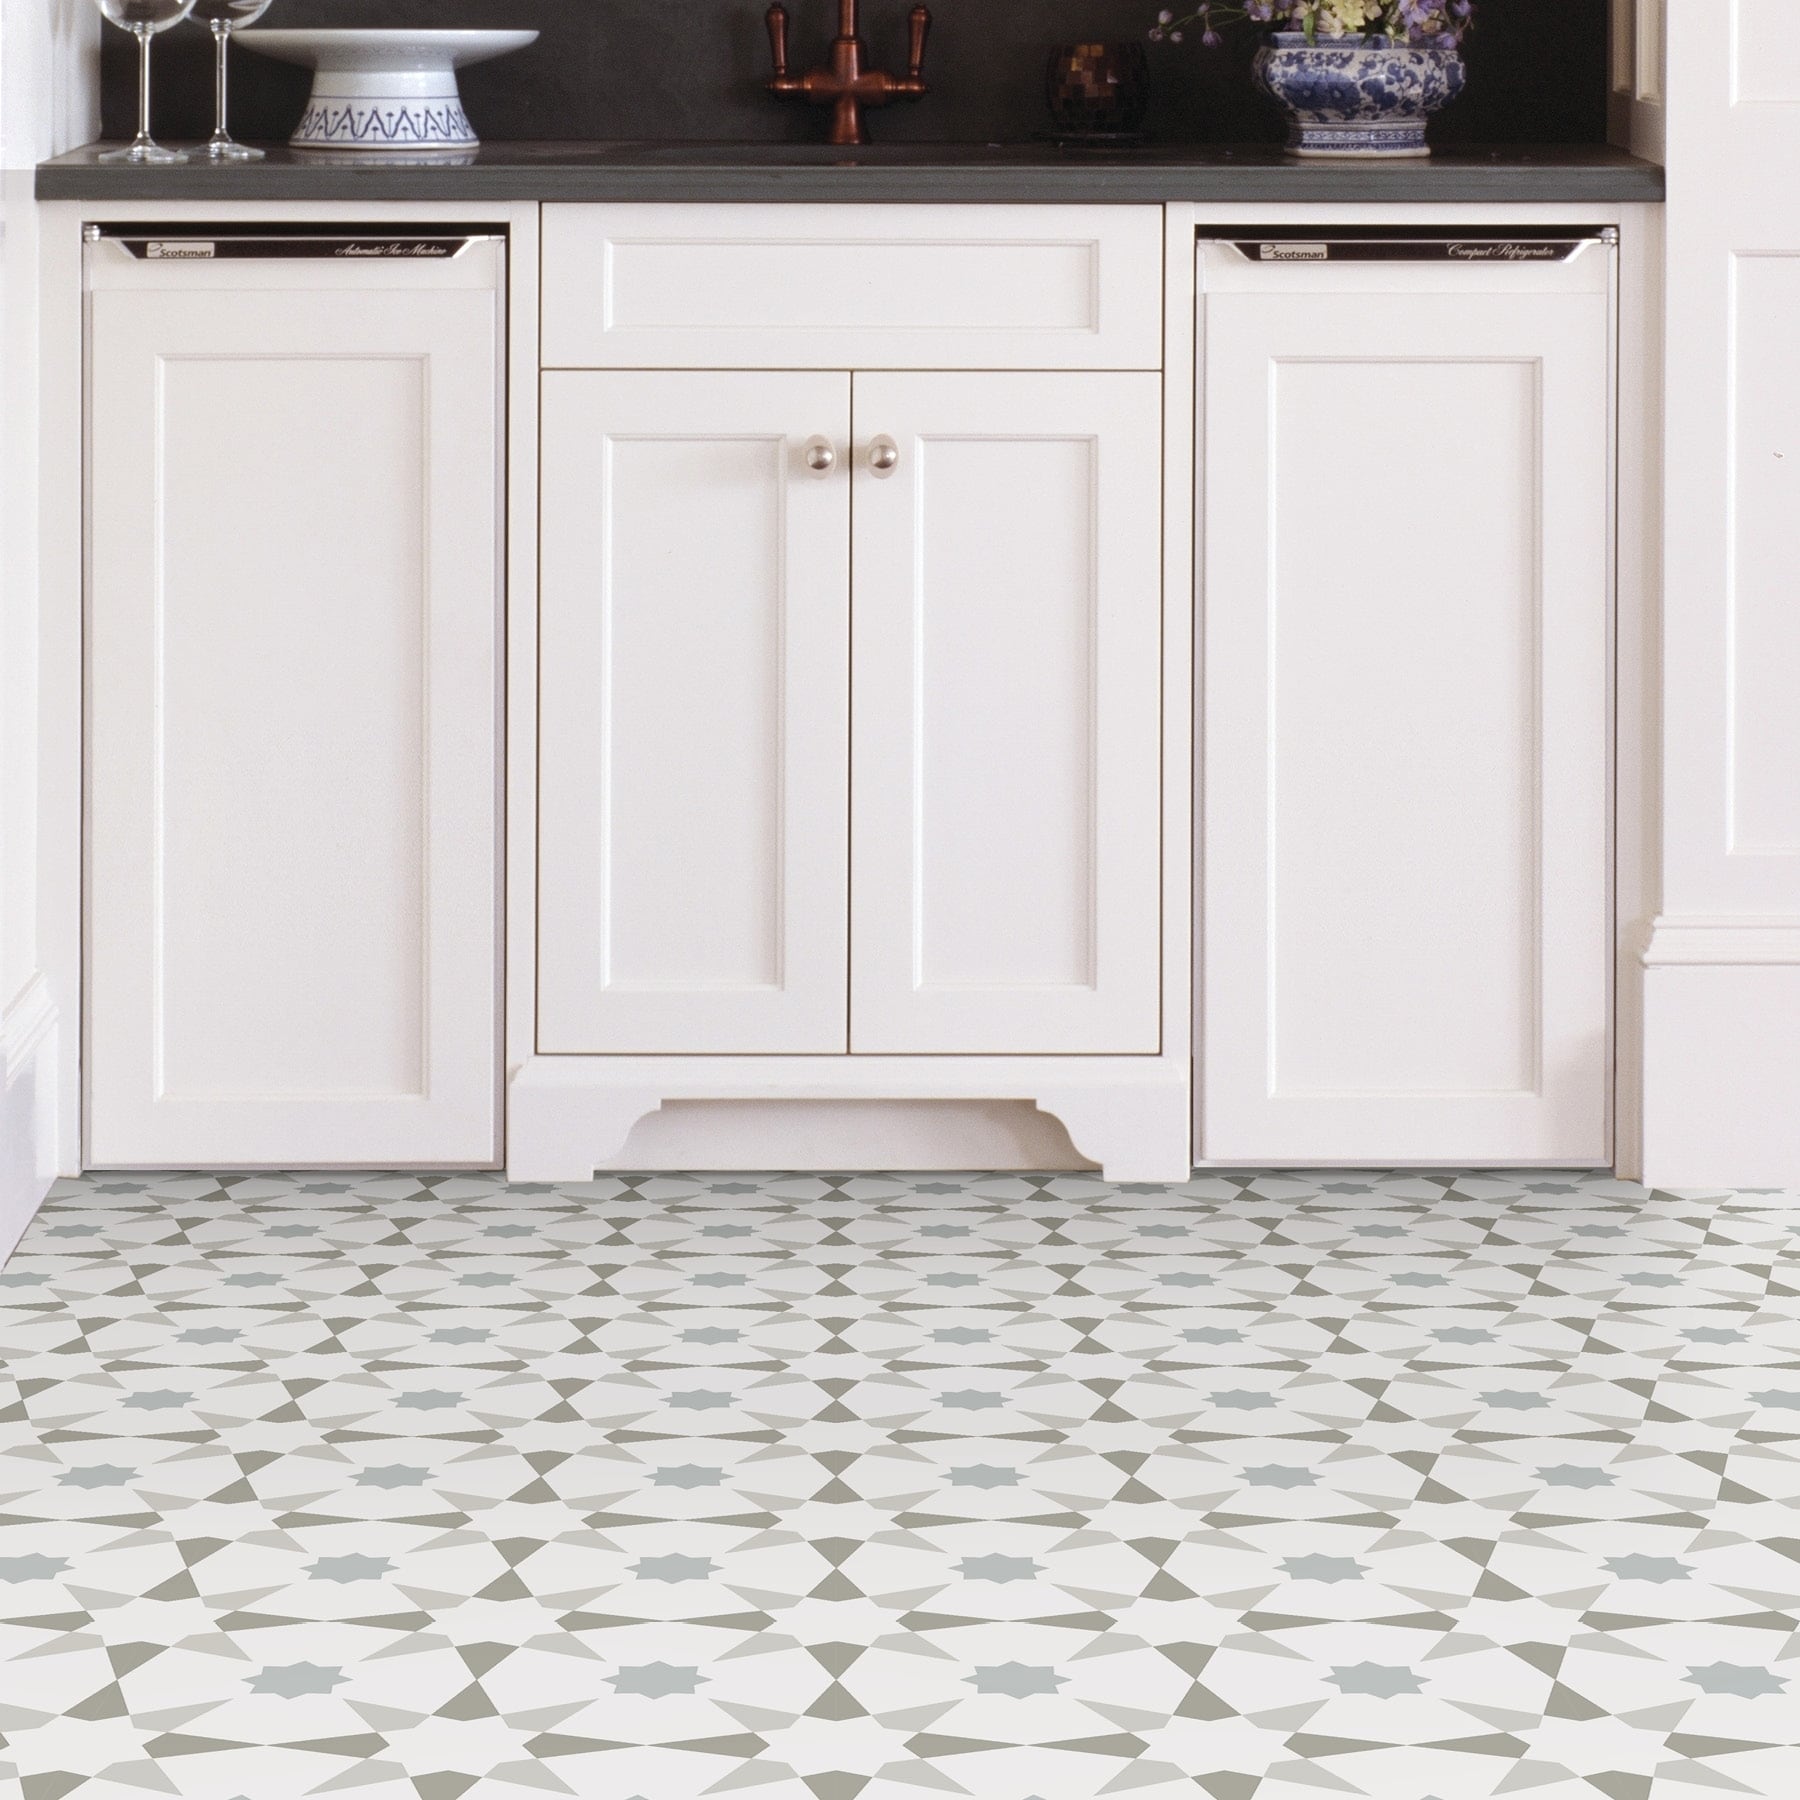
Hexagonal Floor Tile Stickers Non-Slip Gray Decal Peel and Stick for Kitchen Bedroom Bathroom Balcony, Waterproof Vinyl
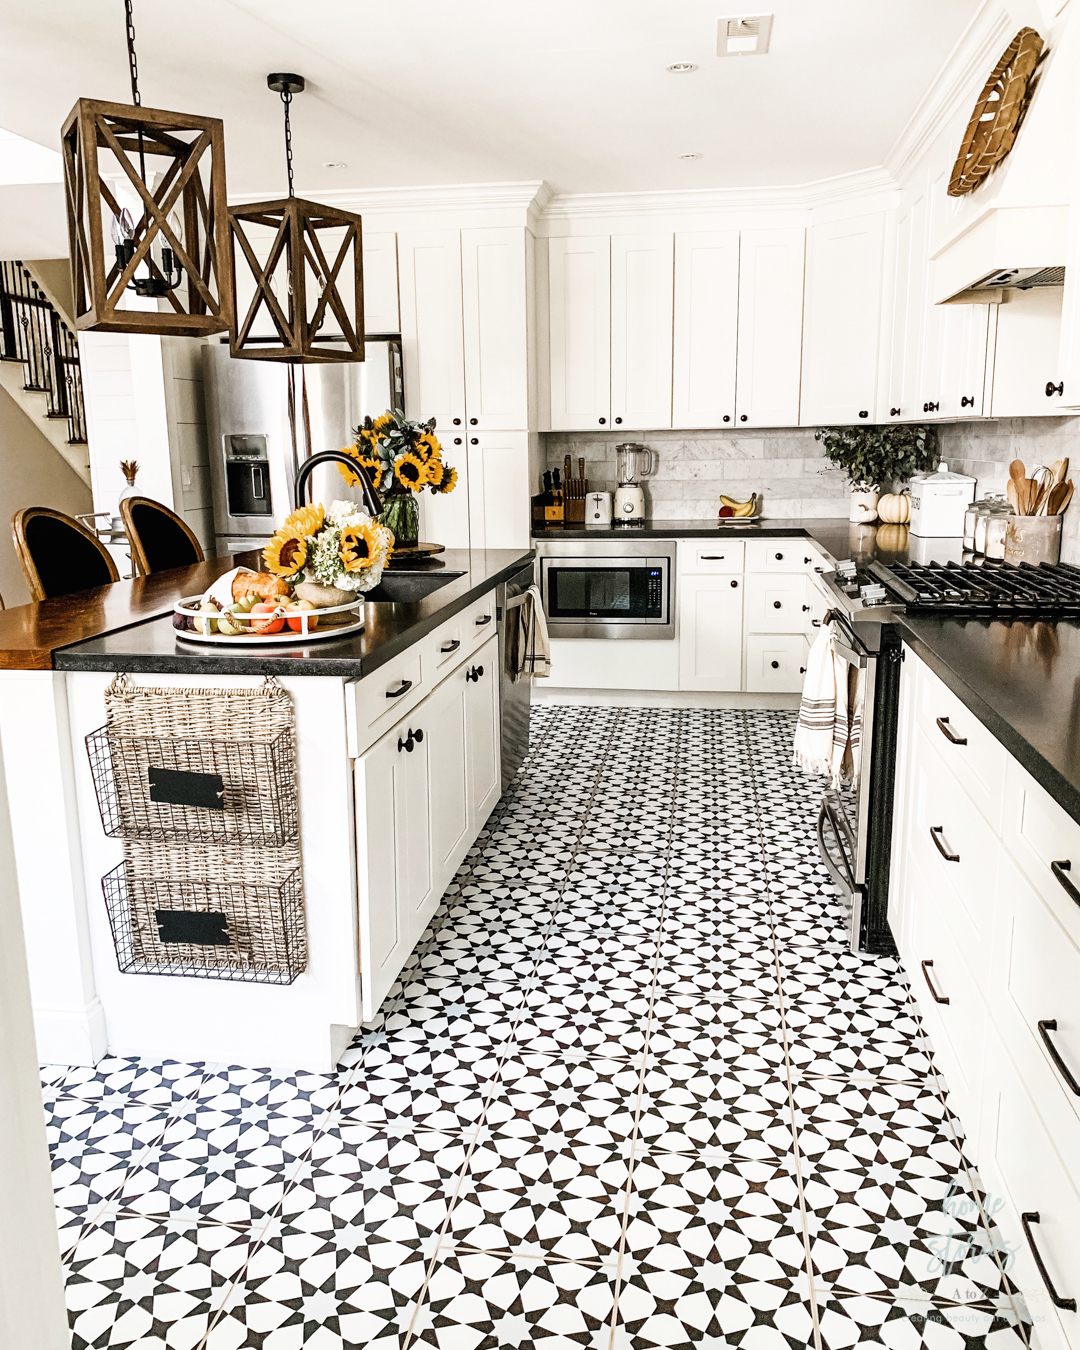
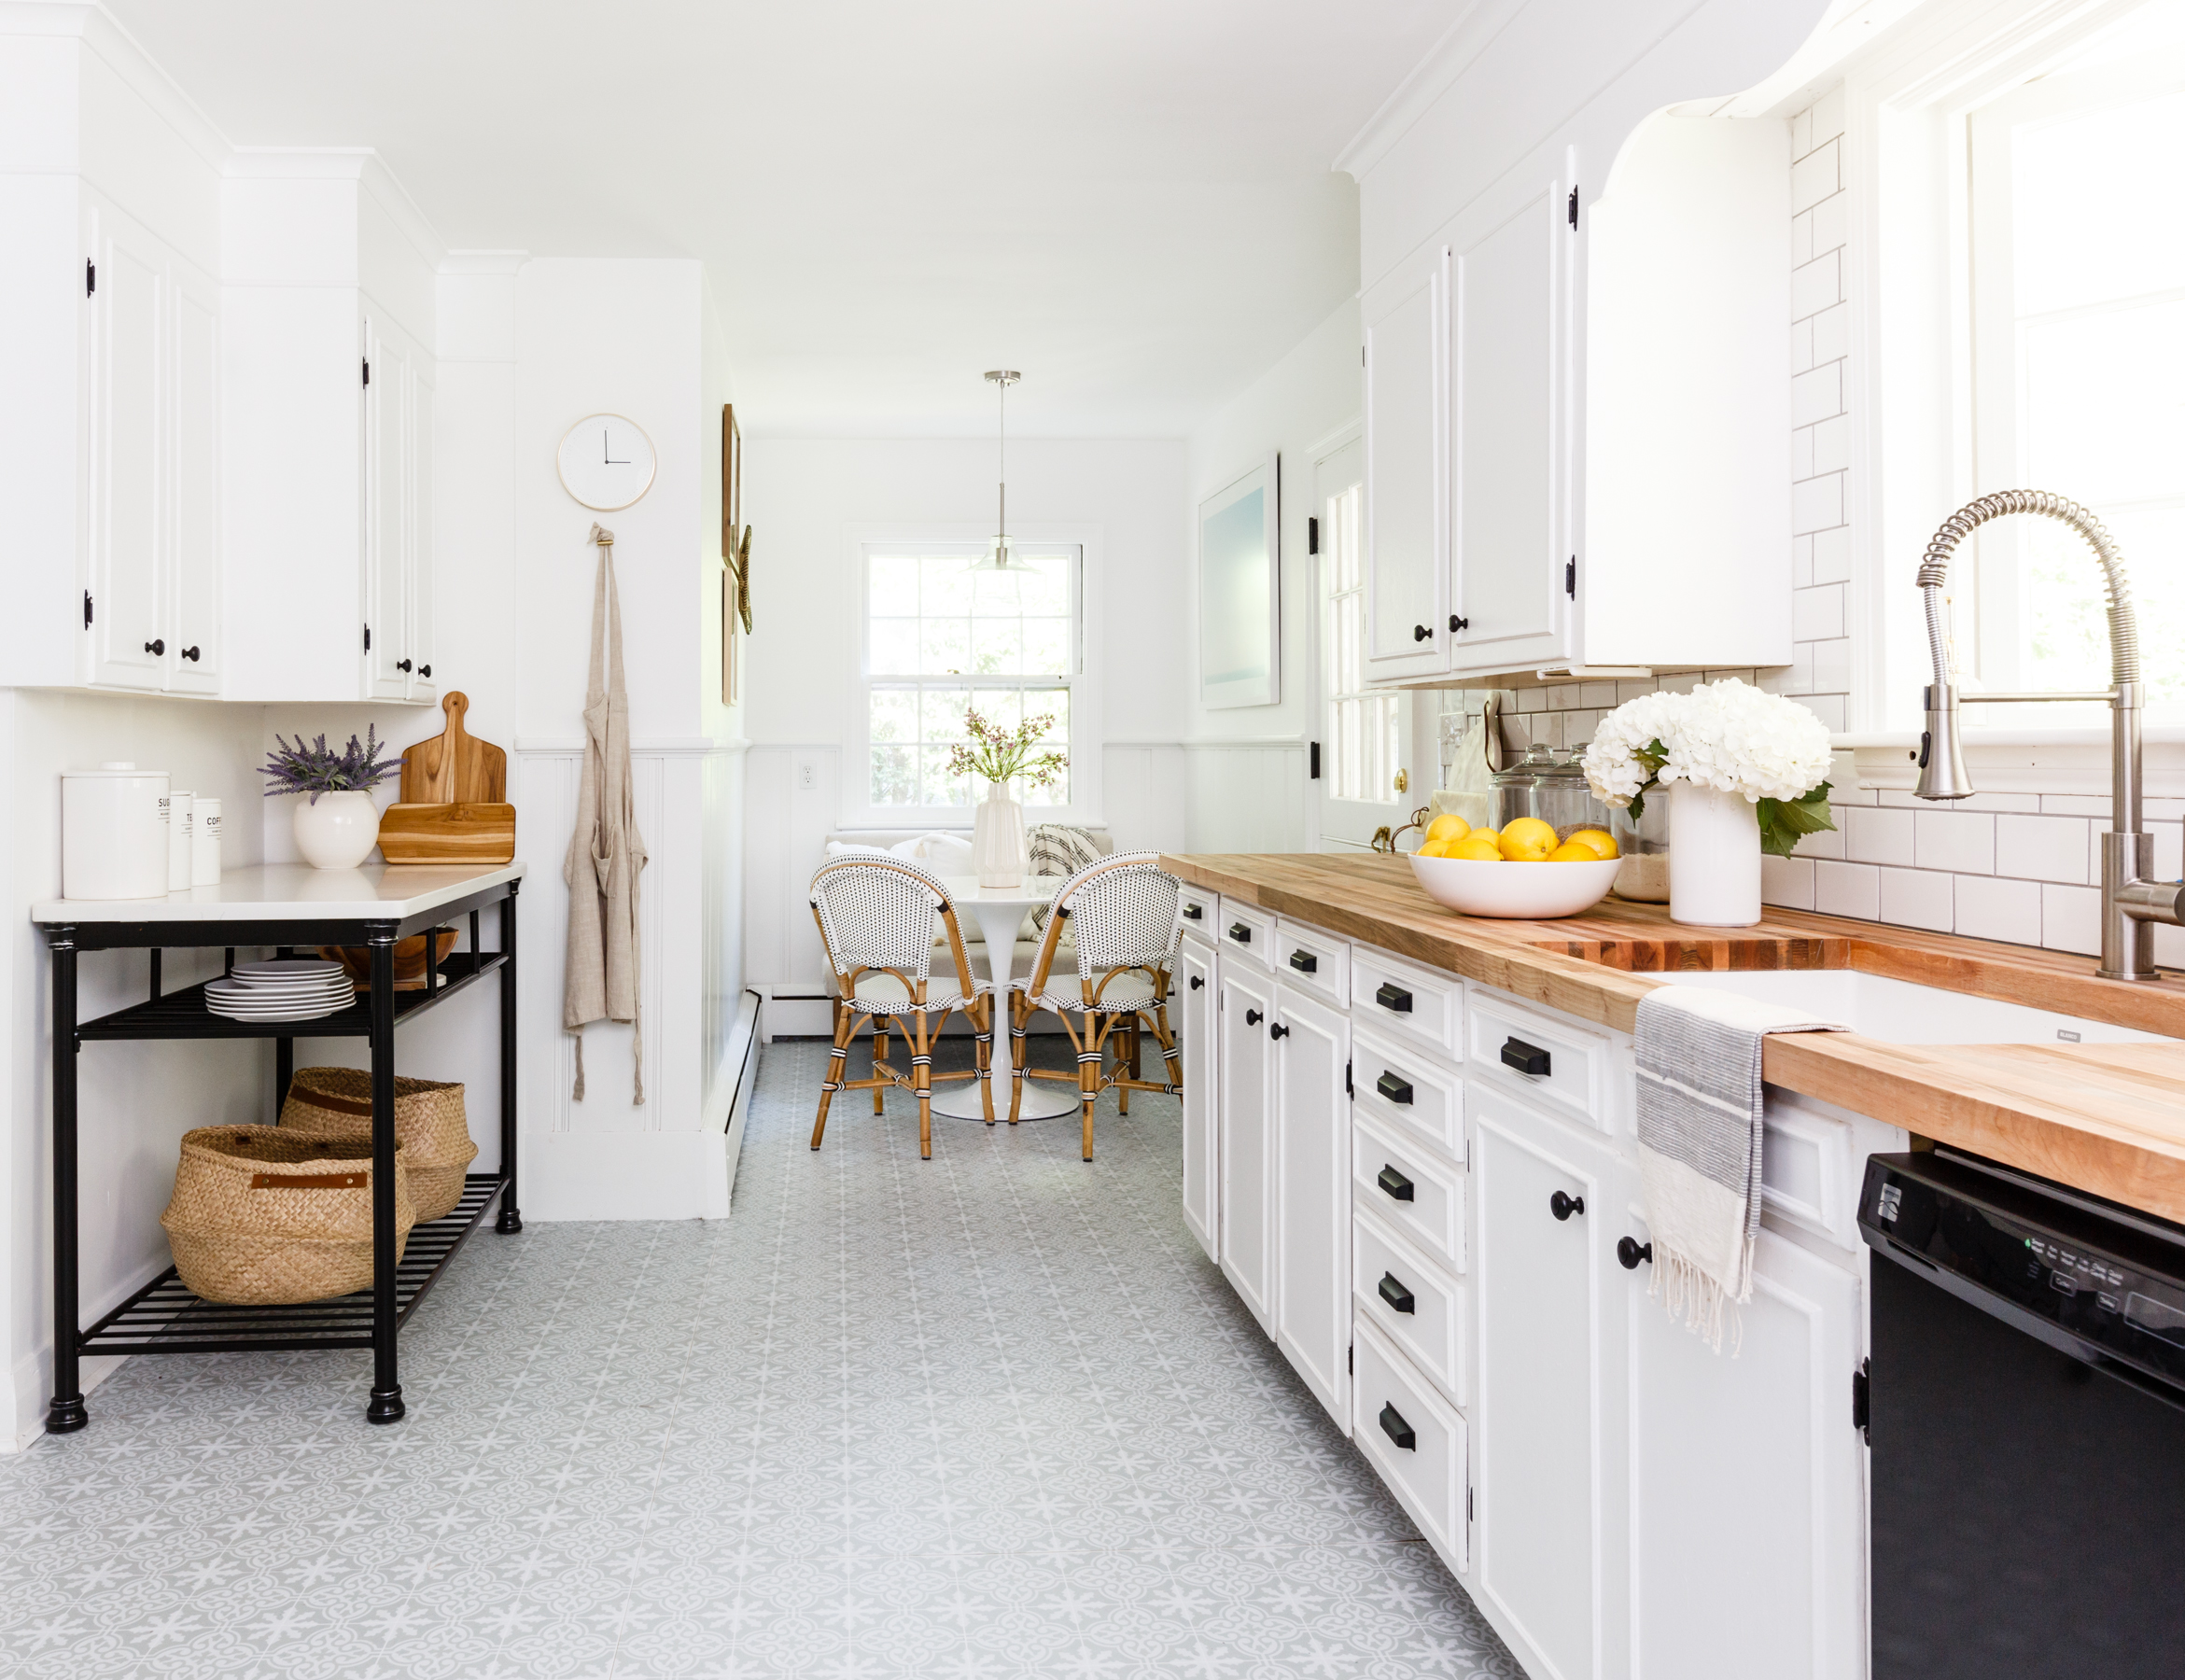
Peel And Stick Floor Tile in the Kitchen: A Gorgeous Budget
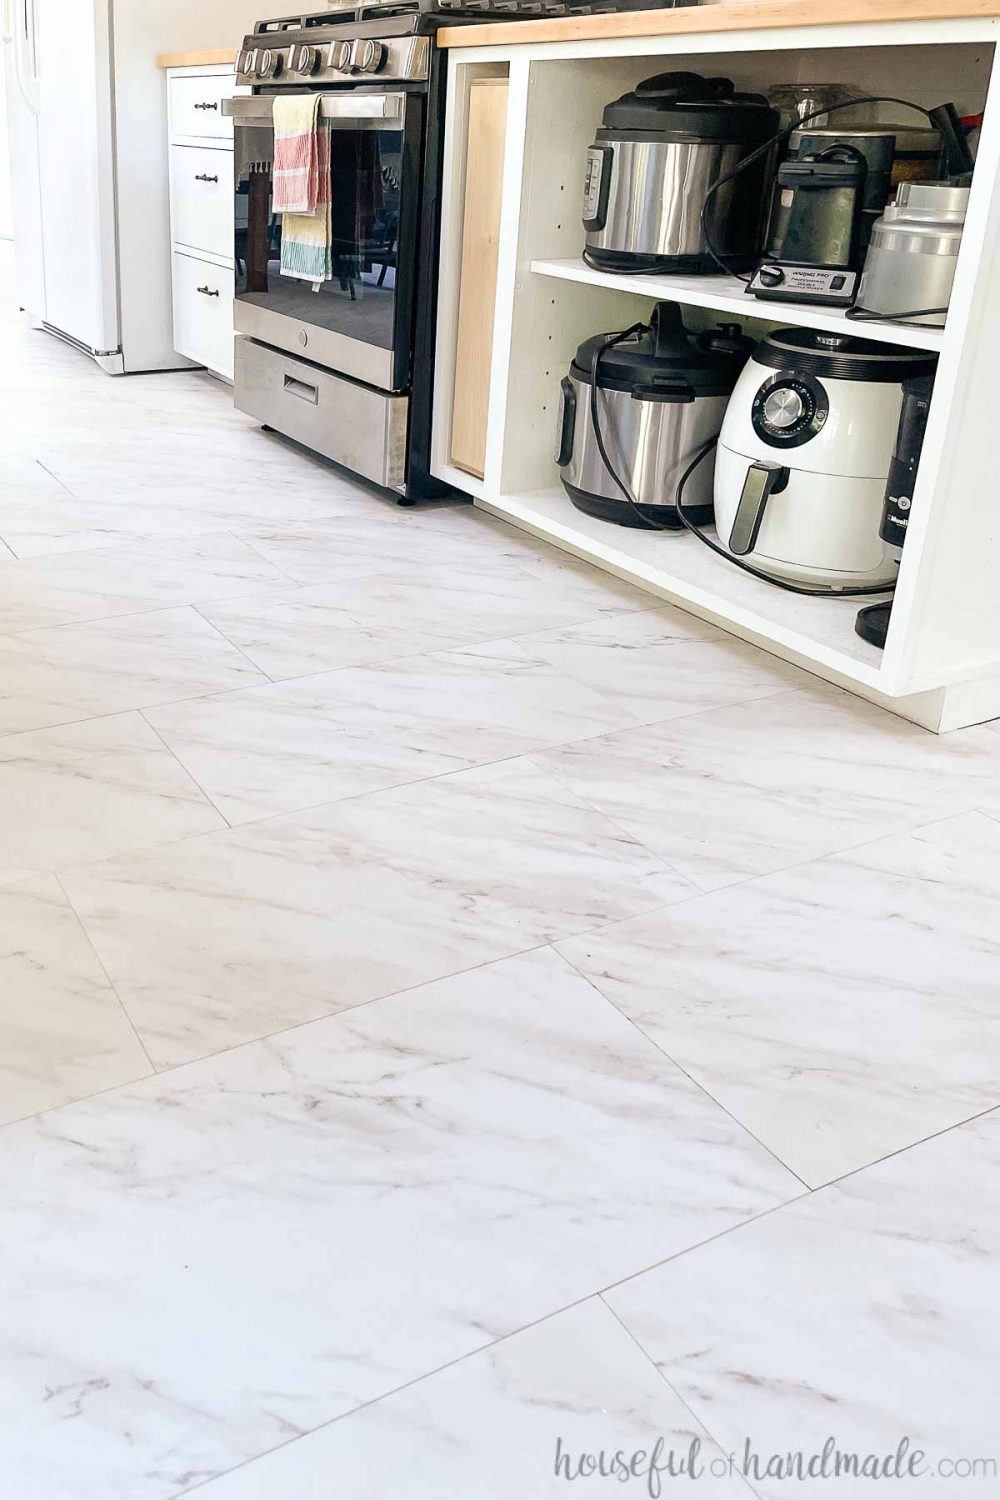
How to Install Peel and Stick Vinyl Tiles – Houseful of Handmade
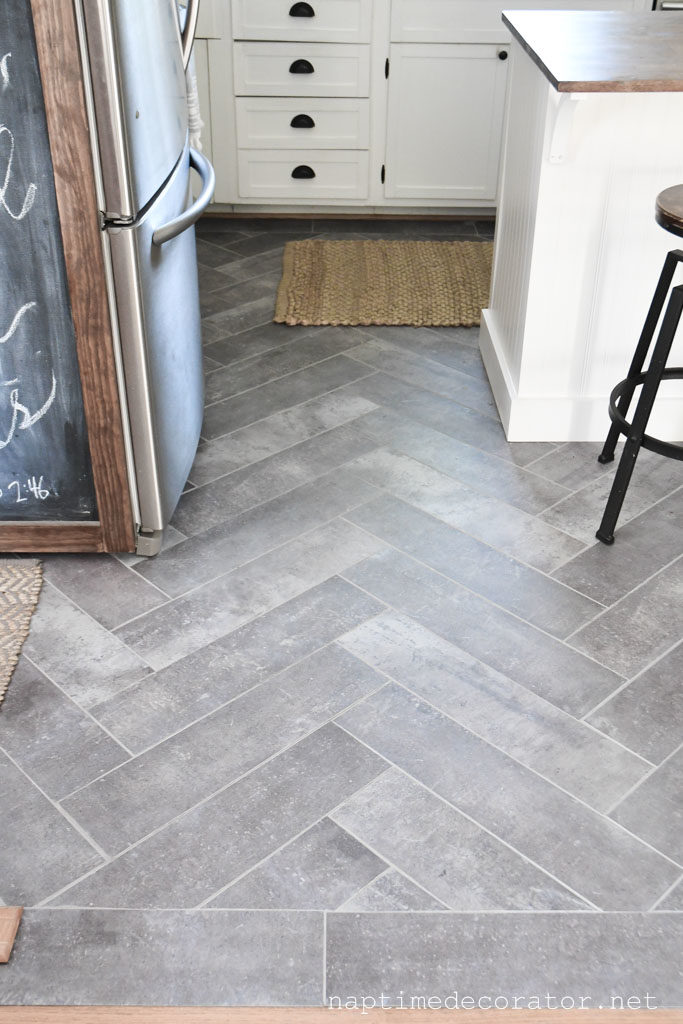
How to Update Tile Without Removing It {Peel and Stick Floor Tiles}
Noleby Peel and Stick 12″ x 12″ x 0.1mm Vinyl Tile
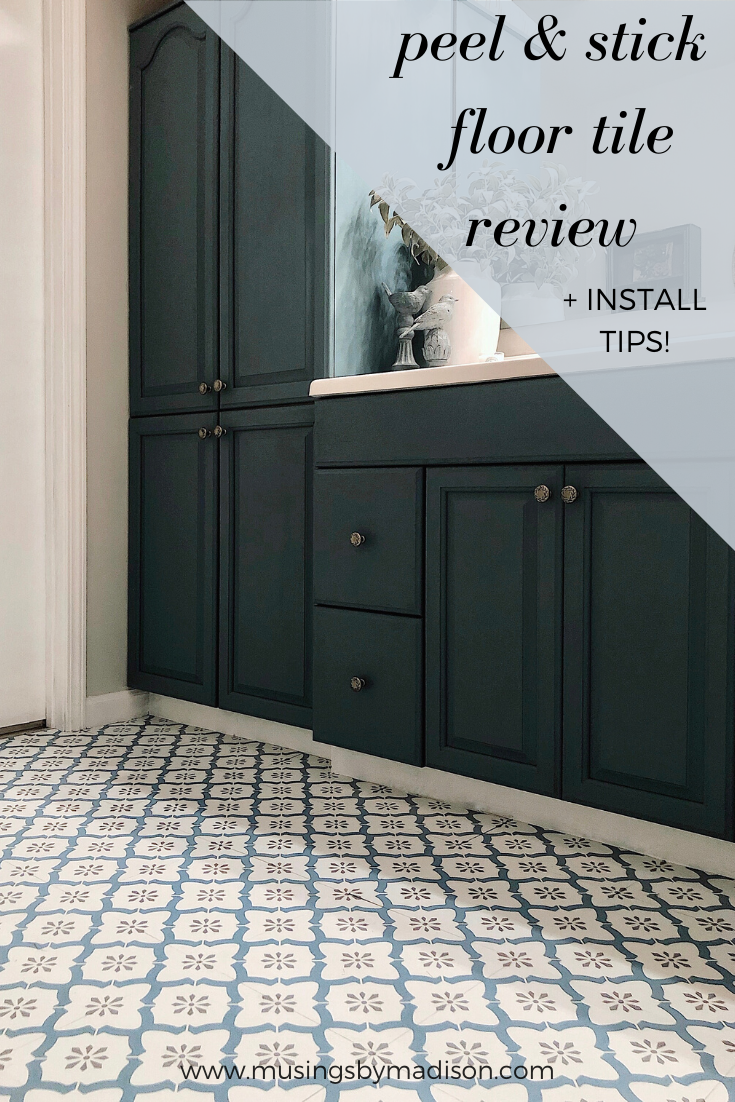
FloorPops Peel u0026 Stick Vinyl Floor Tiles Review u0026 Tips Home
How to lay vinyl floor tiles u0026 revamp a tired kitchen Dove Cottage
![]()
Garfield, Peel u0026 Stick Stellar Floor Tiles
The Low Down on my Peel and Stick Kitchen Floors
How to Remove Peel and Stick Floor Tile – A Butterfly House

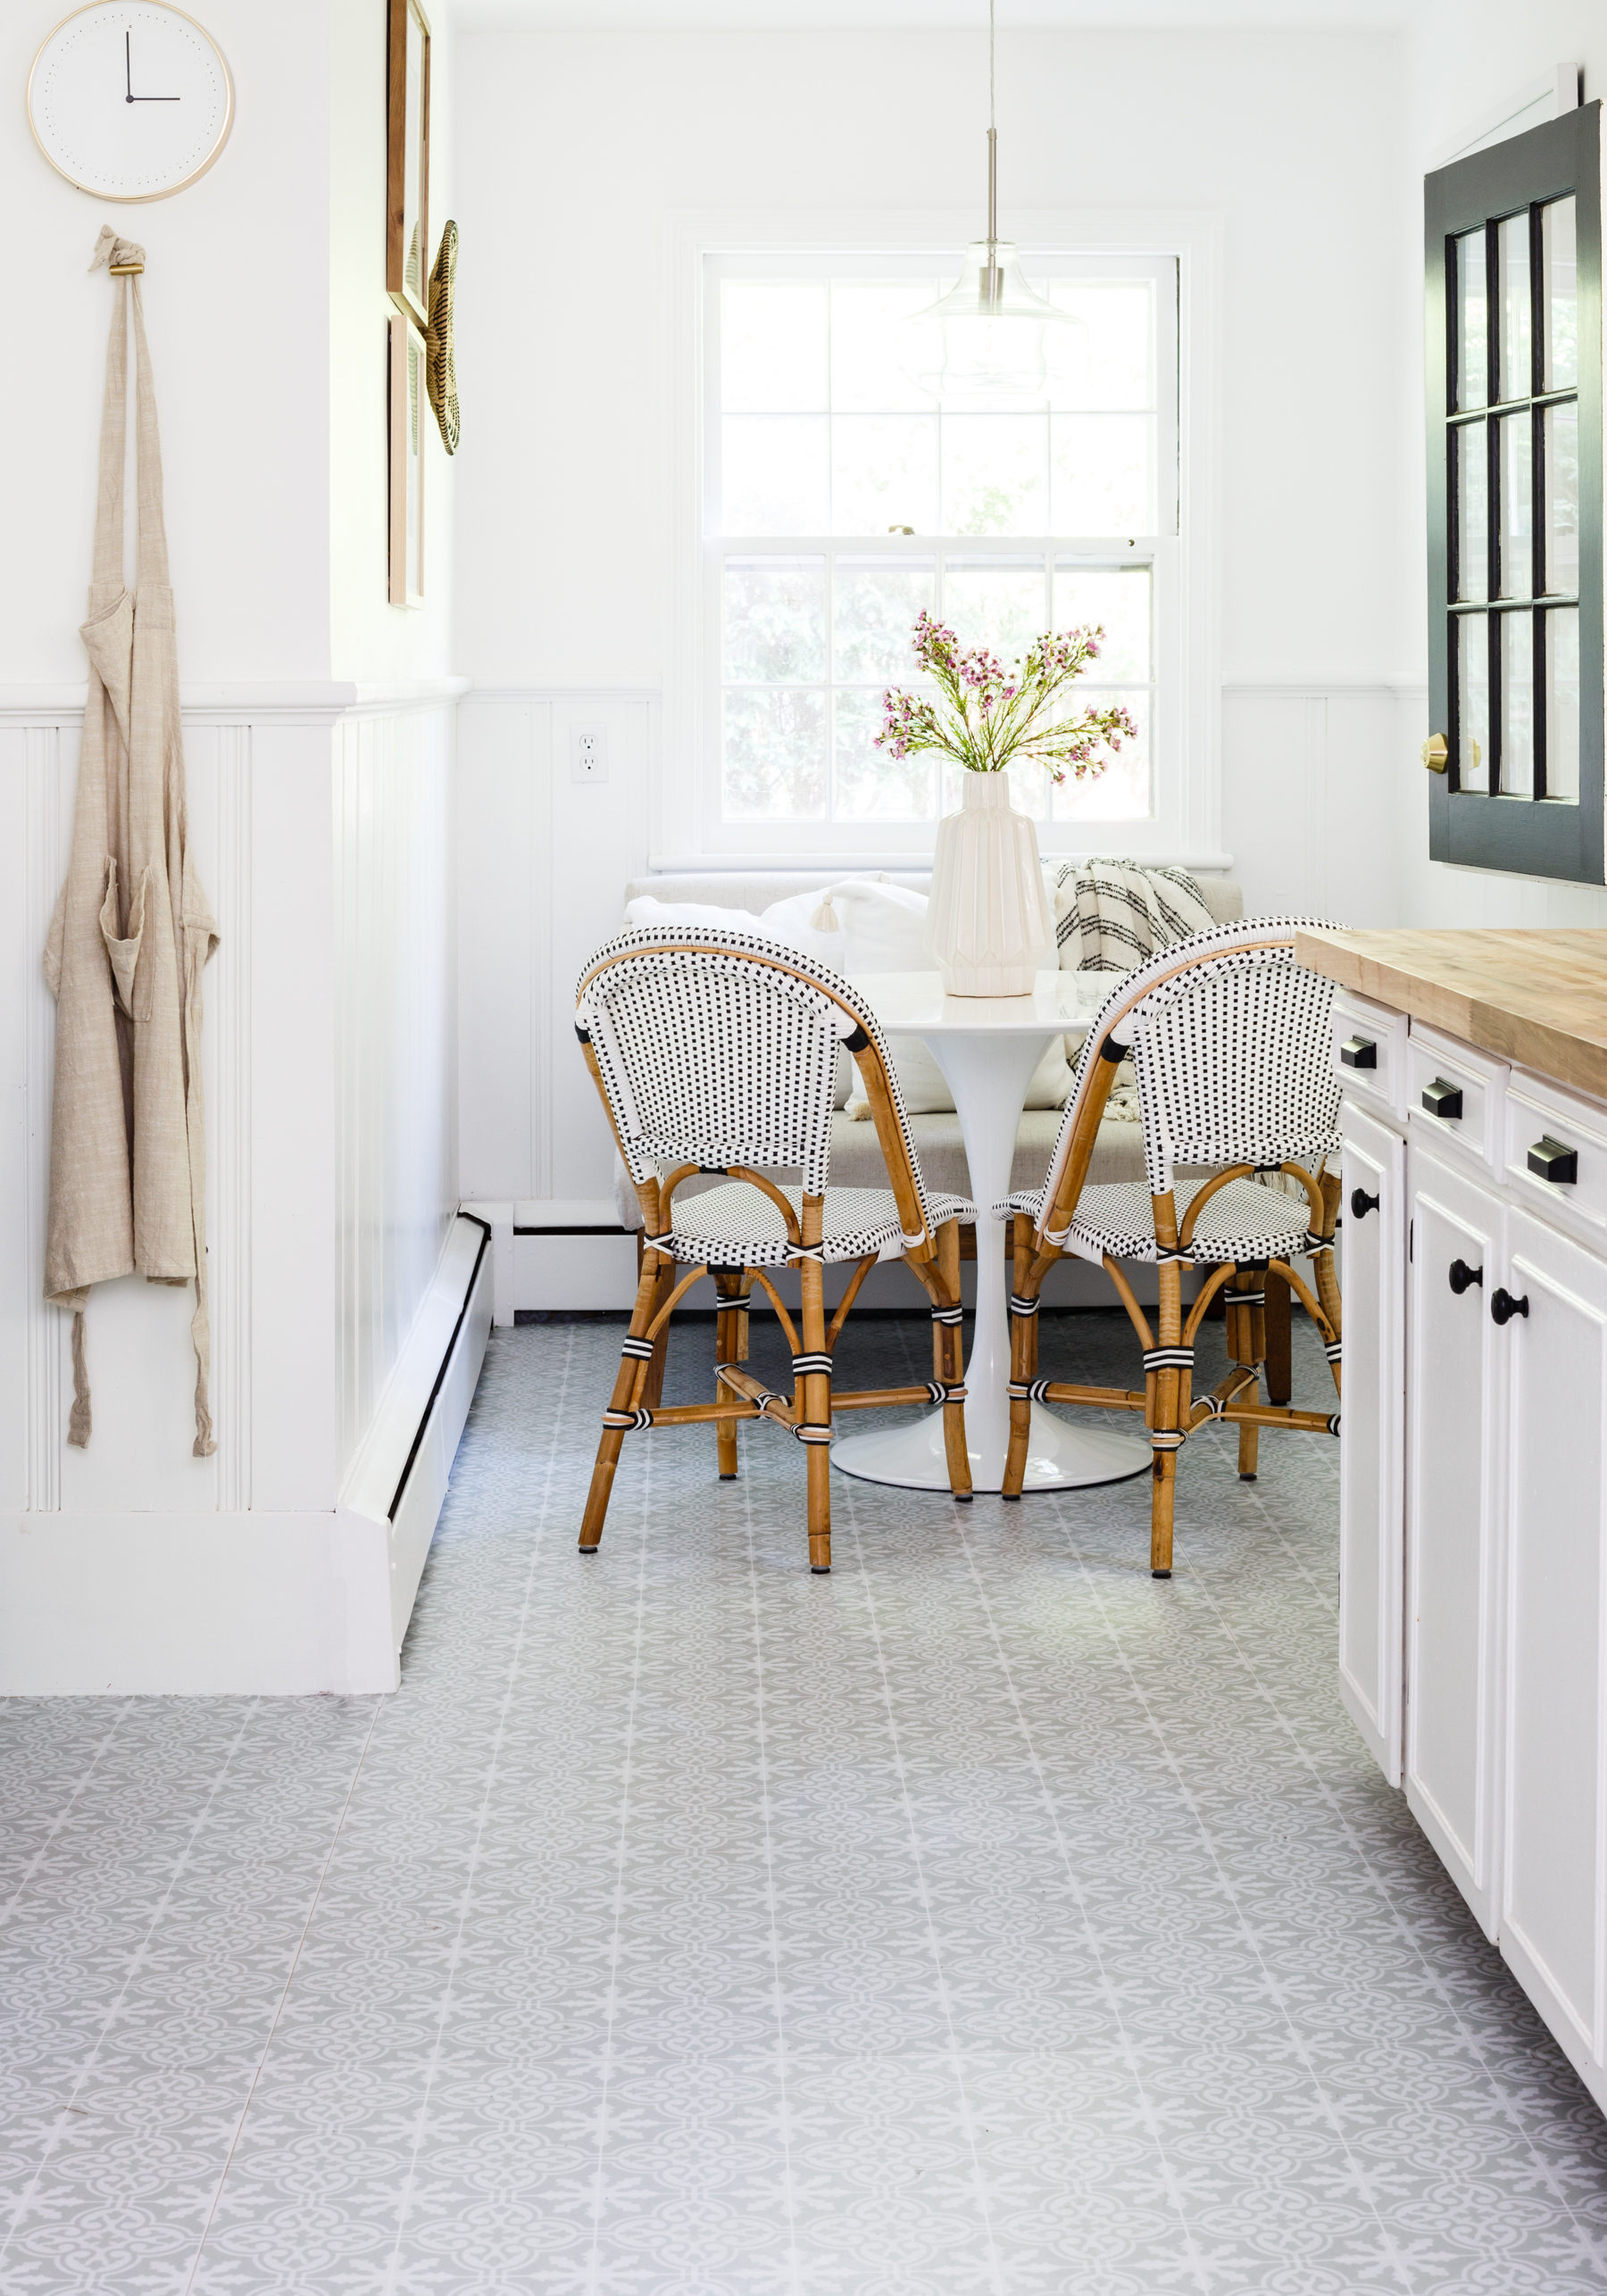
These peel and stick floor tiles will give your kitchen a very

Peel and Stick Tile Kitchen Flooring Review Kitchn

Related articles:
- Stained Concrete Basement Floor
- Finishing Basement Floor
- Refinish Concrete Basement Floor
- Best Flooring For Basement
- Basement Gym Flooring Ideas
- Laminate Flooring In Basement
- Basement Concrete Floor Sweating
- Basement Floor Finishing Ideas
- Painting Unfinished Basement Floor
- Unique Basement Flooring
Kitchen Floor Stick On Tiles: A Budget-Friendly and Stylish Flooring Option
When it comes to updating your kitchen, one of the quickest and most cost-effective ways to give it a fresh new look is by installing stick on tiles on the floor. These self-adhesive tiles come in a variety of styles, colors, and patterns, making it easy to find the perfect match for your kitchen decor. In this article, we will explore the benefits of using kitchen floor stick on tiles, how to install them, tips for maintenance, and answer some frequently asked questions about this popular flooring option.
Benefits of Kitchen Floor Stick On Tiles
One of the main benefits of using stick on tiles for your kitchen floor is their affordability. Compared to traditional flooring options such as hardwood or ceramic tile, stick on tiles are much more budget-friendly. This makes them an ideal choice for homeowners who want to update their kitchen without breaking the bank.
Another benefit of stick on tiles is their ease of installation. Unlike traditional tiles that require grout and mortar, stick on tiles simply peel and stick into place. This means you can easily install them yourself without the need for professional help, saving you even more money.
In addition to being budget-friendly and easy to install, stick on tiles are also durable and long-lasting. Many brands offer waterproof and scratch-resistant options, making them ideal for high-traffic areas like the kitchen. Plus, if one tile gets damaged, it’s easy to remove and replace without having to redo the entire floor.
How to Install Kitchen Floor Stick On Tiles
Installing stick on tiles in your kitchen is a relatively simple process that can be done in just a few hours. Here is a step-by-step guide to help you get started:
1. Prepare the Subfloor: Before installing the stick on tiles, make sure the subfloor is clean, smooth, and dry. Remove any debris or dust and fill in any cracks or holes.
2. Measure and Plan: Measure the dimensions of your kitchen floor to determine how many tiles you will need. It’s a good idea to plan out your layout beforehand to ensure a seamless finish.
3. Start in a Corner: Begin by peeling off the backing of one tile and placing it in a corner of the room. Press down firmly to adhere it to the subfloor.
4. Continue Installing: Peel off the backing of each tile one at a time and place them next to each other, ensuring they are lined up correctly. Use a roller to press down on the tiles and remove any air bubbles.
5. Trim Excess: If necessary, use a utility knife to trim any excess tile along the edges or around obstacles like cabinets or appliances.
6. Allow Time to Set: Once all the tiles are in place, allow them to set for at least 24 hours before walking on them or cleaning the floor.
Tips for Maintaining Kitchen Floor Stick On Tiles
To keep your kitchen floor stick on tiles looking their best, it’s important to follow some maintenance tips:
– Regularly sweep or vacuum the floor to remove dirt and debris that can scratch the tiles.
– Clean up spills immediately with a damp cloth or mop to prevent staining.
– Use a mild detergent or specially formulated cleaner designed for vinyl floors when mopping.
– Avoid using harsh chemicals or abrasive cleaners that can damage the adhesive on the tiles.
– Place felt pads under furniture legs to prevent scratching or denting the tiles.
Frequently Asked Questions about Kitchen Floor Stick On Tiles Q: Are stick on tiles durable enough for kitchen use?
A: Yes, many stick on tiles are designed to be waterproof and scratch-resistant, making them ideal for high-traffic areas like the kitchen.
Q: Can stick on tiles be removed and replaced easily?
A: Yes, if one tile gets damaged, it’s easy to remove and replace without having to redo the entire floor.
Q: How long does it take for stick on tiles to set?
A: It is recommended to allow the tiles to set for at least 24 hours before walking on them or cleaning the floor.
Q: How should I clean my kitchen floor stick on tiles?
A: Regularly sweep or vacuum the floor to remove dirt and debris, clean up spills immediately with a damp cloth or mop, use a mild detergent or specially formulated cleaner designed for vinyl floors when mopping, and avoid using harsh chemicals or abrasive cleaners.
Q: Can stick on tiles be trimmed to fit around obstacles like cabinets or appliances?
A: Yes, if necessary, you can use a utility knife to trim any excess tile along the edges or around obstacles like cabinets or appliances.
Overall, installing kitchen floor stick on tiles is a simple and cost-effective way to update the look of your kitchen. By following the steps outlined above and maintaining the tiles properly, you can enjoy a beautiful and durable floor for years to come. If you have any more questions about kitchen floor stick on tiles, feel free to reach out to the manufacturer or retailer for more information. Remember, always follow the manufacturer’s instructions when installing and maintaining stick on tiles to ensure the best results. With proper care and maintenance, your kitchen floor stick on tiles can continue to look great and withstand the demands of daily use in your kitchen. Enjoy your new flooring!