This kind might be fairly expensive due to the distinct appeal it provides to your kitchen floor. However, there is one thing which is important that you need to remember. It can certainly be an overwhelming conclusion to make, and in simply the tile and marble options by itself, you are going to find beautiful decorated parts to choose from.
Here are Images about Kitchen Floor Grout
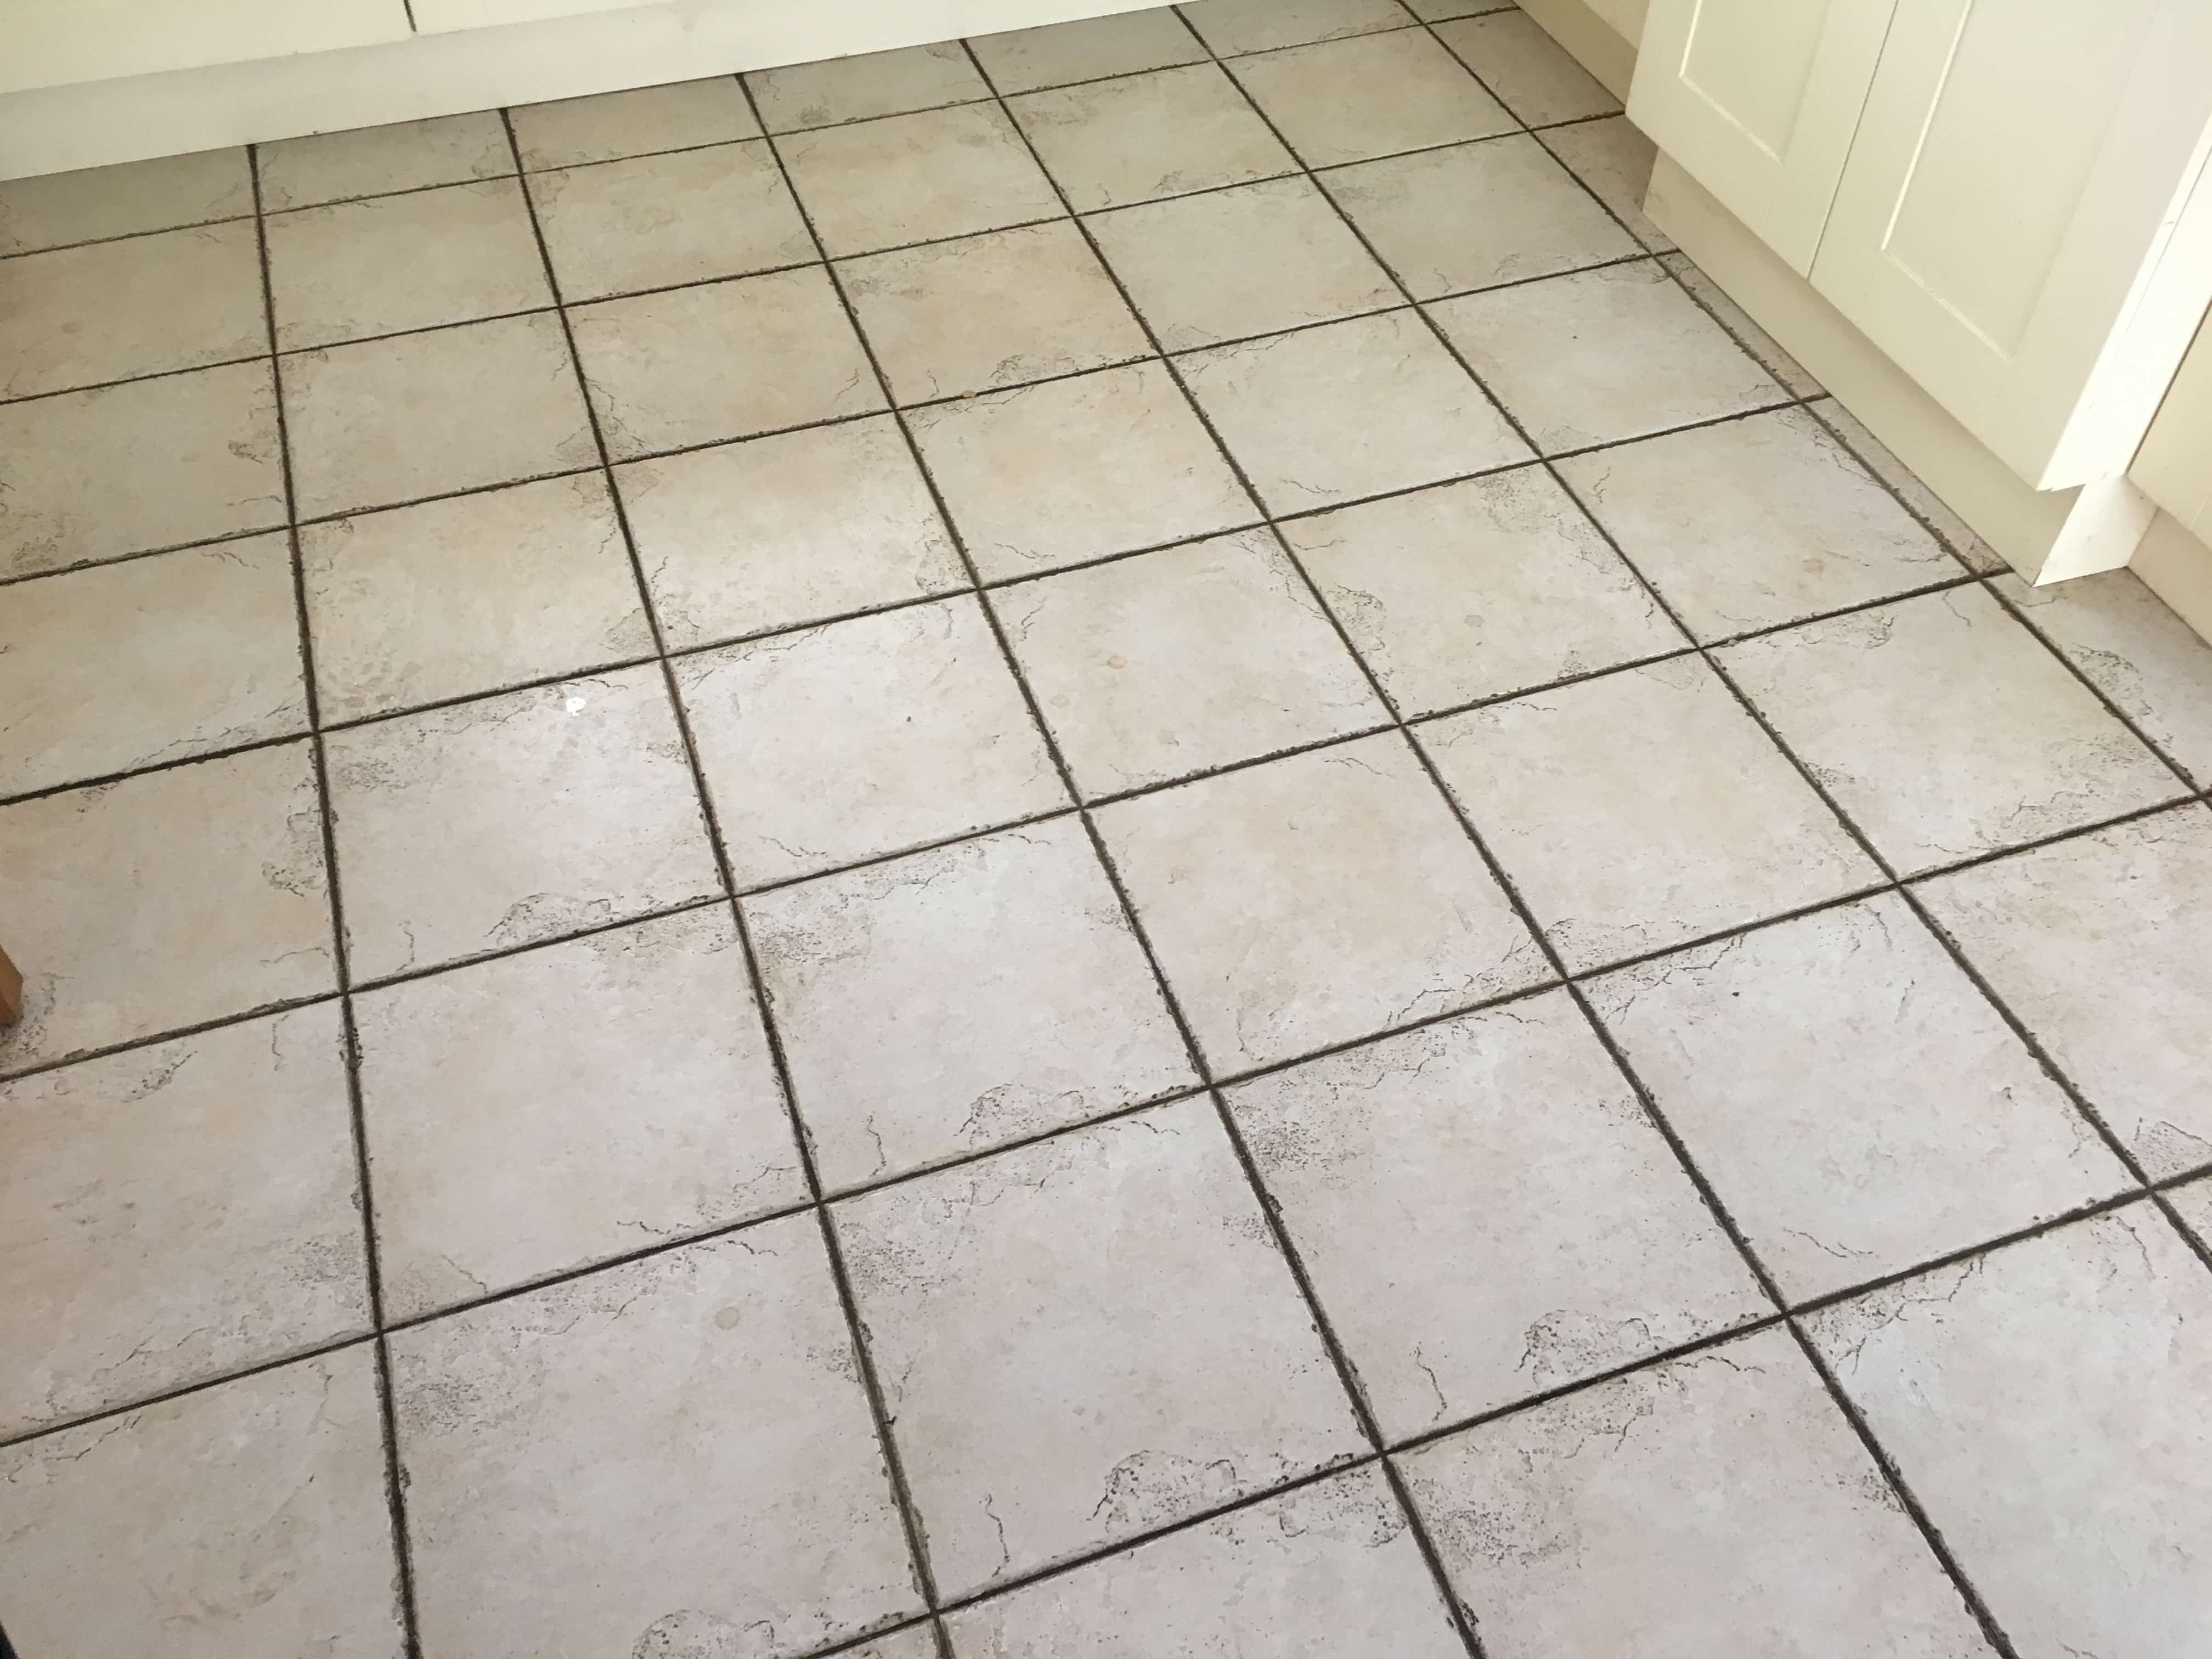
Kitchen Floor Grout
Porcelain tiles are more durable and costly than ceramics and they are available in assorted colors. Cork provides warmth, although it is able to dent and give off a particular odor that may be offensive. Even though you may likely not think a great deal about the floor and just what it does for the kitchen, you must understand that it has as much a hand in creating the room's atmosphere as every other fixture that you would find in there.
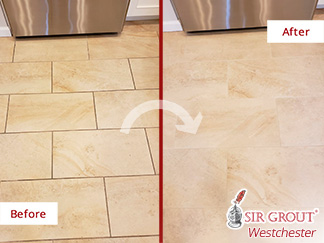
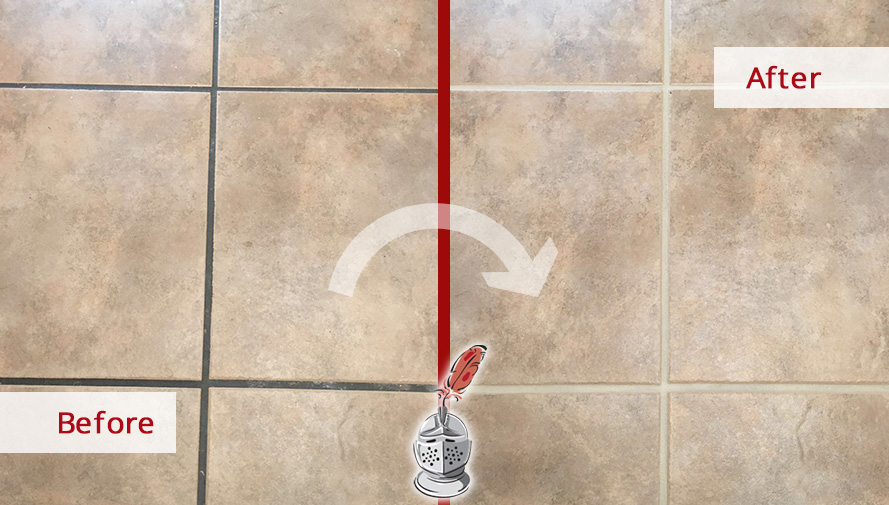
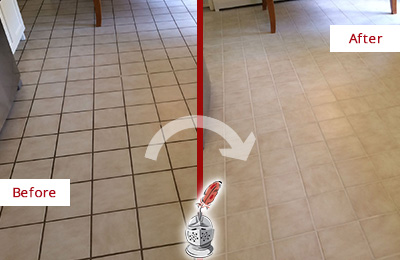
Is Your Tile Floor Aged and Grimy? Learn How a Grout Cleaning
Wooden flooring will be a terrific choice in case the kitchen has wooden cabinets, and also it can complement walls and ceiling with colors which are dark also the lighting. From the off-work opinion of mine, you are able to choose to provide laminate flooring for the kitchen of yours. Revamp your kitchen's floor and yes it can easily become one of the highlights of the entire home.
Images Related to Kitchen Floor Grout
Kitchen Floor Tile and Grout Cleaning in Roseville, CA u2014 ATR Tile

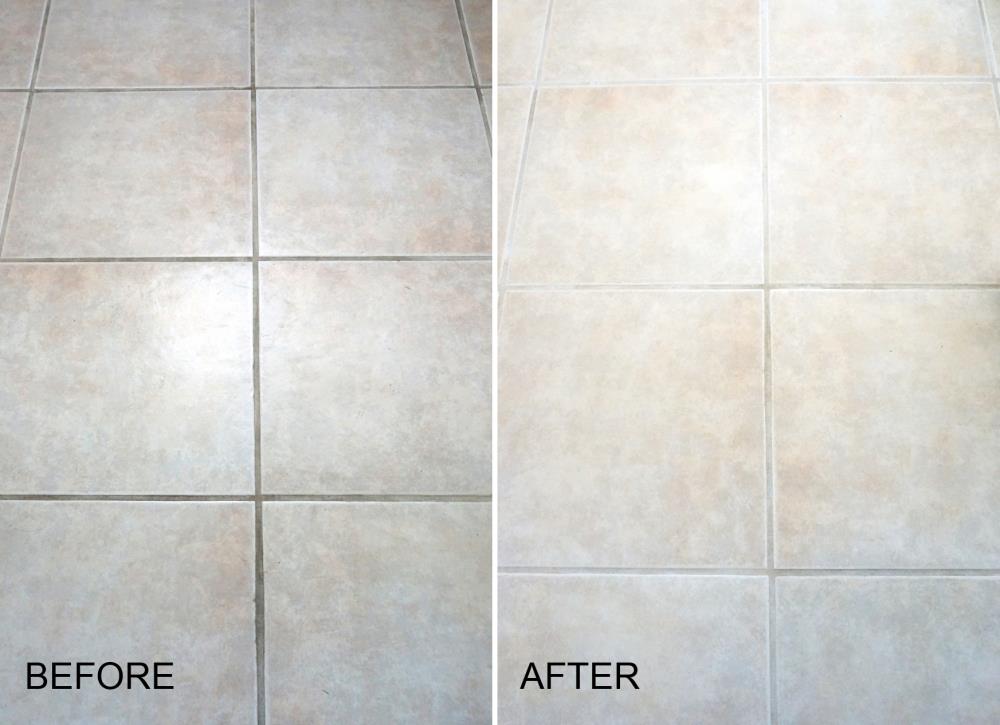
Does Cleaning Grout with Baking Soda and Vinegar Really Work?
This Kitchen Floor Was Revamped Thanks to Our Tile and Grout
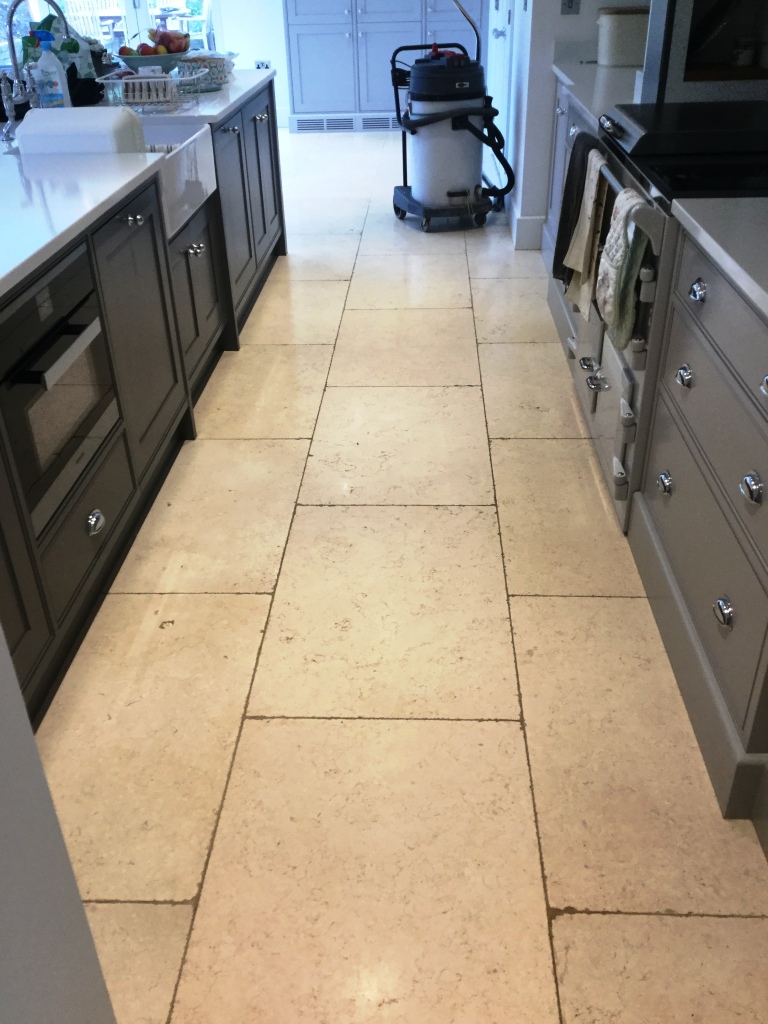
Deep Cleaning Ceramic Tile and Grout in a Leatherhead Kitchen
The Difference Grout Color Can Make To Your Tiles – Emily Henderson

Residential Tile and Grout Cleaning and Sealing – Sir Grout
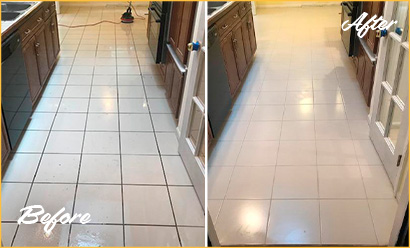
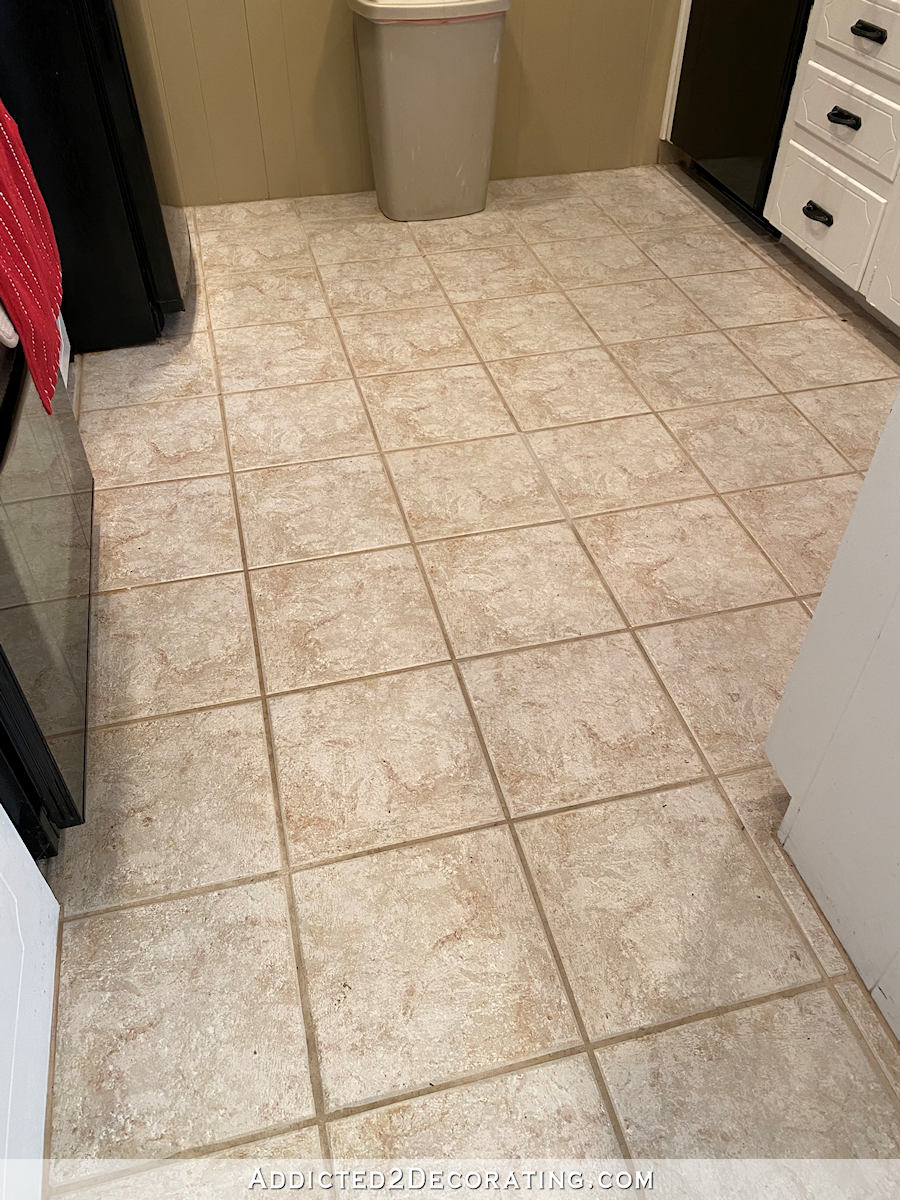
Grout Cleaning in Royersford PA Refreshes the Appearance of an 18

Removing Grout Haze from Limestone Kitchen Floor Tiles in Clipston
My Momu0027s Kitchen – The Magic Of Making Old Grout Look New Again
Grout Buying Guide

How To Choose Grout for Ceramic Tile BuildDirect® Learning

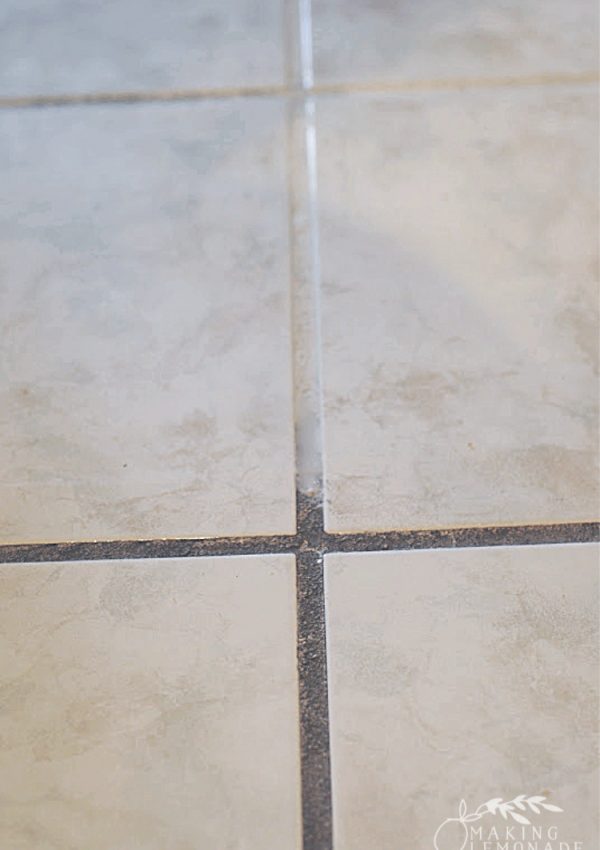
3 (Top Secret) Tricks for Cleaning with Vinegar – Making Lemonade
Related articles:
- Stained Concrete Basement Floor
- Finishing Basement Floor
- Refinish Concrete Basement Floor
- Best Flooring For Basement
- Basement Gym Flooring Ideas
- Laminate Flooring In Basement
- Basement Concrete Floor Sweating
- Basement Floor Finishing Ideas
- Painting Unfinished Basement Floor
- Unique Basement Flooring
Kitchen Floor Grout: A Comprehensive Guide to Maintenance and Cleaning
Introduction:
The kitchen floor is undoubtedly one of the most heavily used areas in any home. From spills and stains to constant foot traffic, it endures a lot of wear and tear on a daily basis. To ensure the longevity and cleanliness of your kitchen floor, proper maintenance of the grout is essential. In this comprehensive guide, we will delve into all aspects of kitchen floor grout, from its composition and types to cleaning methods and common FAQs.
I. Understanding Kitchen Floor Grout:
Grout is a material used to fill the gaps between tiles and provide support, stability, and protection against moisture. It is typically composed of a mixture of cement, sand, water, and additives such as polymers or latex for enhanced durability. The color of grout can vary depending on the desired aesthetic, with popular choices including white, beige, gray, or black.
FAQ: What are the different types of grout available for kitchen floors?
Answer: There are primarily three types of grout commonly used for kitchen floors: cement-based grout, epoxy grout, and urethane grout. Cement-based grout is the most commonly used type due to its affordability and ease of application. Epoxy grout offers superior stain resistance and durability but requires more precision during installation. Urethane grout combines the best qualities of both cement-based and epoxy grouts, offering excellent stain resistance and flexibility.
II. Maintaining Kitchen Floor Grout:
Proper maintenance of kitchen floor grout is crucial to prevent discoloration, mold growth, or damage over time. Here are some effective tips for maintaining your kitchen floor grout:
1. Regular Cleaning:
Regularly sweeping or vacuuming your kitchen floor helps prevent dirt and debris from settling into the grout lines. For more thorough cleaning, use a pH-neutral cleaner specifically formulated for tile and grout. Avoid harsh chemicals or acidic cleaners, as they can damage the grout.
FAQ: Can I use bleach to clean kitchen floor grout?
Answer: While bleach may be effective in removing stains, it can also cause discoloration and weaken the grout over time. It is best to avoid using bleach and opt for a pH-neutral cleaner specifically designed for grout cleaning.
2. Sealing:
Applying a high-quality grout sealer is an essential step in maintaining kitchen floor grout. Sealing creates a protective barrier that repels moisture, stains, and dirt, prolonging the life of the grout. It is recommended to seal the grout at least once every year or as per the manufacturer’s instructions.
FAQ: How do I know if my kitchen floor grout needs resealing?
Answer: A simple test can determine if your grout needs resealing. Sprinkle some water droplets onto the grout lines. If the water beads up and doesn’t absorb into the grout, it indicates that the sealer is still effective. However, if the water absorbs quickly, it is time to reseal the grout.
III. Cleaning Kitchen Floor Grout:
Over time, kitchen floor grout may develop stubborn stains or discoloration despite regular maintenance. Here are some effective methods for deep cleaning your kitchen floor grout:
1. Baking Soda and Vinegar Paste:
Create a paste by mixing baking soda with white vinegar until you achieve a thick consistency. Apply this paste onto the stained grout lines and Scrub using a soft brush or toothbrush. Let the paste sit on the grout for about 15-20 minutes, then rinse with water. Repeat if necessary.
2. Hydrogen Peroxide and Baking Soda Solution:
Mix hydrogen peroxide and baking soda to form a paste. Apply this paste onto the stained grout lines and scrub using a soft brush or toothbrush. Let it sit for about 10-15 minutes, then rinse with water. This solution is particularly effective for removing tough stains.
FAQ: Can I use a steam cleaner to clean kitchen floor grout?
Answer: Yes, a steam cleaner can be used to clean kitchen floor grout. The high temperature of the steam helps loosen dirt and grime from the grout lines. However, make sure to follow the manufacturer’s instructions and use the appropriate attachments for grout cleaning.
3. Oxygen Bleach Solution:
Mix oxygen bleach powder with warm water as per the manufacturer’s instructions. Apply this solution onto the stained grout lines and let it sit for about 15-20 minutes. Scrub using a soft brush or toothbrush, then rinse with water. Oxygen bleach is a non-toxic alternative to chlorine bleach and is safe for most types of grout.
It is important to test any cleaning solution on a small, inconspicuous area of your kitchen floor before applying it to the entire grout surface. This will ensure that the solution does not cause any damage or discoloration. Additionally, always wear gloves and work in a well-ventilated area when using cleaning solutions.
IV. Repairing Damaged Grout:
If your kitchen floor grout is cracked, chipped, or missing in certain areas, it is important to repair it to prevent further damage. Here are the steps to repair damaged grout:
1. Remove Damaged Grout:
Use a grout saw or rotary tool with a grout removal bit to carefully remove the damaged grout. Be cautious not to damage the surrounding tiles.
2. Clean and Prepare the Area:
Clean the area thoroughly, removing any remaining debris or loose grout. Make sure the area is dry before proceeding.
3. Apply New Grout:
Prepare a fresh batch of grout according to the manufacturer’s instructions. Using a grout float or rubber spatula, apply the grout into the gaps, ensuring it is packed tightly and evenly. Remove any excess grout using a damp sponge.
4. Finishing Touches:
After allowing the grout to set for a few minutes, use a damp cloth to wipe away any haze on the tiles. Let the grout cure for at least 24 hours before allowing foot traffic on the repaired area.
Remember to refer to the manufacturer’s instructions for specific guidance on repairing and maintaining your kitchen floor grout, as different types of grout may have unique requirements. Regular maintenance and prompt repairs will help ensure that your kitchen floor remains clean, attractive, and durable for years to come. Overall, there are several methods to clean and repair kitchen floor grout. Using a steam cleaner can help loosen dirt and grime from the grout lines, while an oxygen bleach solution can be used to remove stains. It is important to test any cleaning solution on a small area before applying it to the entire grout surface. Additionally, if the grout is cracked or damaged, it should be carefully removed and replaced with fresh grout. Following manufacturer’s instructions and proper maintenance will help keep your kitchen floor grout clean and durable. To summarize, here are the steps to clean and repair kitchen floor grout:
Cleaning Grout:
1. Sweep or vacuum the floor to remove any loose dirt or debris.
2. Use a steam cleaner or a mixture of equal parts water and vinegar to clean the grout lines.
3. Scrub the grout lines with a grout brush or toothbrush.
4. Rinse the grout with water.
5. If stains persist, create a paste using oxygen bleach and water, apply it to the stained areas, scrub with a brush, and rinse with water.
Repairing Damaged Grout:
1. Use a grout saw or rotary tool with a grout removal bit to carefully remove the damaged grout.
2. Clean the area thoroughly and ensure it is dry before proceeding.
3. Prepare fresh grout according to the manufacturer’s instructions and apply it into the gaps using a grout float or rubber spatula.
4. Remove excess grout with a damp sponge and wipe away any haze on the tiles.
5. Let the grout cure for at least 24 hours before allowing foot traffic on the repaired area.
Remember to always test cleaning solutions on a small, inconspicuous area before applying them to the entire grout surface. Wear gloves and work in a well-ventilated area when using cleaning solutions. Follow manufacturer’s instructions for specific guidance on repairing and maintaining your kitchen floor grout. Regular maintenance and prompt repairs will help keep your kitchen floor clean, attractive, and durable for years to come.