Basement flooring must match whatever theme you're making use of the kitchen for. You will be content for many years down the street. You'll want to get in touch with a specialist contractor that is going to be able to assess the original floor and then provide you with an estimate. You could have to get the concrete subfloor sealed and also install a moisture barrier.
Here are Images about Install Vapor Barrier Basement Floor
Install Vapor Barrier Basement Floor
As you are able to see, you have many different choices in terms of choosing, replacing or fixing your basement flooring. When you're planning on renovating the basement of yours, one of the most important things you need to think about is your basement flooring. When some people very first take on a brand new job including finishing a downstairs room, they know instantly what the end result is likely to be.
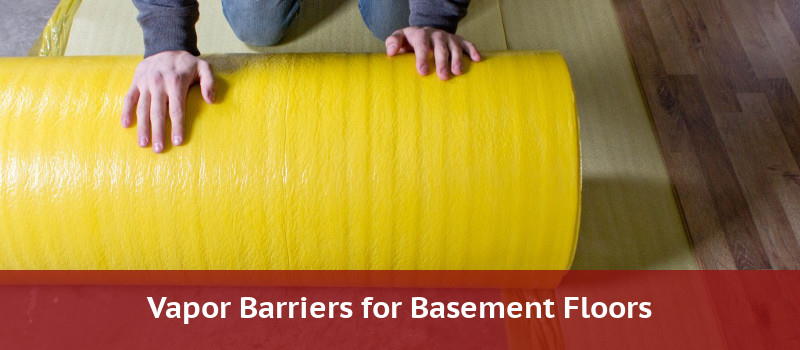
The Importance of a Vapor Barrier for Below-Grade Insulation

Below are some suggestions that will help you to choose comfy and pleasant basement floors. A great deal of various purposes could be used using the basement that you've. Prior to shopping for or even installing basement flooring, it's surely a good idea to bring a professional in to look at your cellar for moisture.
Images Related to Install Vapor Barrier Basement Floor
Installing Vapor Barrier in a Basement LoveToKnow

TEC product: LiquiDam EZ moisture vapor barrier

Vapor Barrier for a Basement Floor Options, Installation and Cost
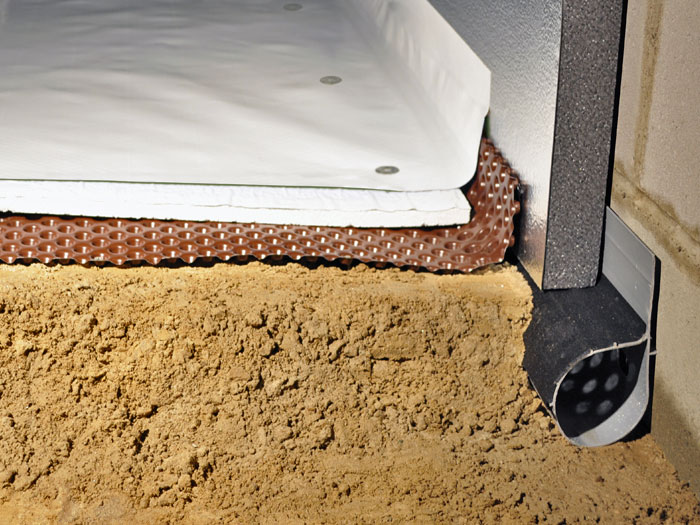
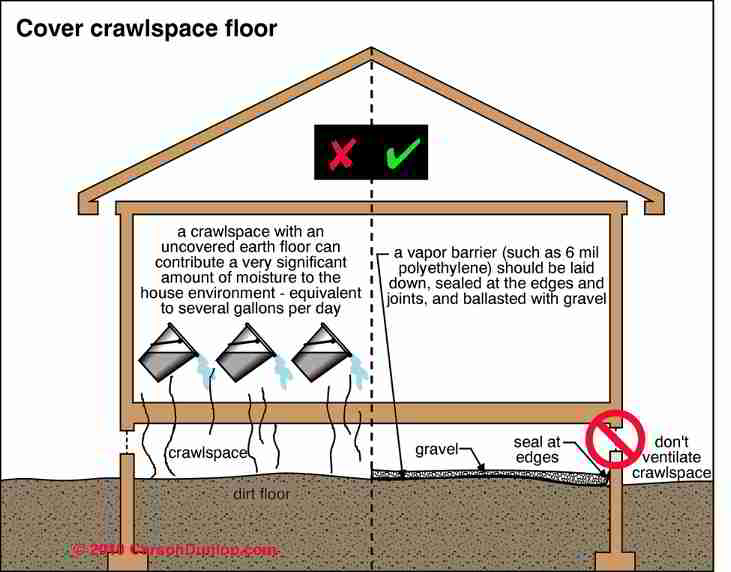
Our Complete Crawl Space Vapor Barrier System
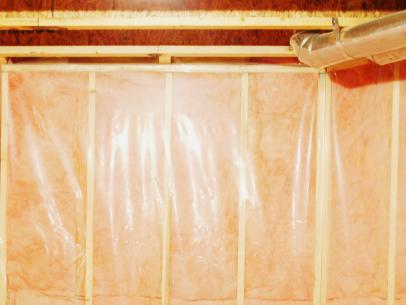
Vapour barriers in basements

Does the Quiet Walk underlayment plastic/vapor barrier face up or

How to Install a Basement Vapor Barrier HGTV
Vapor Barrier Under Laminate Floor – Laminate and Floating Floor

Crawl Space Moisture Barrier Placement Guide
Concrete Vapor Barrier Thickness – How Thick Should A Vapor

The Best Moisture Barrier for Protecting Concrete Slabs and Floors
6 mil Vapor Barrier Underlayment Over Concrete Floors – MP Global

Related articles:
- Stained Concrete Basement Floor
- Finishing Basement Floor
- Refinish Concrete Basement Floor
- Best Flooring For Basement
- Basement Gym Flooring Ideas
- Laminate Flooring In Basement
- Basement Concrete Floor Sweating
- Basement Floor Finishing Ideas
- Painting Unfinished Basement Floor
- Unique Basement Flooring
When it comes to basement flooring, installing a vapor barrier is essential for protecting your home from moisture and mold. In this guide, we’ll outline the necessary steps for installing a vapor barrier basement floor.
What is a Vapor Barrier?
A vapor barrier is a layer of plastic sheeting that prevents moisture from seeping through the basement floor. It also helps to keep the temperature in the basement consistent and keeps out dust, dirt, and allergens. The most common type of vapor barrier is 6 mil polyethylene plastic sheeting, which is an inexpensive and effective option for protecting your basement floor.
Why Install a Vapor Barrier?
If you’re planning on finishing your basement, then installing a vapor barrier is essential for keeping your home dry and free from mold and mildew. Without a vapor barrier, moisture can seep through the concrete and cause problems with the finished flooring or walls. Not only will it protect your home’s foundation, but it will also provide better insulation and make your home more comfortable.
How to Install a Vapor Barrier Basement Floor
The process for installing a vapor barrier basement floor is relatively straightforward. Here’s what you need to do:
1. Clean and Prepare the Basement Floor
Before you start laying down the vapor barrier, you’ll need to make sure the concrete floor is clean and free of debris or dust. Sweep or vacuum up any dirt or debris, then use a damp mop to get rid of any stubborn grime. If there are any cracks or holes in the concrete, then you’ll need to patch them up with concrete patch before moving on to the next step.
2. Measure and Cut the Vapor Barrier
Once your basement floor is clean and prepped, you’ll need to measure and cut the vapor barrier to fit the floor. Be sure to leave at least 2 inches of overlap on each side of the seams so that you can tape them together securely.
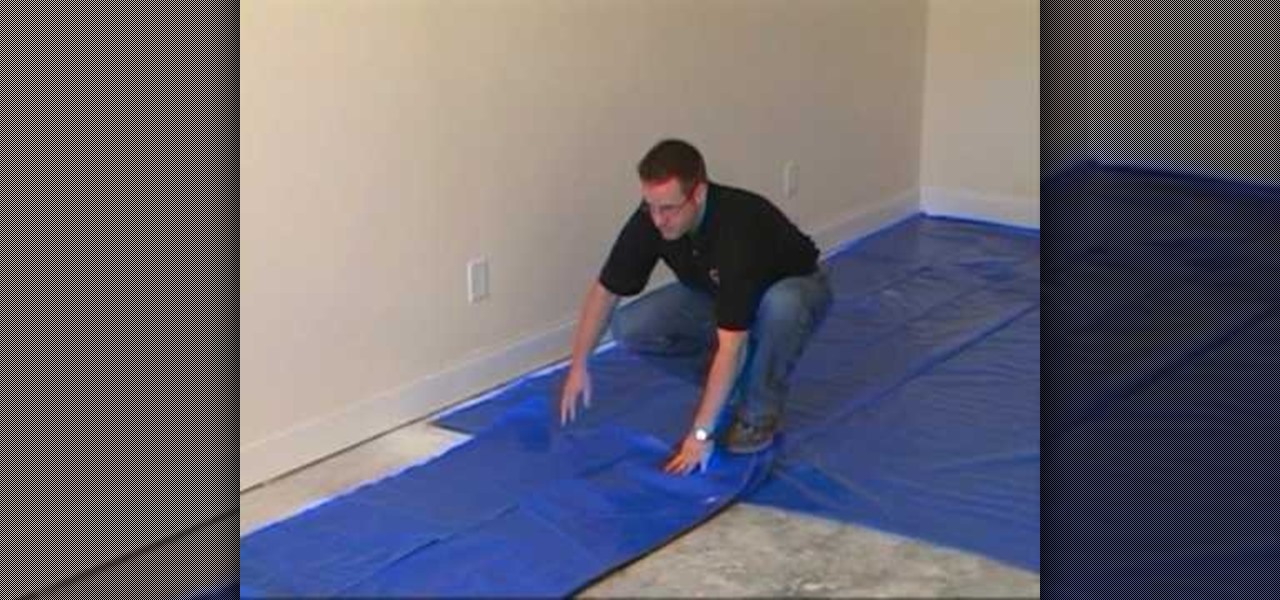
3. Lay Down the Vapor Barrier
Now you can begin laying down the vapor barrier. Start at one end of the room and work your way across until you reach the other end. Use a heavy-duty stapler or tape to secure it in place along each side of the wall and around any objects in the room such as pipes or posts.
4. Seal Seams
Once all of the edges are secure, it’s time to seal up any seams in the vapor barrier. Use a heavy-duty tape such as duct tape or waterproof tape to ensure that there are no gaps where moisture could seep through.
5. Install Flooring
Now that your vapor barrier is installed, you can begin laying down your chosen flooring material such as carpet, tile, vinyl, or laminate. Be sure to follow all manufacturer instructions carefully when installing these materials so that they are securely attached to the vapor barrier below.
Installing a vapor barrier basement floor is essential for preventing moisture damage in your home. By following these steps, you can ensure that your basement is protected from water damage and mold growth while also providing better insulation for your home.