No matter if you're looking for cheap or luxury vinyl flooring, you've to have a minimum of a bit of knowledge about vinyl style flooring. In a matter of hours you are able to completely change the way an area looks just by putting new vinyl floor surfaces in it. No matter what the style of yours or budget preference, there are several options to choose from.
Images Related to How To Put Vinyl Flooring Down On Concrete
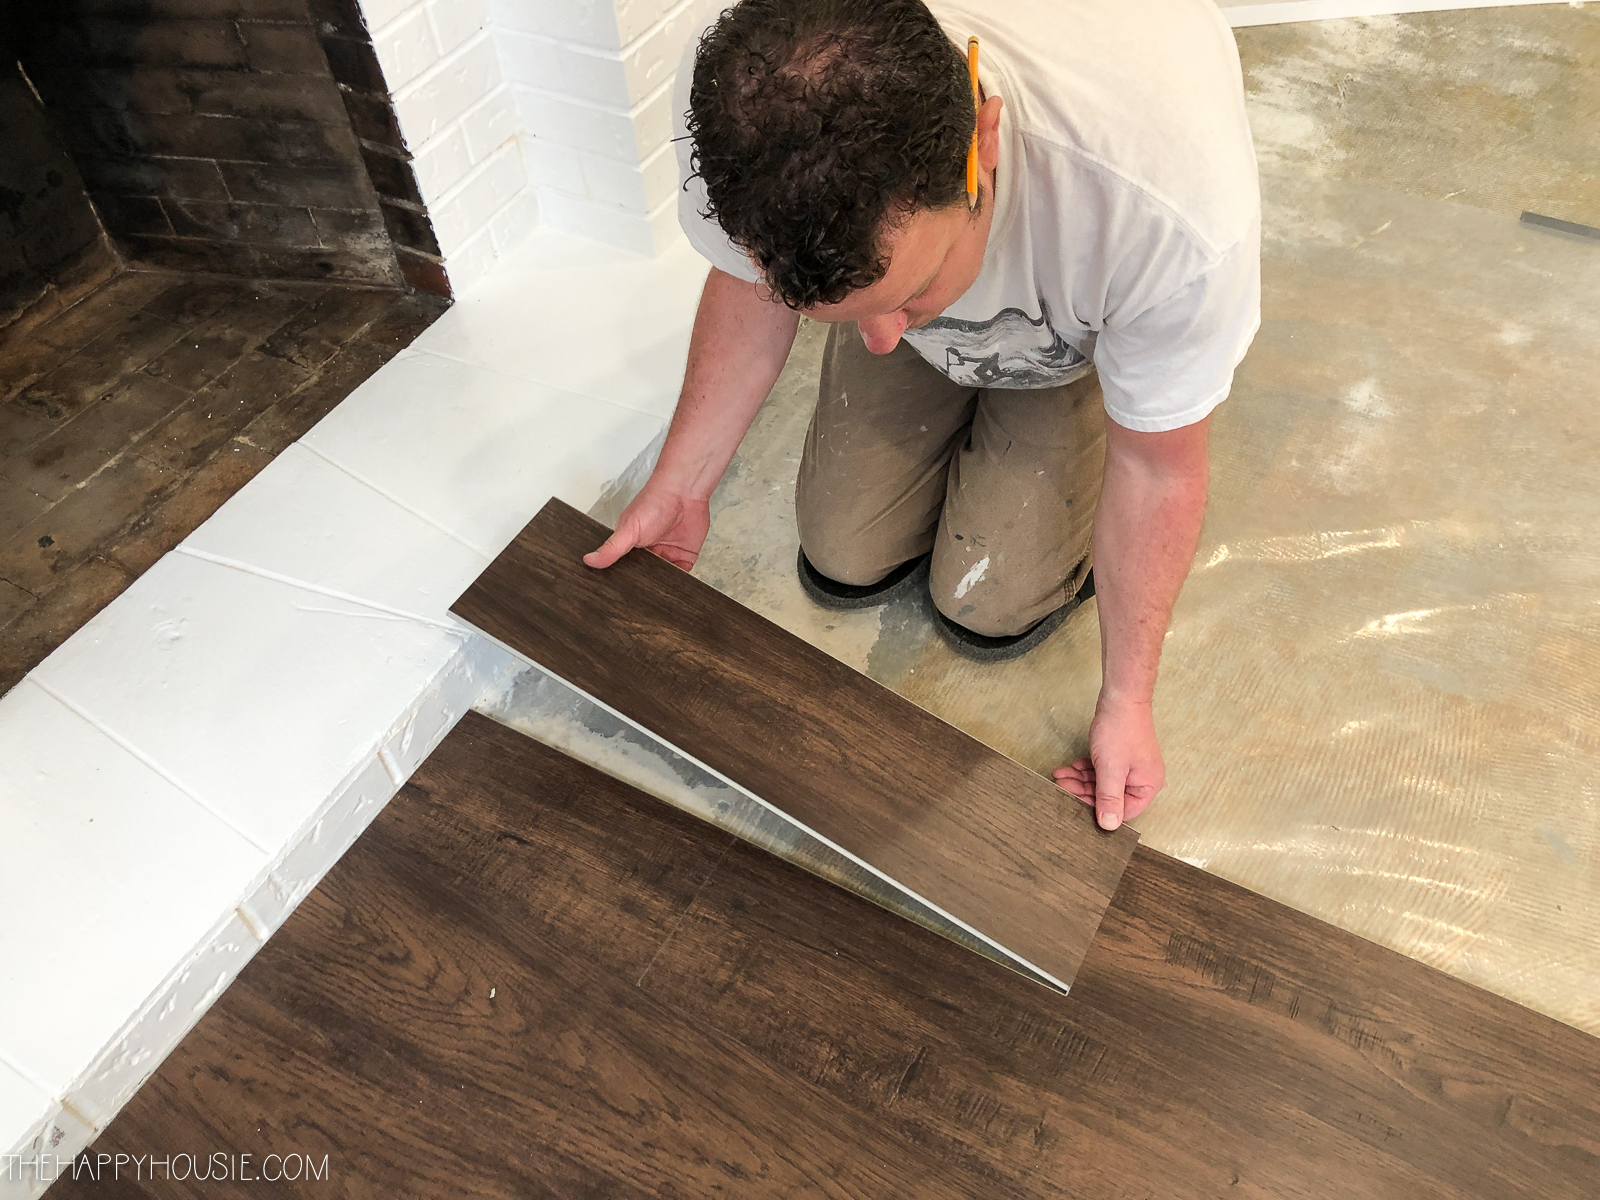
How To Put Vinyl Flooring Down On Concrete
Vinyl Kitchen flooring is definitely the perfect option for children. This also requires more time as well as motivation to set up. A lot of people prefer to focus their money on furniture or maybe paintings to upgrade the appearance in their home. But, if installation is not created by professionals, the errors below might occur. Vinyl floors installation in reality requires the skills of an expert.
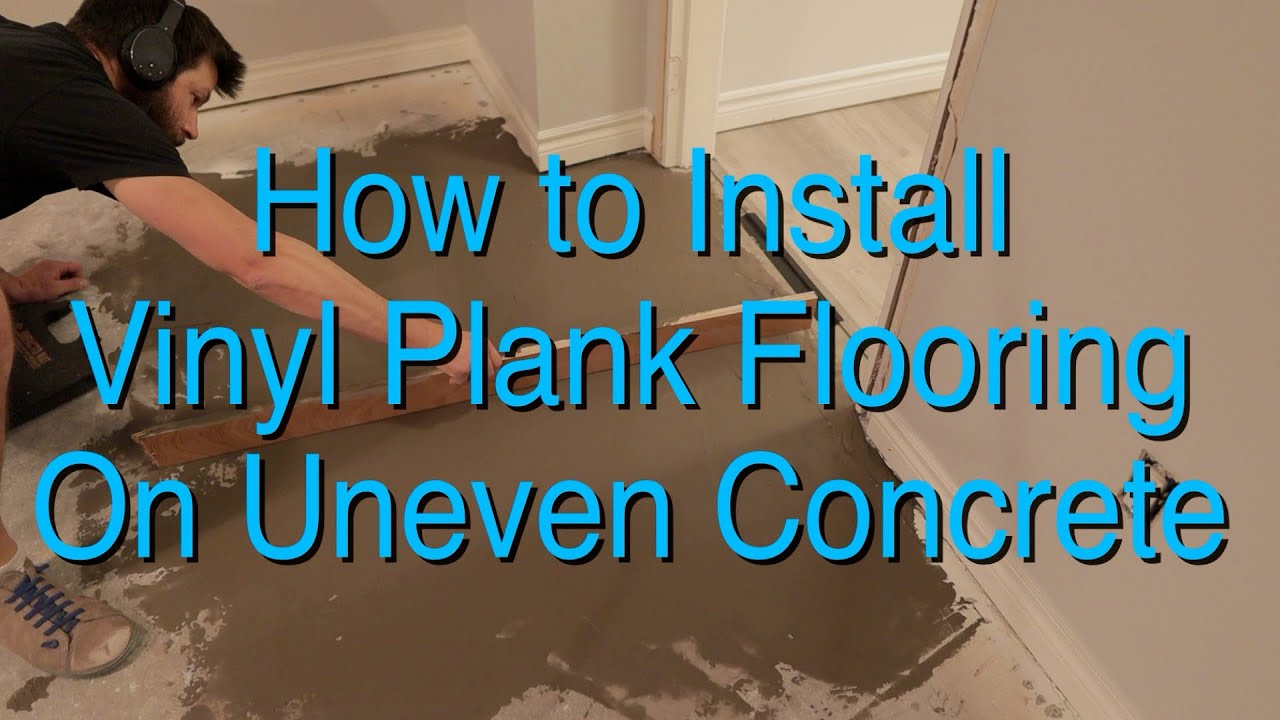
Vinyl Plank Flooring On Uneven Concrete
When you don't heed this recommendation, the vinyl being an incredibly pliable information will ultimately reflect the difficulties that you made an effort to cover up. The sad thing concerning this's that once the vinyl flooring is damaged, there is practically nothing you are able to do but to be able to have it removed. If you need something that is advanced and of higher quality, vinyl tiles stands out as the much better choice.
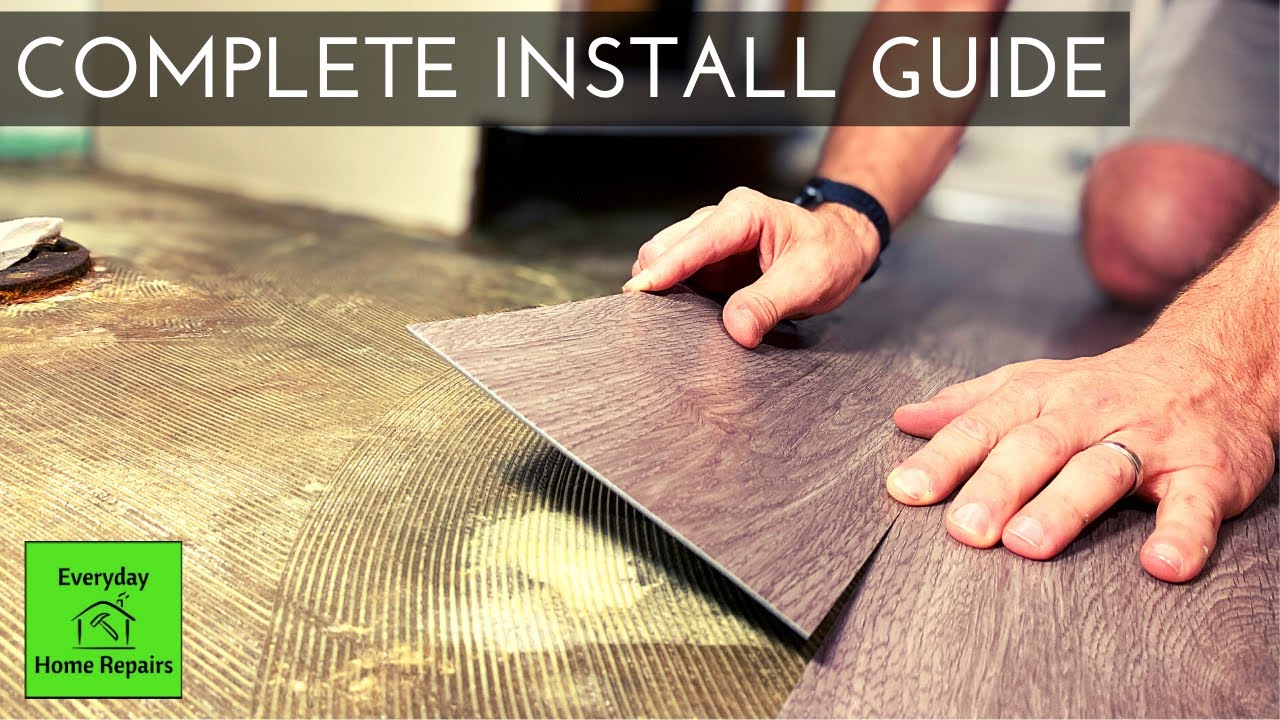
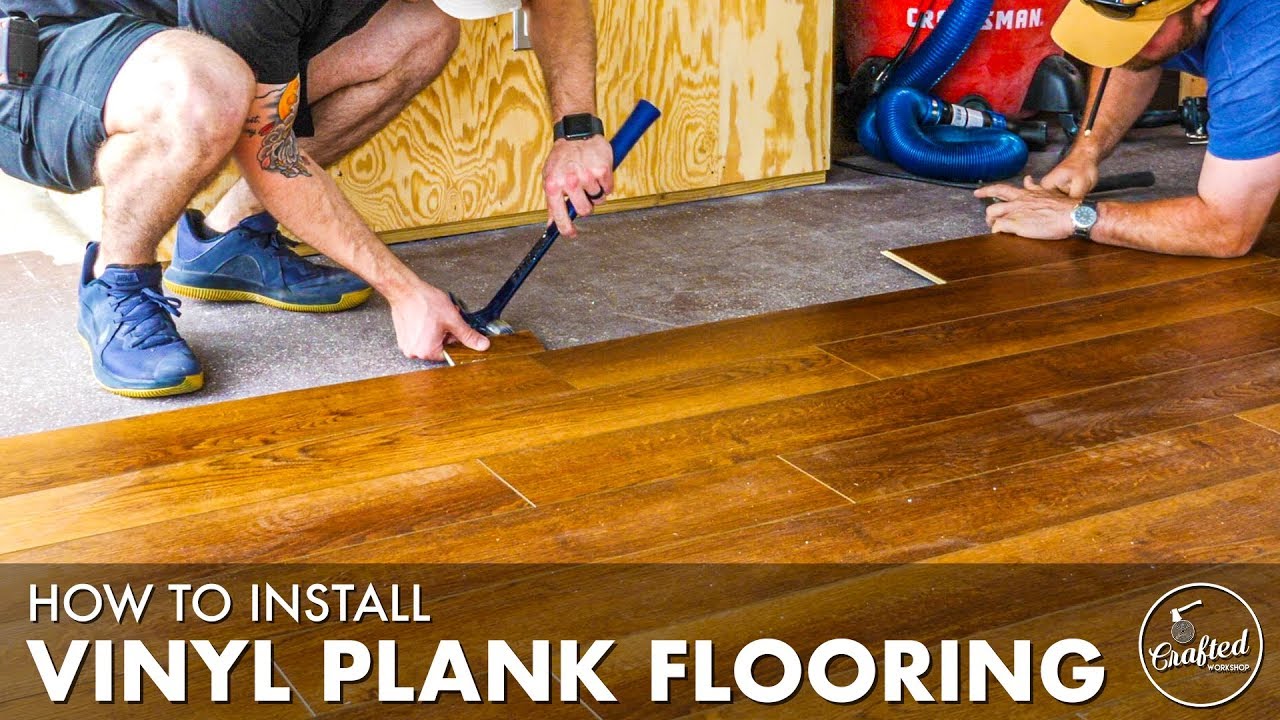
Vinyl Plank Installation: How to Install Vinyl Plank Flooring on

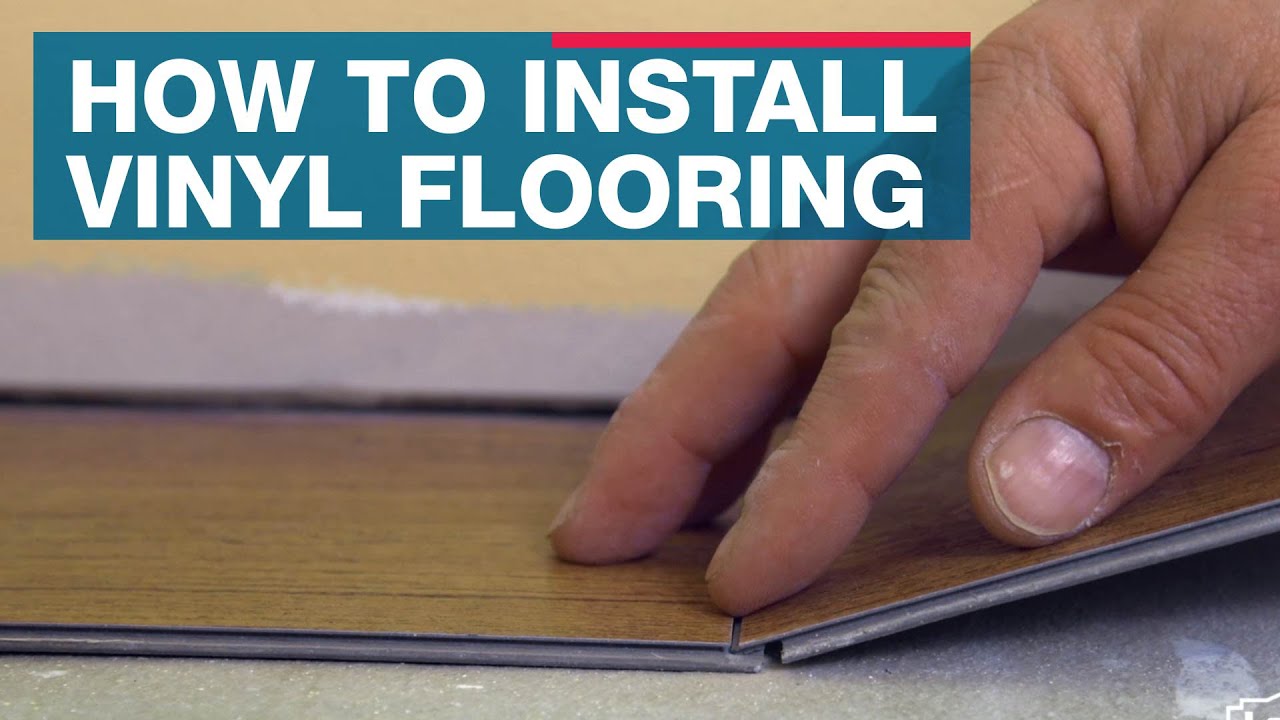
Easy Ways to Install Vinyl Plank Flooring on Concrete

How To Install Glue Down Vinyl Plank Flooring Bathroom Concrete Floor
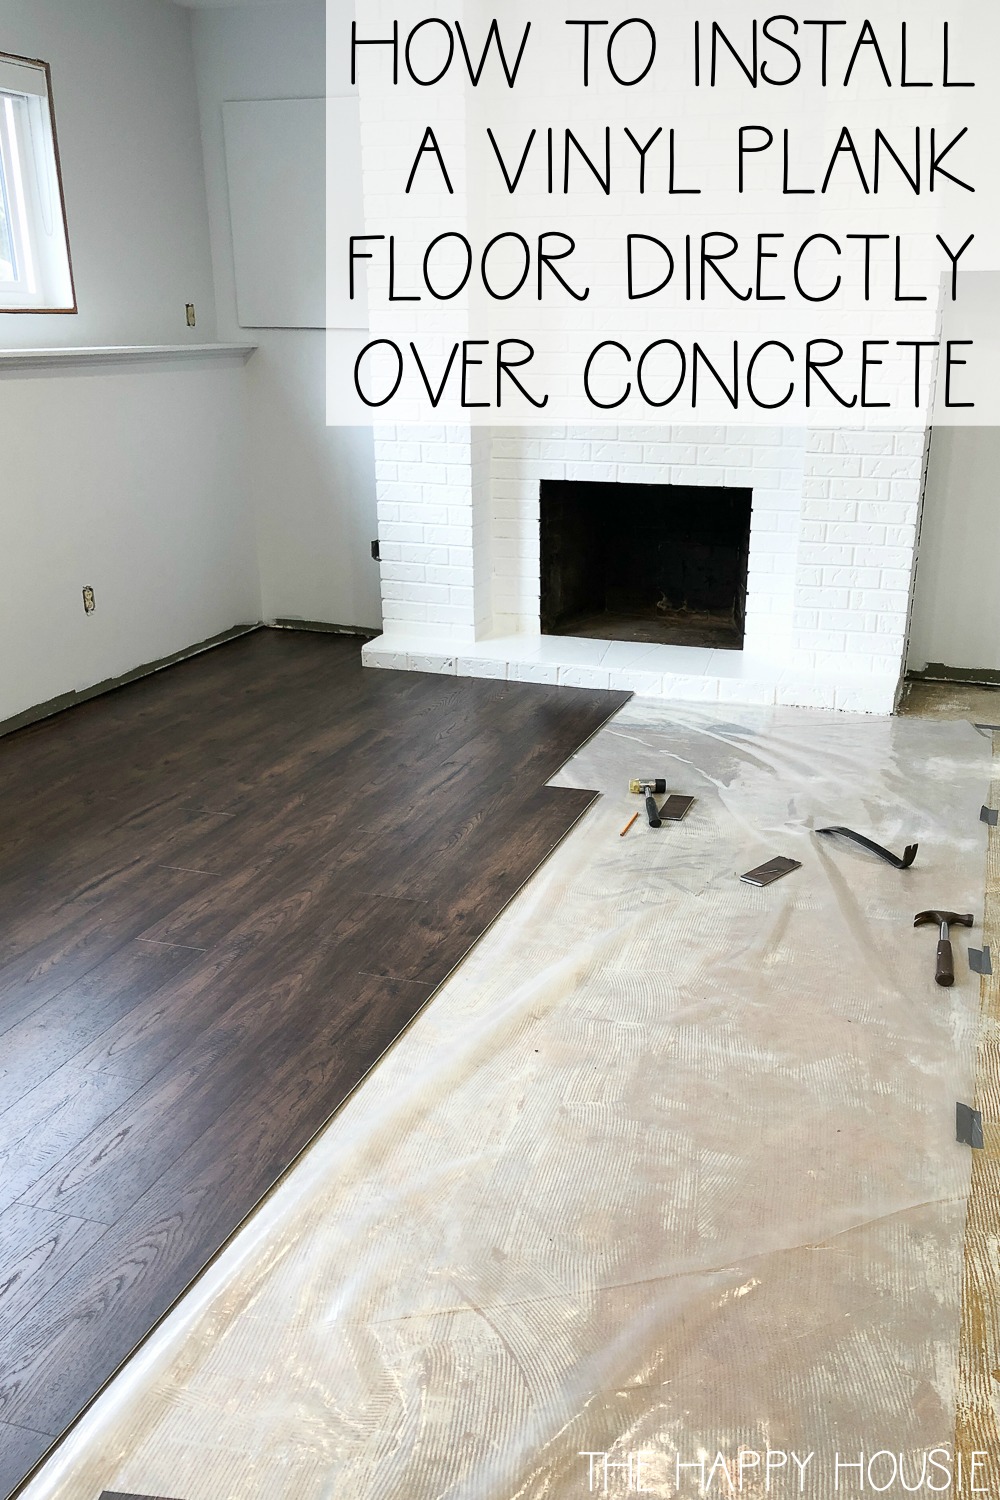
How to Install Vinyl Plank over Concrete (ORC Week 4/5) The
How to Install Vinyl Plank Flooring on Concrete – Step By Step Guide

How to Lay Stick Down Vinyl Tiles on Concrete Floors : Flooring Help

How to Install Laminate Flooring on Concrete – Floor Techie

10 Steps to Install Vinyl Plank Flooring On Concrete
Easy Ways to Install Vinyl Plank Flooring on Concrete

Easy Ways to Install Vinyl Plank Flooring on Concrete

How to Install Vinyl Plank over Concrete (ORC Week 4/5) The
How to Install Vinyl Plank Flooring Loweu0027s
Related articles:
- Vinyl Flooring Bathroom Tile
- Modern Vinyl Flooring
- Funky Vinyl Flooring
- Vinyl Flooring For Kitchen
- Vintage Look Vinyl Flooring
- Kitchen Vinyl Floor Tiles Ideas
- Vinyl Flooring With Wood Look
- Waterproof Vinyl Flooring
- Vinyl Flooring For Cheap
- How To Remove Vinyl Flooring
How To Put Vinyl Flooring Down On Concrete
Vinyl flooring is a popular choice for homeowners due to its durability, affordability, and easy maintenance. One of the key advantages of vinyl flooring is its ability to be installed directly on concrete floors. Whether you’re looking to revamp your basement, kitchen, or any other space with a concrete foundation, this article will guide you through the process of putting vinyl flooring down on concrete.
1. Preparing the Concrete Surface
Before installing vinyl flooring on concrete, it is essential to ensure that the surface is clean, smooth, and free from any debris. Follow these steps for proper preparation:
a) Clean the Floor: Begin by sweeping or vacuuming the concrete floor to remove any dirt or dust particles. For stubborn stains or adhesive residue, use a mild detergent mixed with warm water and scrub the area gently. Rinse thoroughly and allow the floor to dry completely before proceeding.
b) Fill Cracks and Holes: Inspect the concrete surface for any cracks or holes. Fill them using a patching compound appropriate for concrete. Smooth out the compound with a putty knife and let it dry according to the manufacturer’s instructions.
c) Level Uneven Areas: If your concrete floor has uneven sections, it’s crucial to level them before installing vinyl flooring. Use a self-leveling compound to even out any low spots or dips in the floor. Follow the manufacturer’s guidelines regarding mixing and application.
d) Moisture Testing: Moisture can damage vinyl flooring over time, so it’s vital to test your concrete slab for moisture content before installation. There are various moisture testing kits available in the market that can help determine if your concrete is suitable for vinyl flooring. Follow the instructions provided with the testing kit for accurate results.
FAQs:
Q: Can I install vinyl flooring on newly poured concrete?
A: It is recommended to wait for at least 60 days after pouring new concrete before installing vinyl flooring. This waiting period allows the concrete to cure fully and ensures that there is no excess moisture trapped within the slab.
Q: What should I do if my concrete has excessive moisture?
A: If your concrete slab has excessive moisture, it is not suitable for direct vinyl flooring installation. In such cases, you will need to address the moisture issue first. Consider using a moisture barrier or applying a suitable concrete sealer to mitigate moisture problems.
2. Choosing the Right Vinyl Flooring
Selecting the appropriate vinyl flooring for your project is crucial for achieving a long-lasting and visually appealing result. There are several types of vinyl flooring available, including luxury vinyl tile (LVT) and sheet vinyl. Consider the following factors when choosing:
a) Thickness and Wear Layer: Vinyl flooring comes in various thicknesses, typically ranging from 2mm to 8mm. Thicker options provide better durability and noise reduction. Additionally, pay attention to the wear layer, which determines the floor’s resistance to scratches and stains.
b) Style and Design: Vinyl flooring offers an extensive range of designs, patterns, and colors. Choose a style that complements your space’s aesthetics and matches your personal taste.
c) Installation Method: Some vinyl flooring options come with a self-adhesive backing, while others require glue or a click-lock system for installation. Consider your comfort level with different installation methods and choose accordingly.
d) Waterproof Features: If you’re installing vinyl flooring in areas prone to moisture, such as basements or bathrooms, opt for waterproof or water-resistant options To ensure the longevity of your floors.
e) Budget: Vinyl flooring is available in a wide range of prices. Determine your budget and find a product that fits within your financial limitations while still meeting your desired specifications.
3. Preparing the Subfloor
Proper preparation of the subfloor is essential for a successful vinyl flooring installation. Follow these steps:
a) Clean the Subfloor: Remove any debris, dirt, or dust from the subfloor using a broom or vacuum cleaner.
b) Repair any Damage: Inspect the subfloor for any cracks, holes, or uneven areas. Repair them using an appropriate filler or patching compound and allow it to dry completely.
c) Smooth the Subfloor: If there are any rough or uneven sections on the subfloor, sand them down to create a smooth surface for installation.
d) Remove Baseboards and Trim: Take off any baseboards or trim that may interfere with the vinyl flooring installation process. This will allow for a clean and professional-looking finish.
4. Acclimating Vinyl Flooring
Before installing vinyl flooring, it’s crucial to acclimate the planks or tiles to the room’s temperature and humidity levels. Follow these steps:
a) Leave the boxes of vinyl flooring in the room where they will be installed for at least 48 hours before installation.
b) Keep the room temperature between 65-85°F (18-29°C) during acclimation.
c) Maintain humidity levels between 35-65% during acclimation.
d) Open the boxes and remove any plastic wrapping or packaging, allowing the planks or tiles to breathe and adjust to the room’s conditions.
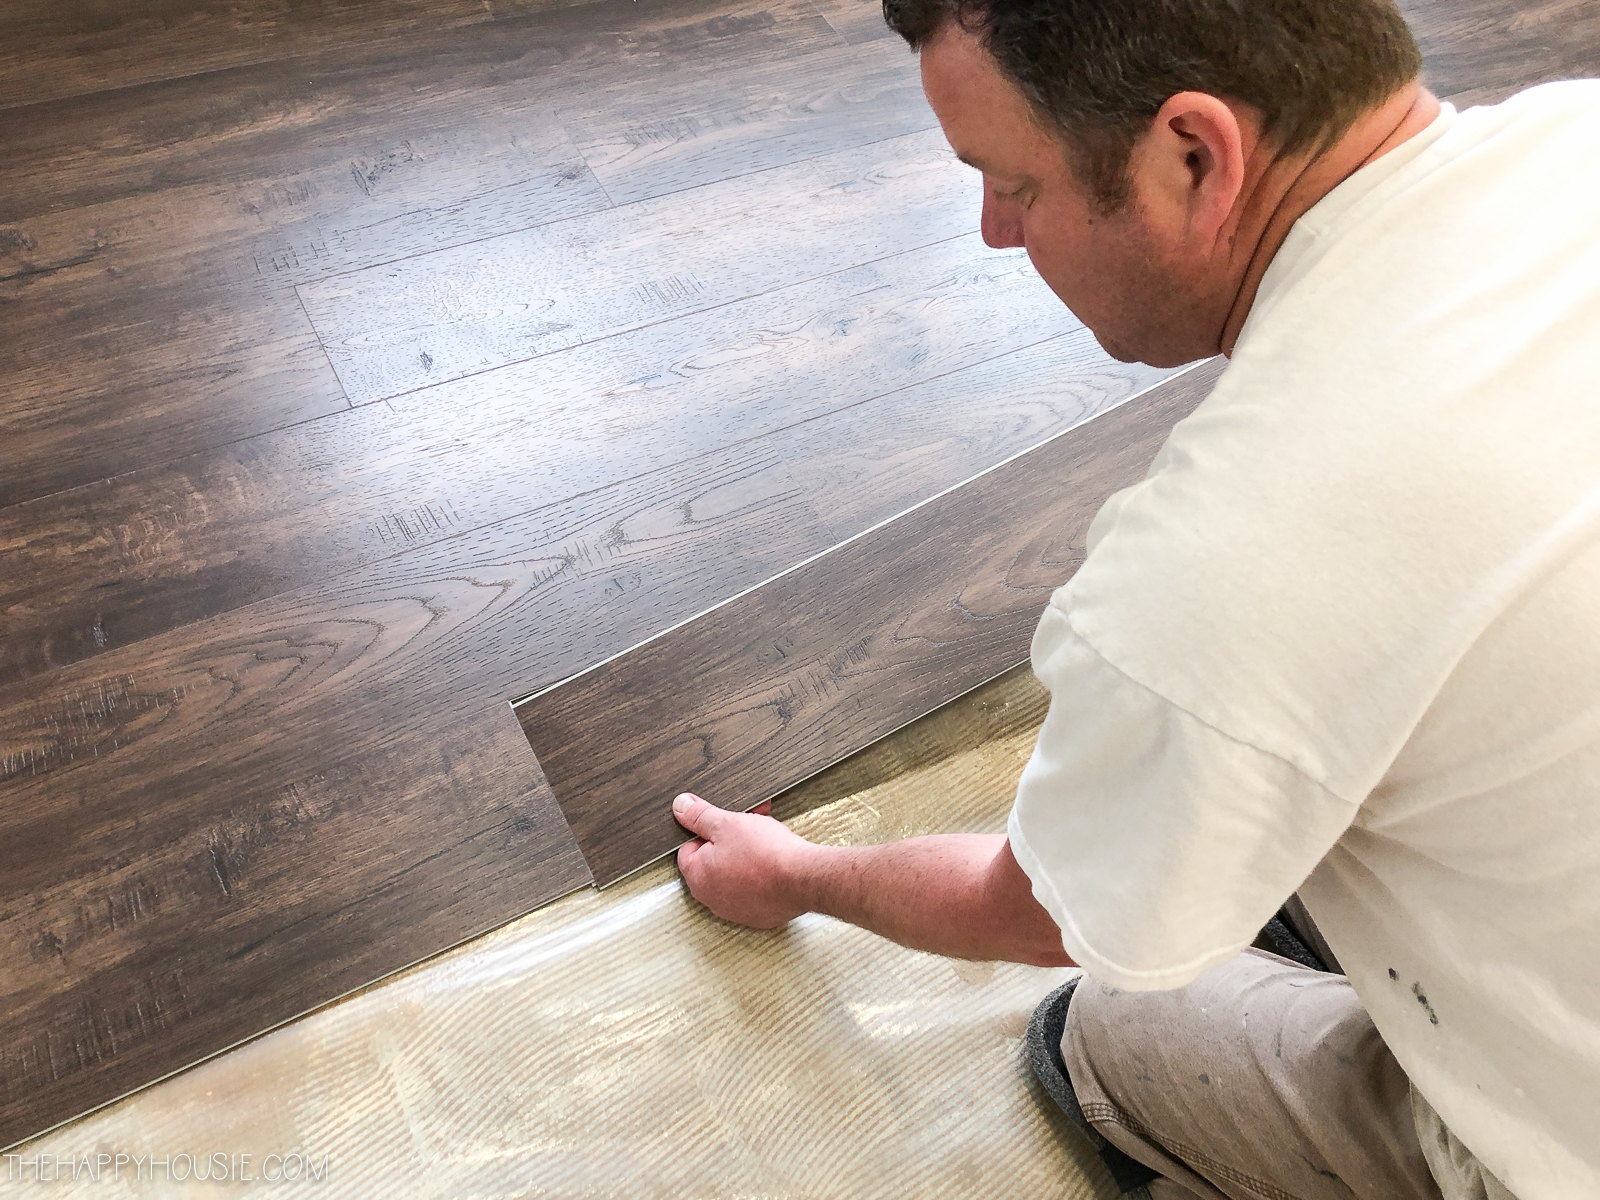
5. Installing Vinyl Flooring
Follow these general steps for vinyl flooring installation:
a) Start with a clean and dry subfloor.
b) Lay down a suitable underlayment if required by the manufacturer’s instructions.
c) Begin laying the vinyl planks or tiles from one corner of the room, working towards the opposite wall. Follow any specific installation pattern or direction recommended by the manufacturer.
d) Use a utility knife or vinyl cutter to trim planks or tiles as needed to fit around obstacles such as doorways or corners.
e) Ensure each plank or tile is securely attached and properly aligned with adjacent pieces.
f) Apply pressure to each plank or tile to ensure proper adhesion to the subfloor, especially if using a glue-down method.
g) Install baseboards or trim back in place after the vinyl flooring installation is complete for a finished look.
h) Clean up any adhesive or residue using a recommended cleaner for vinyl flooring.
Remember to always refer to the manufacturer’s specific instructions for your chosen vinyl flooring product, as techniques and recommendations may vary. Thank you for sharing the steps for installing vinyl flooring. It’s important to note that these instructions are general guidelines, and it’s always best to refer to the manufacturer’s specific instructions for your particular product. This will ensure that you are following the correct installation process and utilizing any specific techniques or tools recommended by the manufacturer. It is also important to note that if you are not comfortable or confident in installing vinyl flooring yourself, it is always best to hire a professional for the job. They will have the knowledge and experience to ensure a proper and professional-looking installation.