If you will be interested to reduce the chances of yours of causing serious dents or harm to your floor brought about by furniture, then we would guide using padding under the legs of all the furniture inside the room in which the vinyl is now being laid. It's critical to ask the sales person regarding the thickness of the wear level in case you're looking for the best overall performance.
Images Related to How To Lay Vinyl Flooring In Kitchen
How To Lay Vinyl Flooring In Kitchen

Sheet vinyl on the flip side costs more compared to ceramic tiles per square foot. They are going to be easier and simpler to maintain. Many people prefer vinyl because of the convenience it presents when it comes to keeping it clean and sterile. But today it's a lot better and you're definitely assured that you would not have to replace the flooring of yours after a very long time. In the event you opt to use sheet vinyl, that isn't a problem. to stain and moisture makes them a good selection for installing in such areas as the downstairs room, kitchen or maybe the bathroom. Excess water is able to finish the seams and cracks, which may ruin glue bonds which hold the vinyl ceramic tiles to the basic flooring. Plus, you can paint all the lines that your sports need on them with no worries.
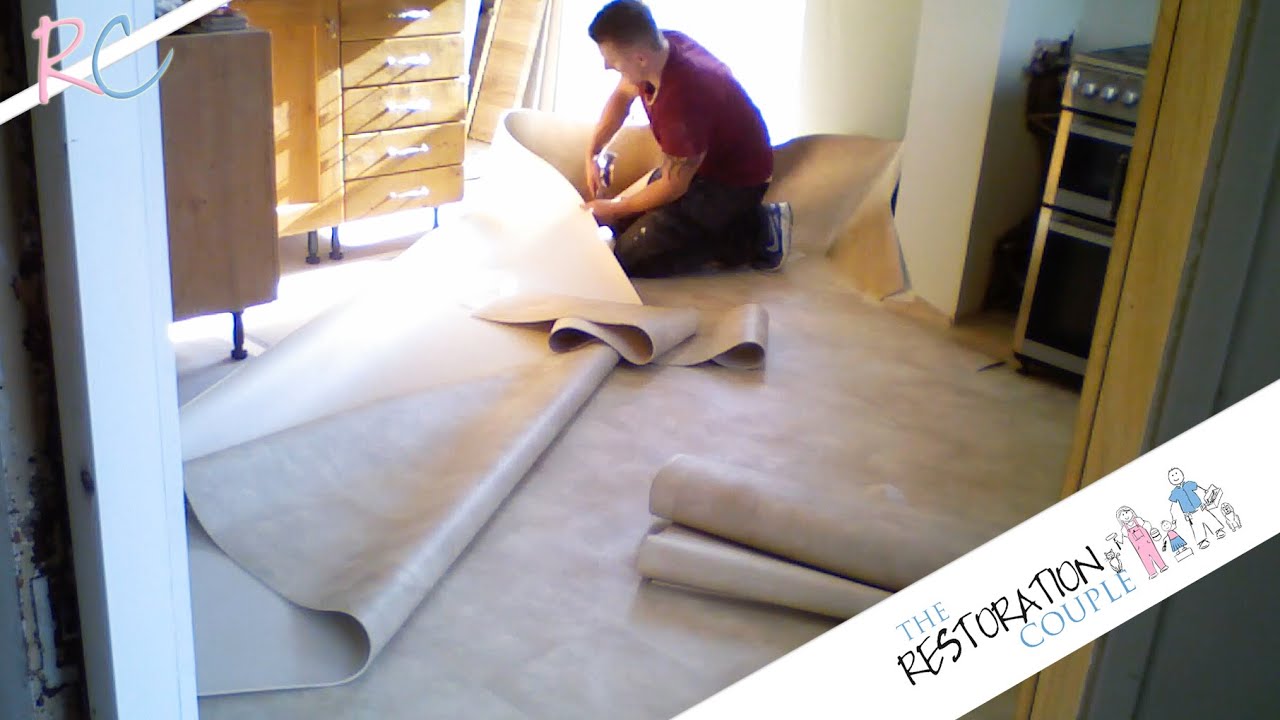
Kitchen Renovation 13.0 – Laying Vinyl Flooring and Larder Units
There are numerous types of vinyl flooring, from vinyl sheets & tiles, to printed best rated layered vinyl along with the heavier inlaid vinyl. In addition, when reading vinyl choices, you will note it is readily available in almost every color, for this reason you don't have to worry about the floor not corresponding the remainder of your room or home.
How to lay sheet vinyl flooring in a complex, larger space. Our

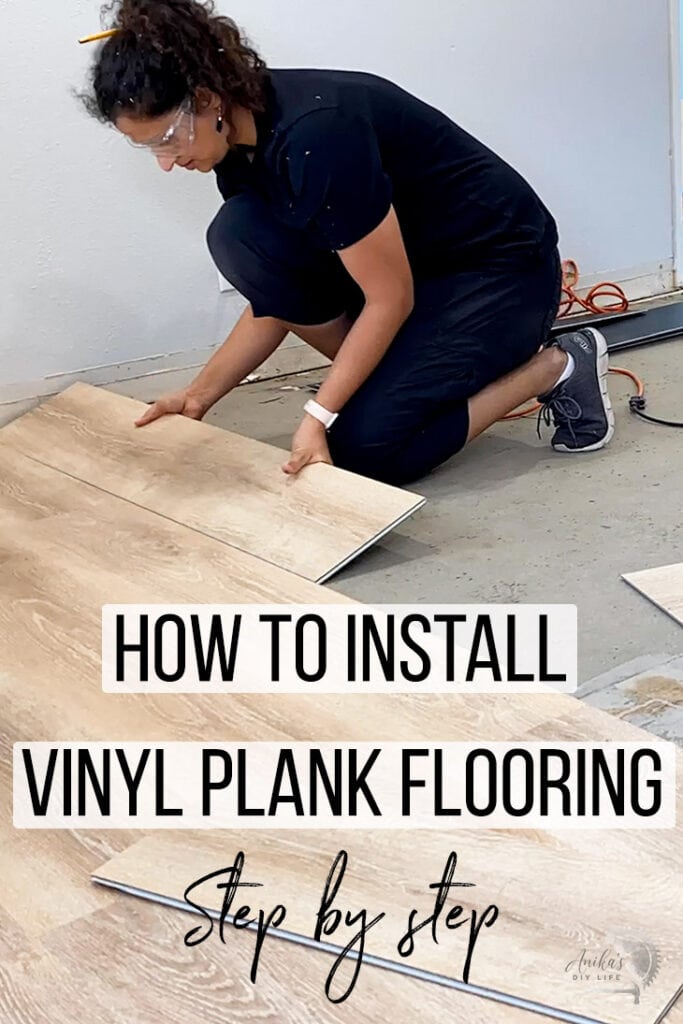
How to Install Vinyl Plank Flooring as a Beginner Home Renovation

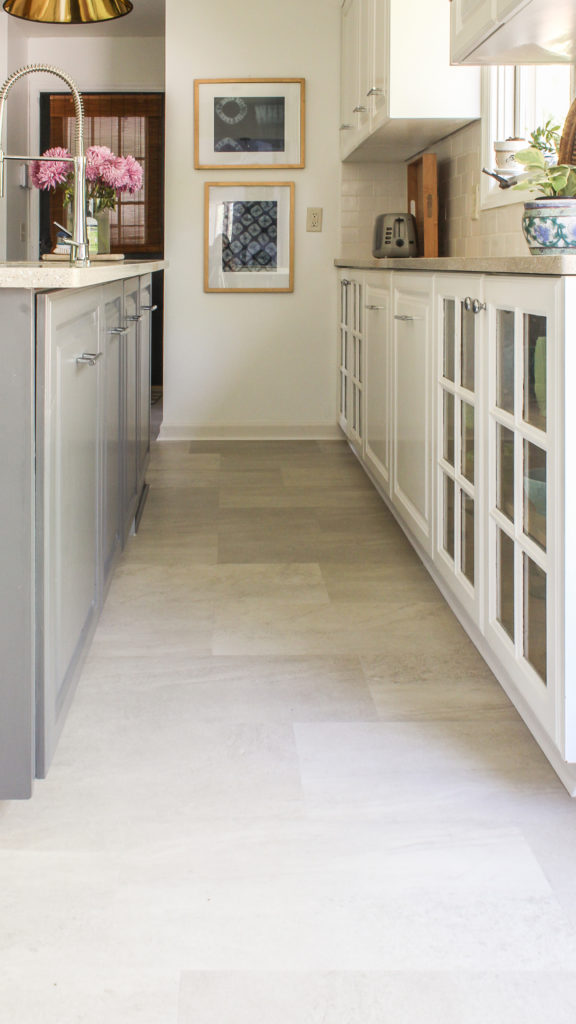
LVT Flooring Over Existing Tile the Easy Way – Vinyl Floor

How to Lay a Vinyl Tile Floor – This Old House
/cdn.vox-cdn.com/uploads/chorus_asset/file/19493864/howto_vinylfloor_05.jpg)
How To Install Vinyl Plank Flooring – Kitchen Infinity
:max_bytes(150000):strip_icc()/easy-install-plank-vinyl-flooring-1822808-06-3bb4422ca1bd49b080bfa73bce749acc.jpg)
How to Lay Luxury Vinyl Tile Flooring (LVT) + a feature in TABLE

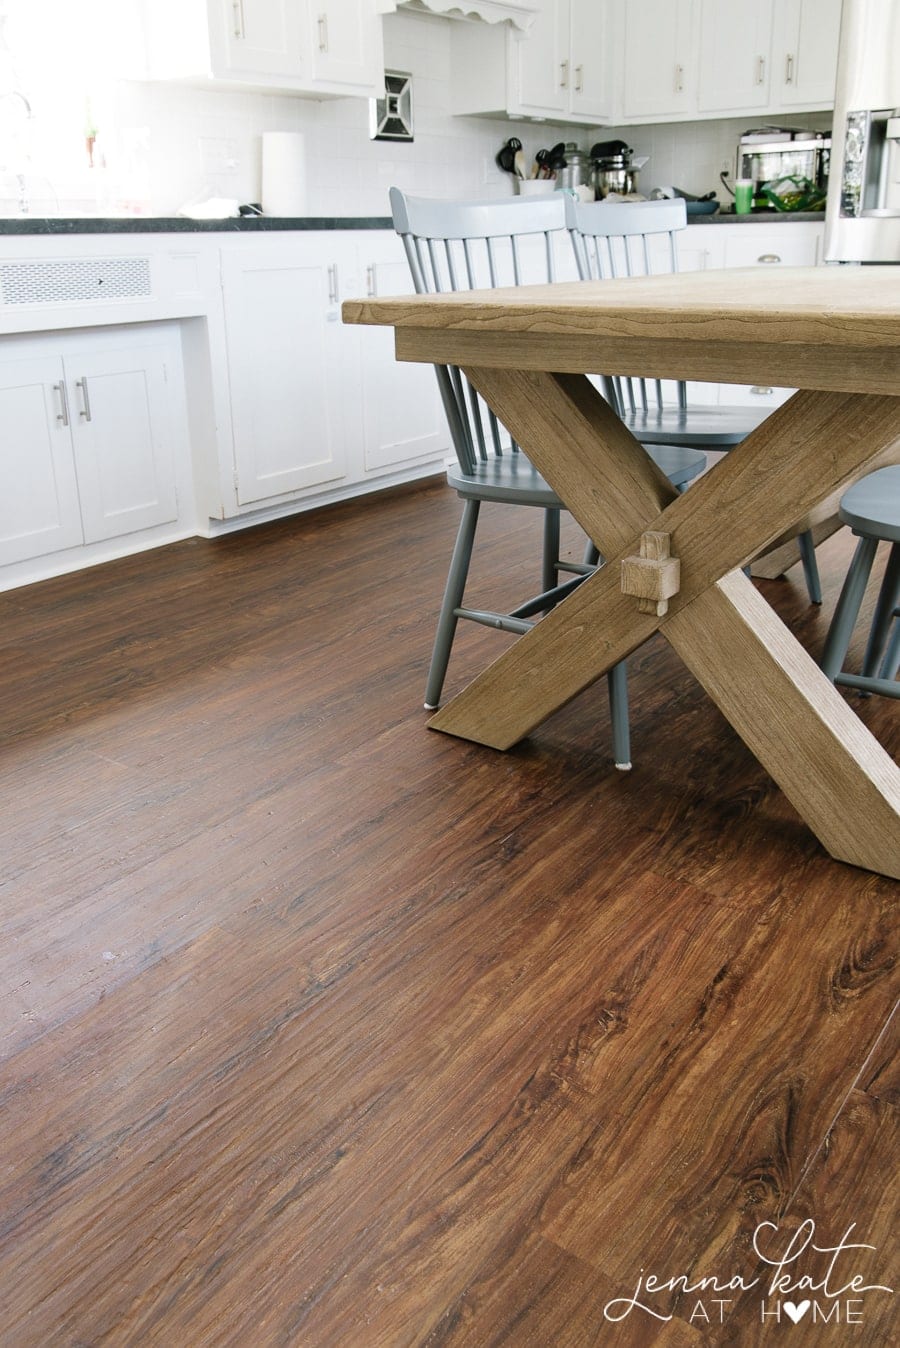
How to Install Luxury Vinyl Plank Flooring – Jenna Kate at Home
LVT Flooring Over Existing Tile the Easy Way – Vinyl Floor
Installing Vinyl Plank Flooring For Beginners – Anikau0027s DIY Life
How to lay Vinyl flooring sheets, tiles and planks Tarkett
10 Beginner Mistakes Installing Vinyl Plank Flooring – YouTube

How to Lay Vinyl Flooring? Kitchen Makeover – Sandhyau0027s Kitchen

Related articles:
- Vinyl Flooring Bathroom Tile
- Modern Vinyl Flooring
- Funky Vinyl Flooring
- Vinyl Flooring For Kitchen
- Vintage Look Vinyl Flooring
- Kitchen Vinyl Floor Tiles Ideas
- Vinyl Flooring With Wood Look
- Waterproof Vinyl Flooring
- Vinyl Flooring For Cheap
- How To Remove Vinyl Flooring
Vinyl flooring is a popular choice for kitchens due to its durability, water resistance, and easy maintenance. Installing vinyl flooring in your kitchen can be a DIY project that can save you money and give your kitchen a fresh new look. In this article, we will discuss how to lay vinyl flooring in your kitchen step by step.
1. Preparing the Subfloor:
Before you begin installing vinyl flooring in your kitchen, it is important to prepare the subfloor properly. Make sure the subfloor is clean, dry, and level. Remove any existing flooring material and fill any cracks or holes with a self-leveling compound if necessary. Sweep and vacuum the subfloor to remove any dust or debris.
FAQ:
Q: Do I need to remove the old floor before laying vinyl flooring?
A: It is recommended to remove the old floor before installing vinyl flooring to ensure a smooth and even surface.
2. Acclimating the Vinyl Flooring:
Before you start laying the vinyl flooring, it is important to acclimate the planks or tiles to the room temperature for at least 48 hours. This will prevent any expansion or contraction of the material after installation.
FAQ:
Q: How do I acclimate vinyl flooring?
A: Simply place the boxes of vinyl flooring in the room where they will be installed and leave them for at least 48 hours before installation.
3. Measuring and Cutting:
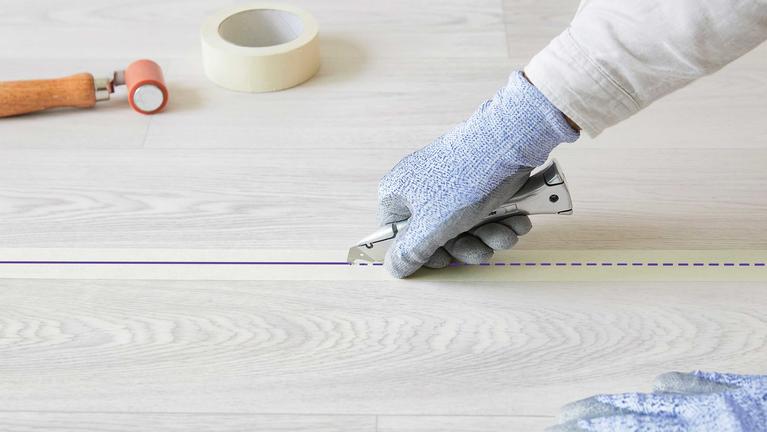
Measure the dimensions of your kitchen to determine how much vinyl flooring you will need. Add an extra 10% to account for cutting waste. Use a straight edge and utility knife to cut the vinyl planks or tiles to fit around obstacles like cabinets and appliances.
FAQ:
Q: Can I install vinyl flooring over existing tiles?
A: Yes, you can install vinyl flooring over existing tiles as long as the tiles are in good condition and not cracked or uneven.
4. Installing Underlayment:
Some vinyl flooring products require an underlayment for added cushioning and insulation. Follow the manufacturer’s instructions for installing the underlayment before laying the vinyl planks or tiles.
FAQ:
Q: Do I need underlayment for all types of vinyl flooring?
A: Not all types of vinyl flooring require underlayment. Check with the manufacturer’s instructions to determine if an underlayment is necessary.
5. Laying Vinyl Flooring:
Start laying the vinyl planks or tiles along one wall of the kitchen, leaving a 1/4 inch gap between the edges and walls for expansion. Use a tapping block and rubber mallet to lock each plank or tile into place securely. Continue laying the planks row by row until you reach the opposite wall.
FAQ:
Q: Can I install vinyl flooring over radiant heating?
A: Yes, you can install vinyl flooring over radiant heating systems as long as it does not exceed a certain temperature specified by the manufacturer.
6. Finishing Touches:
Once you have laid all the vinyl planks or tiles, install shoe molding around the perimeter of the room to cover any gaps between the flooring and walls. Use a silicone caulk to seal any gaps around appliances or fixtures.
FAQ:
Q: How do I clean and maintain vinyl flooring in my kitchen?
A: To clean vinyl flooring, sweep or vacuum regularly to remove dirt and debris. Mop with a mild detergent solution as needed, avoiding excessive water on seams.
In conclusion, laying vinyl flooring in your kitchen is a relatively simple DIY project that can give your space a fresh new look. By following these steps and tips, you can ensure a successful installation that will last for years to come. Remember to acclimate the flooring, measure and cut accurately, install any necessary underlayment, lay the flooring carefully, and finish with molding and caulking for a polished look. With proper care and maintenance, your vinyl flooring will continue to look great in your kitchen for many years. Remember to always follow the manufacturer’s instructions for your specific vinyl flooring product to ensure proper installation and maintenance. If you have any doubts or concerns, it’s always best to consult with a professional installer. Enjoy your new vinyl kitchen flooring! Remember to always follow the manufacturer’s instructions for your specific vinyl flooring product to ensure proper installation and maintenance. If you have any doubts or concerns, it’s always best to consult with a professional installer. Enjoy your new vinyl kitchen flooring!