Vinyl Kitchen flooring is the perfect option for kids. This also requires motivation as well as time more to set up. A lot of people prefer to focus the money of theirs on furniture or perhaps paintings to upgrade the appearance in the home of theirs. Nonetheless, when installation is not done by experts, the errors below may possibly occur. Vinyl floors installation actually needs the skills of a pro.
Images Related to How To Lay Vinyl Flooring Bunnings
How To Lay Vinyl Flooring Bunnings

And they are going to look radiant, naturally textured, and imbued with a perfect mixture of beautiful effervescent hues and tones. Therefore if at whenever you are looking forward to build a whole new home or perhaps make renovations to the existing one, you are fully conscious of what may be done to make it look pleasant and alluring. Though it is less in cost from some other flooring but have short life comparatively.
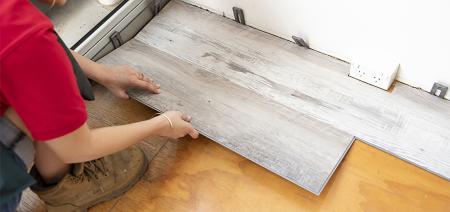
How To Lay Vinyl Plank Flooring – Bunnings Australia

As a result, you are able to get your hands on anything, beginning from very smooth to a little rough and all the way up to pebbled surfaces. The padded portion of the vinyl is in the middle layer, in between the wear layer as well as the backing. Vinyl flooring is more durable as compared to the other sorts of flooring. It is so tough and hard-wearing that you do not have to spend for the frequent maintenance of its.
How To Lay Vinyl Plank Flooring – Bunnings Australia

How To Lay Vinyl Plank Flooring – Bunnings Australia

How To Lay Vinyl Plank Flooring – Bunnings Australia

How To Lay Laminate Flooring – DIY At Bunnings

How to Install Vinyl Plank Flooring – Best Laminate Flooring
Learn how to lay vinyl plank flooring with D.I.Y. advice from

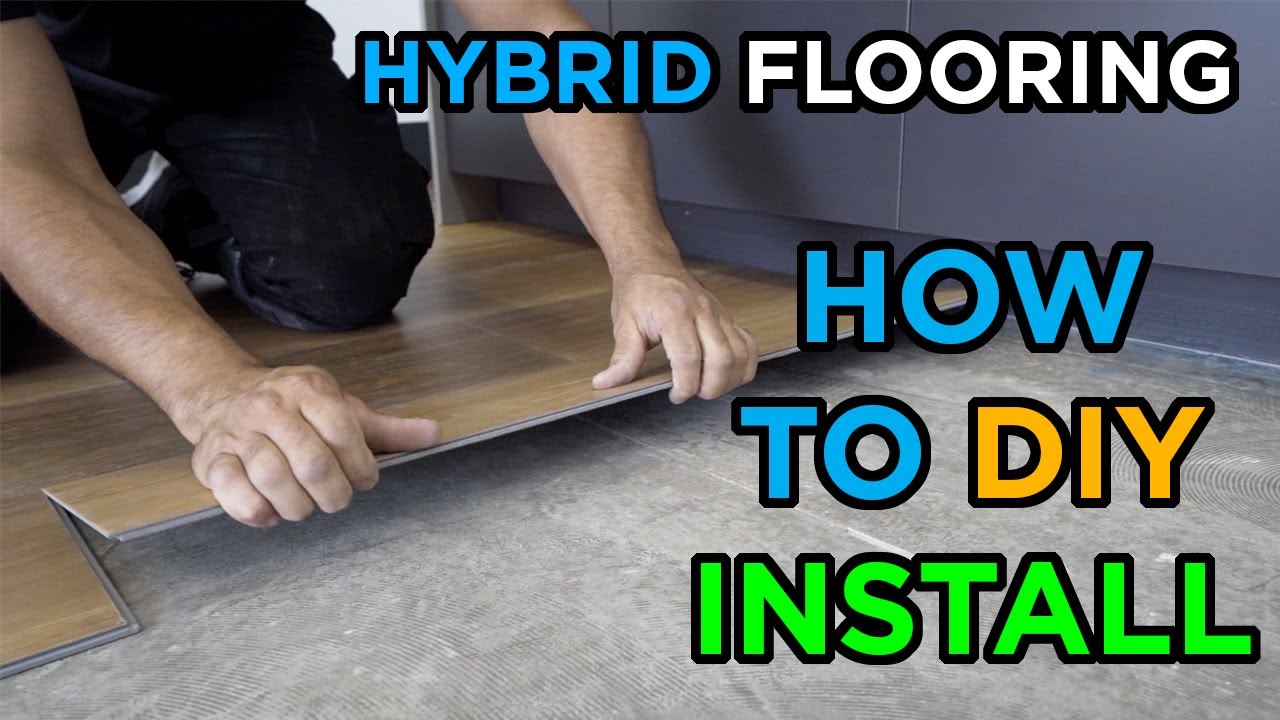
How to Install 100% Waterproof Hybrid Flooring
How to Lay Vinyl Plank Flooring Vinyl plank flooring, Vinyl

Bunnings Hanwood Flooring Installation? : r/diynz

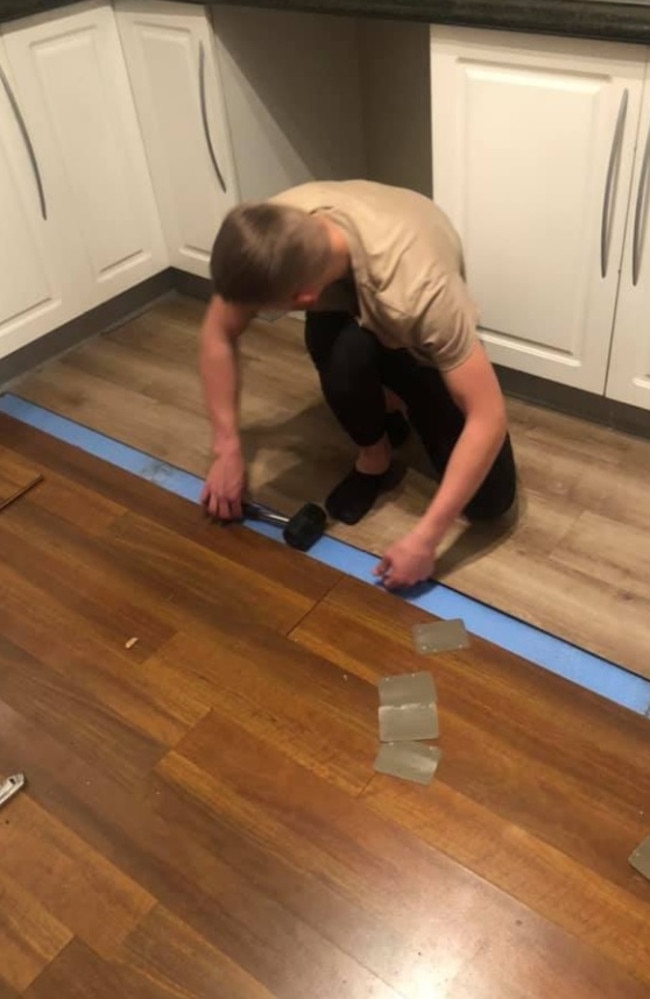
Teenu0027s u0027incredibleu0027 Bunnings flooring makeover transforms home
Senso Essential 3m Wide Noma Blond Sheet Vinyl Flooring – Bunnings

How To Lay Vinyl Plank Flooring

Related articles:
- Vinyl Flooring Bathroom Tile
- Modern Vinyl Flooring
- Funky Vinyl Flooring
- Vinyl Flooring For Kitchen
- Vintage Look Vinyl Flooring
- Kitchen Vinyl Floor Tiles Ideas
- Vinyl Flooring With Wood Look
- Waterproof Vinyl Flooring
- Vinyl Flooring For Cheap
- How To Remove Vinyl Flooring
Title: A Comprehensive Guide on How to Lay Vinyl Flooring: Bunnings’ Expert Tips
Introduction:
If you’re looking to update your home’s flooring with a durable and stylish option, vinyl flooring is an excellent choice. Not only is it affordable and easy to install, but it also offers a wide range of designs and colors. In this comprehensive guide, we will walk you through the step-by-step process of laying vinyl flooring. With the help of Bunnings’ expert tips, you’ll soon have a beautiful and long-lasting floor that enhances the overall aesthetic of your space.
I. Preparing for Installation:
1. Measure and Calculate:
Before purchasing your vinyl flooring from Bunnings, it’s crucial to measure the area you plan to cover accurately. Start by calculating the square footage by multiplying the length and width of each room or area you wish to install vinyl flooring in. Remember to add 10% extra for waste and cuts.
FAQ: How do I measure irregularly shaped rooms?
Answer: To measure irregularly shaped rooms, divide them into smaller sections (rectangles or squares), calculate the square footage of each section separately, and sum up the results.
2. Prepare the Subfloor:
The success of your vinyl flooring installation heavily relies on preparing a clean, level, and dry subfloor. Begin by removing any existing flooring materials, such as carpet or tiles. Ensure that the subfloor is smooth by sanding down any rough spots.
FAQ: Can I install vinyl flooring over existing tiles?
Answer: Yes, you can install vinyl flooring over existing tiles as long as they are in good condition, clean, and level. However, ensure that the height difference between the vinyl flooring and other adjacent surfaces is not significant.
3. Check for Moisture:
Vinyl flooring is sensitive to moisture; therefore, it’s essential to test your subfloor for excessive moisture levels using a moisture meter. If the moisture levels are high, you may need to address the issue before proceeding with the installation.
FAQ: How can I reduce moisture levels in my subfloor?
Answer: To reduce moisture levels, you can use a dehumidifier or apply a moisture barrier on your subfloor. Bunnings offers various moisture barrier options suitable for different subfloor types.
II. Installing Vinyl Flooring:
1. Acclimatize the Flooring:
Before installation, it’s crucial to let your vinyl flooring acclimate to the room’s temperature and humidity. Leave the flooring unboxed and stacked in the room for at least 48 hours.
2. Lay Out the Flooring:
Start by planning the layout of your vinyl flooring. Begin at one corner of the room and lay out a row of planks parallel to the longest wall. Remember to leave a 6-8mm gap between the flooring and walls to allow for expansion.
FAQ: How do I determine where to start laying my vinyl flooring?
Answer: It is recommended to start laying your vinyl flooring in the corner that is most visible from the entrance or main focal point of the room. This ensures a visually appealing installation.
3. Cut and Trim:
Using a utility knife or vinyl cutter, cut planks as needed to fit around obstacles such as door frames or heating vents. Ensure that all cuts are precise and clean for a seamless appearance.
4. Apply Adhesive or Use Click-Lock System:
Depending on the type of vinyl flooring you’ve chosen, you’ll either need to apply adhesive to each plank’s back or Use a click-lock system. Follow the manufacturer’s instructions for applying adhesive or locking the planks together securely.
FAQ: Can I install vinyl flooring without adhesive?
Answer: Yes, there are vinyl flooring options with click-lock systems that do not require adhesive. These systems make installation easier and allow for easy removal and replacement of individual planks if needed.
5. Press and Roll:
After placing each plank, use a flooring roller to firmly press it down and ensure proper adhesion or locking. This step helps to eliminate any air pockets and ensures a tight, secure installation.
6. Install Transition Strips:
Once you have completed the installation of the vinyl flooring, install transition strips in doorways or between different types of flooring to create a smooth transition and protect the edges of the vinyl.
III. Finishing Touches:
1. Clean Up:
Remove any adhesive residue or debris from the surface of the vinyl flooring using a damp cloth or mop. Ensure that the floor is completely clean and dry before proceeding with any additional steps.
2. Install Baseboards or Trim:
To complete the installation, install baseboards or trim along the edges of the room to cover any gaps between the vinyl flooring and walls. This step adds a finished look to your new floor.
3. Apply Floor Finish (Optional):
If desired, you can apply a floor finish or sealer to enhance the appearance and durability of your vinyl flooring. Follow the manufacturer’s instructions for application and drying times.
Overall, the process of installing vinyl flooring involves preparing the subfloor, measuring and cutting the vinyl planks, applying adhesive or using a click-lock system, pressing and rolling the planks for proper adhesion, installing transition strips, cleaning up any residue or debris, installing baseboards or trim, and optionally applying a floor finish or sealer. Following these steps will ensure a successful and visually appealing installation of your vinyl flooring. To summarize, here are the steps to install vinyl flooring:
1. Prepare the subfloor by cleaning and leveling it.
2. Measure the room and cut the vinyl planks accordingly.
3. Start installing the vinyl planks along the longest wall, leaving a 1/4-inch gap between the planks and the wall.
4. Trim around door frames and heating vents for a seamless appearance.
5. Apply adhesive to each plank’s back or use a click-lock system as instructed by the manufacturer.
6. Use a flooring roller to press down each plank for proper adhesion or locking.
7. Install transition strips in doorways or between different types of flooring.
8. Clean up any adhesive residue or debris from the surface of the vinyl flooring.
9. Install baseboards or trim along the edges of the room to cover gaps.
10. Optionally, apply a floor finish or sealer for enhanced appearance and durability.
Following these steps will ensure a successful installation of vinyl flooring in your space.